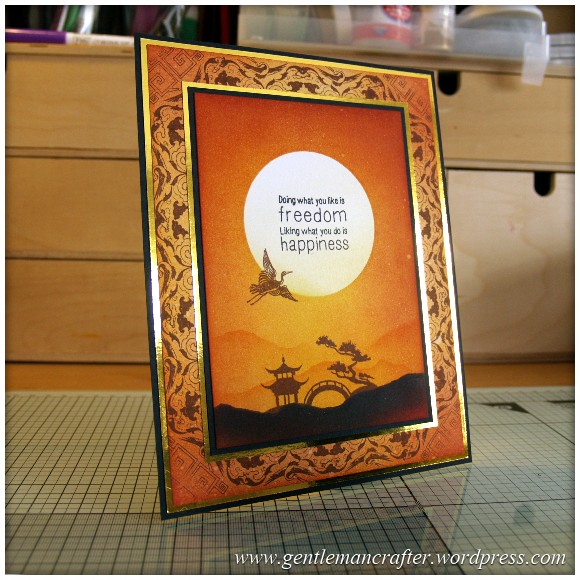
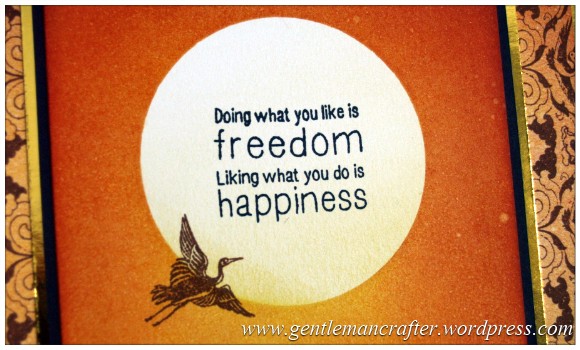
The key to happiness is quite elusive. According to some rubber stamps that accompanied this month’s issue of Get Stamping the message is clear, “Doing what you like is freedom; Liking what you do is happiness”.
I guess that they have a point.
Anyway, don’t worry, I’m not going to waffle on about philosophy and all that. I think that you can guess that this post is in fact about something that I made with the stamps that I got with the magazine.
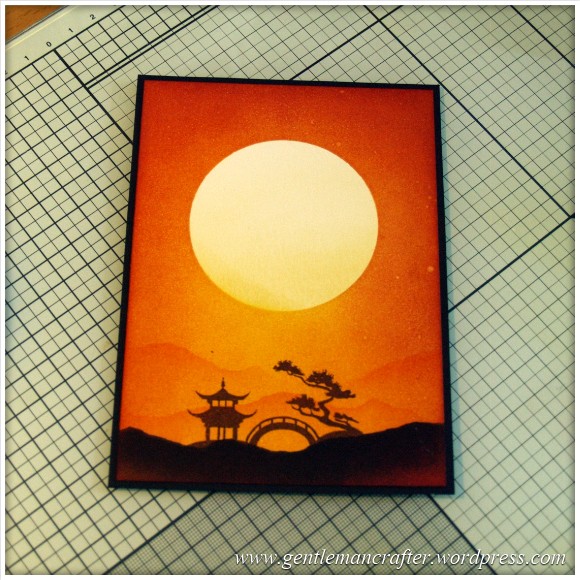
Here is said card …
Definitely proud of this one as all of the design was done by my fair hand as I wielded blending brushes, inkpads and rubber stamps, even the background! *puffs out chest with pride*
I was lucky enough to have just enough time to photograph a good proportion of the steps as I made this card so we’ve got ourselves a full description below of how I went about making it in case you were interested.
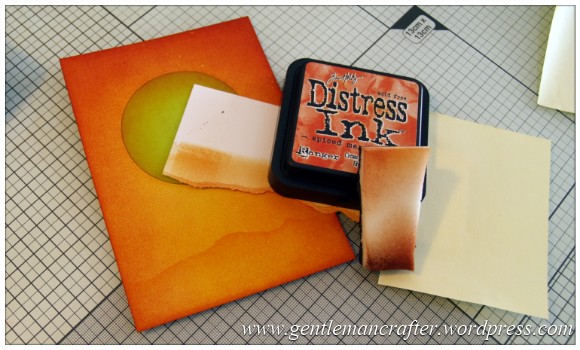
So I gathered up a whole bunch of stuff as follows …
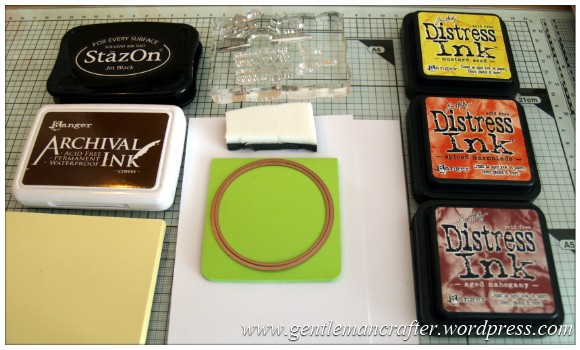 This pic shows most of it. I added in the Inkadinkado Stamping Gear rectangular cog later and also didn’t end up using the stazon for much.
Oh yes, Here is the stamp sheet that I was talking about earlier also…

Lots to choose from :)
I went for the three that are bottom right of the sheet. The crane/stork, the bridge and the sentiment.
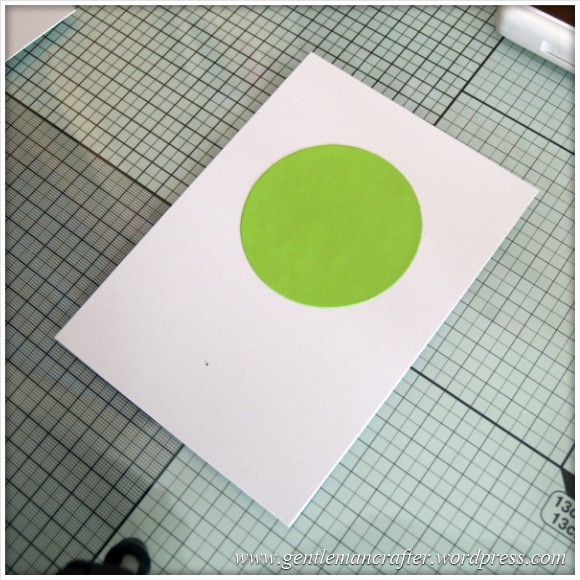
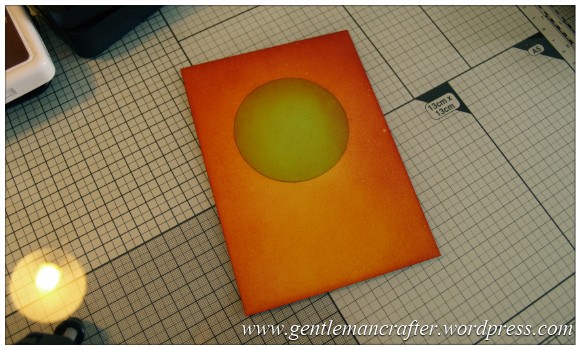
The first thing that I did was to cut the all over post it note with the circular spellbinders die and plonk the resulting shape in the upper area of the A6 cardstock. I say plonk, I clearly got the ruler out and checked that it was equidistant, as any good virgo would.
Then it was time to start inking. Using my make shift ink blending brushes (shaving foam brushes for 60p from Wilkos) I blended on the first colour of Tim Holtz Distress Inkpads which was Mustard Seed.

Then I used Spiced Marmalade…

And finally Aged Mahogany.
I also added some “speckle spots” to the design by spritzing with water and then dabbing away with tissue – I thought that it need it.
By the way, I like it when my brushes are saturated with colour – look how cute the look all lined up and having a natter – now back to work brushes!

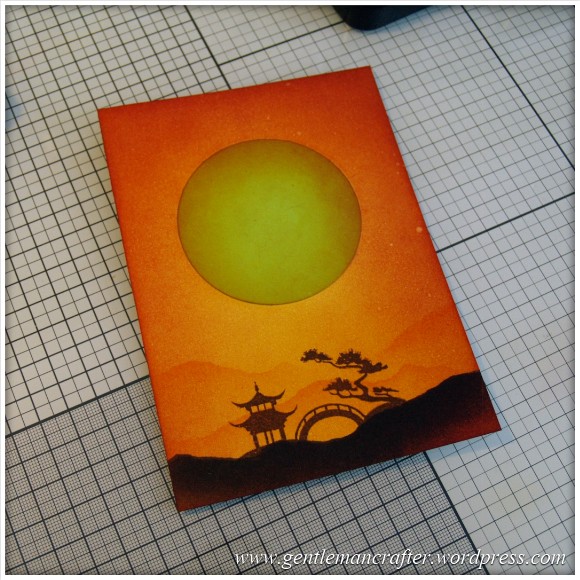
Ok, Ok, they deserve a break. For the next step I used ink blending foam. I tore some paper in half and used this as a mask (to represent mountains) and then blended some ink (the mask covered the top part of the design and I blended the ink towards the bottom area).
I repeated that a couple more times, moving the mask each time and using less/more ink to give the impression of the hills receeding into the background and then I used the Archival Coffee coloured inkpad to stamp on the bridge.
Then I – woah! What, where did this come from (and what happened to the other one)?! *looks around innocently*
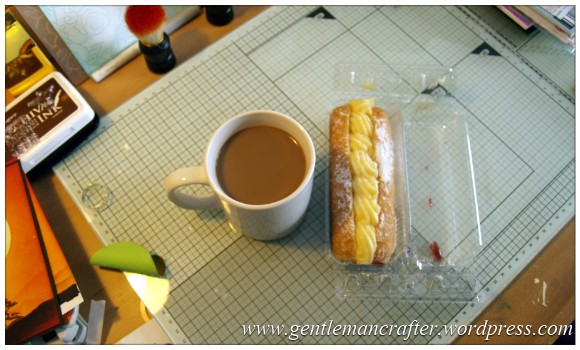
Mmmm, look at it’s delicious custardiness …
Ok, I don’t mind if I do – scoff, munch, nom.
Moustache wiped and it was back on with the card I removed the mask and layered the sheet onto some black cardstock; trimming the edges down to 1/16″ with my perfect layers rulers.
At this point I thought that it might look a bit boring just mounted like this (well, let’s say subdued as the scene is ok, but it’s not really making an impact – for me anyway).
So I broke out the rectangular Inkadinkado Stamping Gear cog and paddle along with one of the oriental style Inkadinkado Stamping Gear stamps. Using the Archival Coffee coloured inkpad I stamped out a border pattern onto white cardstock (about A5 in size).
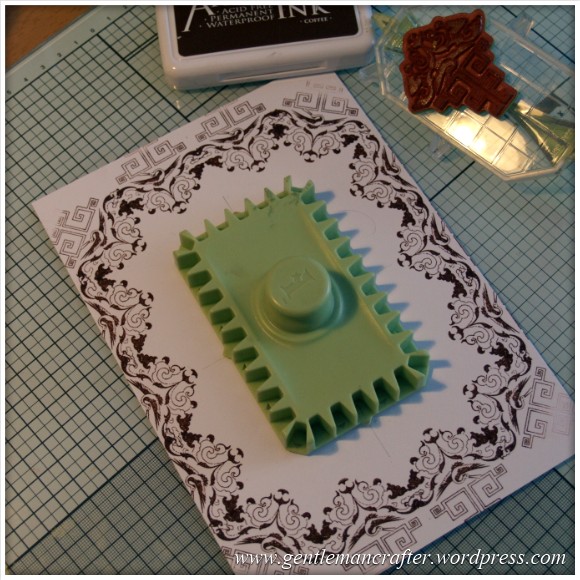
I trimmed the two short ends of the card a little to make them look like the two long sides and then, using the same Tim Holtz Distress Inkpad colours as earlier, I blended the edges giving it a shaded look. As before I spritzed lightly with water and then dabbed off with tissue paper.

I then added the sentiment and the crane/stork – the sentiment was stamped with black stazon and the stork with the coffee coloured inkpad.
The gold layers were added to give a little “pow” to the design. All were done with the perfect layers rulers in order to make it all neat and proper.
That, as they say, was that.
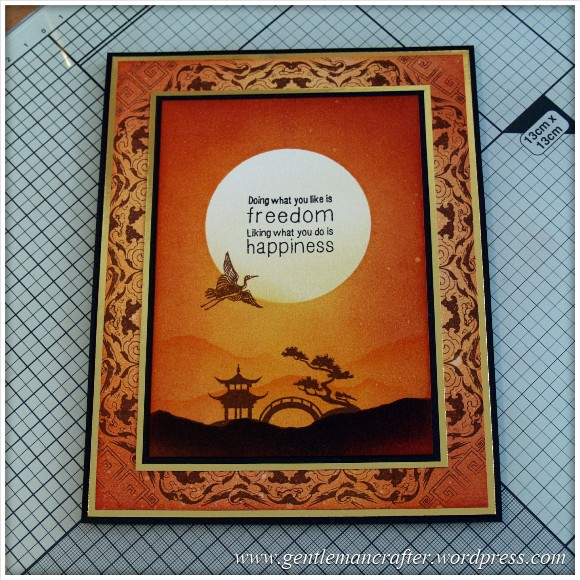
Finally, here are a couple of close ups for your perusal.
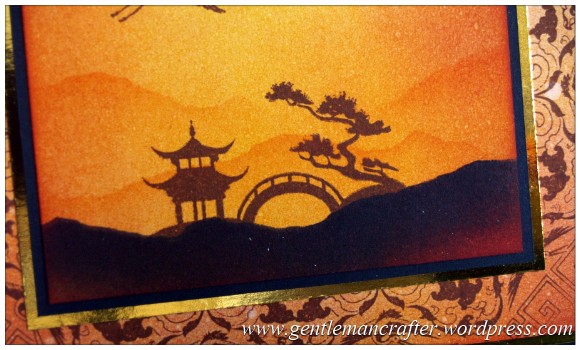
So here is that there card all finished and proud.

What do you think? Not a bad effort eh?
Looking at the sentiment, I can definitely say that I liked what I did here, and the custardy donut finger :)
As ever, if you have any questions or comments about this post, I’d love for you to pop them in the comments section below.
Many thanks for reading. See you again soon.
J :)

Super card John, and a nice change from all the Brother information.
LikeLike
Things should settle soon and am hoping to blog more about a variety of things again. It’s just been a crazy couple of months :)
LikeLike
What a beautiful card i love it, The step by step guide is fab love the colours well done john xxx
LikeLike
Love this card , everything blends perfectly together and reflects the sentiment fully .
LikeLike
Wow this is amazing. I hope you enjoyed the doughnut and coffee. Thank you for the step by step instructions.
LikeLike
Very very gorgeous.
LikeLike
John, I adore this card .i love anything with an Eastern look but you have excelled here with the addition of the border with your Inkadinkies’ . I certainly will be giving this a go, I have the Inkies stamps and some similar bridge and stork (from Sheena Douglas)…….guess I have a lot of Eastern stamps, can’t resist them, I just love your idea here it has my mojo a’goin’.
Love Marian xxxxxxxx
LikeLike
Can’t do without custard doughnuts, they are brain & comfort food, can see why you needed both, lots of calories being burned creating your stunning card.
It is very satisfying making something from scratch, love everything about your creation.
Love my Inkadinkado stamps & gears, am getting the stamp set you used next week.
Beautiful creation, you should be very proud:-) x
LikeLike
This is a lovely card, the colours work really well. I saw this stamp set in the news agents but don’t really like oriental although there are some good images in the set. I may change my mind and buy the magazine now.
Joy.
LikeLike
Absolutely love this card John, even better I have the magazine and stamps, just waiting for me to have a play with
LikeLike
This is one of your best. The colours are perfect and I can see it in red with black stamping. Must get the magazine as the stamps look very versatile. Have you tried out your Gelliplate yet?
X Chris
LikeLike
No Chris, I had a brief go with it – enough to know that I like it however not had much time to myself lately.
LikeLike
Well, if I had any doubts that I need the stamping thingy from Inkadinko you just got rid of them. I may have to get the mag as well. Gorgeous card. And gorgeous cake.
LikeLike
Hello John, I love your card its brilliant. I am new to stamping but will be having a go. Cheers for the info on the brushes from Wilko’s.
LikeLike
Stunning card John, thanks for all the details and for making me smile – chattering brushes indeed!
LikeLike
Love the card and the colours are gorgeous. Lovely background. Must get one of the gears and some stamps.
LikeLike
Fab card, love the oriental feel. Which magazine was this and is it still available?
LikeLike
It’s mentioned in the text above and it is still available.
J :)
LikeLike
lovely card John x
LikeLike
So you SHOULD be proud John, your card is amazing, and thanks for the step by step. So glad you enjoyed BOTH the donuts!!! lol
LikeLike
John the card is stunning. I must get the mag.
keep bringing us you great ideas.
LikeLike
Awesome as usual please keep it up to give us inspiration x
LikeLike
Fantastic, but the doughnut looks good
LikeLike
What a great step by step, you make it look easy and so much fun with it. Thanks John.
LikeLike
Love this card! I really like cards where the whole thing has been created, rather than bits of predesigned paper being used. Although having said that, papers make things quicker!! I definitely feel more satisfaction from a finished product when I have printed/coloured all of it. I love the colours you’ve used today as well; nice and summery, to match the shift in weather the last couple of days. Good job!
And yes, custard doughnut finger things are happiness in all forms!!
LikeLike
Absolutely stunning,just love it :-)
But yuck to the custard doughnut,lol
Definately a Chocolate eclair girl myself… :-)
LikeLike
WOW John, this is awesome! I love the gorgeous colours you have used to create this work of art. Fabulous stamps too! I hope you enjoyed your cake and tea ;)
Hugs
Linda xxx
LikeLike
Love the card, the stamps look great – and as for the custard doughnut – yum yum my favourite!!
LikeLike