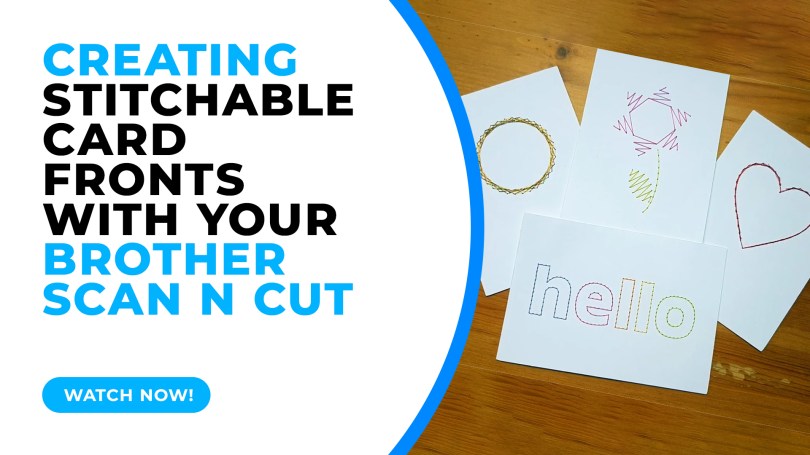
Creating Stitchable Card Fronts in Canvas Workspace
In this tutorial I will share with you how I created stitchable card fronts using Canvas Workspace and the piercing kit, available for DX models of the Scan N Cut.
Sadly, if you have a CM model of the machine, this technique will not work for you.
Not sure what I mean by a stitchable card front? Will, it simply means piercing a series of holes in a piece of card that you can then stitch thread through to create a unique style of greetings card.
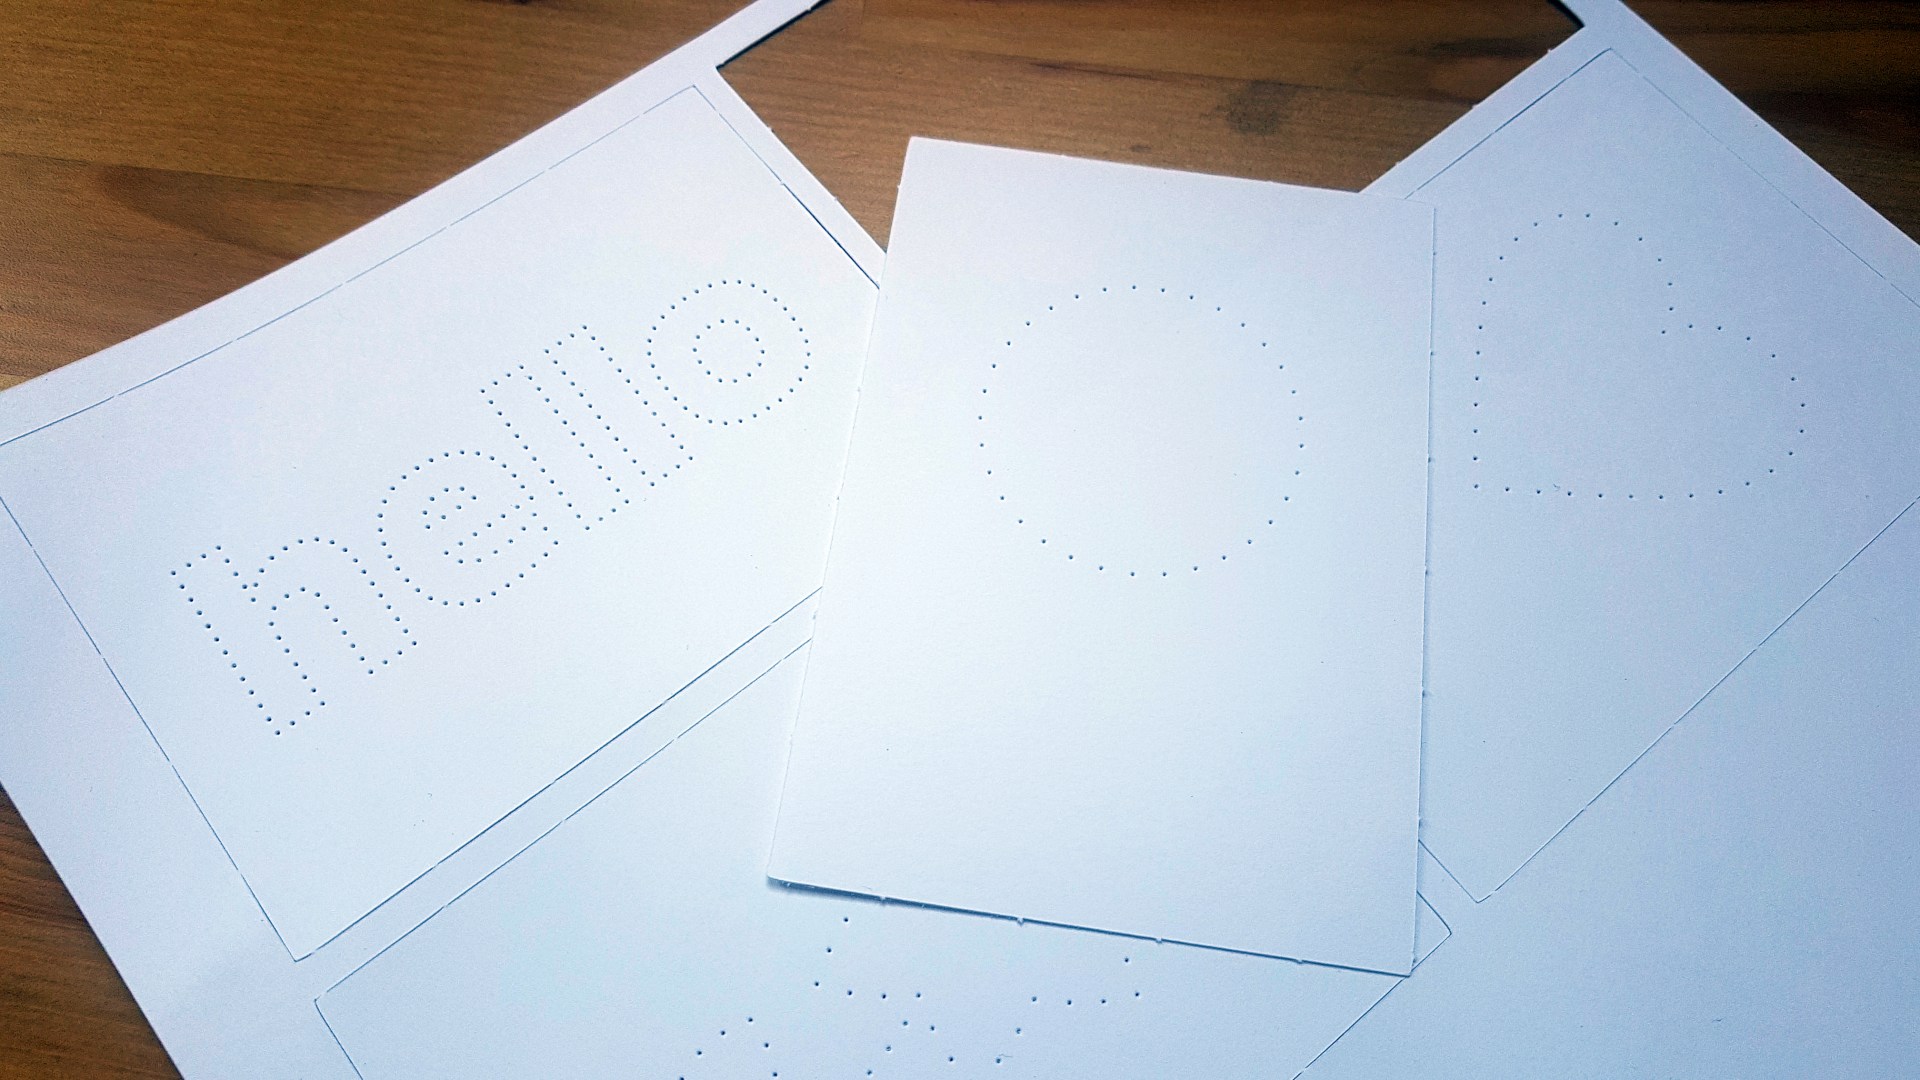
Here is an example that I made for this blog post and video. First, the punched card.
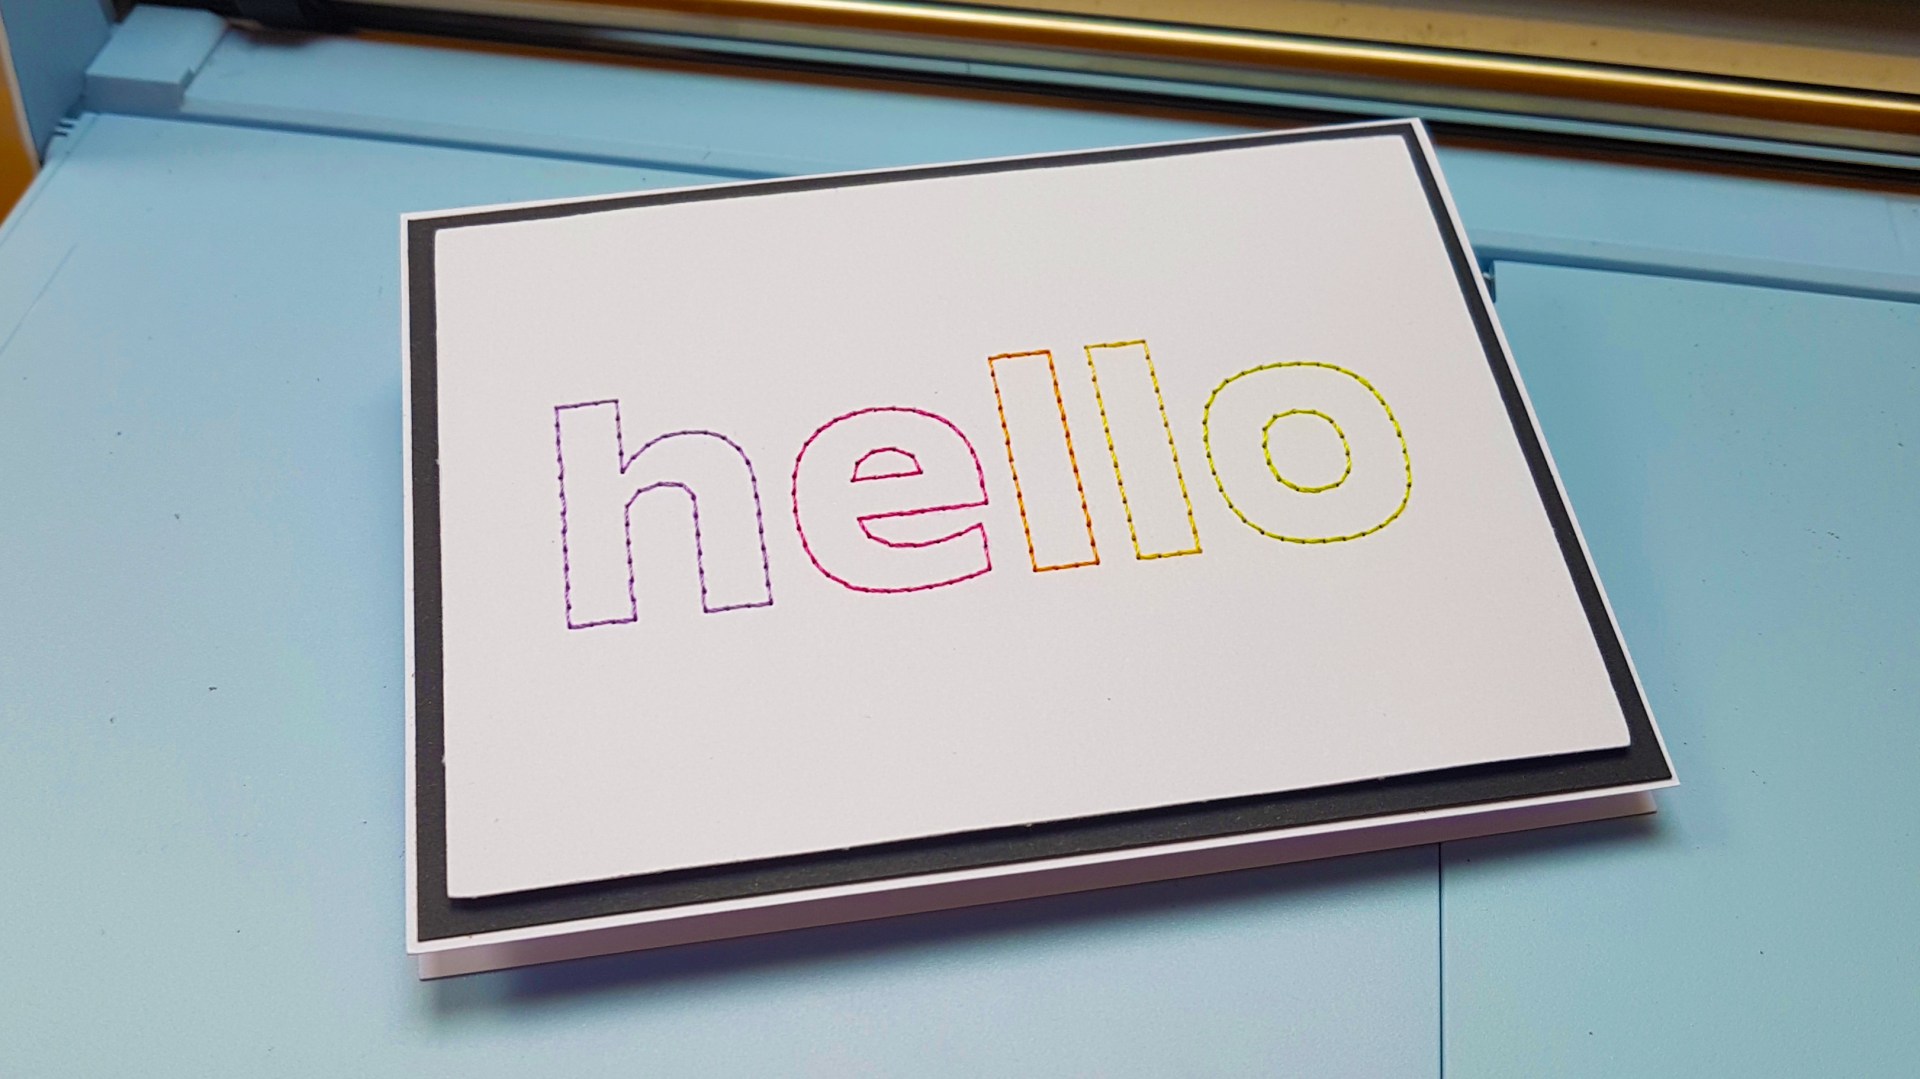
Then, the finished stitched card.
Neat trick, right?
As I mentioned, this will only work with DX models of the machine and does require a registered piercing premium accessory kit.
The video is approx 14 minutes long and will cover the following stages.
- Designing the project in Canvas Workspace – recorded in real-time.
- Piercing and cutting out the card fronts – heavily sped up as it did take a while but you get a good overview of the workflow.
I have not covered stitching this out as that is down to personal preference as to the type of thread and stitch that you use. If it helps, I used a single strand from a stranded cotton skein and a thin beading needle.
Right, that’s enough of that. Ready for the video? Ok, just click play and enjoy :)
Hope you enjoyed that tutorial and will give it a go yourself. If you do, and would like to share your creations with me you can find all of my social media links at the top of this page.
If you have any questions or comments, please feel free to leave them in the comments section below.
I look forward to hearing your thoughts.
Thanks for stopping by and I look forward to sharing more with you soon!
Bye for now.
J :)

Wow! What a great idea! I never would have thought of using my Scan n’ Cut for this purpose!
LikeLiked by 2 people
Fantastic! That answered all my questions. So helpful and inspiring.
LikeLiked by 2 people
Looks fabulous John xx Hazel
LikeLiked by 2 people