Digitizing An Embroidery Design In Hatch Embroidery Software Part 3.
Excited to be back with part 3 of this 10-part mini series showing the process of digitizing a design in Hatch embroidery software.
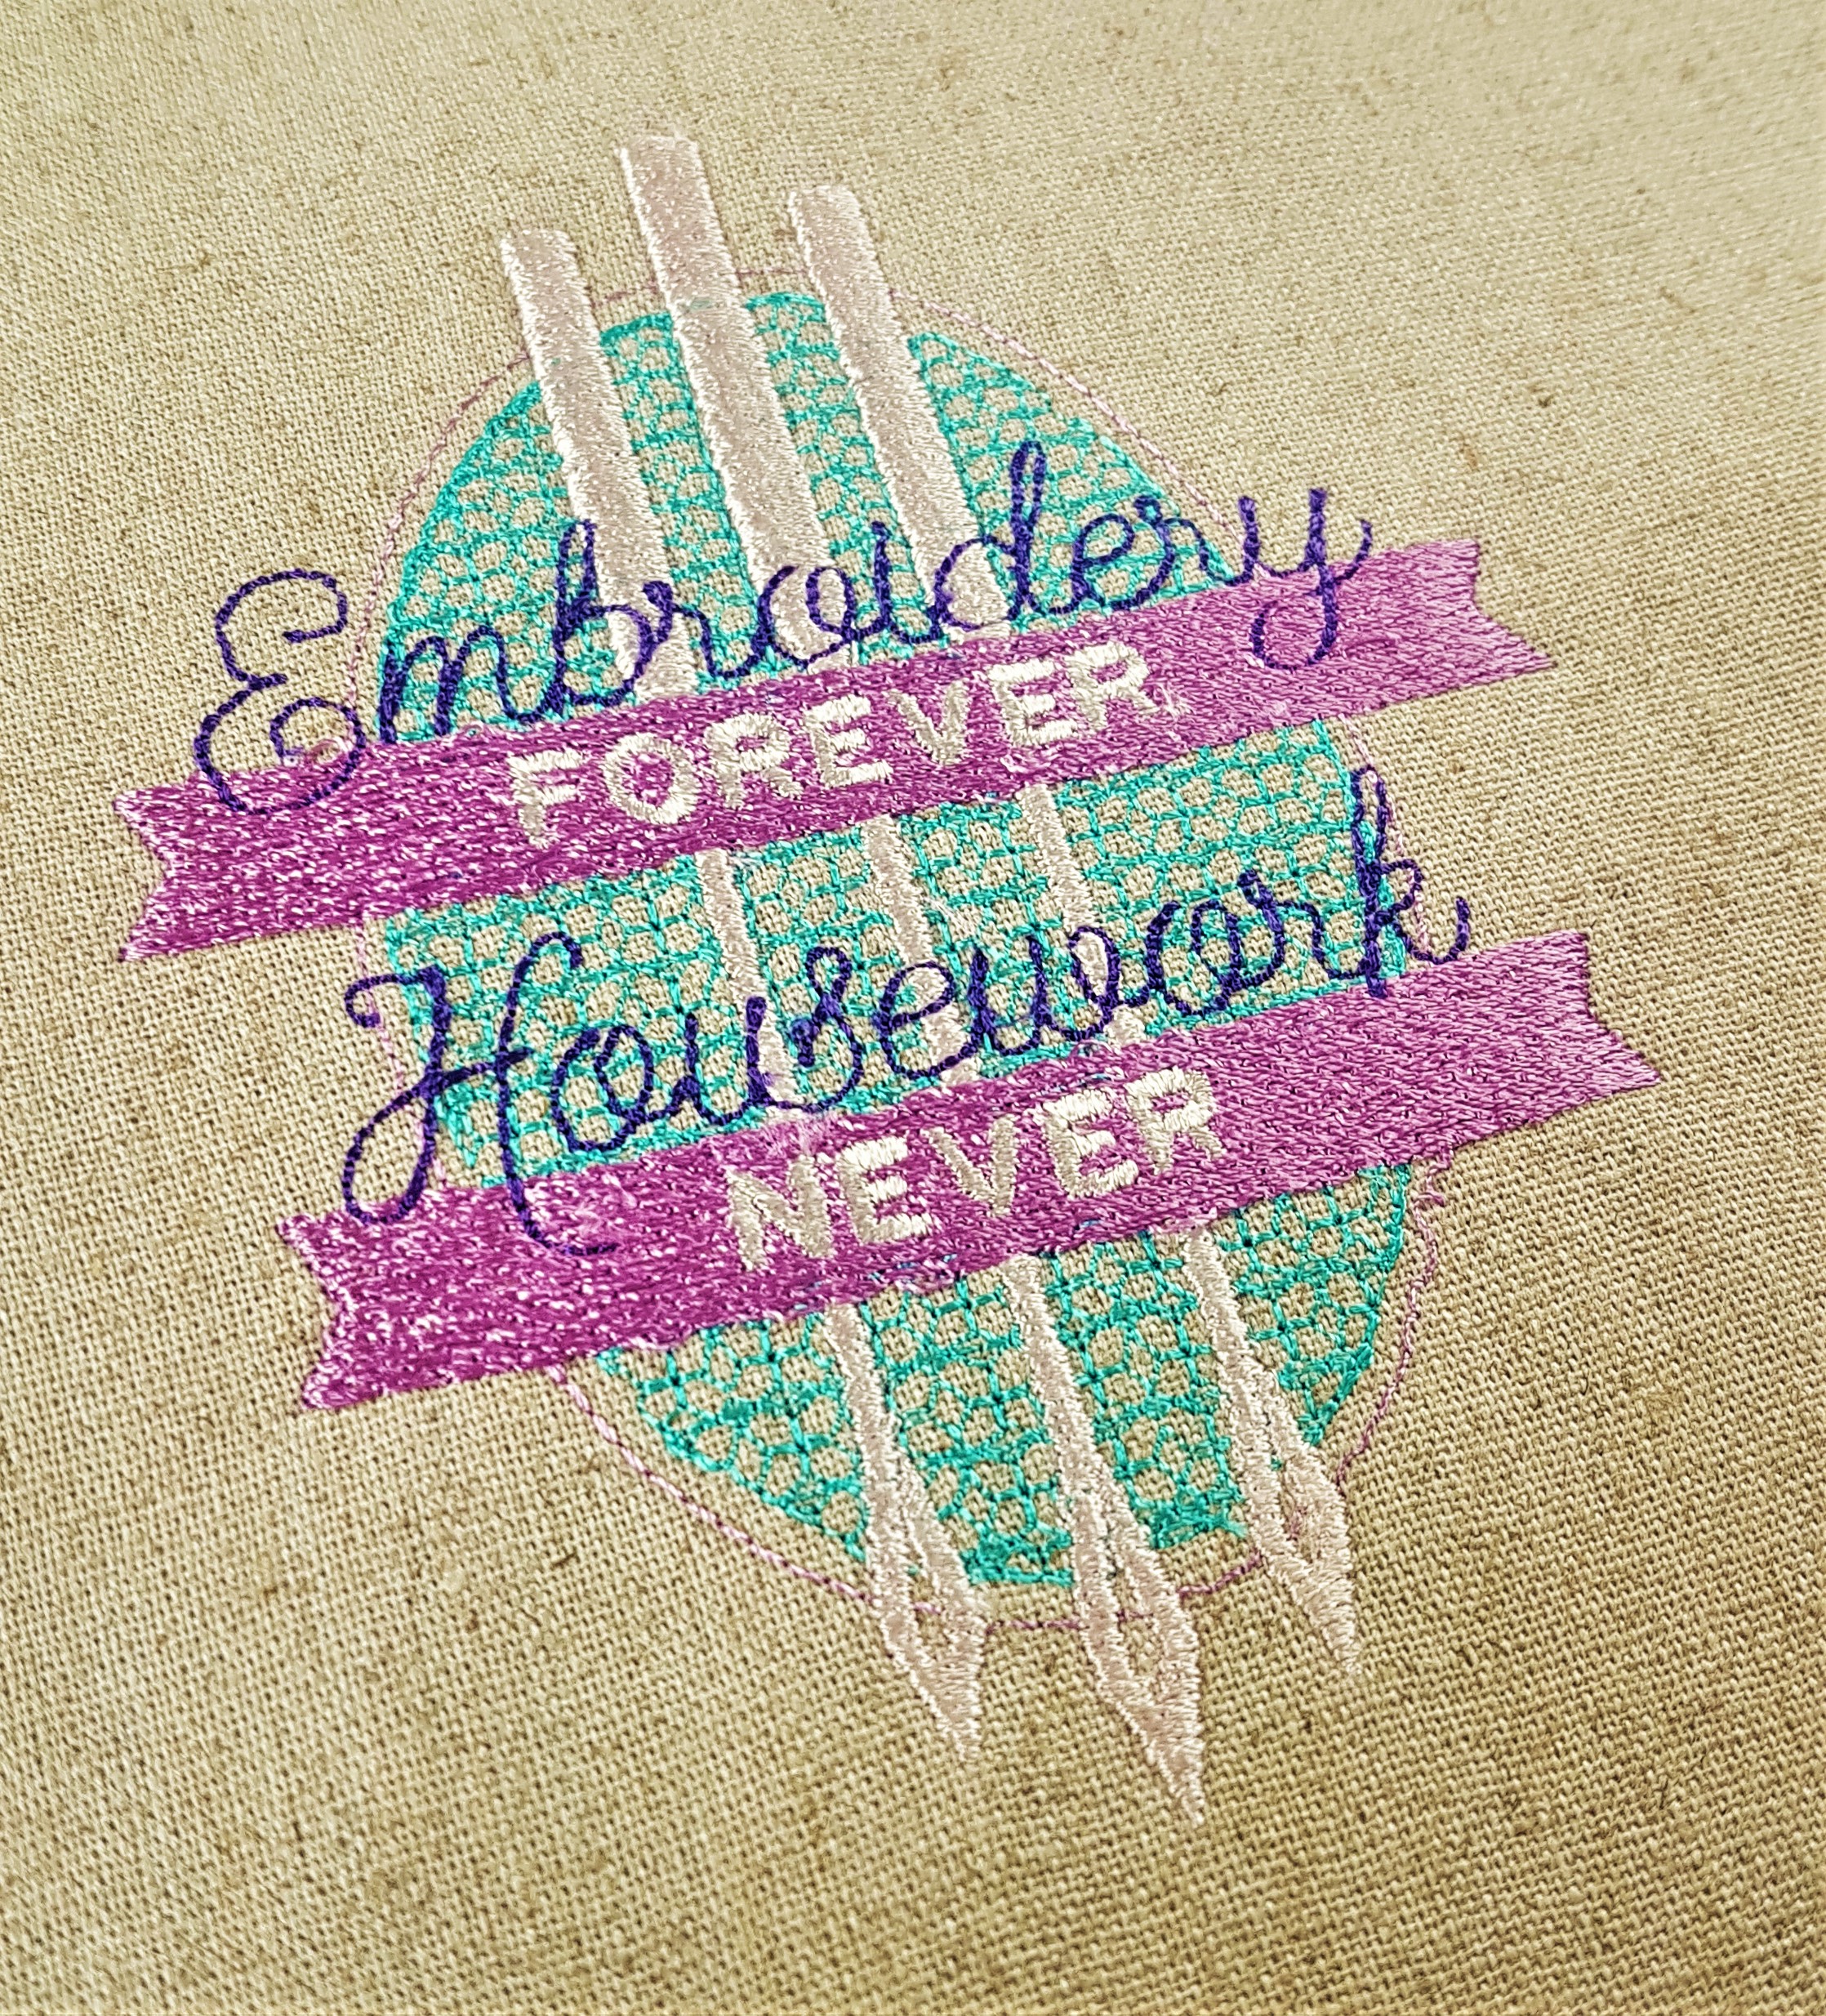
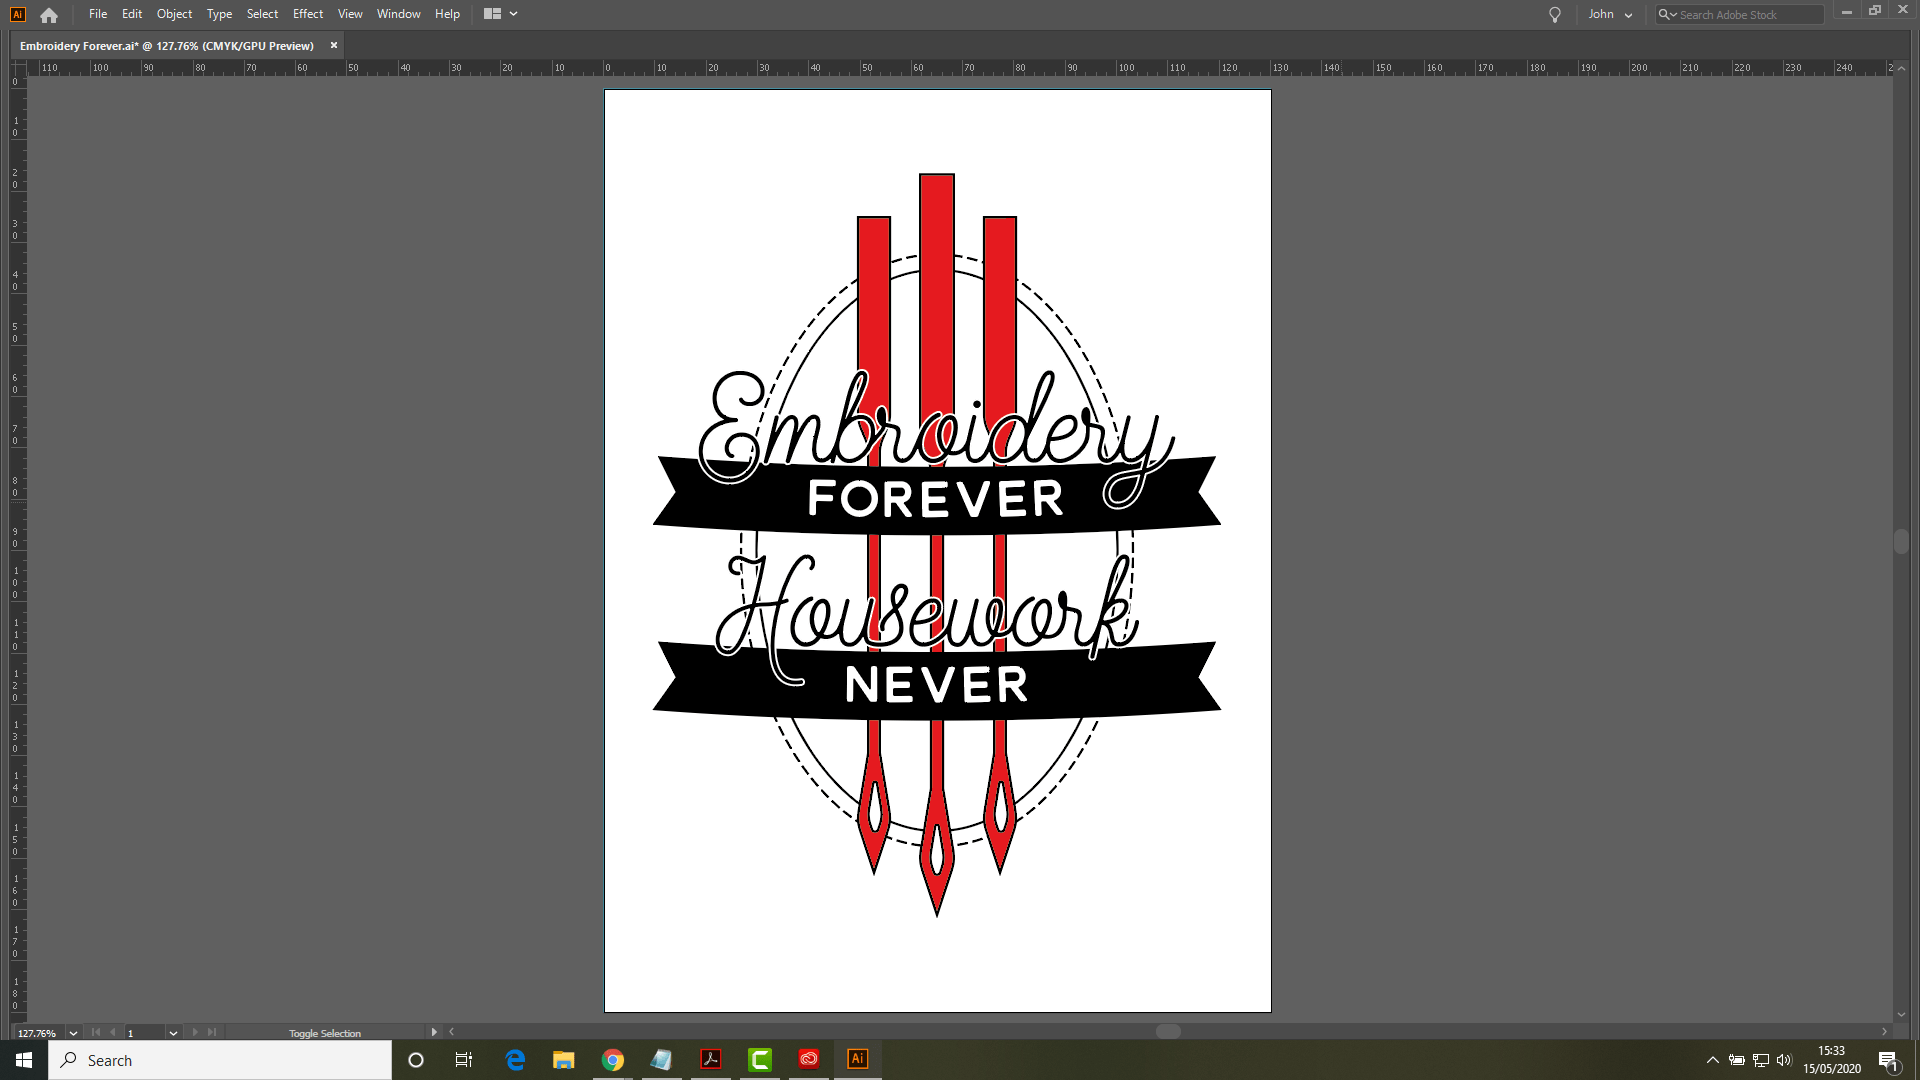
When I left you last time, I had digitized the background oval.
In this episode I will show you how to created the central needle.
So, when you are ready to find out how I did this, just hit play.
I will be showing you how I created the other two needles in part 4 which will be out later today.
Just a reminder before I go, that I used in Hatch Embroidery software for this project. To find out more about it and download a free trial copy, please visit Hatch Embroidery Website
Enjoyed this post? Then you might also like these other from the sewing, machine embroidery or the fabric, fibre and yarn archives.
If you have any questions or comments, please feel free to leave them in the comments section below.
I look forward to hearing your thoughts.
Thanks for stopping by and I look forward to sharing more with you soon!
Bye for now.
J :)
