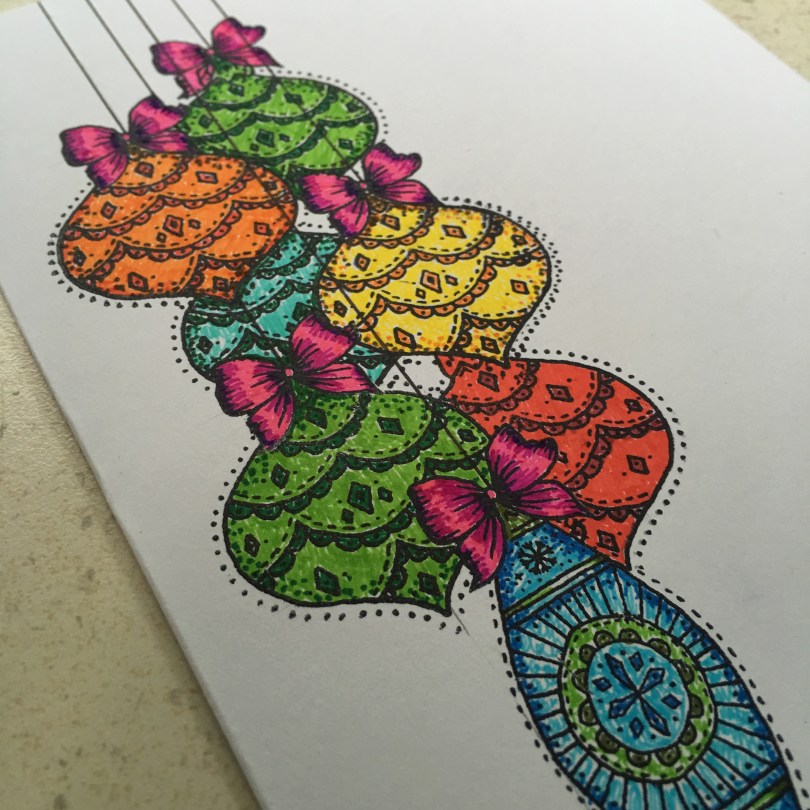
Sad to say that it’s the last in this little mini series of makes using the Stylish Silhouettes range but happy to say that it’s possibly the most colourful!
Sad to say that it’s the last in this little mini series of makes using the Stylish Silhouettes range but happy to say that it’s possibly the most colourful!
Remember the single layer stamping techniques that I shared some time ago? Well, I decided to see how this would turn out with the Stylish Silhouette stamps …
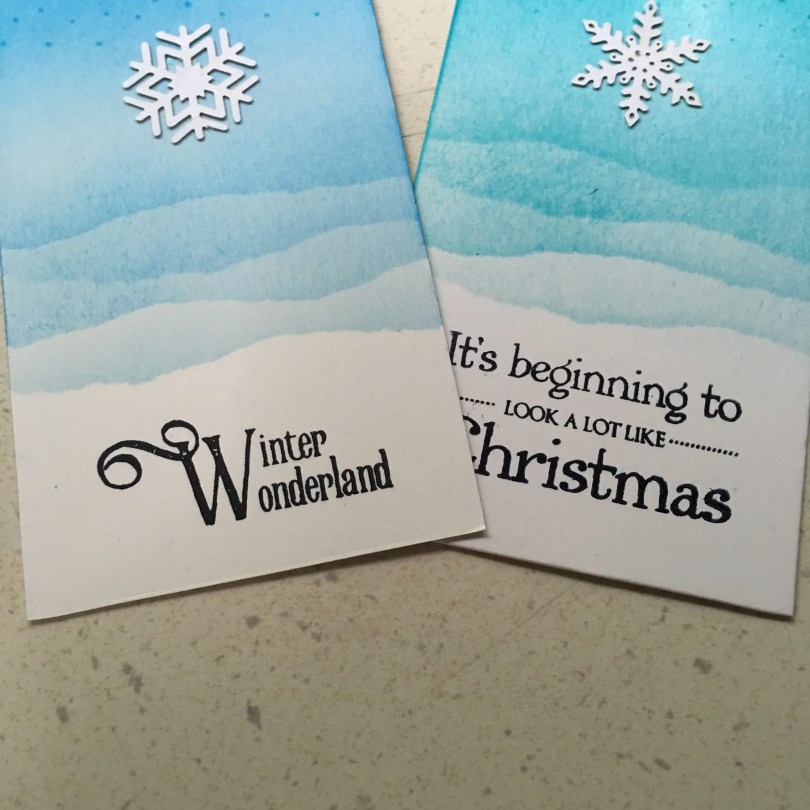
Back with more Stylish Silhouettes. This time just using the stamp range that accompanies the laser cut paper shapes.
Thought this one might not be immediately obvious so have a brief step by step for you too.
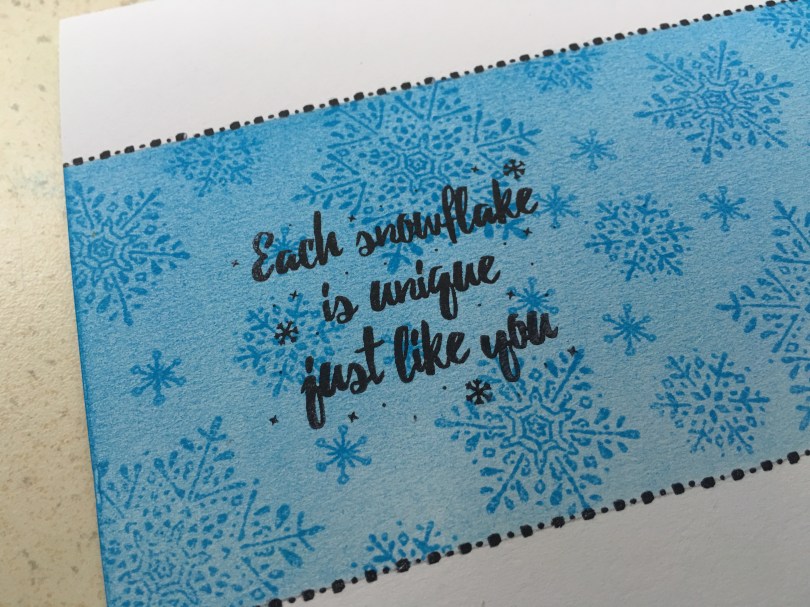
A little gear change in this post. Still using the Stylish Silhouette range but now starting to incorporate the clear stamp range that accompanies them.

No wait! This is my favourite … ugh, I just can’t decide. Still well happy with the result though :)
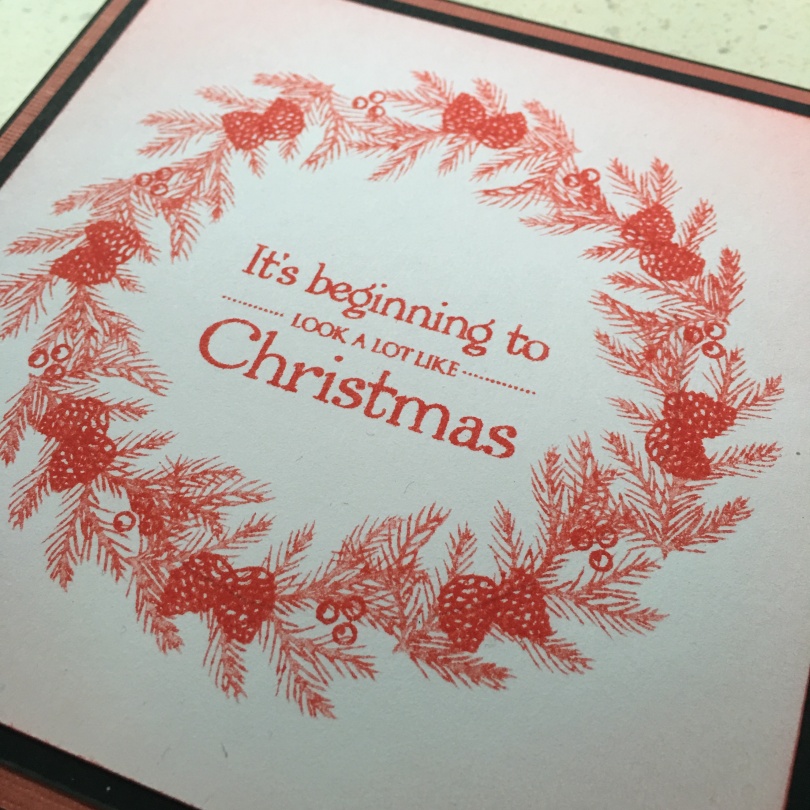
Well, well, well, they just keep on giving – those Stylish Silhouette gave me another idea for making a simply elegant card.

Hello me old mukkaz, how’s tricks? Just popping in with another update on the All Counties Craft Challenge before I hit the road.

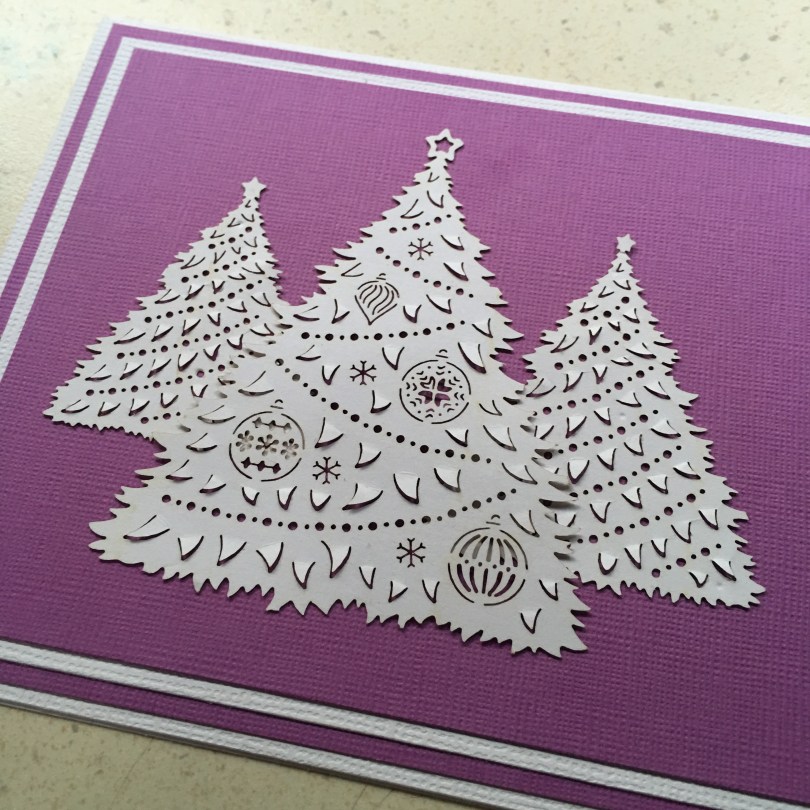
Eek! This is probably one of my favourite makes from the last few days using the Stylish Silhouettes.

Believe it or not I have managed another blog post about the Stylish Silhouettes!
Hello again. Here is another in my little mini series of play makes with the Hunkydory Stylish Silhouettes.

I have recently been working with the Hunkydory Silhouette range and have created some lovely simple designs that I thought would be good to share with you.
So, here is the first.
