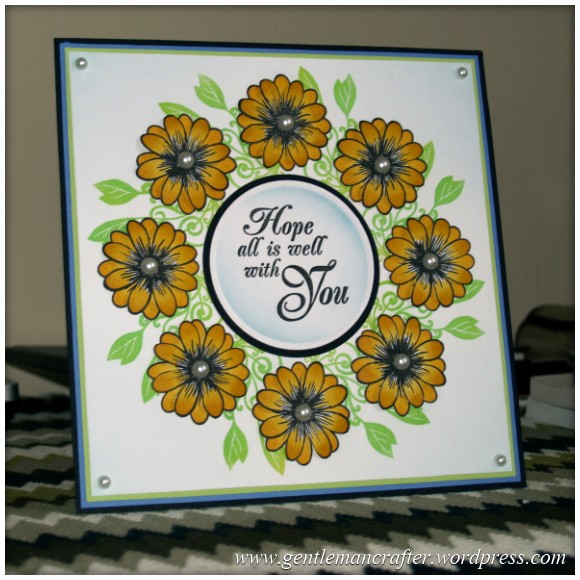
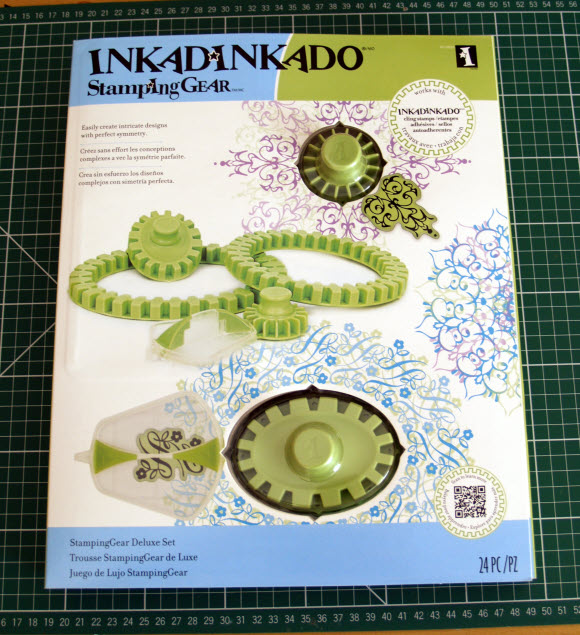
I’ve been having another play with the Inkadinkado Stamping Gear and came to the conclusion that quite a few of the designs that I was making looked like doilys, so I thought that I would explore this route and see what I could create.

I’ve been having another play with the Inkadinkado Stamping Gear and came to the conclusion that quite a few of the designs that I was making looked like doilys, so I thought that I would explore this route and see what I could create.
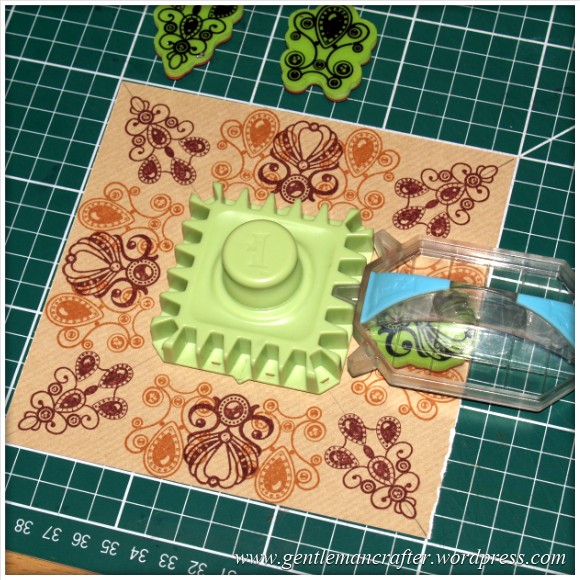
A couple of weeks back I picked up several clear stamps at my local Hobbycraft store and, having a day to play, I thought that I would use them with the Inkadinkado Stamping Gear and see what I could create.

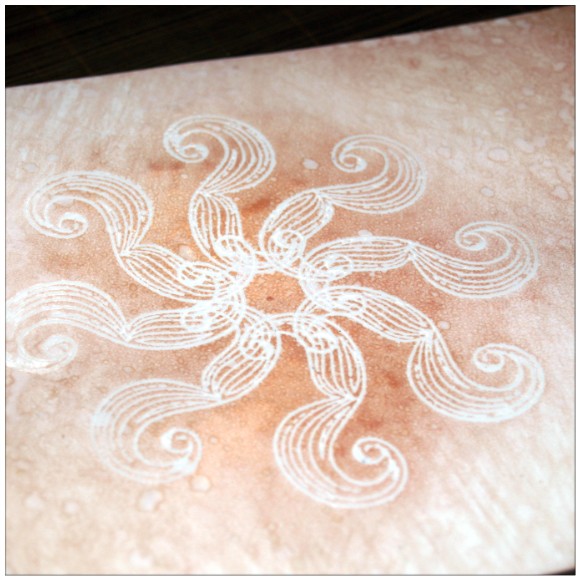
You may have recently seen in my post about UFOs that I had made a start with an idea that I had a while back about using the Inkadinkado Stamping Gear together with Parchment Craft.
This post will hopefully give you Inkadinkadoodlers another idea for using the system, and also help me clear another UFO.

I’m seeing single layer stamping in a number of places right now, so I thought that I’d give it a go and see what I could come up with.
Here is an overview of what I did and how I did it.

A question that I get a lot is how to go about using clear or unmounted rubber stamps with the Inkadinkado Stamping Gear.
Indeed it was a question that I asked myself when I first got the system and now I’m pleased to say that I have found a couple of solutions.
Here is a quick talk through a couple of them.

So far I have been creating some quite sizable projects with the Inkadinkado Stamping Gear from EK Success however a lovely lady called Suzanne, from Australia, recently contacted me via my Facebook page and asked how she would go about creating smaller projects with the Inkadinkado Stamping Gear.
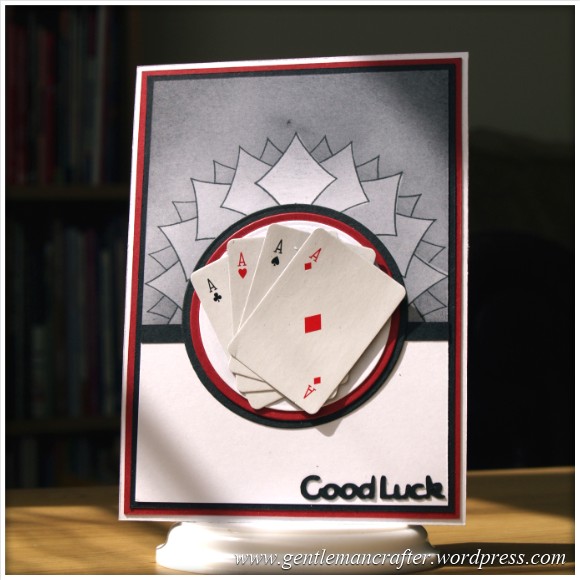
Through some experimentation I have discovered that size doesn’t matter and that you can work on projects all the way down to an Artist Trading Card (about 3.5 inches by 2.5 inches) so I thought I’d share some ideas with you all.

During previous demonstrations of the Inkadinkado Stamping Gear on Create and Craft TV I have mostly focused on the circular cogs and wheels so I thought that I would take a moment to give you some quick ideas for using the square and rectangular cogs and wheels.
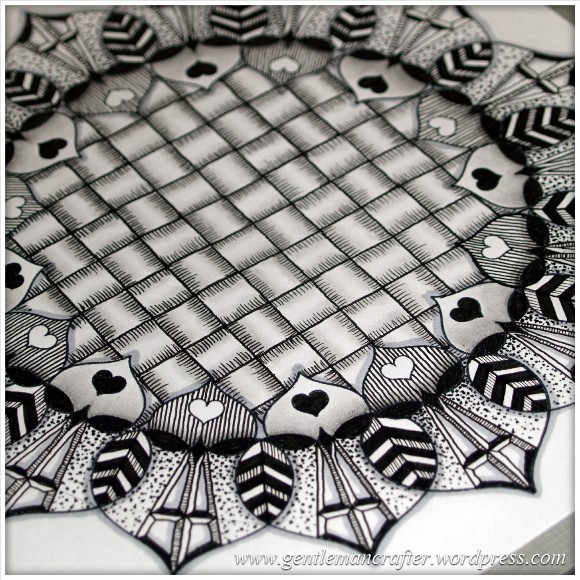
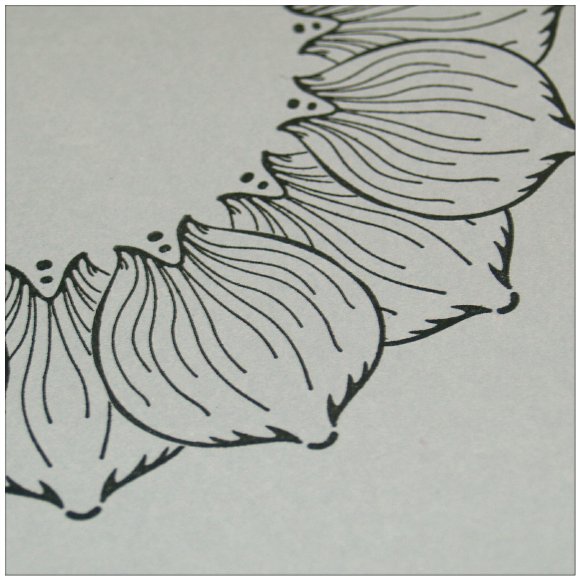
A while back I waffled on nonchalantly about stamping out a pattern using the Inkadinkado Stamping Gear and then Zentangling into the gaps – just to see what it came out like.
Well, it took longer than expected (mostly because I made it big) but now that it’s done, I think that it turned out a lot better than I thought it would.
Here’s a quick look at what I used, the stages and the finished project.
Sometimes card can be created by pure chance. Circumstance can deflect you from your original goal and move you onto a new design. Some people call this ‘fiddling’, on this occasion, I call it luck.
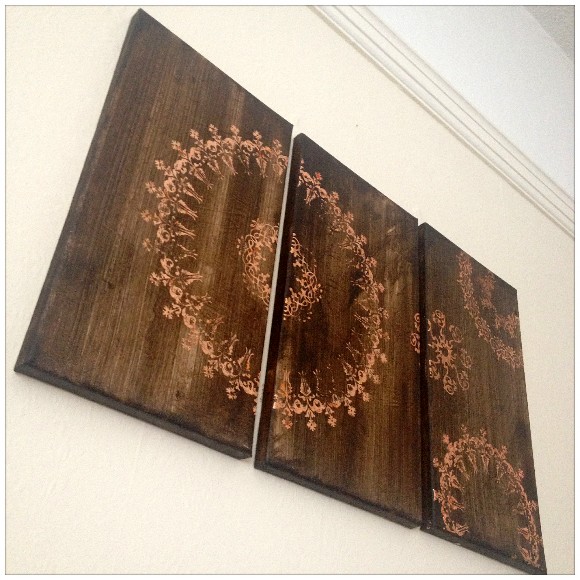
Some time ago I created three canvas panels with the look of battered leather or distressed wood (I’m not sure what I set out to do to be honest, but they turned out quite well).
In either case they were not supposed to end up sitting on the floor in a corner gathering dust so I decided to pick them up, dust them off, apply some finishing touches and get them on the wall where they belong!Read More »
I am very excited about tonight’s Inkadinkado Stamping Gear Pick of the Day launch on Ideal World TV at 9pm tonight. I will again be demonstrating the Inkadinkado Stamping Gear system over 10 shows and have new sets of Inkadinkado stamps to show you.
I recently took you from layout to finished card using the Inkadinkado Stamping Gear system. As I looked over the process, and thinking ahead to the next series of shows on Create and Craft TV, I thought to myself – am I an Inkadinkadoodler or an Inkadinkadesigner?!
When stamping a single image you generally have enough time to work with slow drying inks and heat embossing powders, but creating repeat designs can sometimes be difficult. As a result of the speed at which you can create complex repeat patterns with the Inkadinkado Stamping Gear system you can still us this fantastic technique.Read More »

I often sketch or block out layout ideas to help me overcome those missing mojo moments. It’s been over a week since I was able to get into my craft room so today when I got the chance to play, rather than waste precious time, I thought I’d reach for one of those ice-breakers and see what I could create.
During the recent shows on Create and Craft TV I received a number of questions asking about the masking techniques that I highlighted during the demonstrations so I thought that I would put together a step by step overview of how to do this technique.

You must be logged in to post a comment.