
A question that I get a lot is how to go about using clear or unmounted rubber stamps with the Inkadinkado Stamping Gear.
Indeed it was a question that I asked myself when I first got the system and now I’m pleased to say that I have found a couple of solutions.
Here is a quick talk through a couple of them.
Before I get onto the solutions I should clarify why I needed to find them in the first place.
If you take a look at this profile view of the Stamping Gear paddle you will notice that the notch that fits into the cog or wheel has a surface that sticks out into the area where you place the stamp.
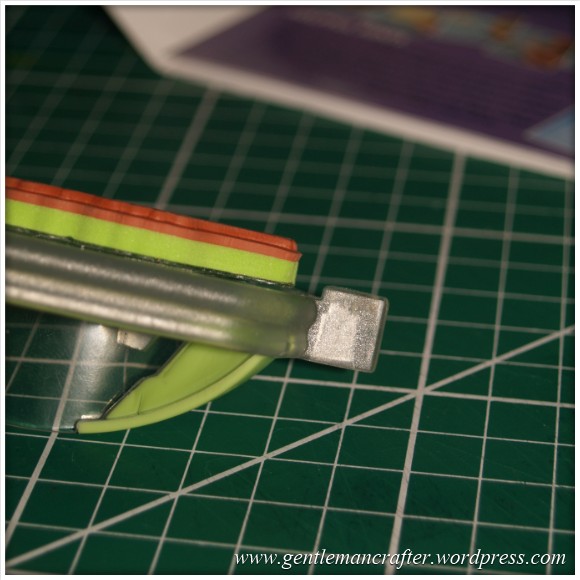
As you can see from the photo, this is not a problem if you are working with a foam mounted stamp from Inkadinkado (or any other manufacturer) as the foam raises the stamp above this outcrop.
If however you have unmounted stamps using them without any “buffer” often causes incomplete impressions.
To overcome this you either need to adapt the paddle or the stamp.
The first solution that I tried was one that most rubber stampers would be familiar with and that was to apply some cling foam mount to the stamp itself.
This is what it may look like.

This is a foam sheet that has a permanent adhesive on one side and a “cling” adhesive on the other. The permanent side generally goes onto the stamp and then gets cut to the profile of the stamp. This however permanently alters the stamp and I had wanted, like some of you, to use my clear stamps without putting anything permanently on the back.
One option was to cut a square and to stick the permanent adhesive side to the paddle but I found that this defeated the object as I then couldn’t see where my stamp was as I was working with the system.
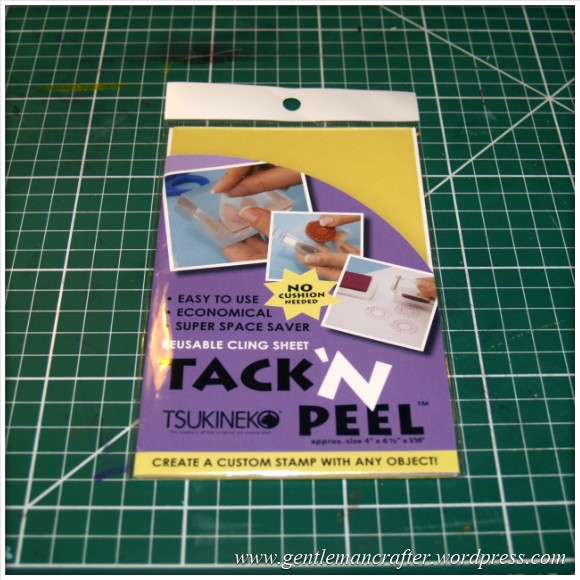
So I continued the hunt and came across Tack n Peel from Tsukineko. After reading a little more about it and it’s uses I thought that I would order some and give it a try.
This is what it looks like (in it’s packet)…
… and once out, it looks like this.
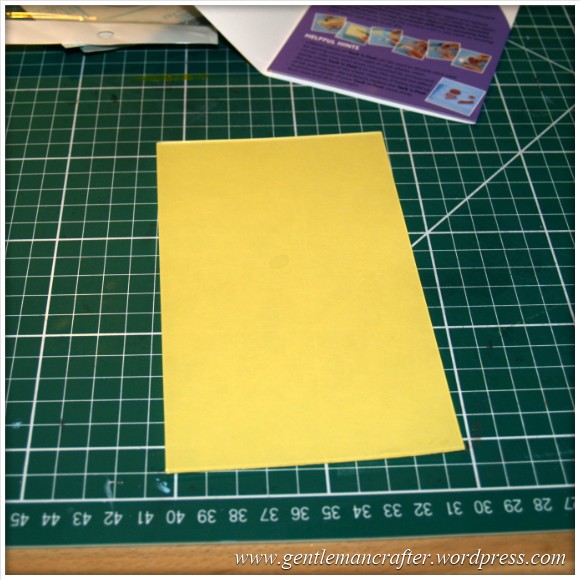
You can’t tell from the photo but it was almost exactly the same in concept as cling foam mount, but it was clear – almost like a very thin Gelli Plate. It has one permanent adhesive side (with the yellow backing sheet) and one “cling” side (with a clear acetate sheet over it) – this did make it very easy to identify which was which – good job really as there were no other indicators.
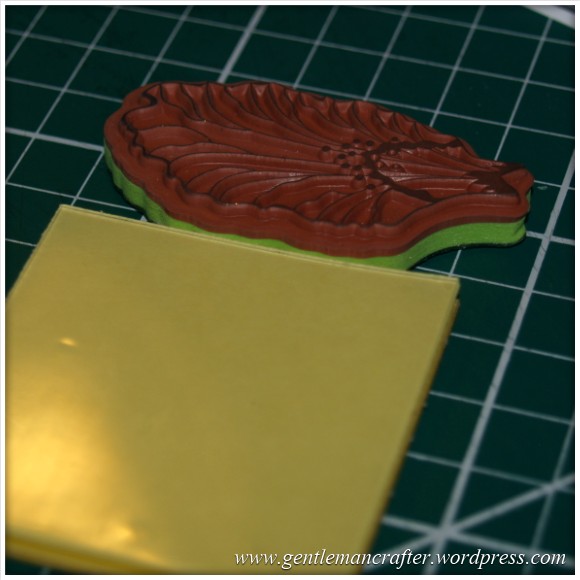
Thinking back to the earlier question about depth I lined it up against one of the Inkadinkado stamps to see if it would be the right depth.
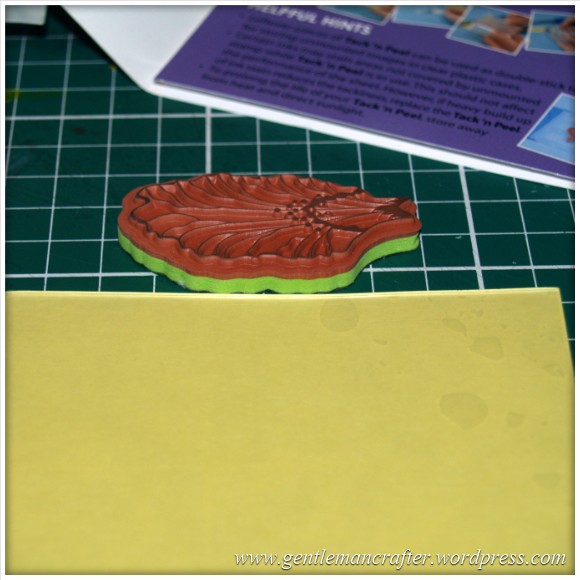
Definitely not deep enough. Probably about a quarter of the height that I needed.
A thought occurred to me that if it had a permanent adhesive side, surely I could stack smaller pieces together to make a thicker wedge?
I grabbed my metal edged ruler and craft knife and chopped up four squares (that would fit on the paddle).
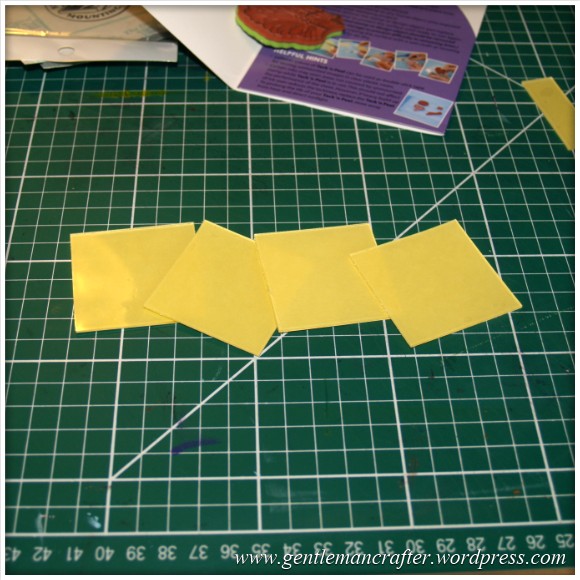
Before sticking them all together I checked again to see if it would be the right depth.
Perfect!
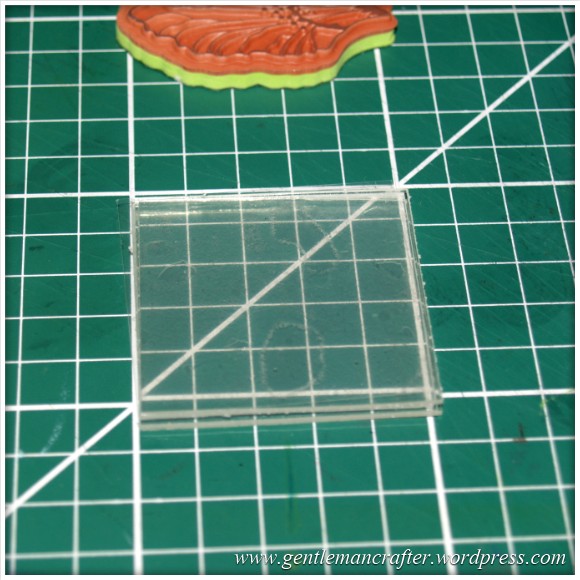
I hurriedly began peeling the yellow backs and clear fronts and sticking them one on top of the other. Before I stuck the last one down I did figure out that the first and last sides should both be the cling sides as I didn’t want this block permanently fixed to the paddle or the stamp because I wanted to use both separately.
To achieve this I flipped over the last square to be stuck – I ended up with this.
Right, so now to put it to the test and see if would work.
I peeled back the first clear piece of acetate and mounted the square onto the paddle…
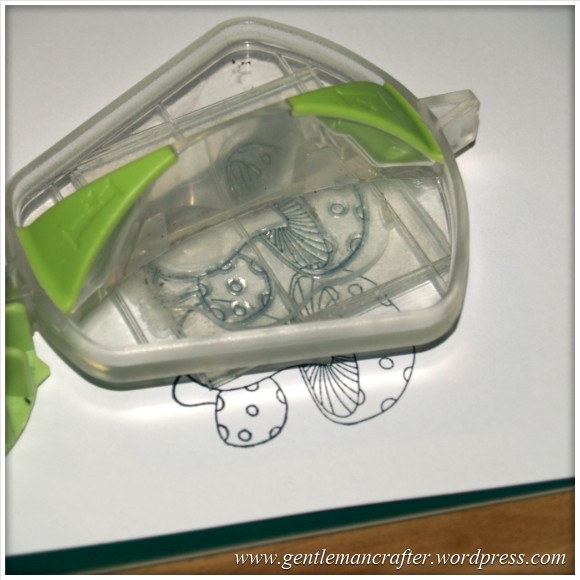
Then peeled back the second clear cover and applied my clear stamp.

So far, so good. I can even see through it and onto the mat!
I tried out various clear stamps before remembering that I was supposed to be taking photos so the stamp in the next few photos is different to the one above, but you’ll still get the point hopefully.
This first photo shows how easy it is to see through the Tack n Peel and onto what you are working on.
This second photo will show the results of the test stamp for the mushroom stamp.
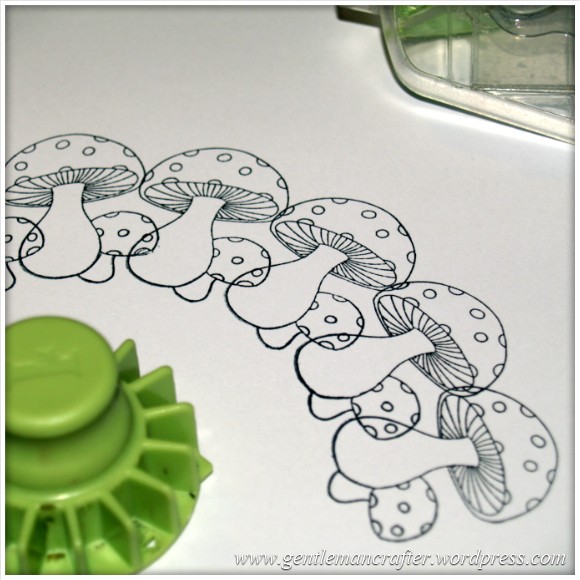
Nice; no missed impressions and all perfectly spaced thanks to the stamping gear.
So I purchased mine from Amazon and I’ve seen it in a range of online craft stores for around £6. This was enough to create the four squares that fitted the paddle; if you want to create a piece that covers the entire paddle you will probably need two sheets.
It is re-usable so in that respect a good investment if you want to work with your existing unmounted or clear stamps together with the Inkadinkado Stamping Gear.
Anyway, this was a bit of a personal question/answer session, but I hope that it’s helped some of you along the way also.
Thank you for reading.
See you again soon.
J :)

Thank you John for this post. Since its launch I have wanted an Inkadinkadoo system but couldn’t justify the price at the time, however I have just bought one relatively cheap on e-bay. Being able to use clear stamps as well makes it a really useful bit of kit. And Clarity stamps work a treat without any faffing!
LikeLiked by 1 person
Thank you for the great step by step and all your work in finding a solution.
Hugs
Linda xxx
LikeLike
Thanks for all your hard work finding out the options for using clear stamps. I’m hoping I can get away with just 3 layers of Tack n Peel, as long as it clears the notch on the paddle. I’ve just finished remounting all my rubber stamps on EZmount, I’m now tempted to do the same for my cling stamps using Take n Peel, Quite a few need extra cushioning to get a clearer image and others have lost their stick, could get through quite a lot of Take n Peel at this rate! Thanks again..
LikeLike
Tack n peel is not designed to add to all your stamps individually. Instead it creates a low tack adhesive surface on your block or paddle so that you can put stamps on and take them off without the need to permanently change them all.
LikeLike
Fantastic solution – thanks for doing all the hard work for us. Off to buy the T&P now!
LikeLike
Brilliant, I was wondering how I was going to get around this particular problem.
LikeLike
Perfect – I did wonder how to achieve this and I’m so glad you’ve managed to figure it out for us John. Off to buy my Tack n Peel now …. love your blog and all your work by the way :)
LikeLike
Well done for sourcing this John. As usual you never fail us crafters. Have already ordered mine from Amazon. Xx
LikeLike
Thank goodness someone is willing to have a go at trying things out and then passing them on to us in easy stages – thanks John keep up the good work!!
LikeLike
Thanks John for all the info.Great job! And there’s one if your UFO’s sorted as well !!!
LikeLike
Lol, good point!
J :)
LikeLike
Thank you so much for this John, will google it and get some. Love the mushroom stamp by the way x
LikeLike
Thanks John – will now give it a go myself – especially as you’ve done all the hard work for us! You’re a star
LikeLike
Thanks John, really useful. xx
LikeLike
Thanks for the info John where can I buy it from? x
LikeLike
I got mine from Amazon, but if you type ‘Tack n Peel’ into Google it should throw up some other places.
LikeLike
Learn’t a couple of new things here – ty John x
LikeLike
Thanks John for clear instructions and also where to buy.
LikeLike
Thanks for this John, this solves the problem totally ,brilliant sleuthing !
LikeLike
Thanks John xxxxx
LikeLike