Whoop! Managed to get some ACTUAL CREATIVITY done this week! Fancy seeing what I have created???
What do you mean NO?! Lol, you cheeky monkey.
Well, I am so proud of this that I just had to share it. *puffs out chest with pride
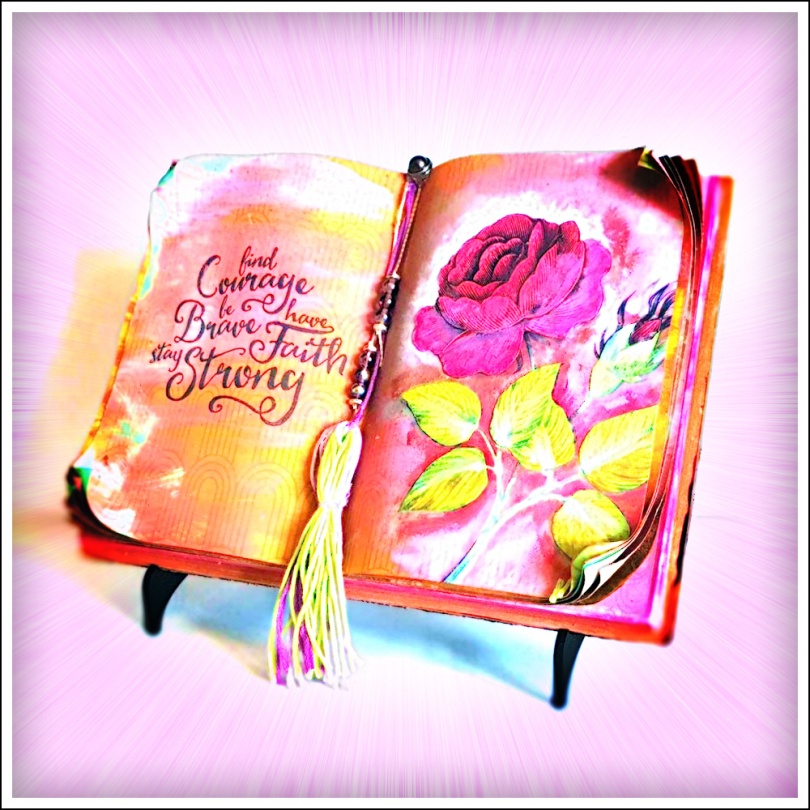
Here it is!
Squeal! Awesome isn’t it? *Looks around for confirmation.
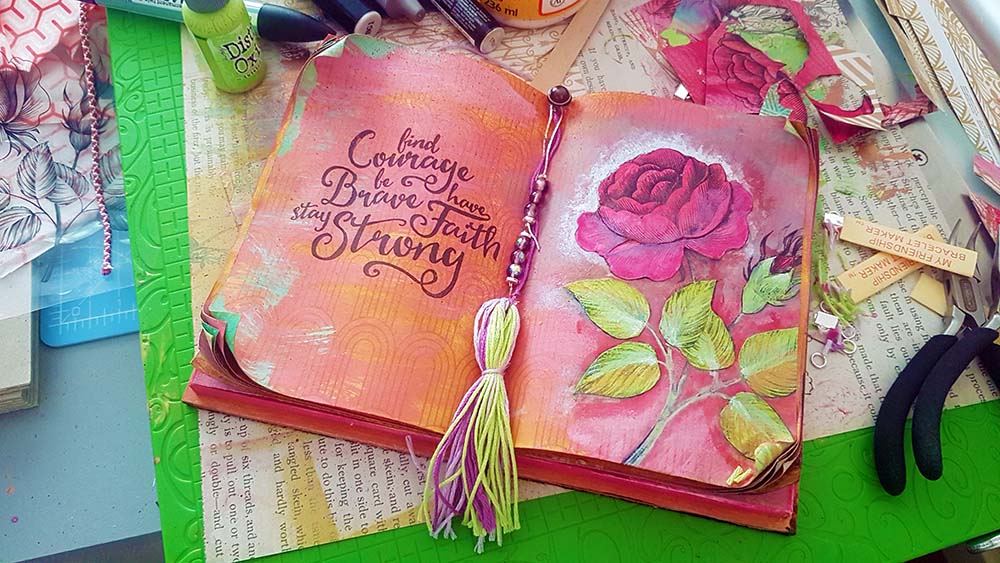
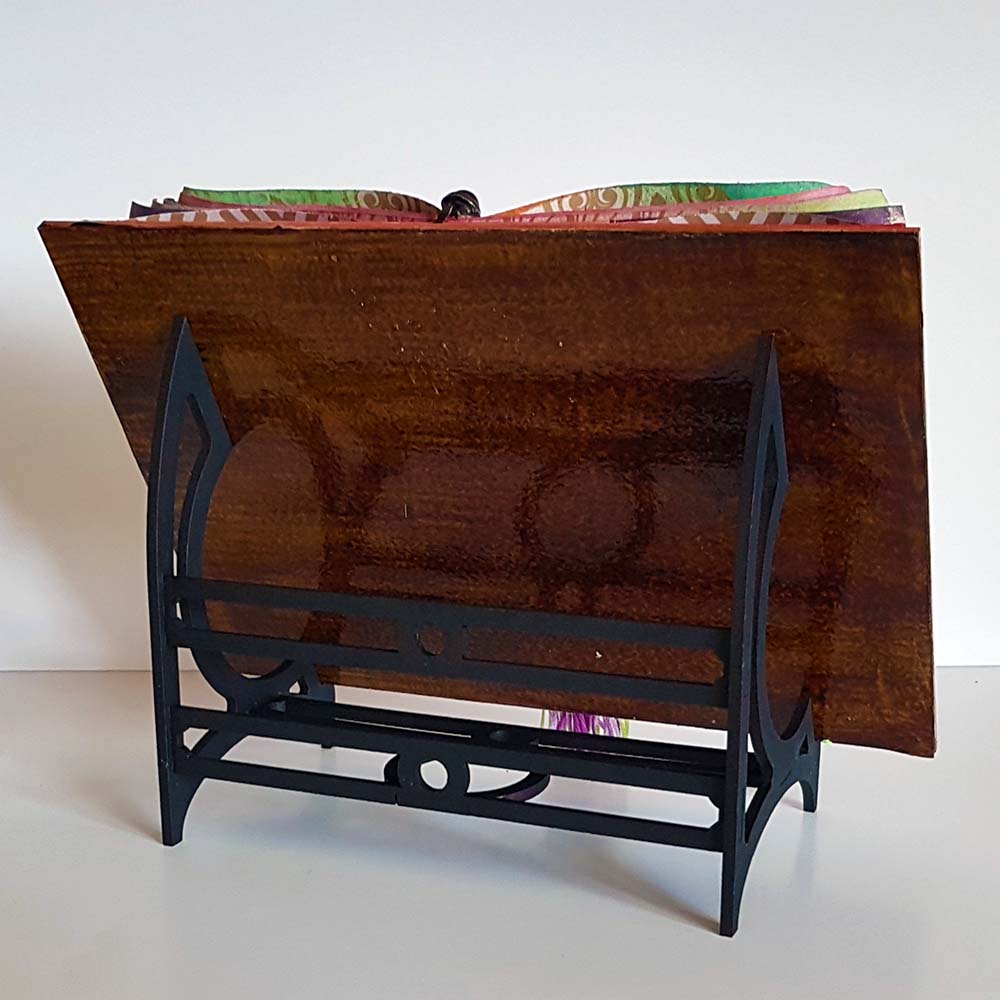
Yes, it’s a faux mixed media book on a decorative stand.
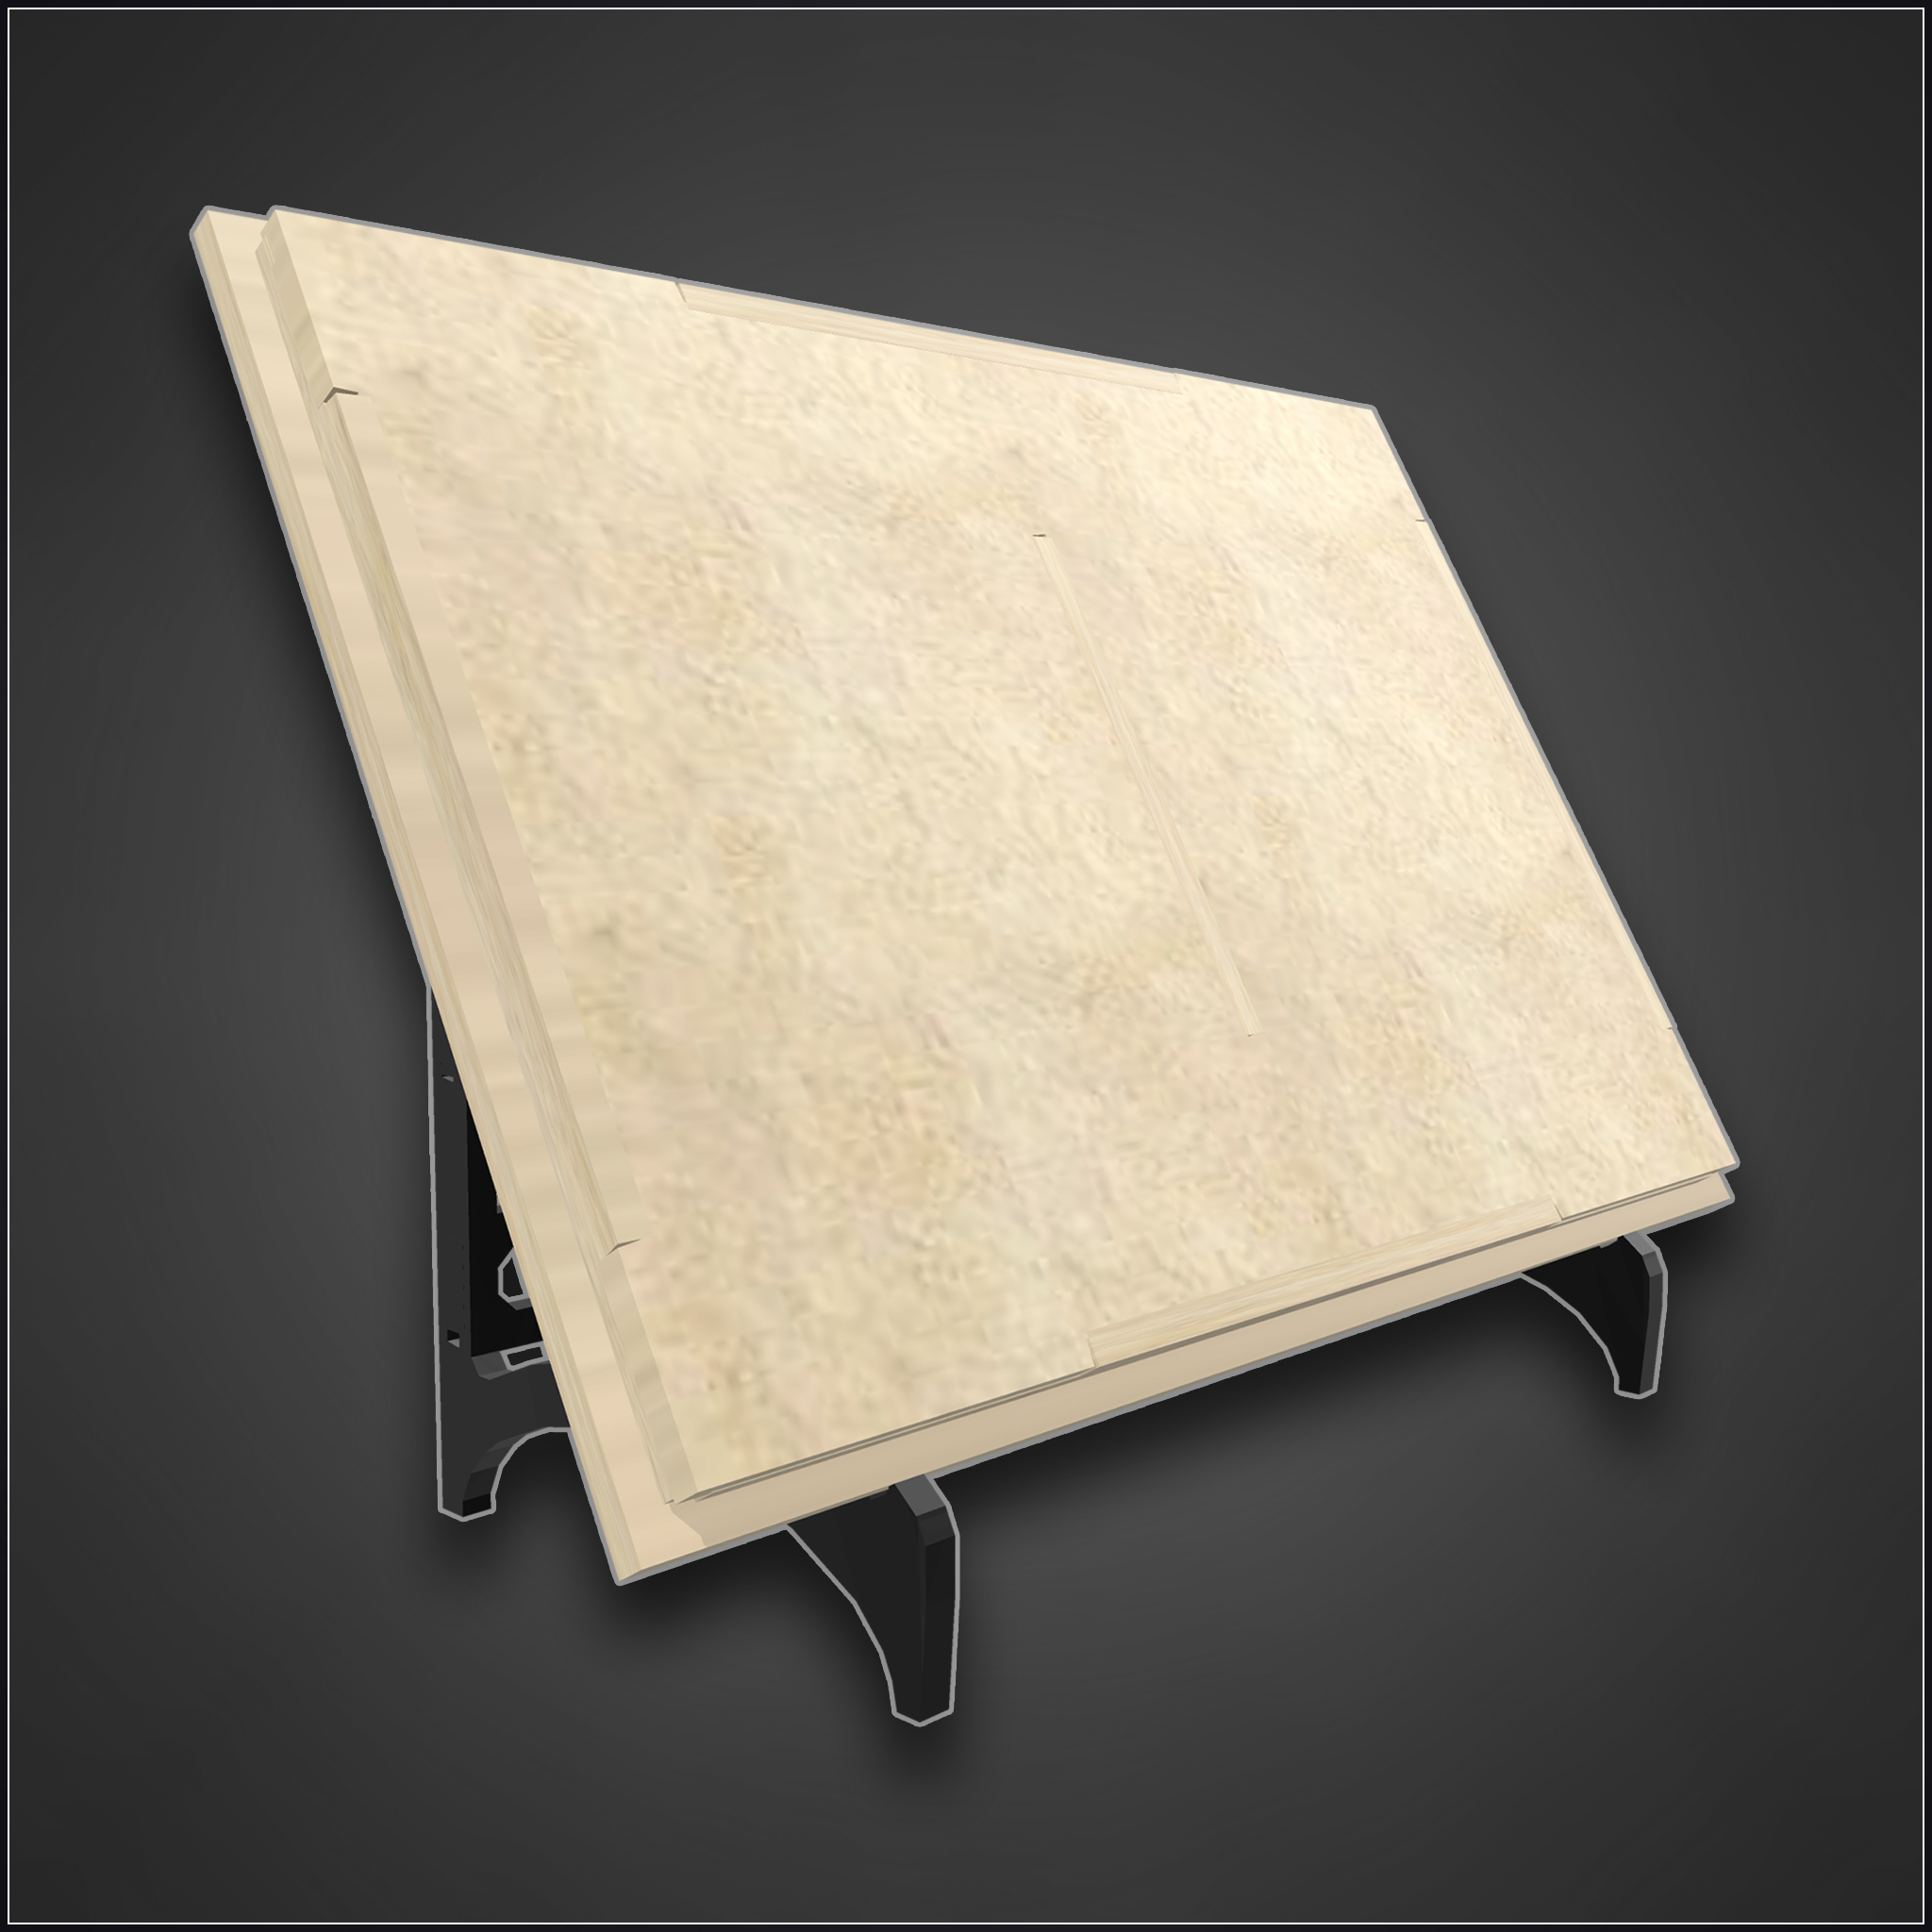
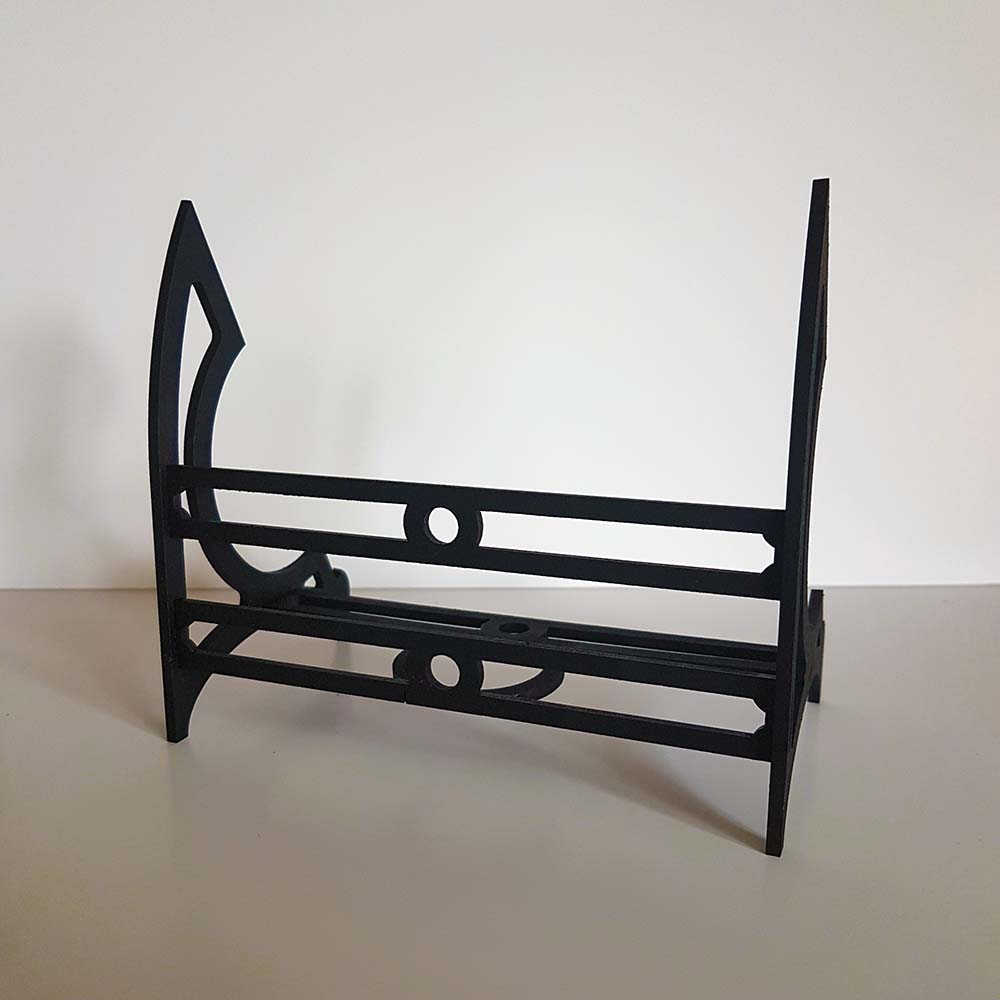
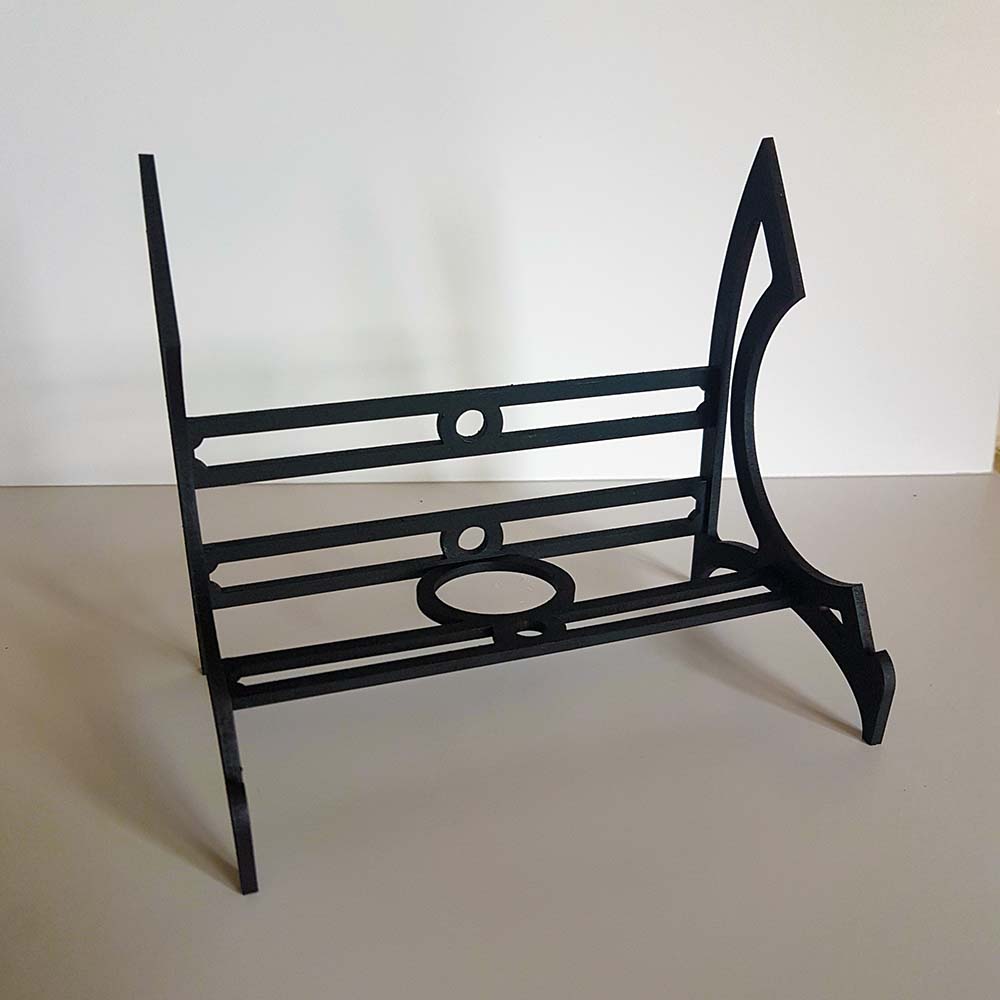
Had such fun making this, and the mess that came with it, that I will be sharing with you just a brief over view of how I put it all together in a mo. Just before then, please allow me to remind you that the base was made from the Fairy Tale Book With Decorative Stand MDF kit

If you would like to get yourself one, or more of these, just click on the logo below and I will whisk you over there right now – much like Peter Pan dragging Wendy out of the window. Except with more yank.
Right, I’d best to showing you how I put this together.
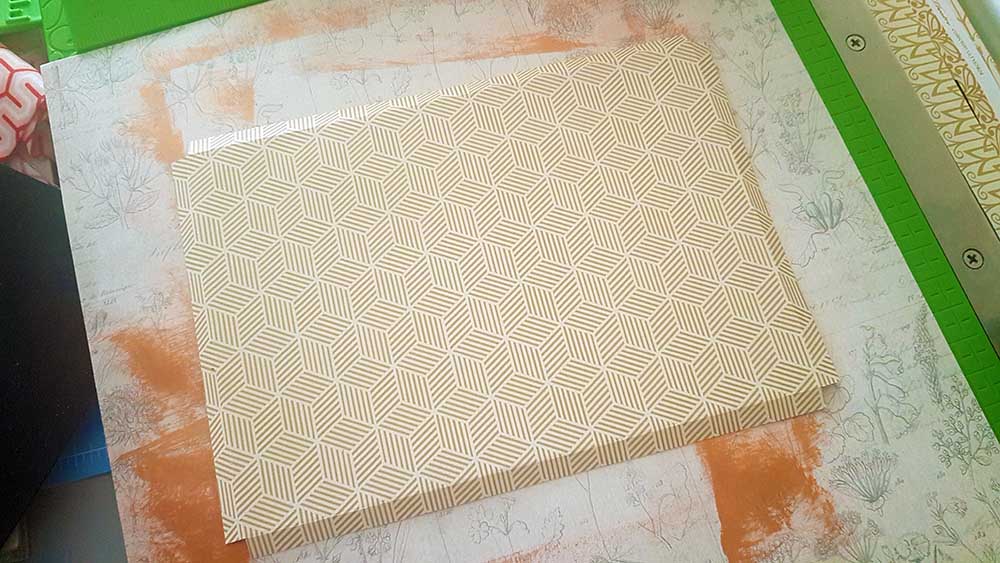
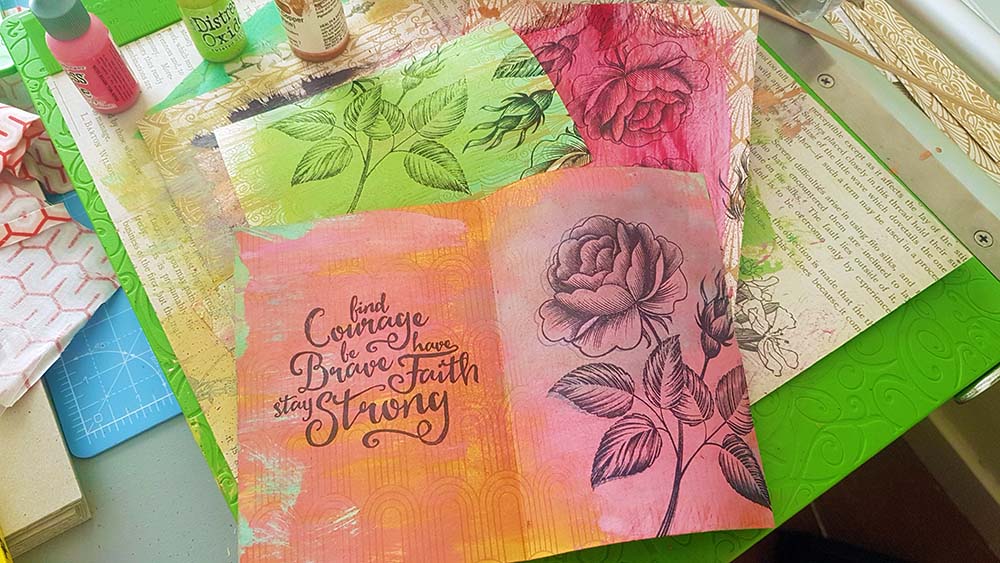
Well, first I cut down some Couture Creations cardstock to A5 – that’s UK A5. I chose this because it had some wonderful patterns and also because the colour tone was quite muted so I could add colour of my own on top.
The next stage involved various paints, mediums and paintbrushes. These included Tim Holtz Distress Daubers, Copper Acrylic paint that I had mixed with a flow medium to make it more ‘watery’, some Dr Phils Watercolour drops, some metallic pigment ink pads and some Tim Holtz Distress Oxide re-inkers.
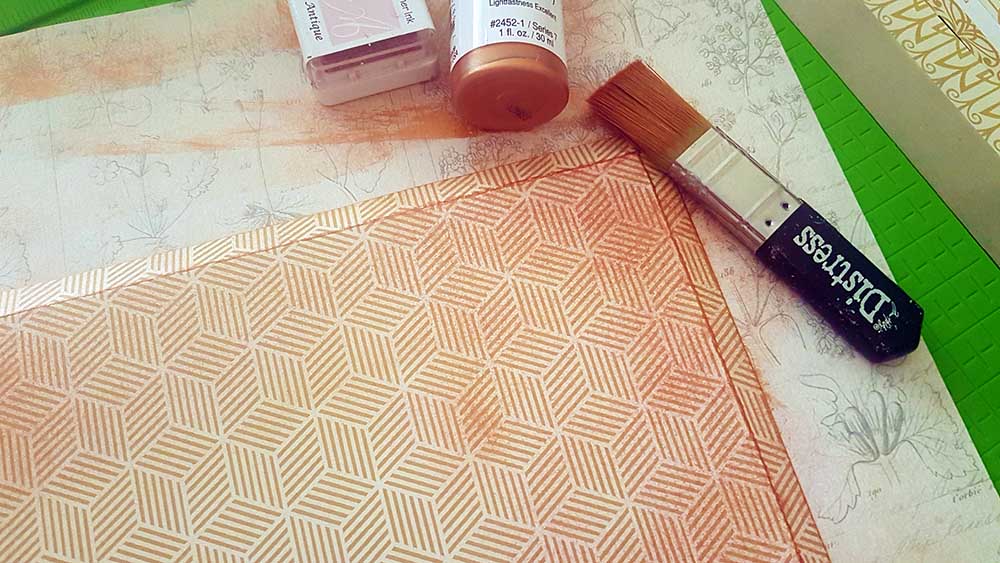
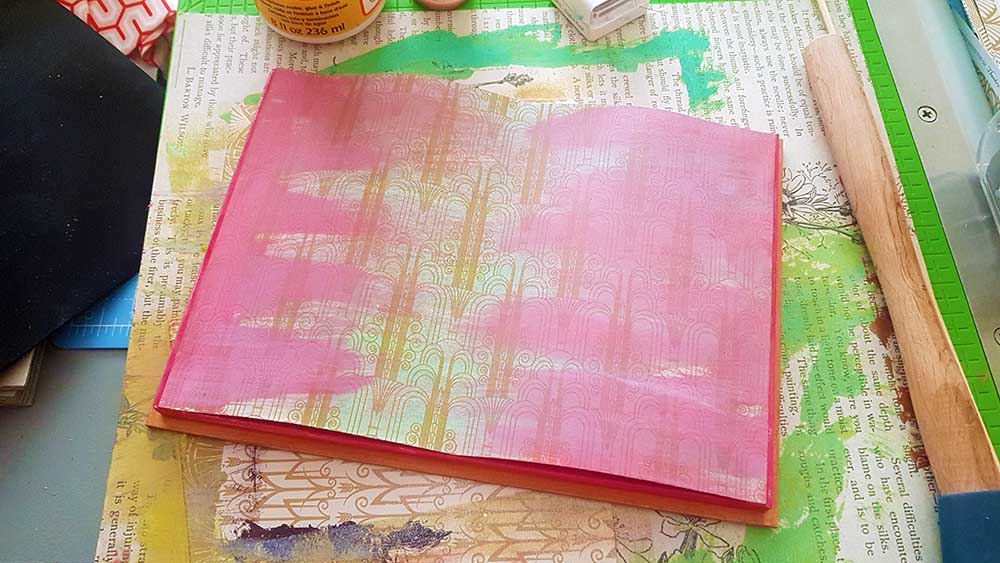
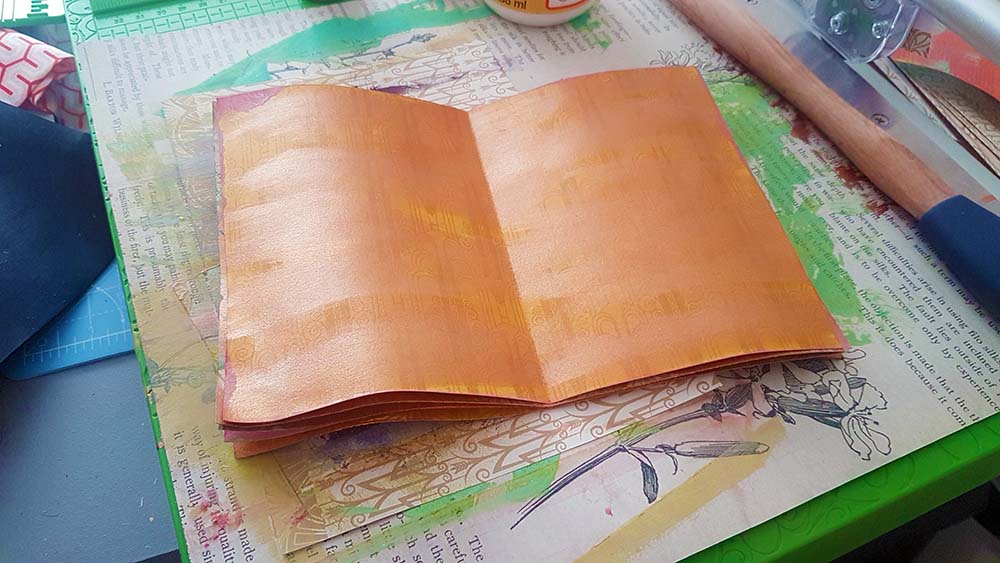
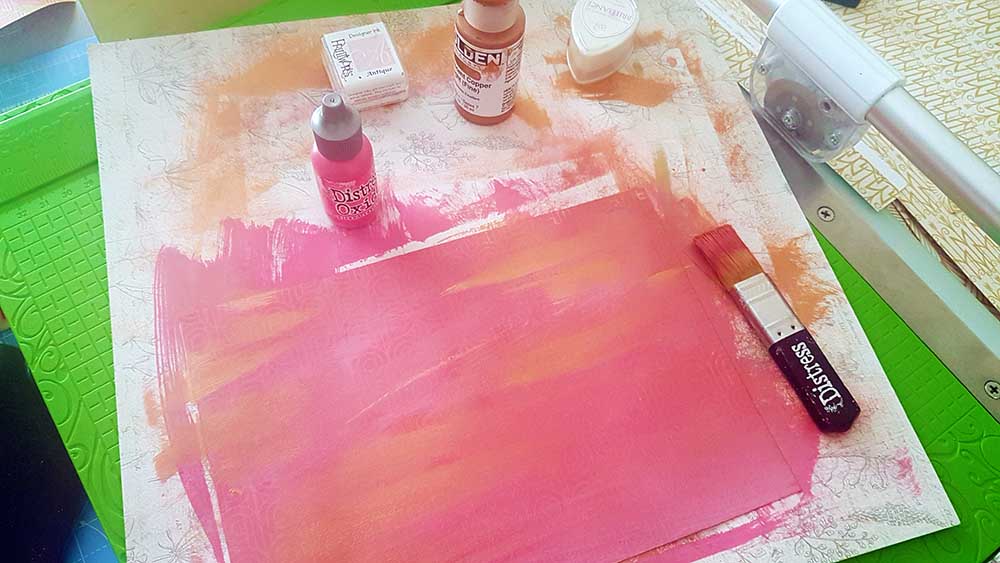
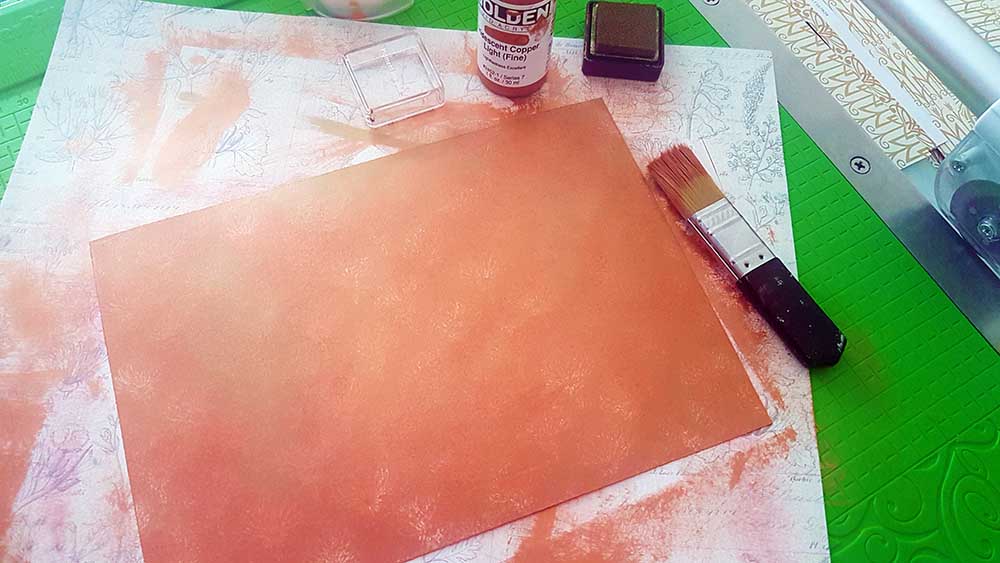
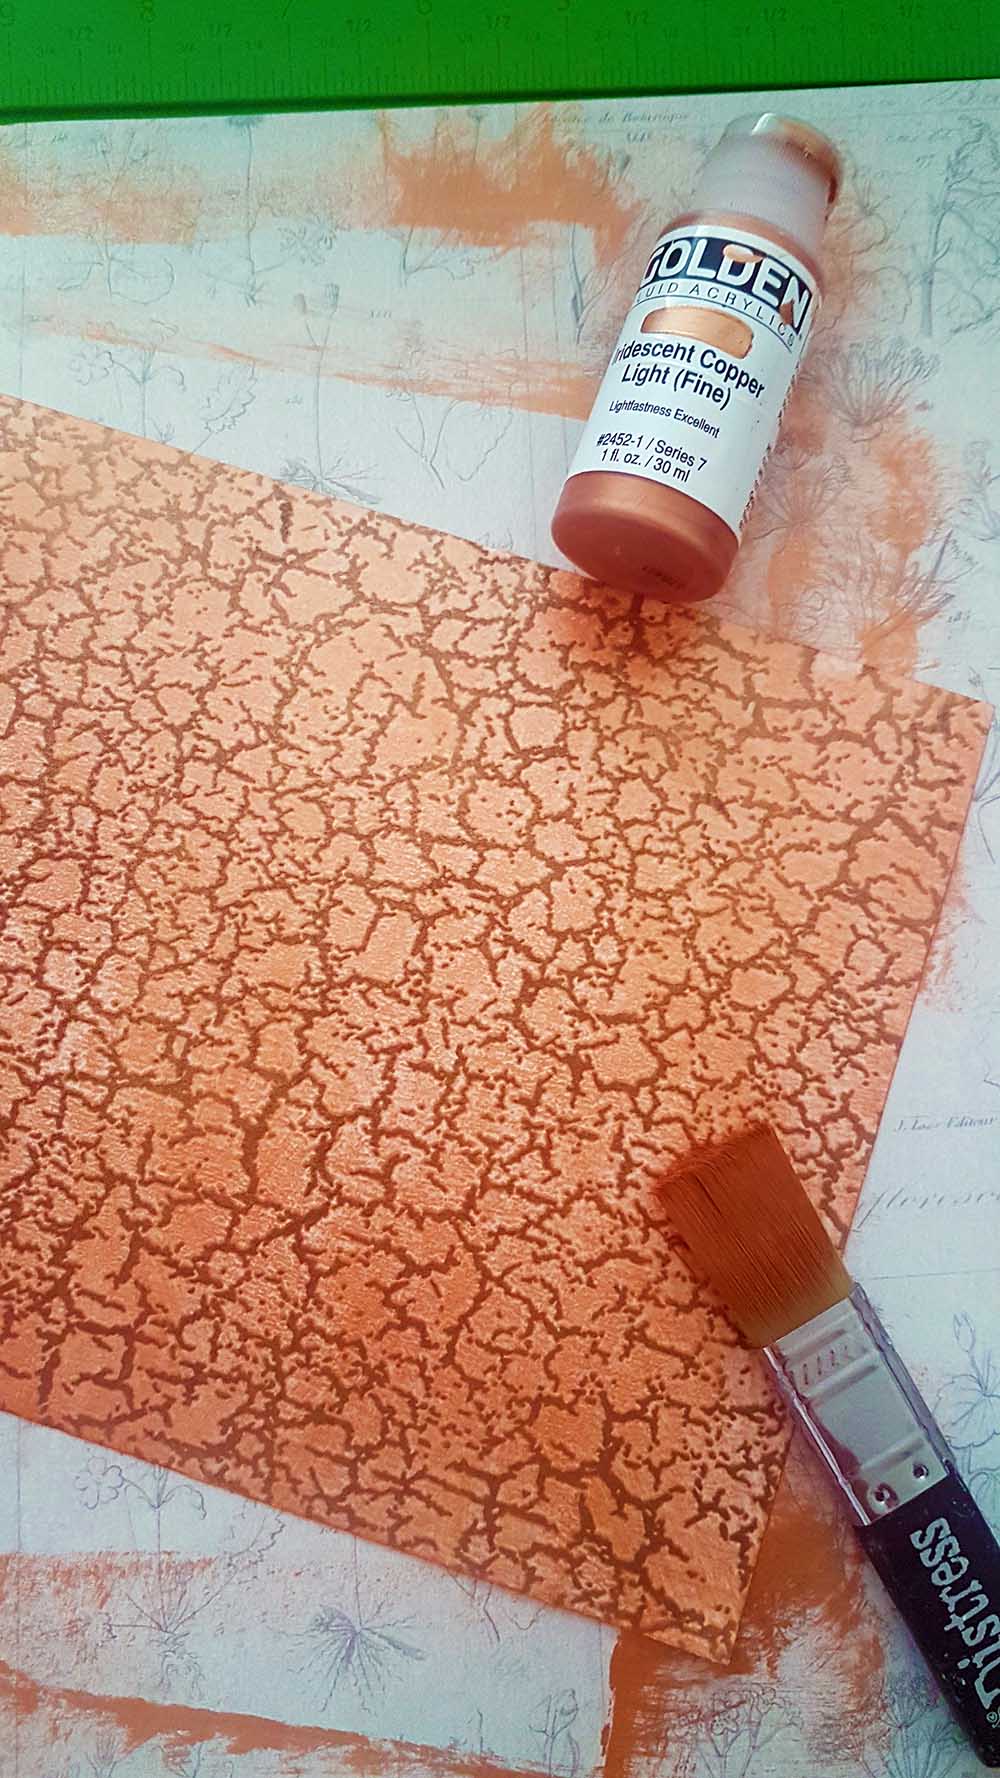
The exact order that these went on is a closely forgotten secret but generally, I applied the watery mediums first so that they soaked into the paper and then when they had dried, I applied some heavier mediums with light strokes so that they sat on top of the background colour and pattern.
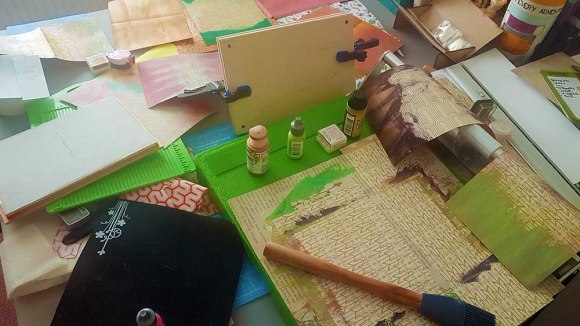
I am quite proud that I got most of it onto the paper itself. Well, at least some of it.
At least the mess didn’t extend beyond … oh wait. Darn it!
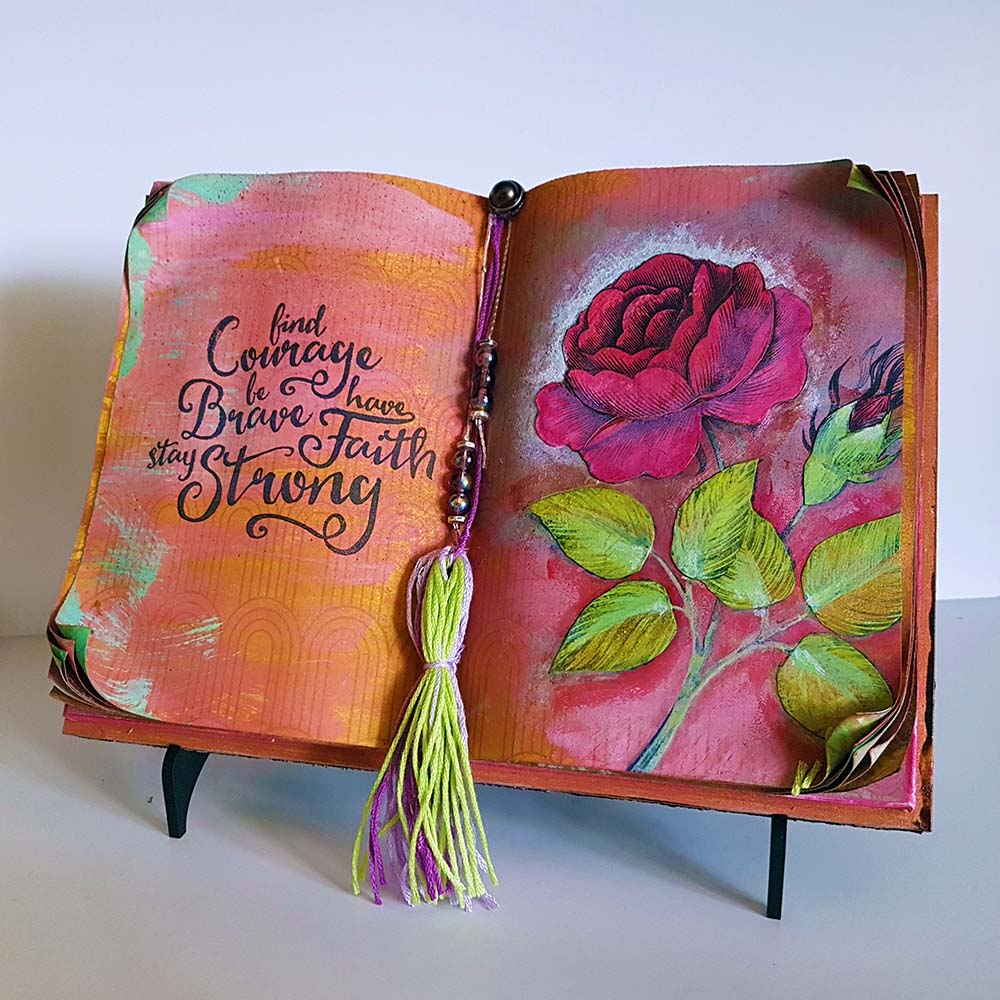
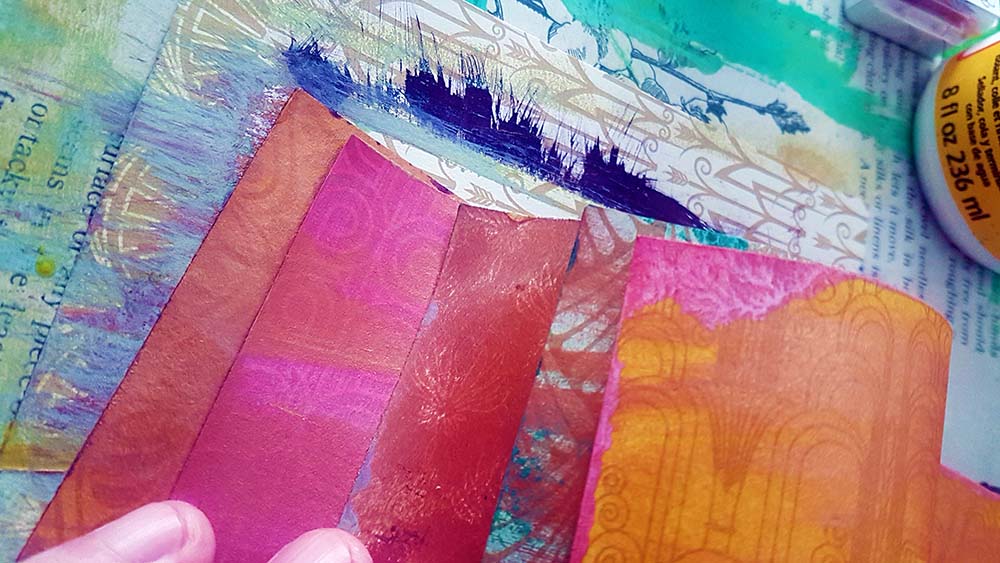
Lol. Oh well, not stopping now. I reused some of the mediums to give a single colour tone to some more of the paper and then stamped out the beautiful rose design – from Honey Doo Crafts – and the wonderful sentiment – from Visible Image – in black Archival Ink.
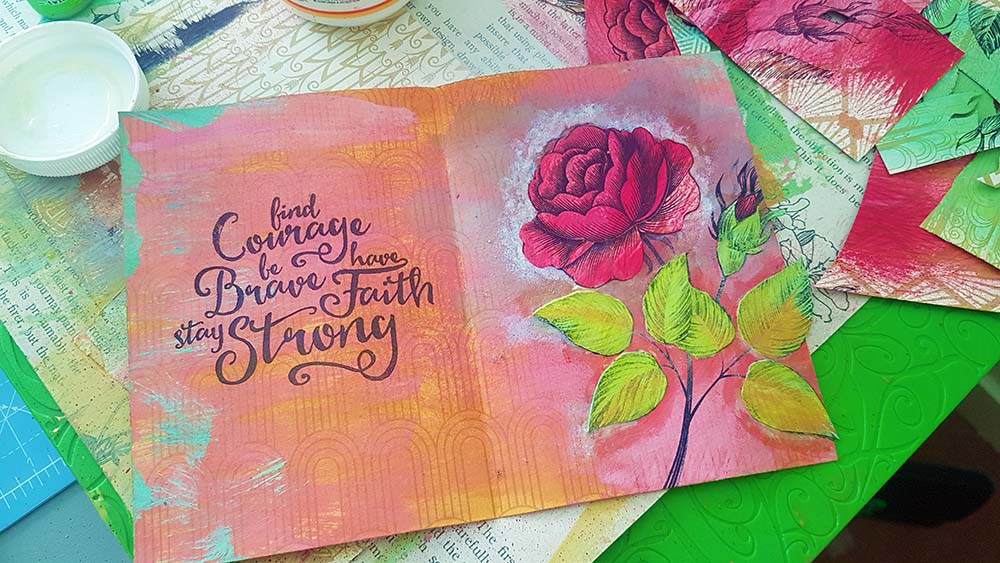
Some white ink was then dabbed around the rose to give the edge some contrast and while that dried I cut out the rose and leaves so that I could then paper piece them onto the page.
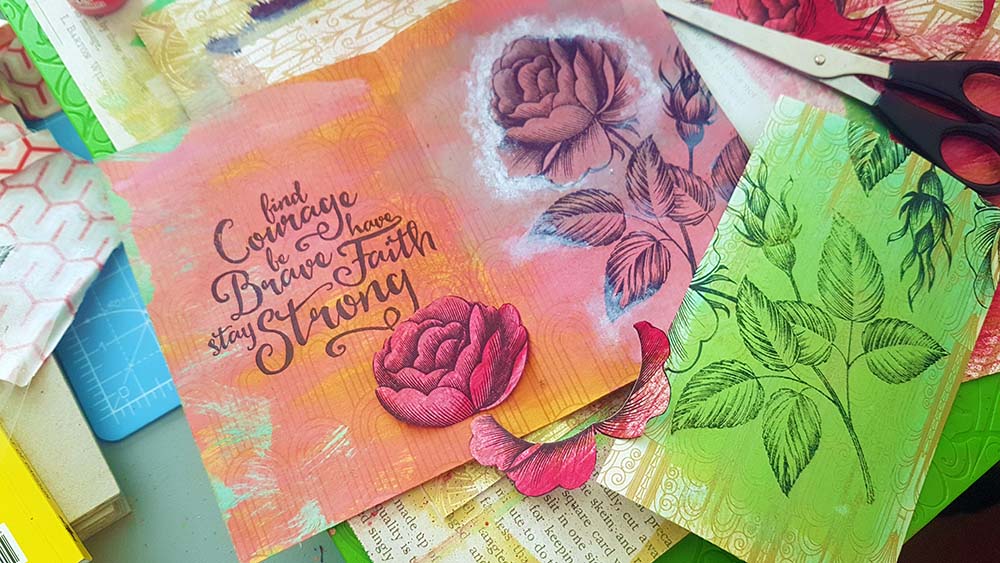
Like this.
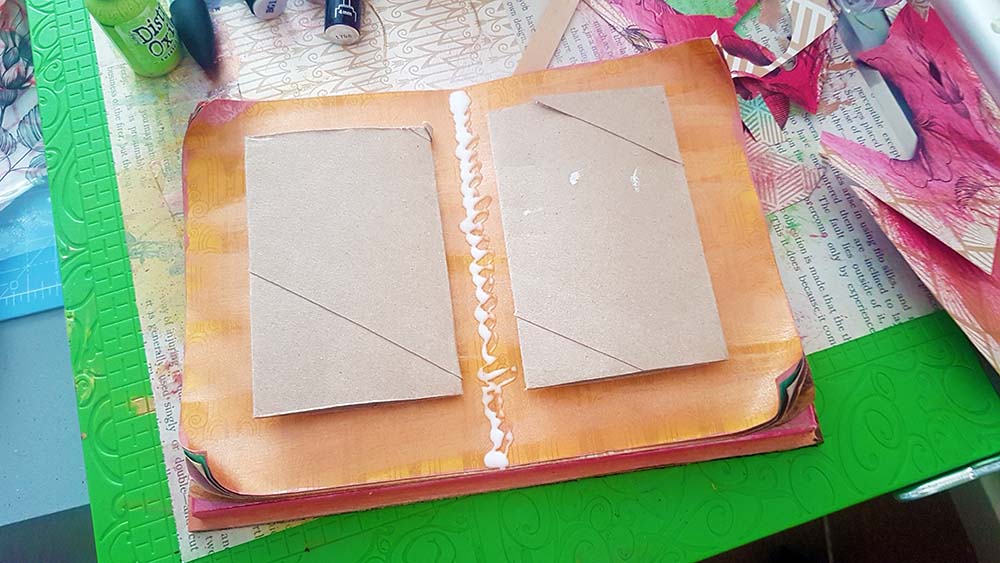
The pages that I had created earlier were then glued to the MDF base along the spine and I glued a couple of toilet roll centres to the penultimate page so that there would be some support for the outermost pages.
Finally, I had a rummage through the bit box and found some cord, beads, a brad and some paracord that worked with the colours of the project. These were glued into place at the top edge with some Pinflair Glue Gel.
The time came to assemble and paint the stand for the book to sit on so I glued that together and painted it with black gesso.
Et voila! Done me old mucker!
Want to see a ‘few’ more photos – I did go a little crazy with the camera – of the finished project…?
TO SEE A GALLERY OF IMAGES OF THE FINISHED PROJECT PLEASE VISIT THE NEXT PAGE OF THIS BLOG POST BY CLICKING ON THE NUMBERED PAGE LINKS BELOW

Wow, John..awsome as per..xx
LikeLiked by 1 person
Beautiful, and I particularly enjoyed your commentary on the process.
LikeLiked by 1 person
This us brilliant John absolutely love it.
Nancyd xx
LikeLiked by 1 person
Wow it’s wonderful and just the type of crafting I adore……plenty of mess during the process before a beautiful creation evolves. I will certainly give it a go or at least a version of it anyway because you have pricked my creative juices and my mind is spinning with ideas. Thank you. Keep on crafting and sharing a very special part of you. Karen x
LikeLiked by 1 person
Absolutely beautiful.
LikeLiked by 1 person
Beautiful as always John. Thank you for sharing and inspiring. Take care of you x
LikeLiked by 1 person
It was definitely worth the wait John. It is absolutely gorgeous xx hazel
LikeLiked by 1 person
Oooh John you had me at Victorian knickers!!
Lovely and sooo adaptable and something you would have out rather than need to find walk space for etc.
Wheelybad…yeah…my stash grows whilst waiting for enough spoons… but the days are gone of thinking my spoons should be used on finding the carpet etc first : )
Cheers
LikeLiked by 1 person
Its frustrating waiting to play with new stash but it feels soooo good when it finally happens. I’m lucky I pay for people to deal with carpet etc so when those couple of hours a month happen I’m free to do it but what state the body is in dictates whether it’s up the table getting messy or laid up with a tray. Its the highlight of my month or so regardless. Hope you get to dabble soon too, wishing some spoons for you and for everyone who struggles with fatigue and/ or pain xxx
LikeLike
As always John, your talents shine :)
LikeLiked by 1 person
Hi John
Its beautiful, I have the rose stamp, one of my faves. Think it’d make a lovely wedding gift, instead of the sentiment the names of the bride and groom, date, venue etc maybe do wedding theme colours, metallics as colour of rings etc. Please anyone fancying doing that then be my guest… A freebie wedding gift idea! Lots of alpha stamp about or if hand lettering, loads of alcohol or pigment calligraphy or brush markers. Plenty of wedding theme stamps and dies too. Mght do one for my baby bro’s 1st wedding anniversary if the stars align and I find some extra spoons. Love the book and stand John, on my list regardless and if I do one for baby bro I’ll get myself one too. A few more ideas now circulating…
Doh, rambled again! Anyhoo, John I will share on my mixed media pin board. Hugs to you and all visiting.
T x
LikeLiked by 1 person
It’s lovely John, great job!
LikeLiked by 1 person
That is absolutely beautiful John, I could quite happily share my home with it, and I don’t say that lightly. Lol. xx
LikeLiked by 1 person
Oh my John, this is awesome, love the book. And your title says enough, just a good title!
LikeLiked by 1 person