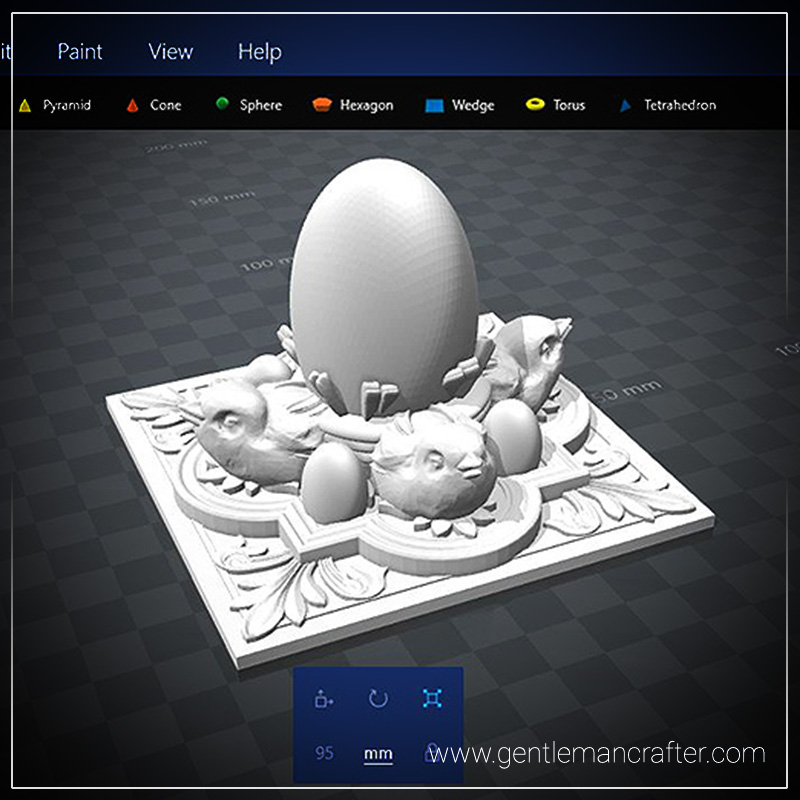
Ok, don’t get in a flap, I will get onto the decorating bit in a mo however as I was letting all of the paint layers on the top dry when I decided that the base was a little under-dressed so I went back to 3D Builder and sliced down the same panel that I had used for the top and added some edges …
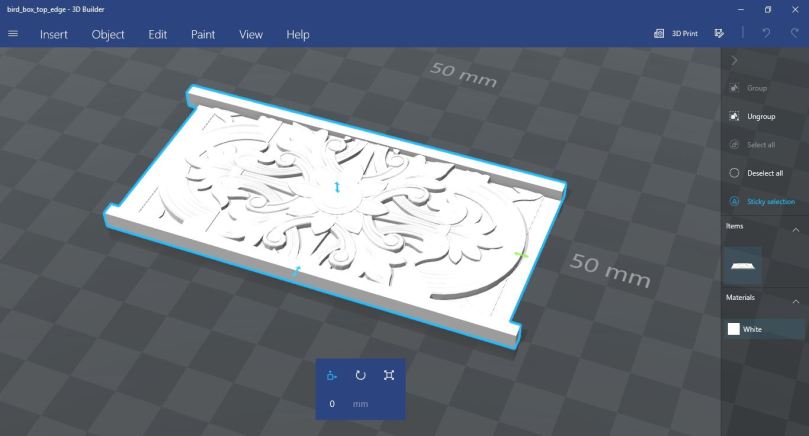
… and then printed four of these and four more of the little swags that I had used around the top edge.
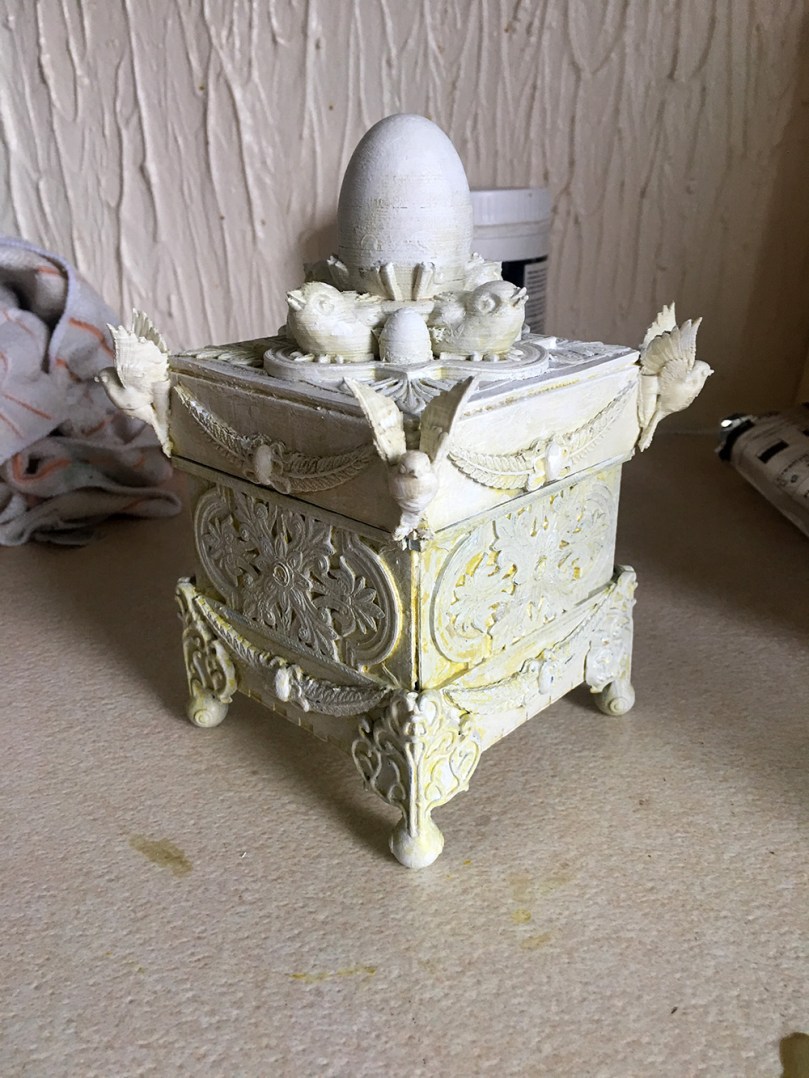
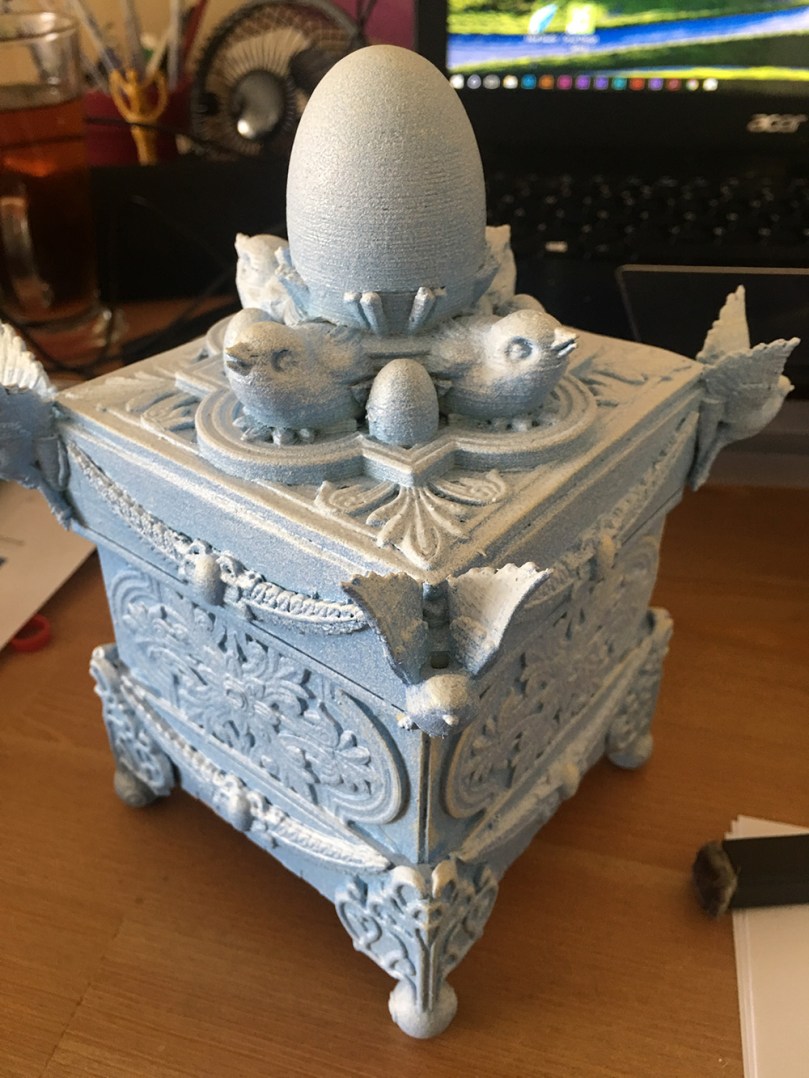
Now, I had run out of white filament so all of these were printed in black. Hoping that gesso will be my saviour!
As one final and a rather opulent touch, I rummaged through the bit box and found some box feet from Tim Holtz that I had squirrelled away for a time that was right, and this was the time that was right.
Pinflair Glue gel stuck the lot in place and some elastic bands kept it all secure whilst the glue was drying.
A couple of coats of gesso later and I’m thinking that I may need slightly smoother covering power…
So, as it was raining outside, it was out with the make-shift spray booth using the kitchen extractor fan so that I could use my Liquitex Acrylic Spray Paints.
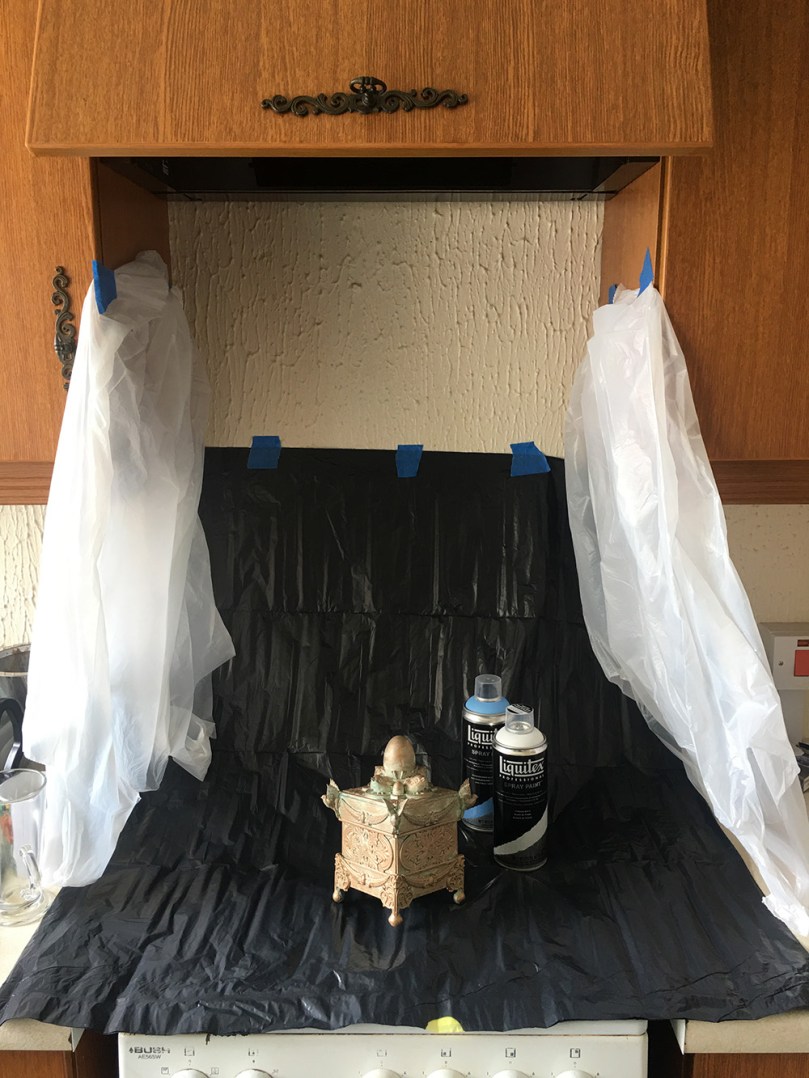
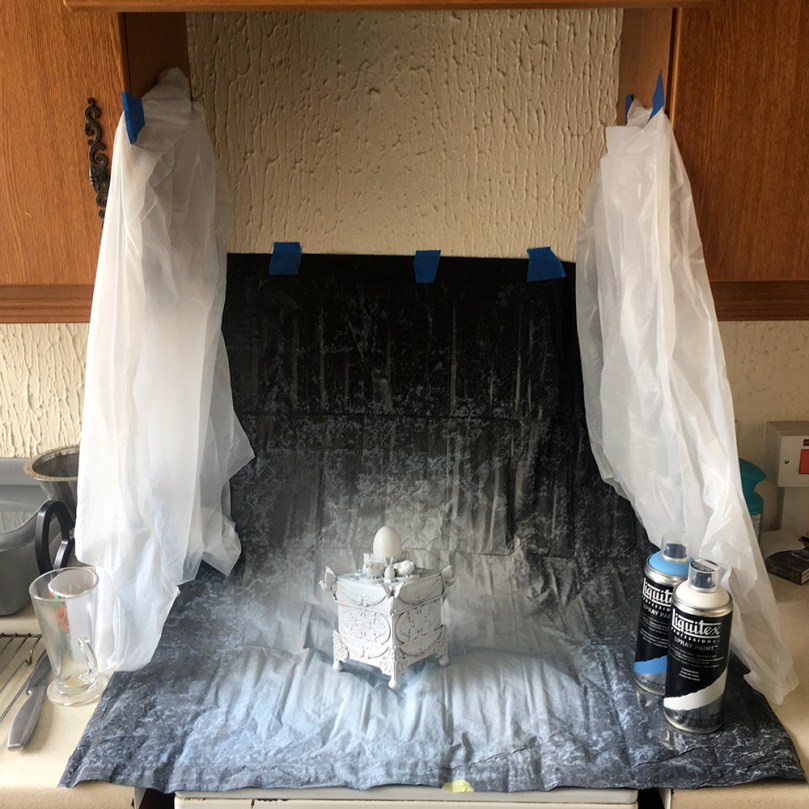
I reckon that did the trick!
Now, I would love to show you the next steps however at this point I had to put this project to one side and pick up on some work that was becoming due so, as with all good cliffhangers, I will see you in the same blog space and at the same time next week for Part 2!
If you would like to know more about the CoLiDo 3D Printers, please do head over to Create and Craft TV.
Hope you are enjoying this one so far and will send in your thoughts on how you would decorate – mostly because I need some ideas! Lol.
See you again next week.
J :)

Just amazing
LikeLiked by 1 person
Brilliant John
LikeLiked by 1 person
Absolutely amazing x
LikeLiked by 1 person
That’s amazing! You are sooo talented!
LikeLiked by 1 person
WOW John :)
LikeLiked by 1 person
Well done John it is gorgeous. I half expected it to turn into a Faberge egg. Now there’s another idea.
LikeLiked by 1 person
I love it. Wouldn’t it be a wonderful for a wedding ‘Nest Egg’ gift voucher?
LikeLiked by 1 person
Ooh that would look great in gold!
LikeLike
Awesome, absolutely beautiful, and I love birds as well. x
LikeLiked by 1 person
wow just wow !!!
LikeLiked by 1 person
Great work, I can also see the base part being cut out for cards with ScanNCut :-)
Keep playing xxxx
LikeLiked by 1 person
Wow this looks amazing!! What a famtastic gift for someone special. Isn’t it wonderful what we can male on our own homes these days.I wish these gadgets were available when I was younger! Looking forward to the next installment to see your project finished.
LikeLiked by 1 person
Wow John this is amazing,😆
LikeLiked by 1 person