
If you are anything like me then you have birthday’s happening in your family and friend circle all year round.
Sometime, especially towards Christmas, it’s hard to create things outside of the usual Christmassy stuff.
Well, it was my friend’s 50th recently so I decided to make a bright flowery card for her to celebrate with style.
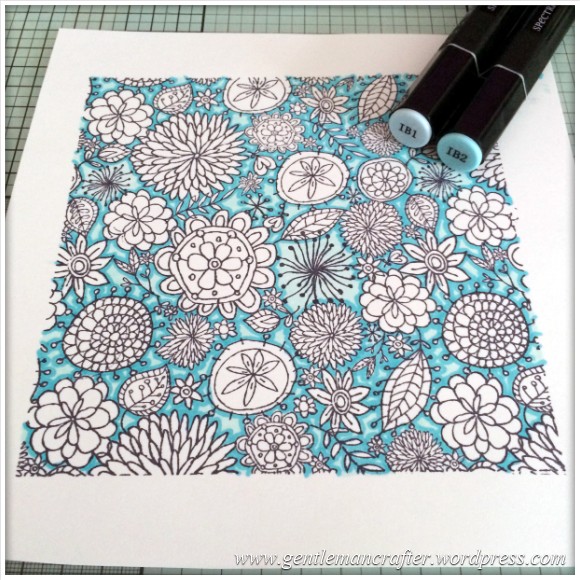
One of the main features of the card was going to be a floral background. For this I chose a recently arrived stamp from Impression Obsessions. It’s one of their Cover-A-Card stamps and is called, ‘Doodle Flowers’.
The stamp is just under six inches square so covers a massive area with just one impression.
I used Versafine ink to stamp it out.
The colouring was done with alcohol marker pens.
The background was completed with a couple of tones of blue.
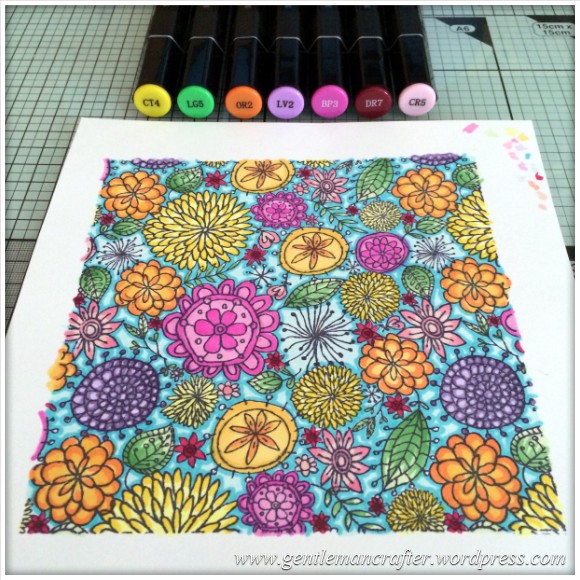
The flowers were coloured with an assortment of pens.
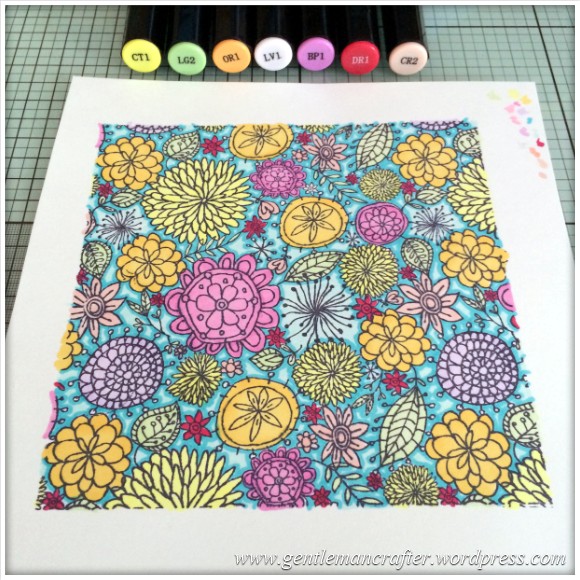
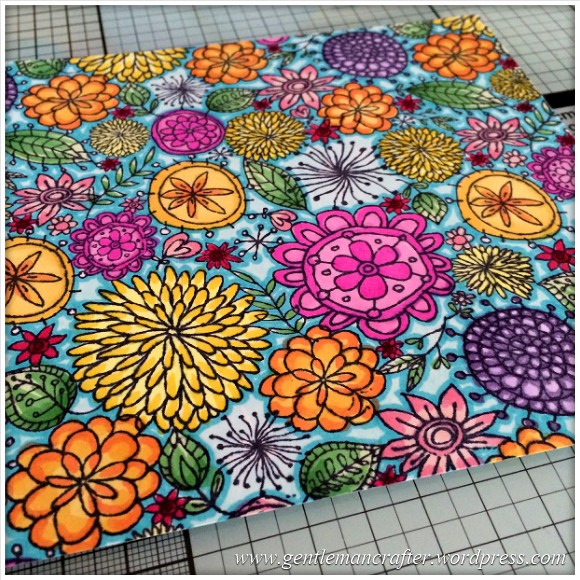
To give each flower a little “pop” I then chose some coordinating darker colours.
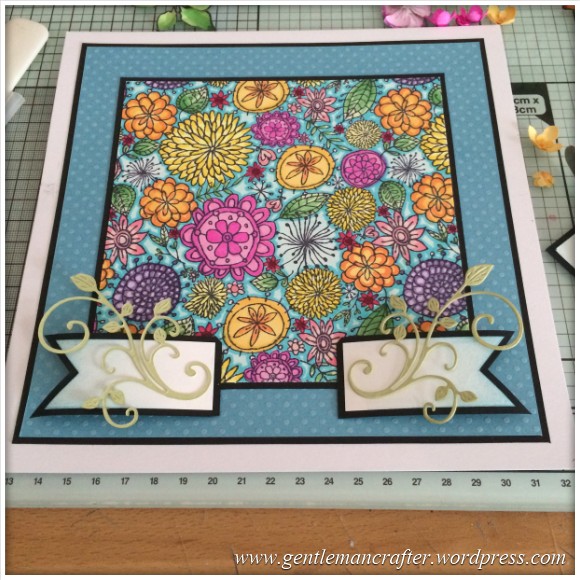
After colouring the design in I cropped it down.
The layering was a simple job of black and light blue card stock, all layered using a layering ruler.


To create the decorative floral area, that would be where the sentiment goes, I began by creating a pennant strip.

I brushed these with a little Broken China distress ink in order to tone down the bright white areas.
The side pieces were given a little shape with a bone folder and then stuck on the card using Pinflair Glue Gel.

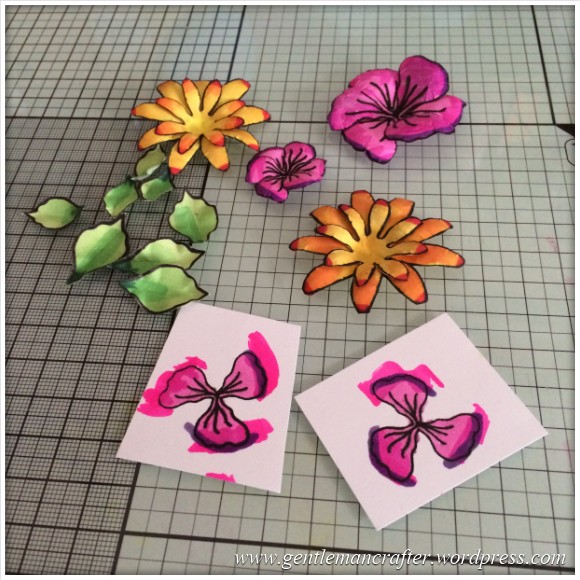
Having used the Dreamees flower stamps on a previous project I knew that they would work well with the design from this stamp so stamped out a few different ones and used the same markers that I had coloured the background in with to give them some vibrant tones.

I then cut out the flowers, shaped them and created little blooms.
The leaves were made in the same way.
To add a little flourish to this area I used the Mini Fanciful Flourish Right from Cheery Lynn Designs on some light green cardstock.

I then layered up the flowers to create the floral bouquet area.

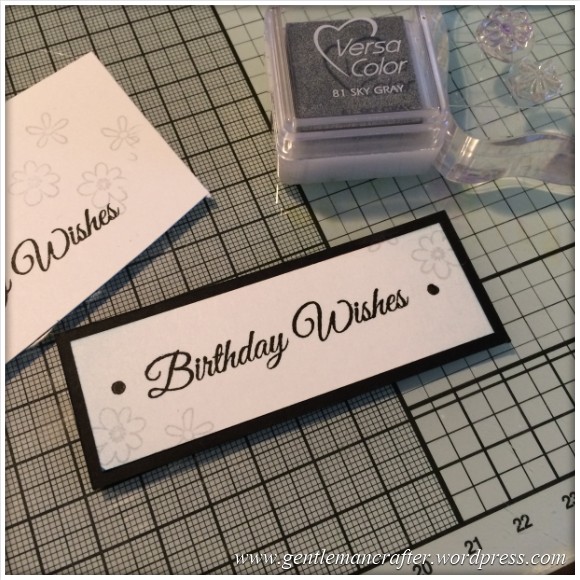
For the sentiment I reached for a basic “Birthday Wishes” stamp and stamped out the word in black ink.
Also, to bring the design forward I used a couple of tiny floral stamps and sky gray VersaColor ink to add a couple of little impressions.
You probably notice already that I added some gems to the sentiment panel.
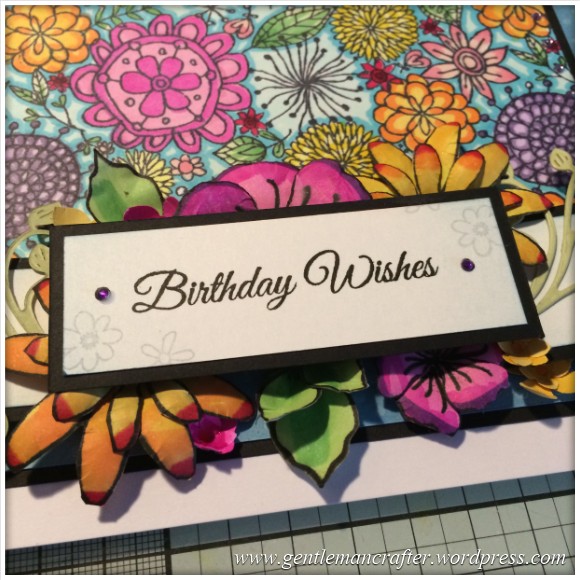
Well, I also added them around the floral background area too! lol.

Well, that was it done and dusted.
When I had finished I sort of didn’t want to give it away – lol! Have you ever done that?
Anyway, that’s it for this one. I hope that it all made sense and that you like the card.
If you have any questions or comments about the content of this post then please feel free to use the comments section below.
Many thanks for reading and I’ll see you next time!
J :)

Oh wow what a pretty card! Thank you for showing us how to achieve it. My big birthday is in a couple of weeks and I know I wont get such a beautiful handmade card. When I make cards for people Its such a pleasurable thing to do and it’s always the card that they appreciate most of all. Shop cards are so flimsy these days. I bet your friend will just adore it! Well done! X
LikeLike
Beautiful card, John. Thank you for giving each stage with colour numbers that you have selected for flowers. They look beautiful.
LikeLike
Oh wow. Just love this and the vibrant colours. Your friend is very lucky :) x
LikeLike
Rock-On-John !!
LikeLike
John it is so beautiful, I would love to receive a card like this, so much care taken with it, yet simple when the steps are laid out. That is the type of card that can be used for just about anything, just change the sentiment. Thank you John for sharing it.
LikeLike
Beautiful
LikeLike
Wonderful x
LikeLike
Beautiful card John – your friend is a very lucky lady! Yes, it’s hard to give things away when they turn out as nicely as this! Sometimes I make things for someone else and end up giving them to myself instead … eventually the house will be too small to cope :)
LikeLike
John this card is so vibrant whoever is the lucky recipient of this card will place with their other cards and it will just stand out. A beautiful piece of artwork work and really so easy to achieve if you have the incredible flair which you have. For once I have all those goodies so will defo give it a try.
LikeLike
Beautiful project….so bright and colorful!!! Love it!!
TFS
Jan
LikeLike
Impressive! Love it!
LikeLike
Simply beautiful, I love it, your amazing and your ideas are incredible. Thank you so much John x
LikeLike
Loved the card – and the steps you took to show us how you decorated the flower card. But, after going to all the trouble to make and decorate the card and the lovely flowers, I think it was spoiled by placing the greeting right over them. Sorry. Always follow you and really grateful of all the effort you take to encourage us to expand our crafting ideas and abilities.
One of your earlier posters were right – you aught to sell your designs. You have so much creative ability John. Pat GH
LikeLike
This is a masterpiece! I wouldn’t want to give it away either!
LikeLike
Just fabuleous. You need to be a designer for card stock company
LikeLike
I love this card, so bright and bootifull. :-) xxxx
LikeLike
Hi John your card is gorgeous I love how you created the background and the dimensional flowers are beautiful. Hugs Jackie
LikeLike
Lovely idea for a card John. It’s so bright and cheerful, no wonder you wanted to keep hold of it.
Bye
Val in Spain x
LikeLike
What a lovely card John and beautiful colours if I managed to do a card like this I would keep it ha!
LikeLike
A lovely card, and I too would think twice about giving it away. Lol
X Ros
LikeLike
As always, a superb card John. With such a lot of work involved in making it I hope your friend really appreciates it.
I know it’s not in keeping with this particular post, but could you tell me if there is any chance I can get a hold of the Brother Scan’nCut Project book 2. I bought the machine back in February and feel a bit miffed that I’ve had to purchase all the accessories and am now not able to own the second project book
Helen James
LikeLike
Im afraid that i dont know if/when C&C will be selling this. On the flip side there are lots of free tutorials and ideas spread across the internet so hopefully this will give you the inspiration you’re seeking.
J :)
LikeLike
A labour of love. Your friends must be thrilled. Also, I liked the idea of placing the Birthday Wishes over the dimensional flowers. Lovely card.
Joy x
LikeLike
Nice card John, I am doing something similar with Chameleon pens
LikeLike
Oh wow, another brilliant card John. My birthday is coming up soon, hint, hint!!😉 lucky person who was the recipient of that beauty 😀
LikeLike
Your friend must have been over the moon with this beautiful card. Thanks John for sharing this. I don’t do stamping very much, but this has made me think maybe I ought to look out my stamps & have another go! But a personal note – I think I would put the sentiment on a tag poking out from under the flowers, after making such beautiful flowers I wouldn’t want to cover them up!! Sorry I don’t mean to criticise, I really think your card is beautiful & I live 3D cards. Thank you again for taking the time to photograph each stage & share with us your creativeness.
Carole Morgan.
LikeLike
I can see why you didn’t want to give the finished card away, but the friend must have loved receiving this card. Lots of lovely ideas are contained in this post, thank you. The large stamp is a great idea and I do love Dreamees stamps too.
LikeLike