
It was some time ago that I bought a few sets of MDF craft room storage kits from Fernli designs and I meant to blog about them but it totally slipped my mind!
Anyway, I stumbled across the images that I had taken in my archives recently so thought that I would pop a quick blog post on here about them.
Fernli Designs have quite a few different kits for various craft room needs from paper storage to inkpad storage and they are exceptionally well priced. (The inkpad storage trays were only 50p and the desk caddy/letter rack was only £2.99).
Here were some of the packages as they arrived through the mail box.
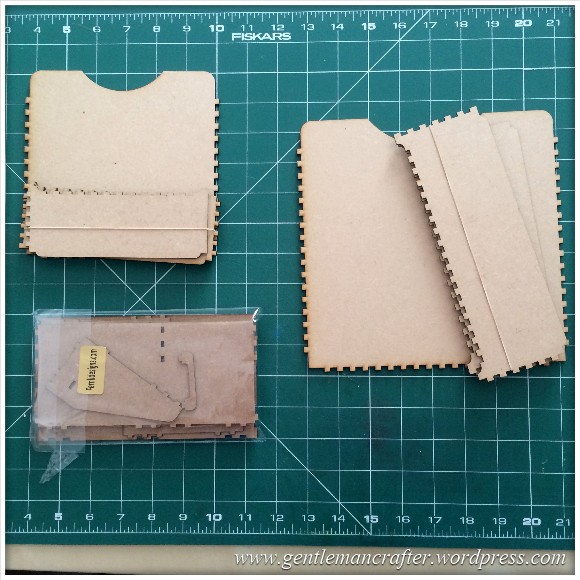
The first thing that I noticed was that the pieces were very well cut with no splinters or burrs anywhere.
The second thing that I noticed is that there were no instructions – hmmm – this could have been a challenge!
I started to have a look through each kit to see what I was up against.
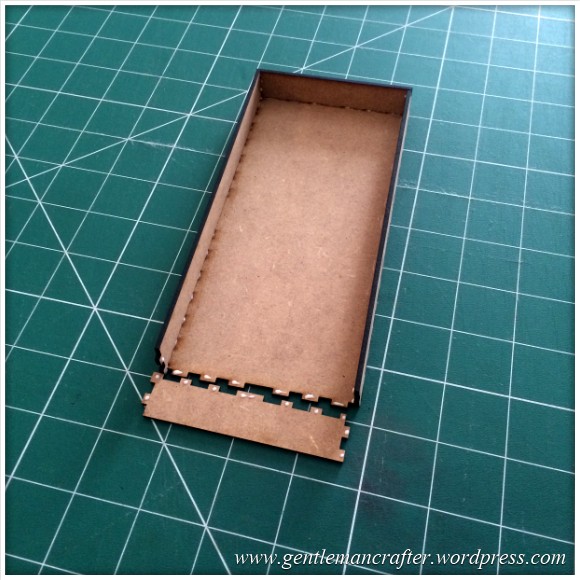
The storage trays looked the easiest as they only had a few pieces.
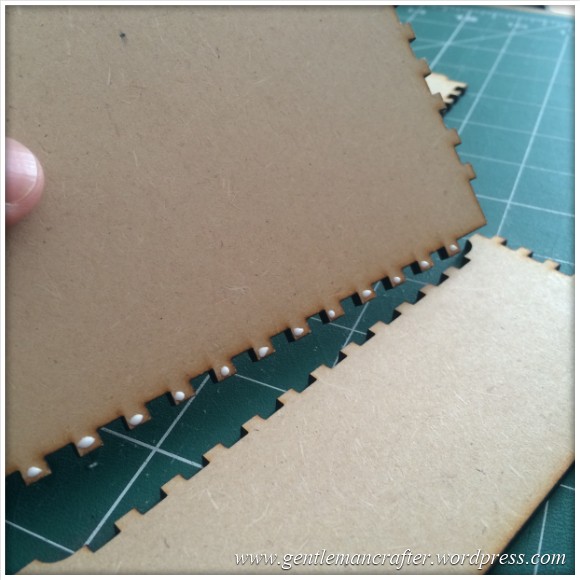
As I was doing this mental jigsaw I also noticed that there was a helpful design feature and that was that the pieces would only fit together one way in order to be right – neat! This saved me making any errors!
So, using a little PVA I quickly assembled the first tray.

Paper tray done and I moved onto the inkpad storage trays that were to be assembled in the same way.

Ok, I have to admit. They really didn’t need instructions given the simplicity and neat design features of the projects.
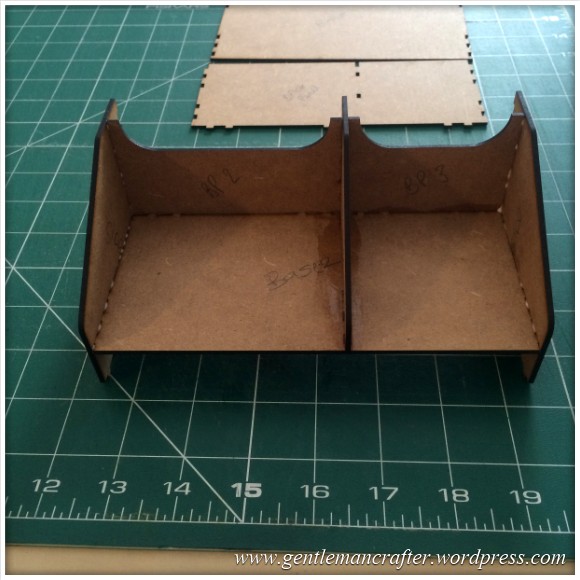
The last project that I got was a little desk caddy. I was a little more concerned about this one as there were quite a few pieces to assemble.
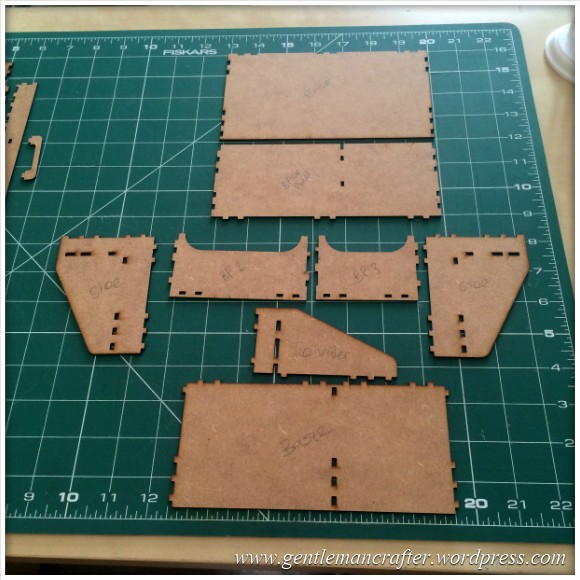
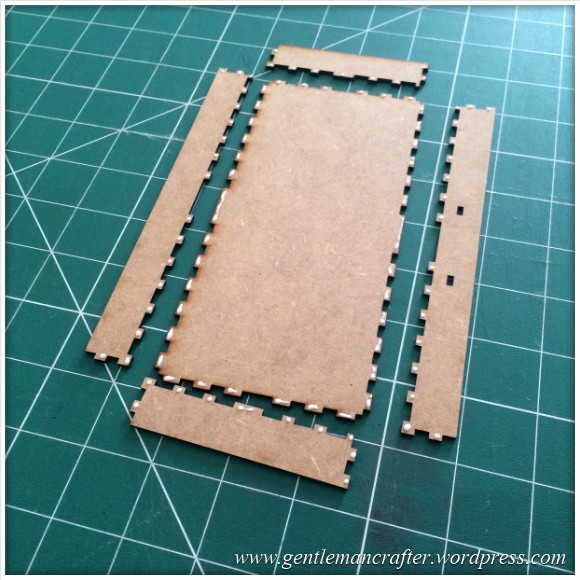
Never one to shy away from a challenge (and remembering what I had learned earlier – about the pieces only fitting together one way) I set about doing the mental jigsaw for this kit and, as you’ve probably noticed, I arranged the pieces on my work desk and wrote the part piece names on these ones.
This was to help me easily put this together and not get lost.
For this project I used a assembled the inner parts with Pinflair Glue Gel (as I wanted to “fill” any gaps and also to give the inner frame strong holding power). I used a PVA for the outer parts.
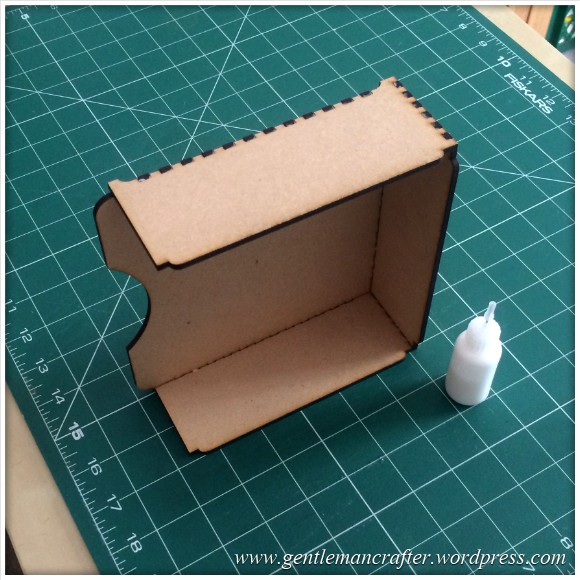
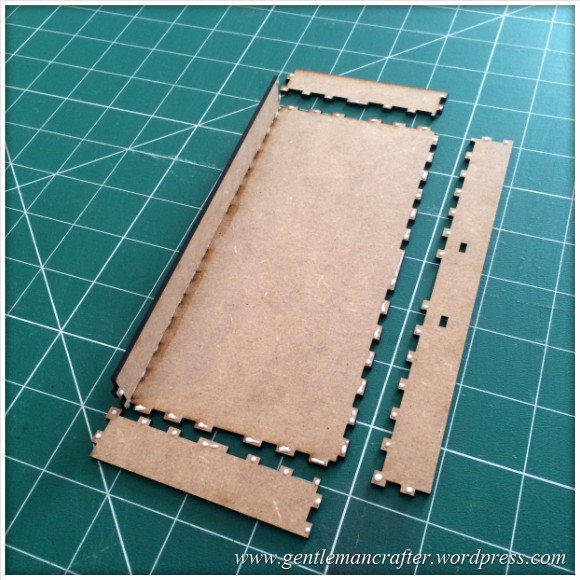
Here are a series of images of the assembly process.

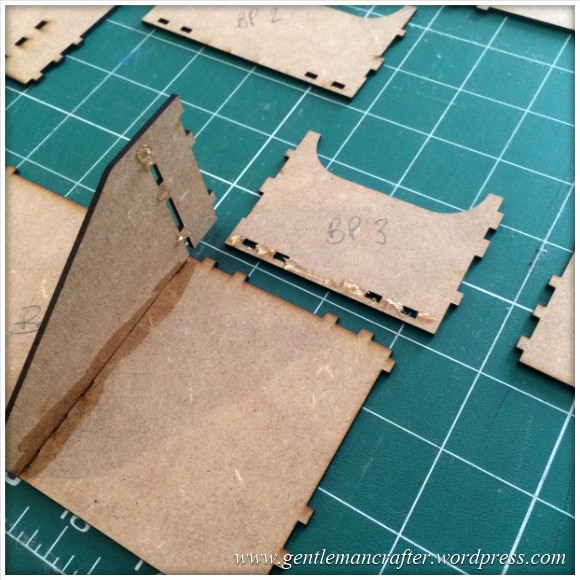
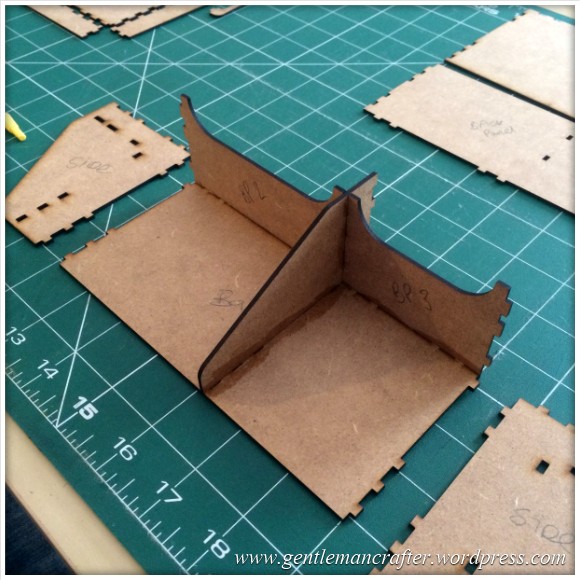
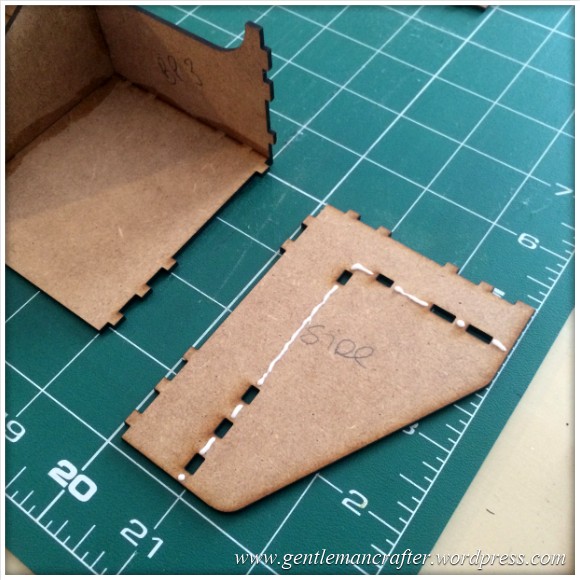


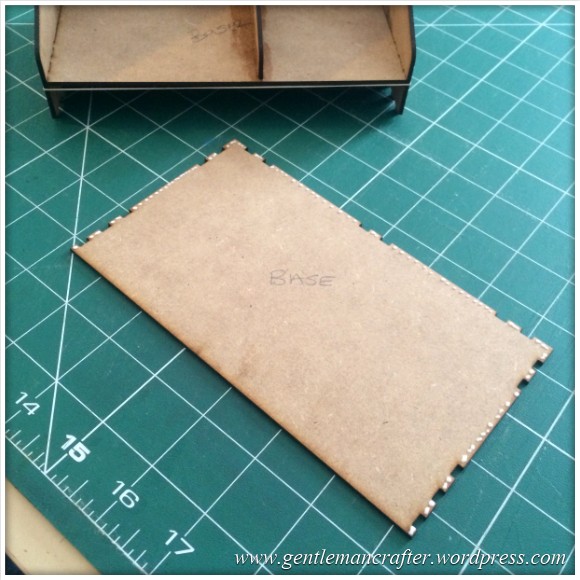
Did you notice how I worked from the inside out on this? This was because of that “one way” assembly process. I found in my machinations earlier that the outer parts would not go on until the inner parts were fully assembled – another neat feature I think!
Anyway, once assembled I used a couple of elastic bands to hold the structure together as it dried.

While the main piece was drying I assembled the drawer.


Again, once all of the side pieces were in place I secured it with an elastic band whilst it dried.

The final touch was to add the handle which I did with some Glue Gel.

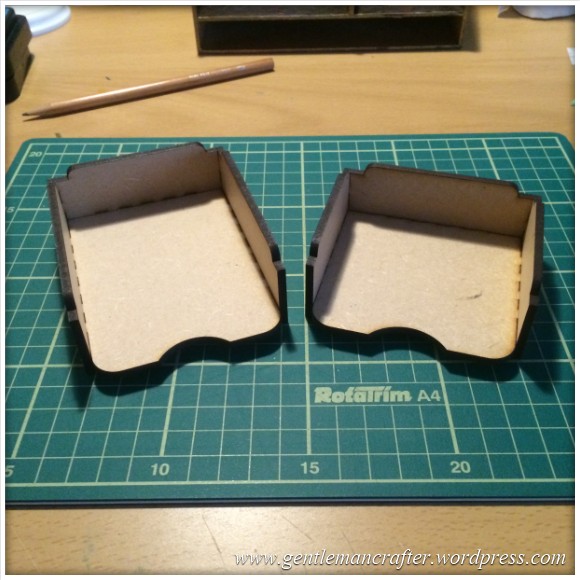
So, here are the desk caddy and one of the paper storage trays all assembled.

It was just left to decorate them.
For the trays I just used a single coat of basic paint. I didn’t really add much decoration as they were functuonal and mostly wouldn’t be seen.
For the caddy however I used a mix of papers and specialist paints to give it a gentleman’s club feel.

So, that’s about it for this one.
I do intend to buy some more kits from Fernli Designs but would love for the more complex designs to come with instructions.
What do you think? Have you seen this range before? Do you use MDF craft room storage kits to make your craft room your own? How do you decorate yours?
If you have any questions or comments about the contents of this post then please feel free to use the comments section below.
Thanks for stopping by. I look forward to seeing you again next time!
J :)

The little caddy has basic instructions on youtube and comes with the link now.
LikeLike
Thankyou John. Oh how I envy you your logical intelligent brain! Dee x
LikeLike
You wouldn’t say that this week, lol! ;)
LikeLike
After reading your post i visited the site and have purchased a few items. Needing ink pad storage so got the one that holds 27 normal pads. Am impressed with their prices! Bought a DI storage that holds 48 ink pads cost £25 from elsewhere, this looks just as well made.
Looking forward to receiving my goods, thanks again for the link John :-)
LikeLike
Excellent project….wouldn’t mind getting some of these myself as I have been doing some MDF “constructing” lately. Are they still available please John, I would be very interested to know if you have time to let me know.
Many thanks for ALL your lovely projects.
Happy Crafting,
Catherine.
LikeLike
I have checked the Fernli website and all of them are still available to buy as kits.
J :)
LikeLike
Hi John thank you for sharing this wonderful project. I hadn’t seen this range before. I will have to check it out. Hugs Jackie
LikeLike
Hi John,
I would not have the patience to make these boxes. Also, I have too much ” stuff” and would need loads of them. A good product though if you are just starting out in craft.
Regards Joy
LikeLike
Looks neat, John, but I’d definitely need instructions! One thing, do the ink pad storage trays stack? I can’t see how they’d be useful otherwise.
LikeLike
Yes. The inkpad trays do stack and are designed to do so. You can stack loosely or glue each one together. This is great as then you can design your inkpad storage to suit your space.
J :)
LikeLike
Fantastic John….and would look really nice decorated with the marbling kits that were on C&C yesterday as they worked so well with MDF 😃
LikeLike
Totally agree Lynne! Those kits are on my list – but this list just seems to keep getting longer!
J :)
LikeLike
thanks for sharing john and they do have great prices and you can dec in so many ways big love marc
LikeLike
The boxes look great John. Do you cut out the papers before you start decoratiing, using the panels as a template before you stick them together?
LikeLike
That is indeed one way of going about it. It’s probably easier rather than trying to guess it afterwards – like I did, lol.
J :)
LikeLike
Thanks, think I’ll give it a go, I’ve got the Tonic Advent box to make up so wish me luck LOL!
LikeLike
Good luck! :)
LikeLike
Thanks for sharing this project with us. I have not heard of Fernli Designs. I must go & have a look. They sound really helpful to keep every where tidy – like your desk looks! Maybe mine could look the same with the help of these items.
Thank you again for taking the trouble photographing each stage for us to follow.
Carole.
LikeLike
Thanks Carole. It’s rare for my desk to look tidy, but occasionally needs must as I run out of space to work in.
J :)
LikeLike
They look good! Gentlemans club comment made me giggle… Thank you for sharing! Mwah from Maxine x
LikeLike