
In the first of a series of video tutorials I would like to show you how to design a gift bag in Canvas Workspace for PC® and make it cut ready for the Brother Scan N Cut.
Hopefully along the way you will pick up a few tips and tricks too!
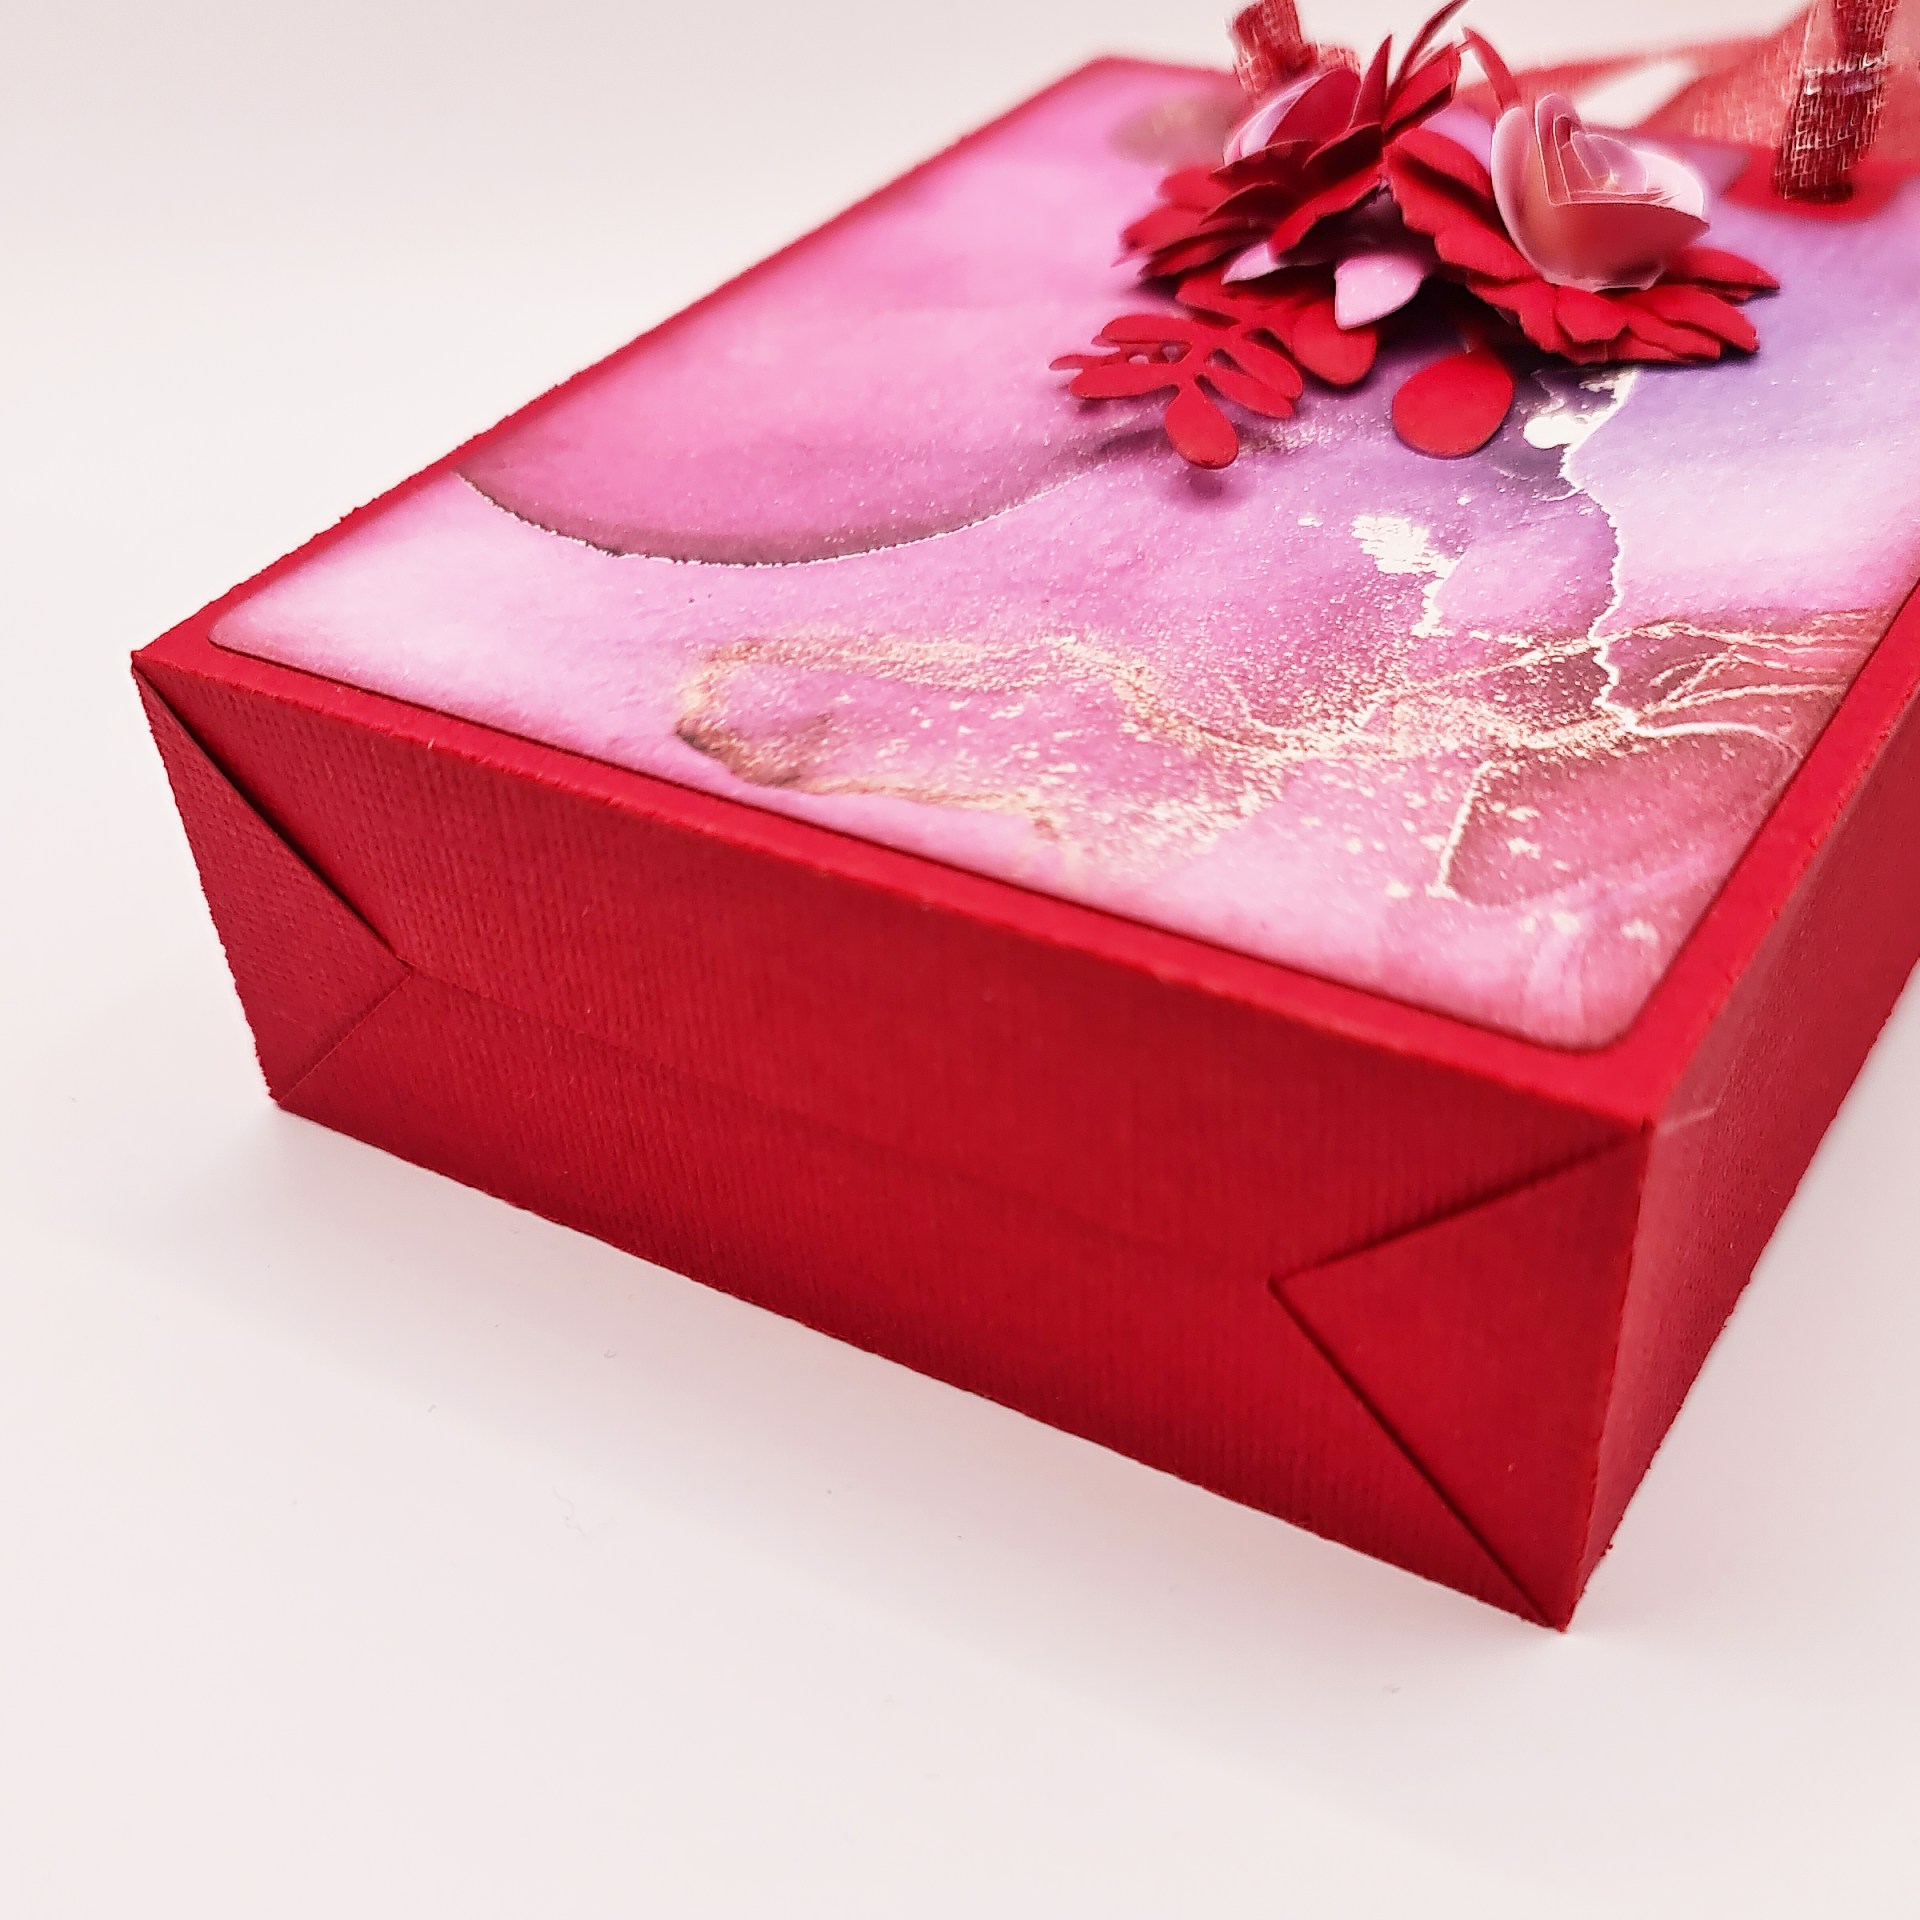
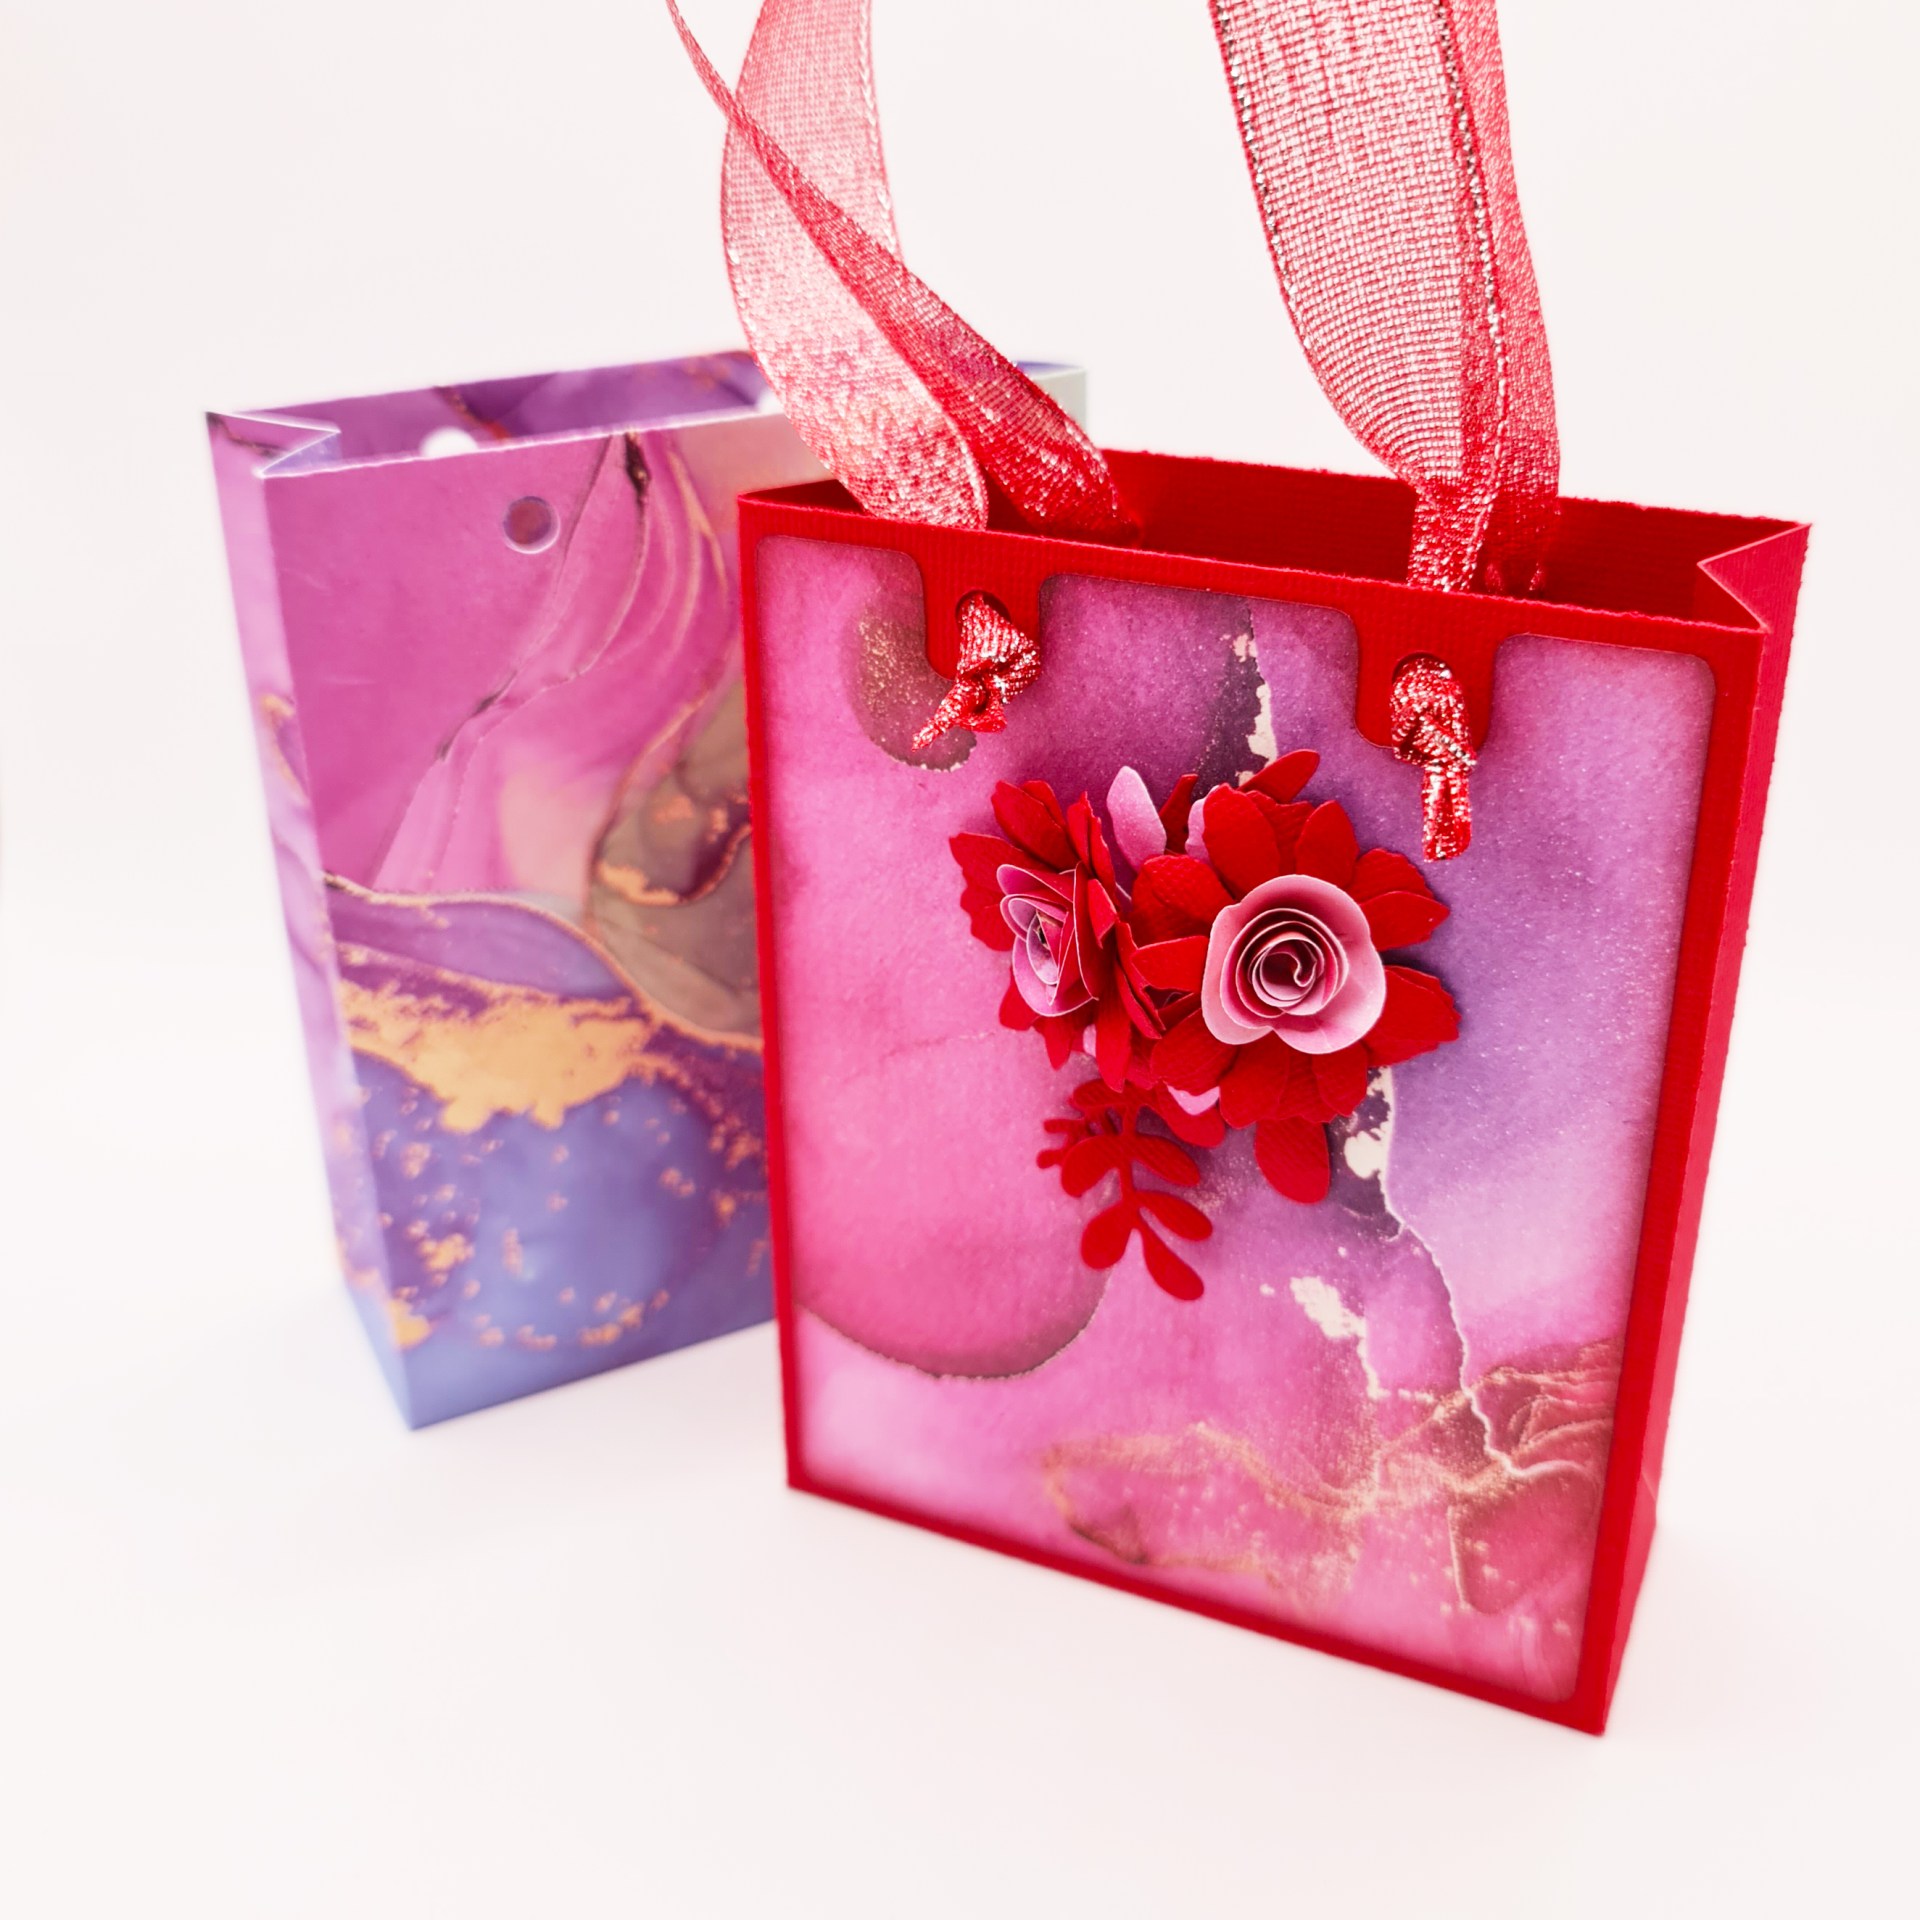
Before we start, here’s a quick preview of the bag.
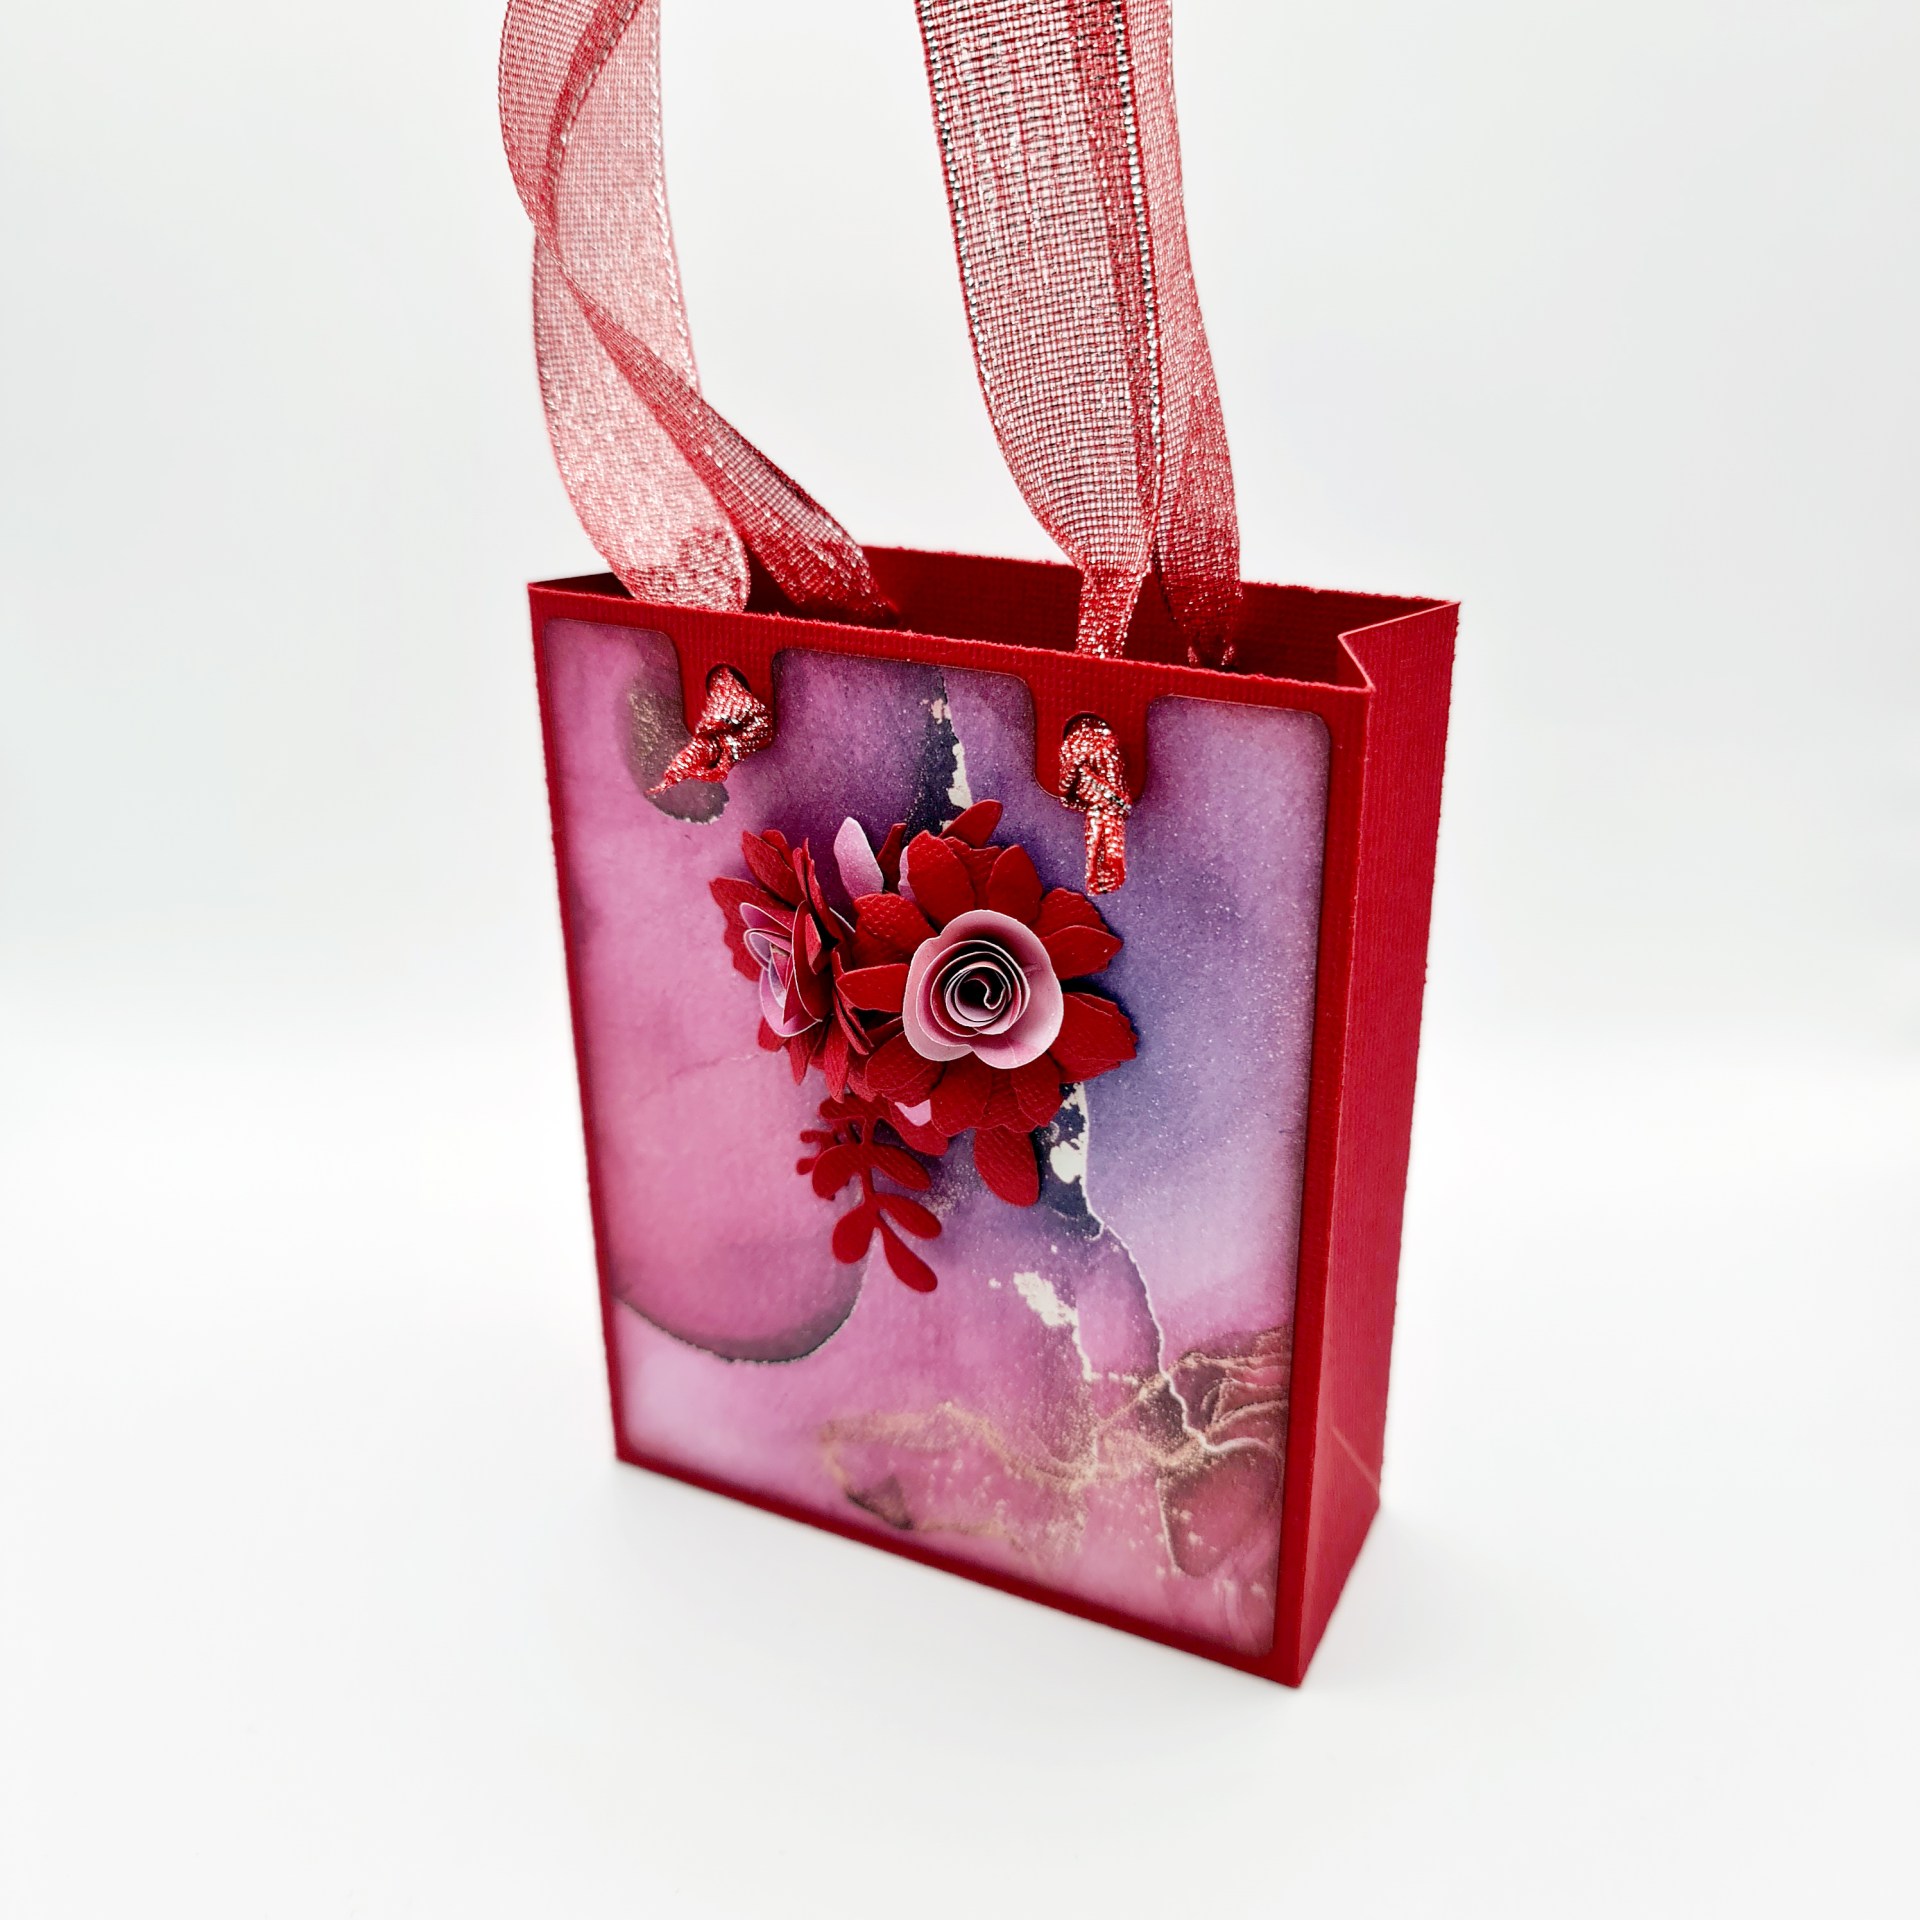
It features a re-enforced upper area, hanging holes for your choice of ribbon or cord and a self-securing bottom.
The bag measures 4 inches wide, 5 inches tall and 1.5 inches deep. Plenty of space for your hand-made goodies!
There are even a couple of decorative layers for the front and back (if you want them) although you can just use the main bag body with double sided paper for a very fancy looking bag!
Anyhoo, if you’d like to know how to create this in Canvas Workspace (and assemble it), then please do check out the new video below.
Oh, and while you are over on YouTube, please remember to like, subscribe and share – it helps me know what you like and to grow the channel!
Ok, that’s it for this post. I hope that you have enjoyed your time here today and will subscribe to my email newsletter so that you can hear about future posts.
If have not already done so, please feel free to pop your email address in the box below and I will add you to the list (you can unsubscribe at anytime in the future if I bore you with too many).
In the meantime, thanks for stopping by and I look forward to seeing you next time!
Much love,
John.
There are literally hundreds more posts in the archives so please do check out the suggested posts at the bottom of this page or visit one of the category archives below or check out the related posts section at the end of this post.

I’ve just seen your in parteon and joined as my way as a thank you
LikeLike
Thank you!
LikeLike
Going to try this tomorrow. Thank you. I’ve only had my machine a couple of weeks and the struggle is real. I’ve never used a laptop either so lots and lots to learn.
LikeLike
Hope it all went well!
LikeLike