After a couple of days away hosting workshops last week, and arriving home VERY late due to rail issues, I decided to give myself a day off. It’s a rare treat these days so I wanted to make use of it and have a little play time.
This coincided with the stockpiling of new goodies reaching ‘use it or lose it’ proportions so I chose to dive into those for this make.
You probably also know that I love tea as much as I love to craft so this project was set to have a little tea themed element too it.
FYI, don’t believe me about the tea? The tea cabinet would like to speak up on my behalf.

That’s actually quite low on variety at the moment as I have been trying to use some up before I get more … harder said than done!
Anyway, a while back I found a single sheet of marquetry wood in a craft shop and bought it because I loved it. Didn’t matter that it cost £8 for this ONE sheet! My poor purse!
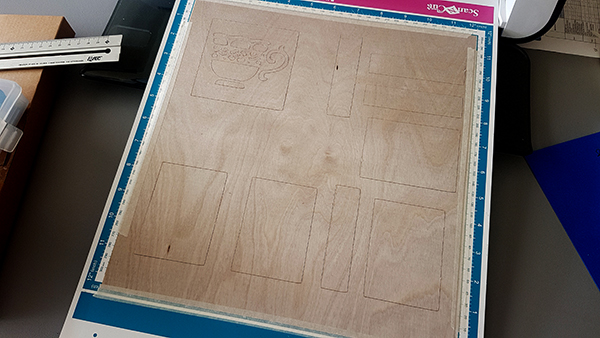
Having promised myself that I would try out marquetry veneer on the Scan N Cut I bravely/stupidly planned to cut this sheet with it.

Yes, I was using a £8 wafer-thin slice of wood on a £400 machine in an untested experiment!
Thinking that there was the potential for movement during cutting I chose to stick the edges down with masking tape.

Having found a teacup stencil design in the Scan N Cut patterns, I loaded the deep cut blade, guessed at the settings and went for it.

The squeal of excitement when it had worked could be heard down the street. It had actually worked!
Emboldened by this, I went on to add some more shapes – FYI, the plan was to attach this to an MDF box.

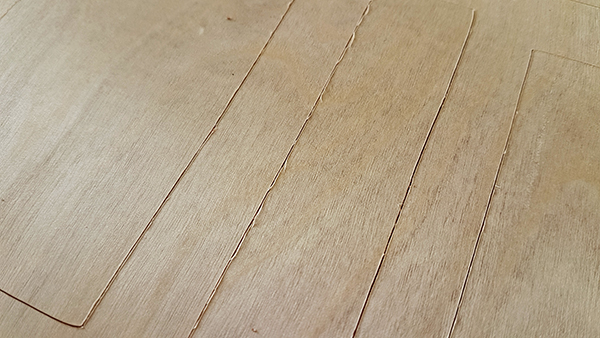
A whizzing and a whirring later, and the woody bits were sliced.
There were a few splintery bits as would be expected so before I took the shapes off the mat I quickly wafted a sanding sheet in the general area of the veneer sheet.
The last bit to come up was the tea cup.

Not going to lie, the little areas were a sod as they split when I tried to lift them. Thankfully the outside bit stayed intact so I used this to stick to the wooden box.
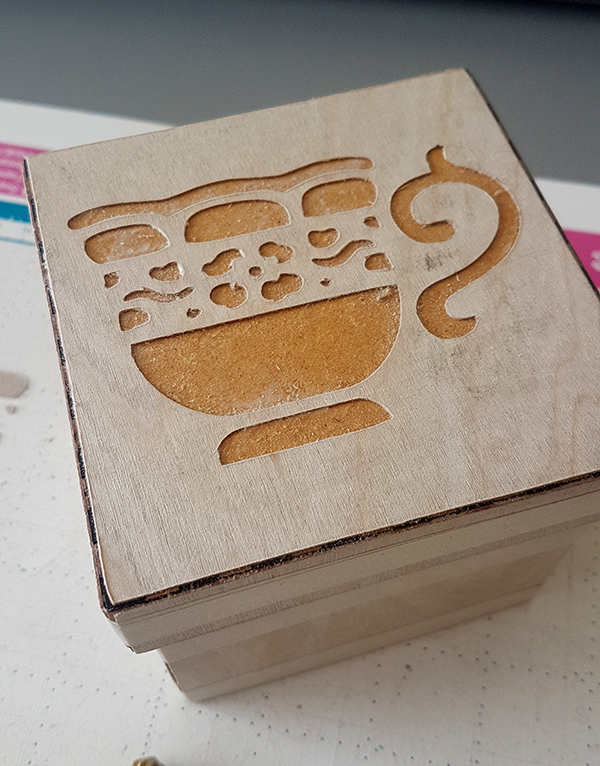
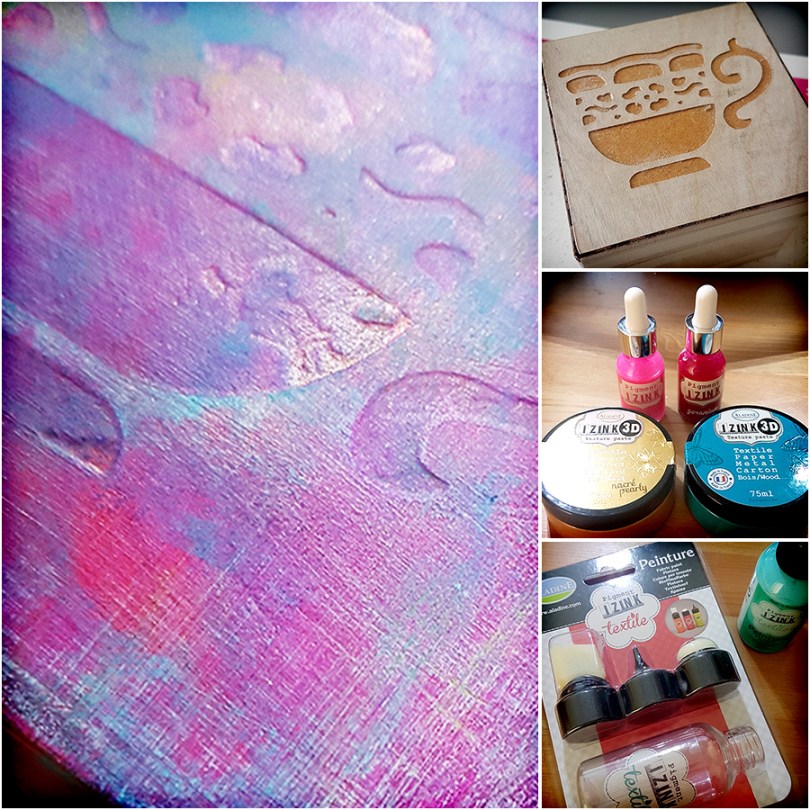
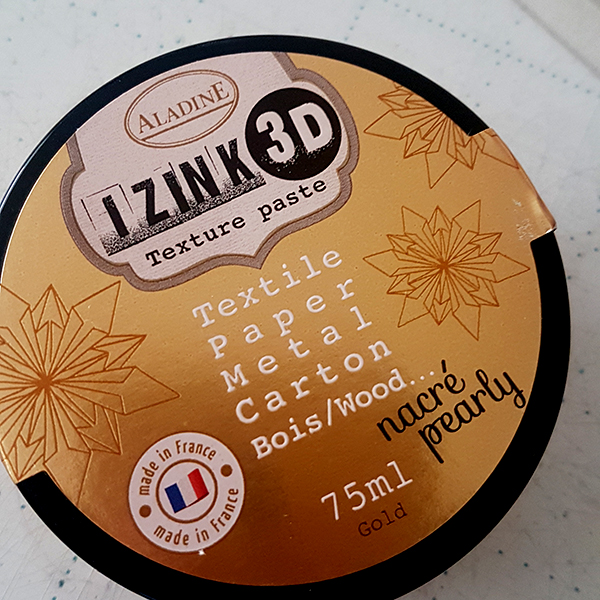
For decoration, I was going to do an inlay thing with texture paste. Got me some swanky gold stuff from Aladine!
I say ‘was’ as when I started slapping the stuff on, I started liking how the thin sections showed the wood.

For that reason, I picked out a blue texture paste and then a couple of pigment inks.

Once the gold had dried, I applied a layer of blue paste and then a layer of white gesso. This was all scuffed back and then some of the pigment ink was dabbed on.
This was again sanded back. This is what that looked like.


S’nice, but needs something to darken it down a little.
Digging through the bag of Aladine bits and pieces I found myself a turquoise fabric paint and a textile toolkit.
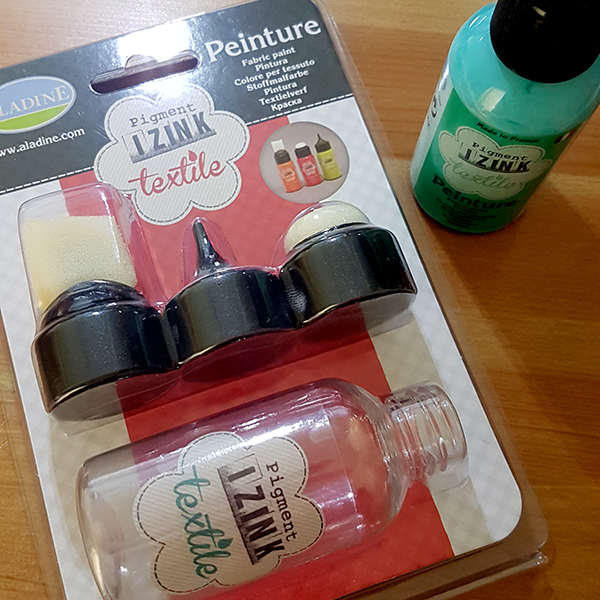
The toolkit has a dabber that can be attached to the fabric paint bottle so I popped it on …

Pumped and primed it …

and used it to put another very thin smearing of paint onto the box.
FYI – this dauber can be rinsed with cold water and used for another colour! It’s one of the new fave pieces of kit!

A final smearing of the gold texture paste, which retains it’s shimmer when applied very thinly, was applied. This served well to tone down the woody areas that had been exposed during sanding and gave the overall vintage look to the distressing.
Et voila! Pretty wee box into which I can plop some tea bags!


It amazes me sometimes just how these things turn out. Especially when you’ve set out with one idea and had to make changes along the way.

Good job that I loved the end result too! Has given me a couple more ideas for the next day off also, which is good. Don’t know when that will be but looking forward to it already.
What did you think? Colours ok? Design style something you’d love in your tea cupboard?
Whether a lover or a hater, I hope that you enjoyed the journey at least.
Thanks for stopping by and I hope to be able to find time to share another make with you very soon.
Bye for now!
J :)

When I read that you were going to put that wood through that machine …. I gasped out loud. I didn’t realise until a moment or two after I’d read that you’d done it and it was all OK, that I’d been holding my breath! I darn nearly passed out I was dizzy with lack of oxygen! LOLOLOL.
Tickled pink that everything turned out so well and impressed that you actually managed to do this on a machine! Amazing. (I don’t have one … would love one … but it’s a wish waiting to come true).
GREAT result John. Well done you clever chap! ~ Cobs. xxx
LikeLiked by 1 person
Fabulous, love the colours thanks for sharing.
LikeLiked by 1 person
Oooooh! Love tea, love tea ephemera, love this!
Go you for admitting you didn’t know if it would go horribly, breaky, expensively wrong…but didn’t let that shout You are NOT doing it!
: )
Cheers
LikeLiked by 1 person
Great box aren’t you the lucky one it didn’t go wrong. You dared and it came out well! Love seeing what you do gives me inspiration to try some of the things you do.
LikeLiked by 1 person
Hi John definitely a lover and really enjoyed reading this post. You are a clever crafted.
You’ve motivated me to get crafting today….thank you. Karen
LikeLiked by 1 person
Brilliant John watched every step you made shows how professional you are at what you do.
LikeLiked by 1 person
Wow John, you dare, expensive wood, very expensive machine, glad it all turned out the way you wanted. Almost, pity the tea cup and little things didn’t came out as you wanted. I think it’s a great box for a tea lover and thumbs up for you that you take some time off for yourself to “play”. Thanks for sharing.
LikeLiked by 1 person