
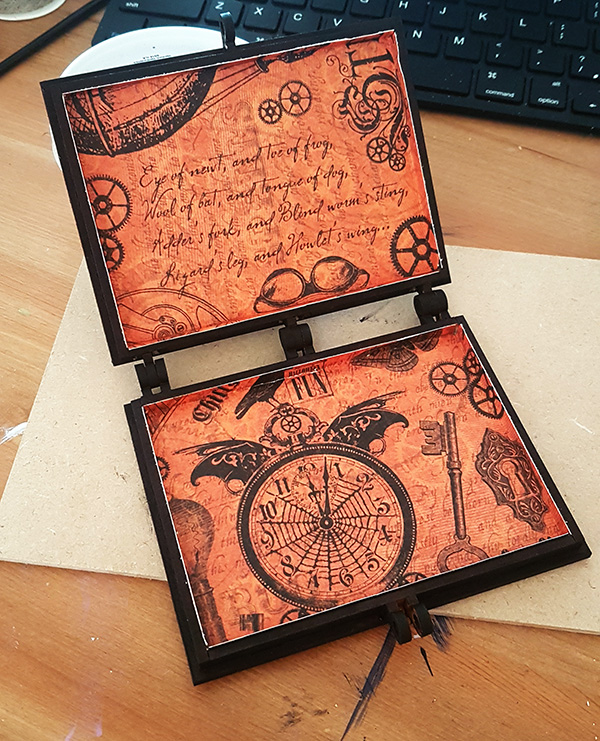
What I didn’t mention earlier in this post is that the reason that I had chosen all of the coppery and black colours was that I had already selected the paper with which I was going to decorate the inside of the box.
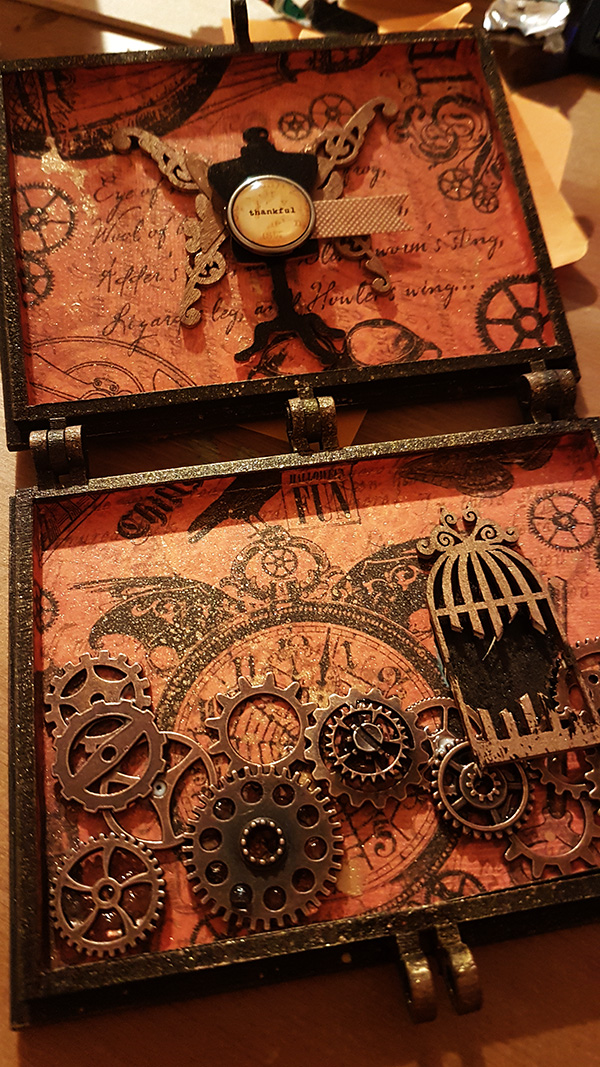
It was this glorious steampunk black and orange coloured paper from Graphic 45.
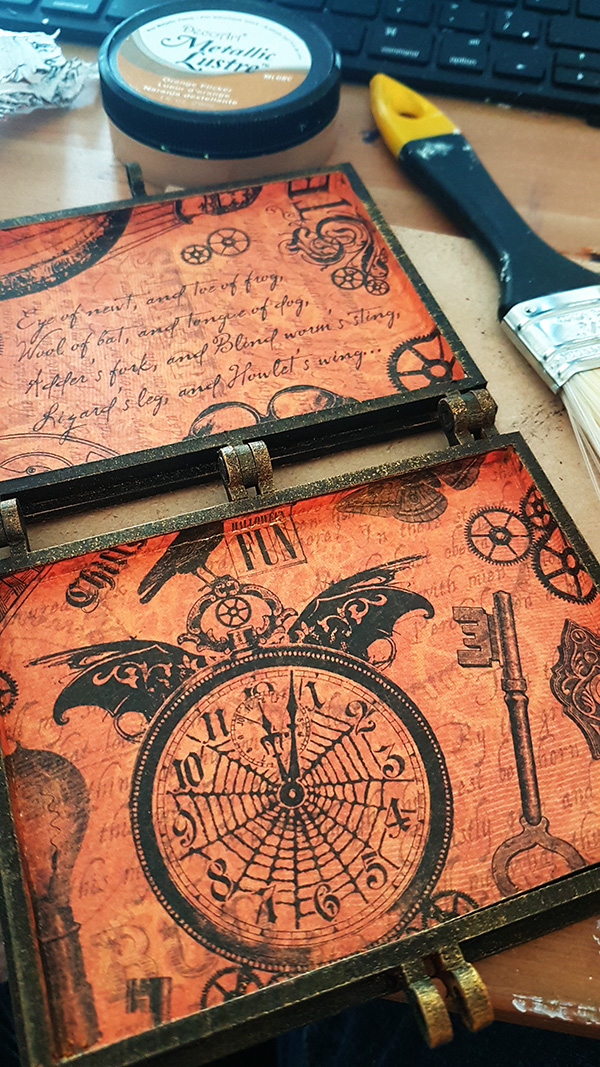
Measuring and cutting was a breeze as I already knew the outside measurements from earlier and knew that the MDF was 3mm thick.
I wasn’t happy with the white edge of the paper though so I coloured the edge with the black Pebeo pen from the same set that I had used earlier and then dry brushed on some Metallix Lustre.
Now for some embellishments.
I will admit that I did spend some money rather than rummaging. The reason? I simply wanted some coppery coloured cogs.
After a rummage, of sorts, through the internet, I fell upon this awesome mixed bag of metal gears on Amazon!
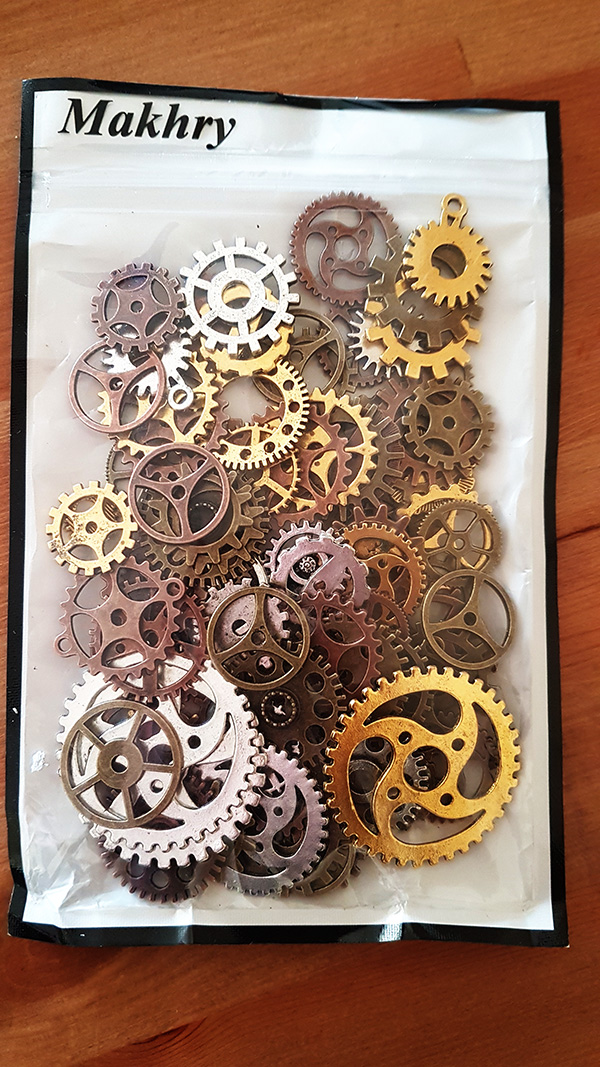
They did single coloured bags but as I was only going to use a few and may want other colours in the future, I thought that it was more prudent to get the mixed bag.
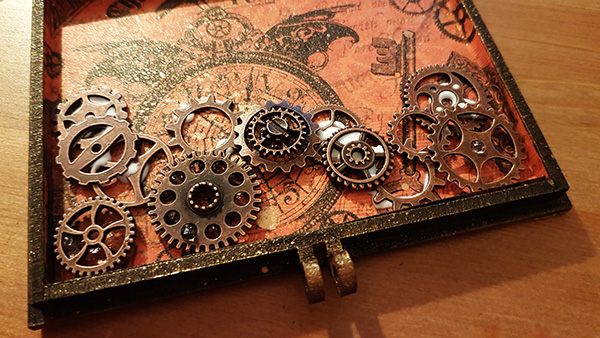
Now, how to arrange them? Well, I tinkered for a while but nothing worked. Then I remembered the sentiment that I had used on the front of the card – take risks.
So I threw in some cogs, closed the box, jiggled it about and then opened it up. Et Voila!
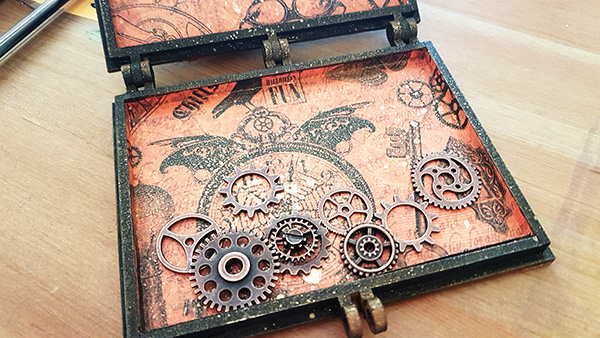
Can’t believe that actually worked! lol!
I glued them all roughly in the places they fell and then added a few more for depth.
On one of my earlier rummages, I found a bunch of wooden shapes that I wanted to use so I coloured these with the black Pebeo pen. Wasn’t sure which I’d use in the end so I coloured them all.
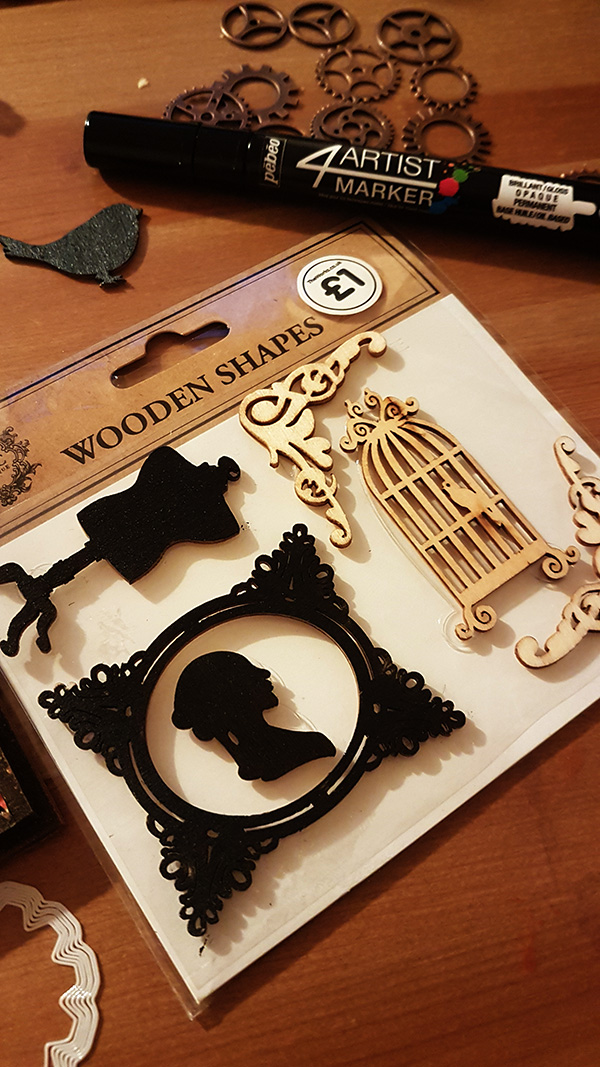
As I was colouring I was thinking through what I could do with them and came up with an idea that again followed on from the sentiment on the front of the box.
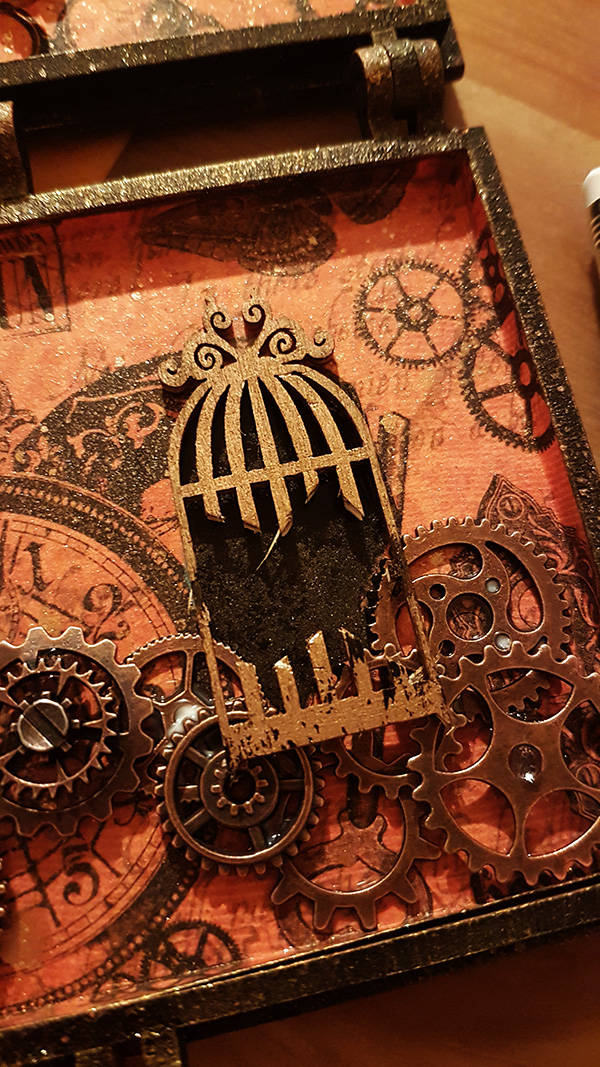
I first cut away some of the birdcage. Then, recoloured it with the copper coloured Pebeo pen and glued it in place.
With the mannequin and corners, I created a winged statue that I glued to the top end of the box.
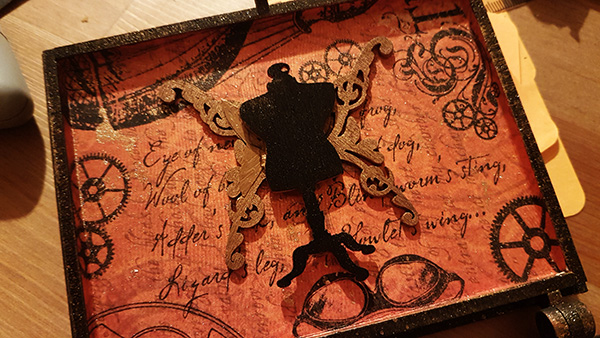
I then added a couple of extra bits from a set of brads by Teresa Collins, glueing them in place with Pinflair Glue Gel.
Looks awesome so far! Well please with this!
Ok, few more bits to sort – the clasp, for starters…
PLEASE VISIT THE NEXT PAGE OF THIS POST BY CLICKING ON THE NUMBERED LINKS BELOW

[…] is a quick pic of one of the kits that I decorated a while ago, as detailed in this blog post, and some of the new kits that are also […]
LikeLike
Loved this project John and I was amazed how it looked at the end. It could be used in so many different ways.
Hope you add an mdf range to your shop in the future so we can buy them from you.
You are so talented and we are very lucky that you share this with us so we can learn along the way.
LikeLiked by 1 person
This is fantastic a couple of my granddaughters would love something like this
LikeLiked by 1 person
Absolutely love this piece John. Totally unique and so special. Thanks for sharing every step with us.
LikeLiked by 1 person
You HAVE to start selling this stuff
LikeLiked by 1 person
Fabulous creation
LikeLiked by 1 person
It’s fabulous John, well done :) I wasn’t sure about one part (the front with the strip of lace) but it really works on the finished article.
LikeLiked by 1 person
This is absolutely stunning John, what a masterpiece. I love the journey how you made this from page 1 to 5, thank you so much for sharing this.
LikeLiked by 1 person
I absolutely love this, you are so creative and I really enjoy reading your blogs following your journey and varied artistic forays.
LikeLiked by 1 person