
I started this by covering the front with a crumpled piece of kitchen towel, glueing it down with Pinflair Bookbinding glue.

After letting the glue dry, which didn’t take long, I coated that with a layer of black gesso and left that to dry.
Then I broke out a red and yellow metallic lustre and began dry brushing this across the textured surface.
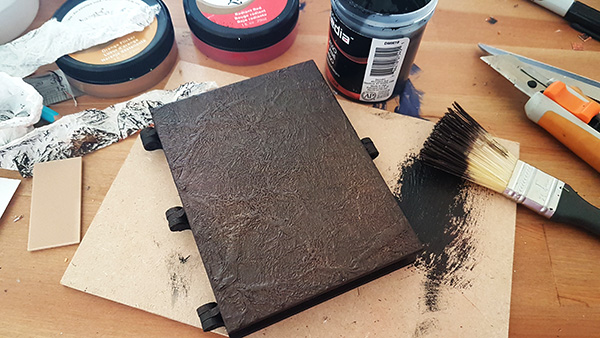
Looking a little like battered leather isn’t it?
I continued dry brushing and building up denser areas around the edges.

A thick coat of crackle paste was then added and left to dry.
A thicker layer of crackle paste gives thicker and bigger cracks, as you can see in the image below.
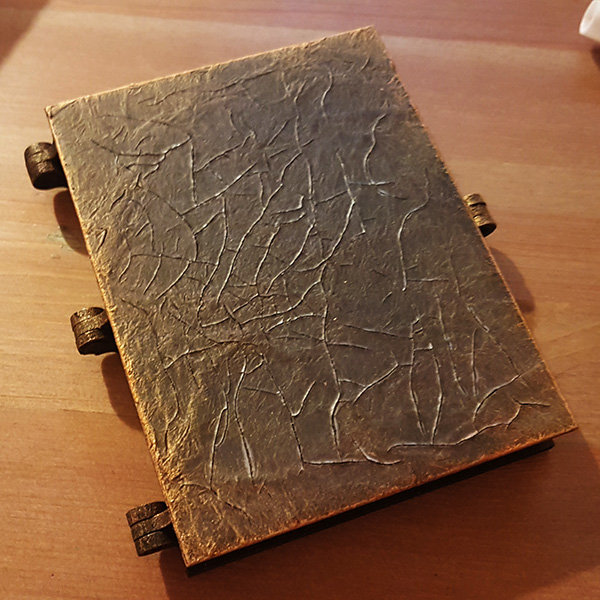
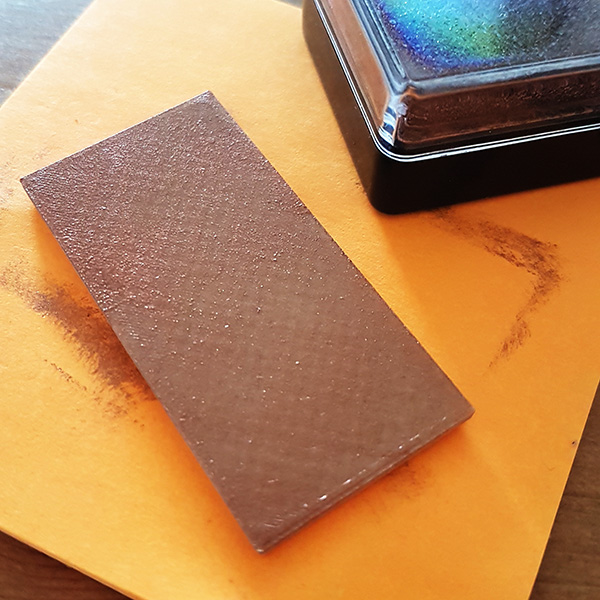
I then smeared a copper coloured ink over the top.
A piece mountboard was then cut down to fit the front of the box and edged with the same copper coloured pigment ink.

Deciding that the all-over metallic look was not what I was after – although I didn’t actually have a plan – I roughly smeared some black gesso over the top and then used some orange acrylic paint to edge the box front again.

Then added some more metallic colouring to the edges again.

I then repeated this on the back panel too.

Yup! Works for me! :)
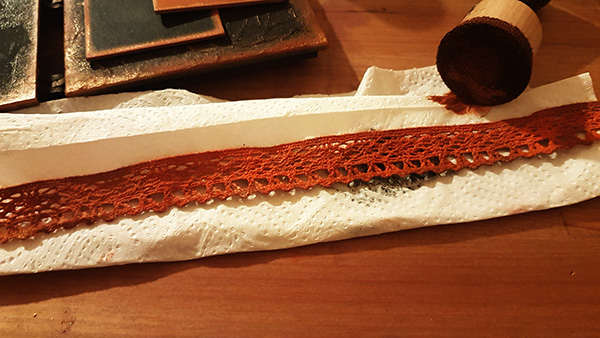
While all of that dried I went rummaging into the bit box and came out with some lacey ribbon – 50p from The Works!
I coated this with orange acrylic paint and then scuffed some of the other mediums that I had been using earlier to make it ‘work’ in the design.
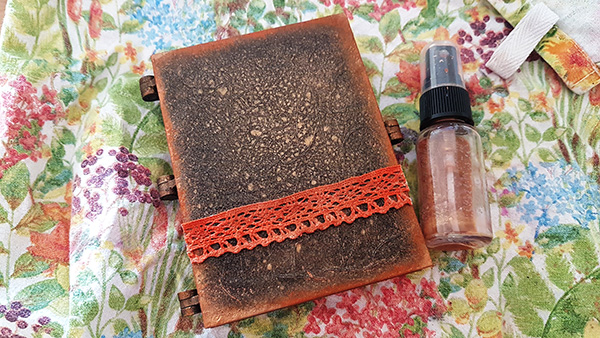
This was then glued to the front of the box and the whole thing got spritzing of copper/gold metallic mica spray.
Back to the focal panel now.
I grabbed an Impression Obsession Cover-A-Card stamp from my collection and used a copper coloured metallic pigment ink to stamp this onto the mountboard.
Because the stamp was huge I took the board to the stamp, instead of the stamp to the board.

In my collection of ‘stuff’ I also have some domino tiles that I printed with my CoLiDo 3D Compact printer, although these could of course have been cut from the mountboard too.
One of these got a coating if copper metallic pigment ink and some edge detail with Pebeo ‘4Artist Marker’ metallix markers.
I also added some sentiment stickers reading, ‘take risks, stay curious’ from the Tim Holtz sentiment sticker sheets and gave it a layer of crackle paste.
These bits were then stuck to the front of the box along with some faux nail heads that I made from circular self adhesive foam pads and the Pebeo pens.

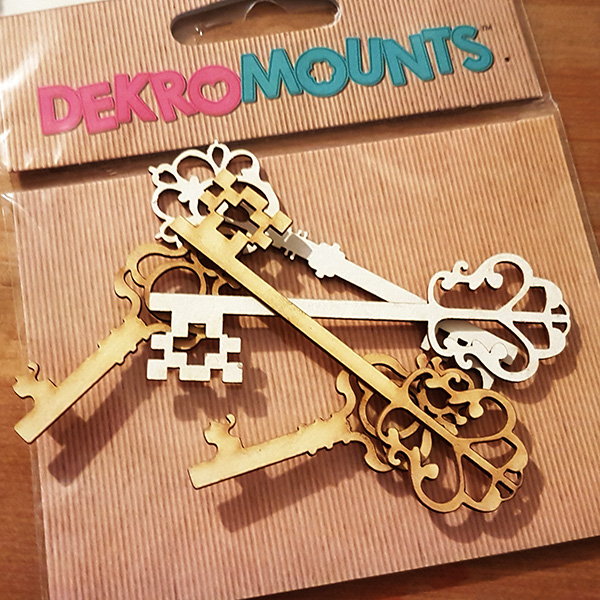
Something was missing though so I went back into my bit box and found these cool laser cut cardstock keys that I picked up a while back at the Kanban Outlet store.
Using the Pebeo pens again I thoroughly coated this key.

Glued it in place and then added a faux gem and faux nailhead.

Not quite there though. More hunting and rummaging – a-ha!

Perfect. The cog came from a pack that I will show later in this post and the swirly bits were offcuts from a wooden bird cage embellishment that I use later in the project.
Ok, time to leave the outside alone before I overdo it and move on to the interior…
PLEASE VISIT THE NEXT PAGE OF THIS POST BY CLICKING ON THE NUMBERED LINKS BELOW

[…] is a quick pic of one of the kits that I decorated a while ago, as detailed in this blog post, and some of the new kits that are also […]
LikeLike
Loved this project John and I was amazed how it looked at the end. It could be used in so many different ways.
Hope you add an mdf range to your shop in the future so we can buy them from you.
You are so talented and we are very lucky that you share this with us so we can learn along the way.
LikeLiked by 1 person
This is fantastic a couple of my granddaughters would love something like this
LikeLiked by 1 person
Absolutely love this piece John. Totally unique and so special. Thanks for sharing every step with us.
LikeLiked by 1 person
You HAVE to start selling this stuff
LikeLiked by 1 person
Fabulous creation
LikeLiked by 1 person
It’s fabulous John, well done :) I wasn’t sure about one part (the front with the strip of lace) but it really works on the finished article.
LikeLiked by 1 person
This is absolutely stunning John, what a masterpiece. I love the journey how you made this from page 1 to 5, thank you so much for sharing this.
LikeLiked by 1 person
I absolutely love this, you are so creative and I really enjoy reading your blogs following your journey and varied artistic forays.
LikeLiked by 1 person