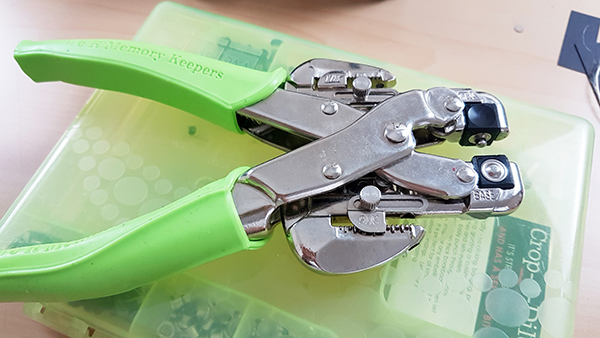
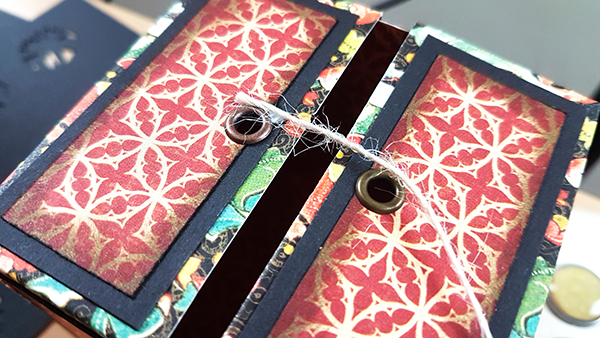
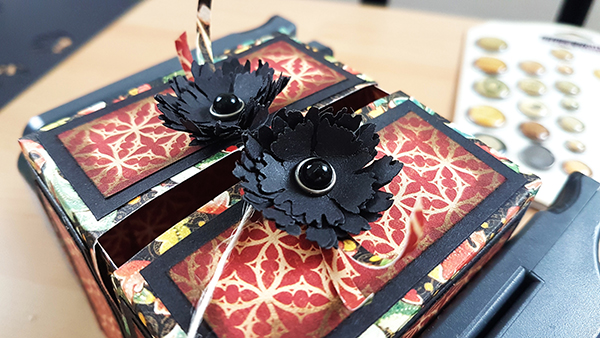
For the closure mechanism I used my Cropodile hole punch and eyelet setter to punch two holes and then secure two eyelets.
Some of that bonus twine was then glued to the edge of one of these eyelets.
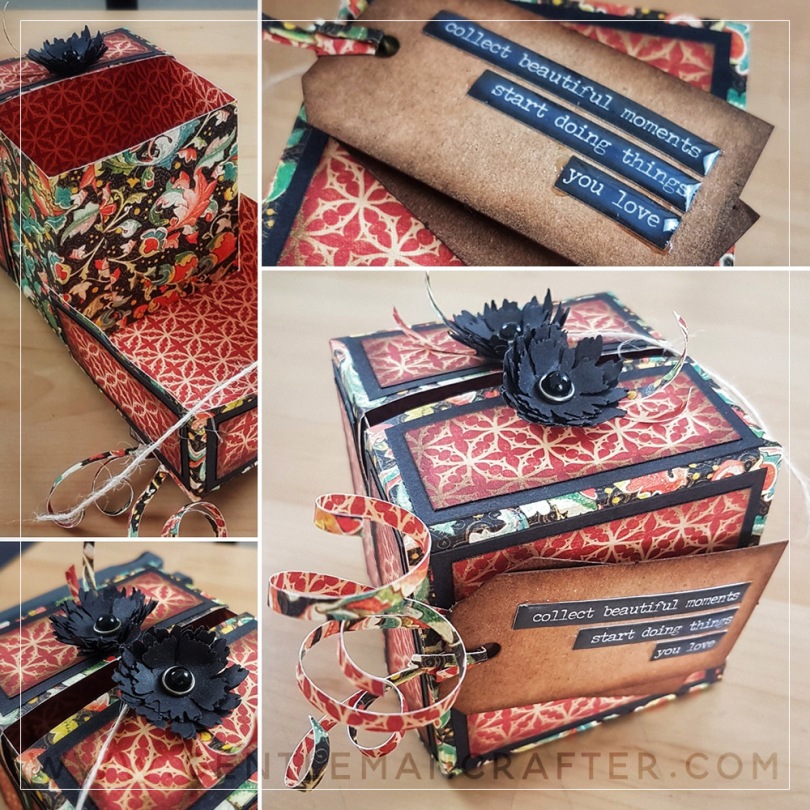
Flowers were decided on to add some detail to the box top so I grabbed some decorative brads from Teresa Collins.

… along with some black card stock and Tim Holtz Sizzix flower punches and got to work.
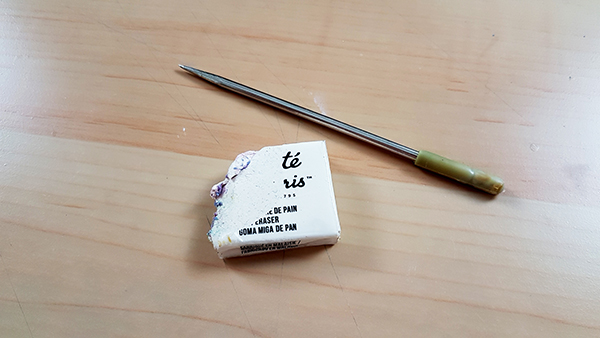
After punching out the required number of bit for each flower head I used a pokey tool and old eraser to poke holes into each piece …
… and then threaded these onto the brads.
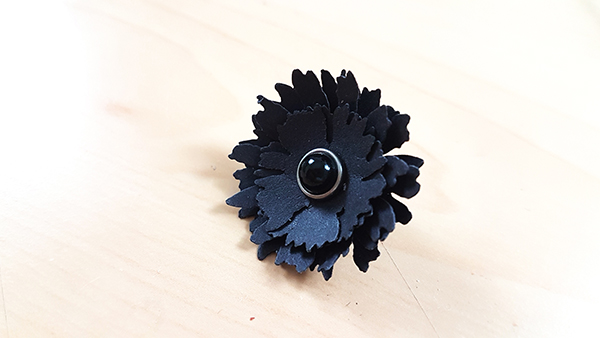
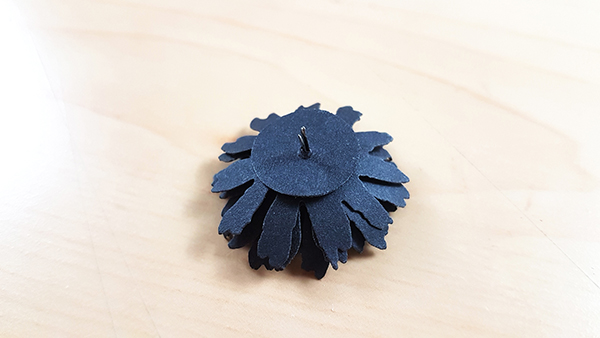
These were then threaded through the eyelet and set in place by opening the legs (ooo-er) on the brads.
Now that, as they say, was that!

If you would like to watch the accompanying video, which is about 20 minutes long, please continue to the last page of this blog post.

Hi, I am new to your website and have just purchased my SNC2. Am wondering if this Clam Shell Memory Box can be made on the SNC2?
LikeLiked by 1 person
Probably. That wasnt the purpose of the post though.
Do check out the rest of the blog as there are a growing number of features relating to the Scan N Cut.
LikeLike
Thanks…I did see your other post about the bags. I guess, as a newbie, I should just stick to the SNC2 posts.
LikeLiked by 1 person
Brilliant John! Your video makes it all look so easy. Thank you. Liz X
LikeLiked by 1 person
Fabulous John xx hazel
LikeLiked by 1 person