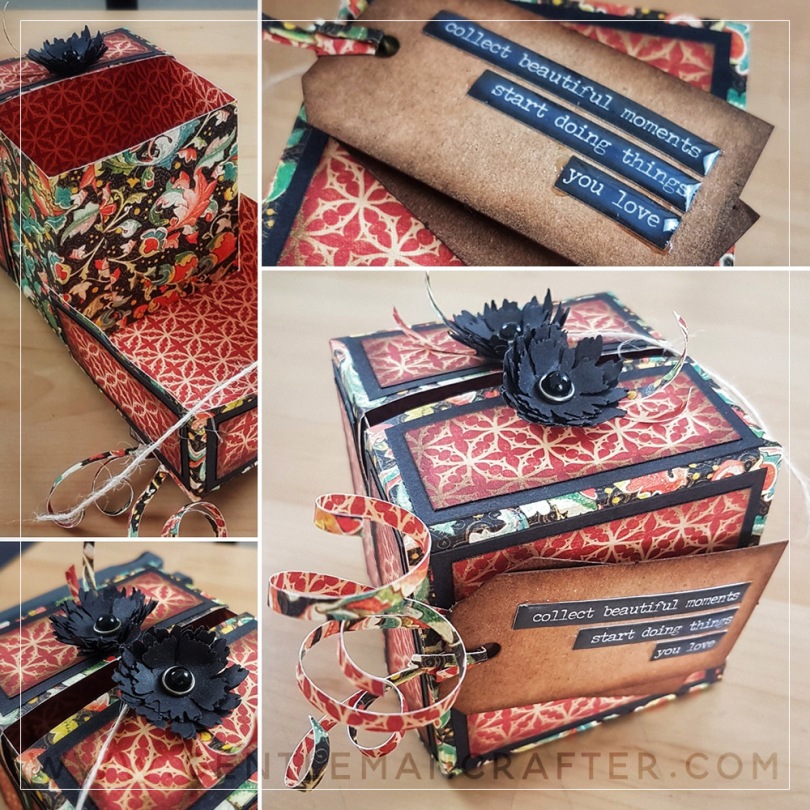
As part of the decoration I needed to create some mats/layers to stick to the outide of the box. Spreadsheet out and mathematical calculations concluded and I got to chopping.
FYI, I won’t leave you to guess, if you download the reference sheets that accompany this blog post then the sizes for these are also given.
So that you don’t have to scroll back through the pages, here are those links for the different sized boxes again.
These were glued on with bog standard PVA glue.
For the decoration, I used a few bits from my stash.
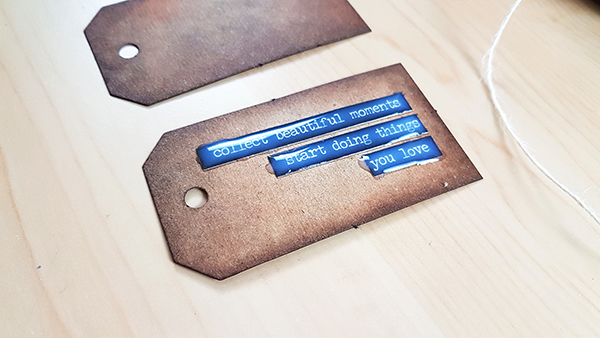
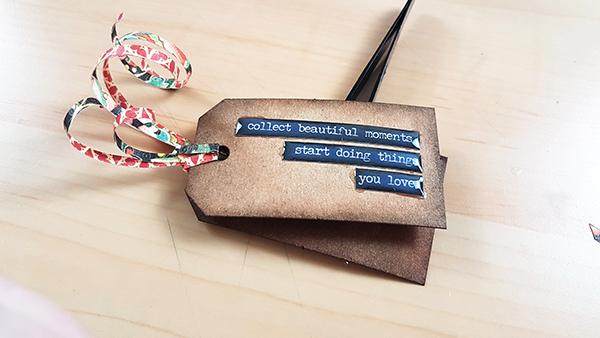
The first was some sticky sentiments from Tim Holtz.

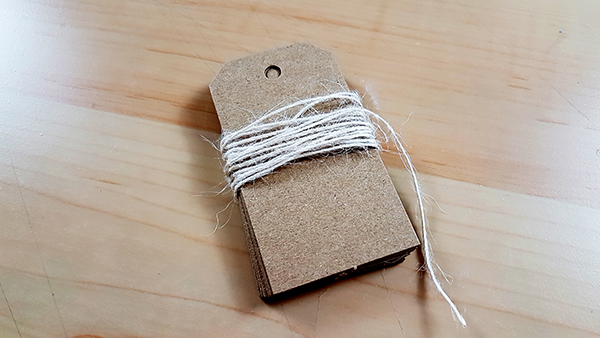
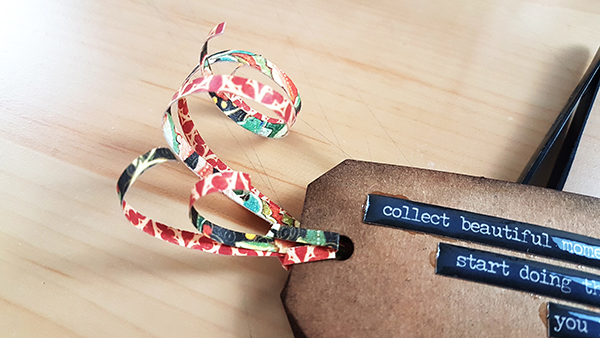
Also some kraft card tags from Craftwork Cards – the twine came with them, which was handy!
I inked the edges of the tag with some Adirondack earthtones and stuck the sentiments to it.
Some Anita’s 3D glaze was nearby so I grabbed it and coated the sentiments.
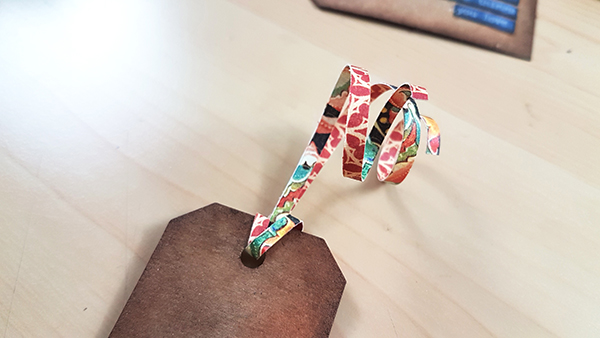
To add some ‘ribbon’ to the tags I used some of the left over paper to create paper ribbons, threaded them through the tag and then curled them.
Having made two, I thought that it would be nice to layer them up with Pinflair Glue Gel.
That’s the main decoration. I’ll stick this to the box front later on.
Before then, I need to make a closure mechanism for the box top …

Hi, I am new to your website and have just purchased my SNC2. Am wondering if this Clam Shell Memory Box can be made on the SNC2?
LikeLiked by 1 person
Probably. That wasnt the purpose of the post though.
Do check out the rest of the blog as there are a growing number of features relating to the Scan N Cut.
LikeLike
Thanks…I did see your other post about the bags. I guess, as a newbie, I should just stick to the SNC2 posts.
LikeLiked by 1 person
Brilliant John! Your video makes it all look so easy. Thank you. Liz X
LikeLiked by 1 person
Fabulous John xx hazel
LikeLiked by 1 person