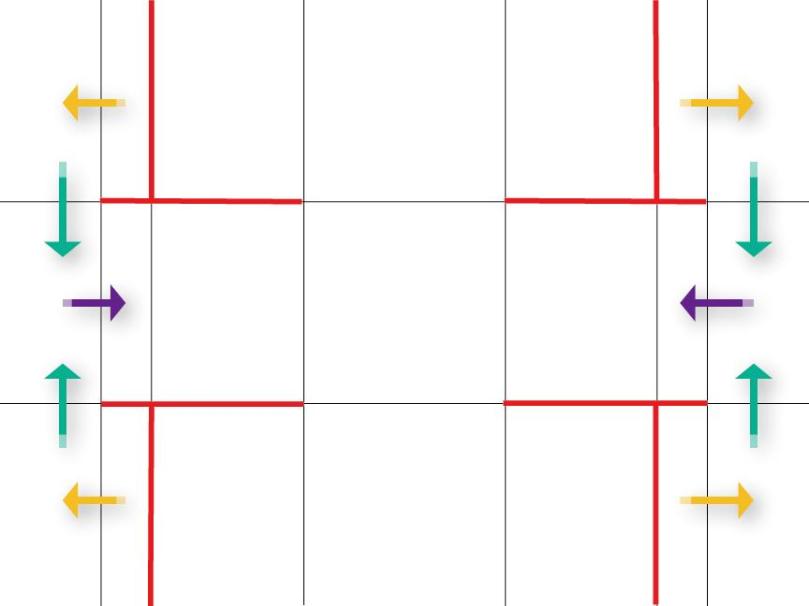
First, lift one large flap up 90° (orange arrow) then lift the side of the box up 90° (blue arrow). Repeat this on the opposite side and the large flaps should then overlap and can be glued in place.
Then, repeat for the other side.

This forms the box part of the project.
Next, for the clamshell cover.
Fold on small flap 90° (orange arrow), then fold the side up 90° (blue arrow) and then fold the lid over 90° (purple arrow). You should now be in a position to glue the small flap to the section at the end of the purple arrow.
Repeat this for the other three lid sections at each corner.
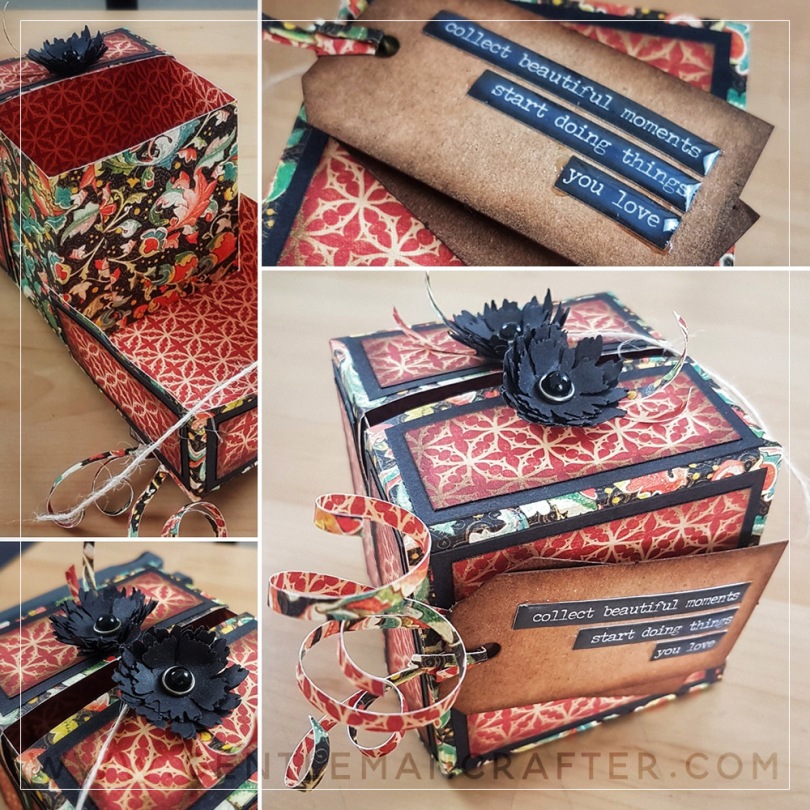
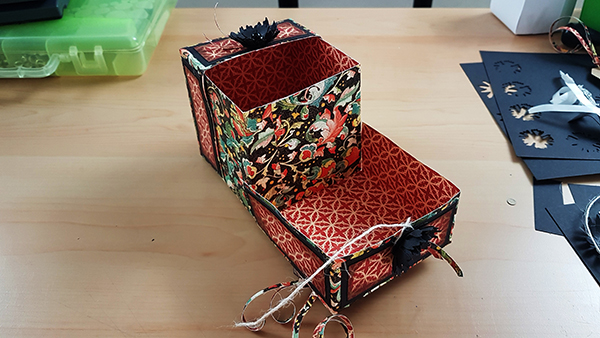
You should now end up with something like this … (without the decoration).
Speaking of decoration, fancy seeing how I did that bit…?

Hi, I am new to your website and have just purchased my SNC2. Am wondering if this Clam Shell Memory Box can be made on the SNC2?
LikeLiked by 1 person
Probably. That wasnt the purpose of the post though.
Do check out the rest of the blog as there are a growing number of features relating to the Scan N Cut.
LikeLike
Thanks…I did see your other post about the bags. I guess, as a newbie, I should just stick to the SNC2 posts.
LikeLiked by 1 person
Brilliant John! Your video makes it all look so easy. Thank you. Liz X
LikeLiked by 1 person
Fabulous John xx hazel
LikeLiked by 1 person