Ever had a brain plop that turns out to be a really good idea? Believe me, when I say, I am really proud of this week’s 3d printed plop!
Don’t worry, no actual plops were used in the making of this blog post, just the brain egg kind.
As ever I am using Microsoft 3D Builder for the design work and my CoLiDo 3D Printer for the printing.
Anyway, this string of egg-plops started out with a little birdie. Here is the cute little chappie.
Here is the cute little chappie. Go on, give us a tweet!

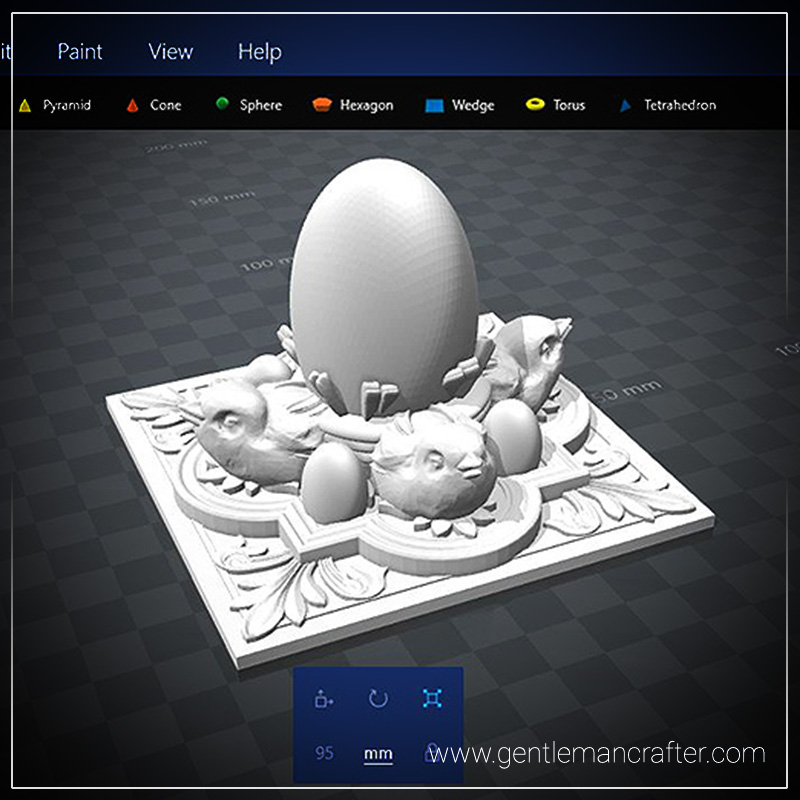
Now, I did have to work hard to get the next brain-egg out, however, after a little fiddling in Microsoft 3D Builder I had duplicated the little chappie and also added a few actual eggs – the idea that I was working towards was to use it as a handle on an MDF box.
Here is the test print that I made.

Pretty awesome wouldn’t you agree?
I wanted something more though as colour combos were starting to take shape.
I, therefore, rooted through my collection of 3D files and came across the box top file that I used in some of my very early experiments.
Using the basic shapes from Microsoft 3D Builder I added a little more depth to it, shown in green, so that it would have good structural strength.
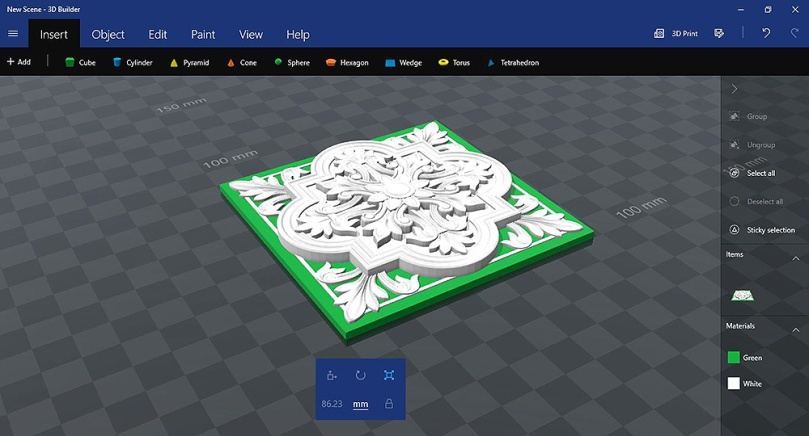
This was then combined with the original bird design.

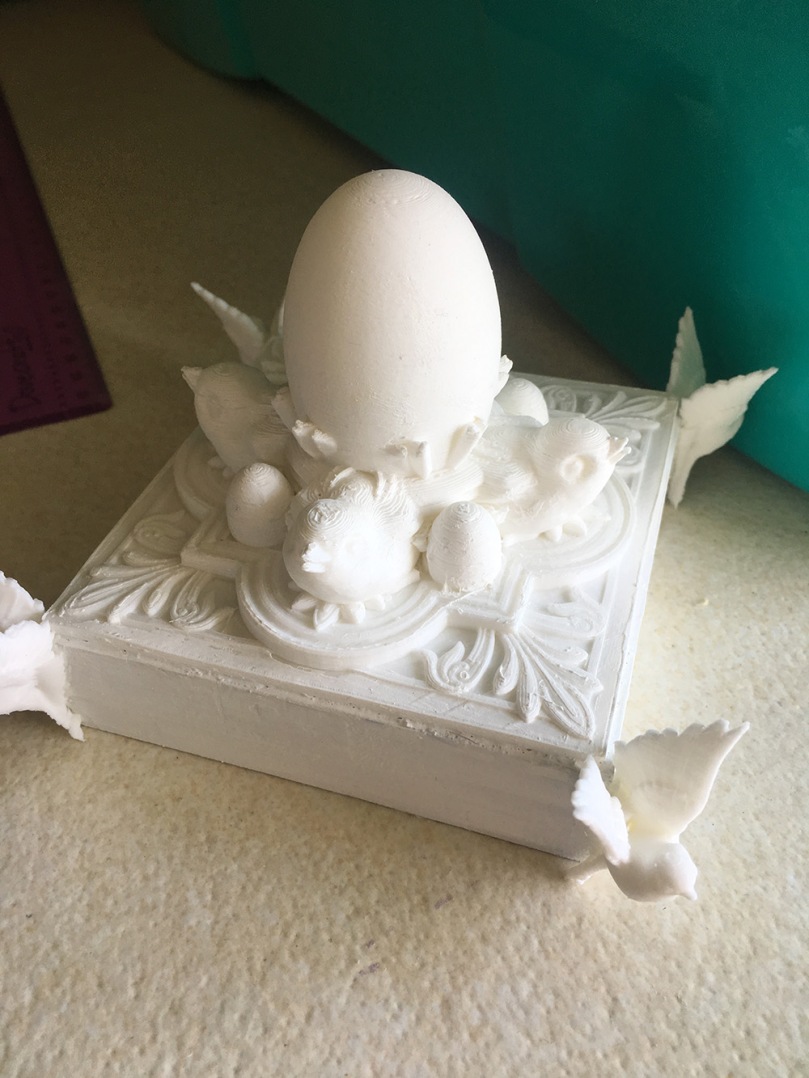
Here is the 3D test print of the next stage.
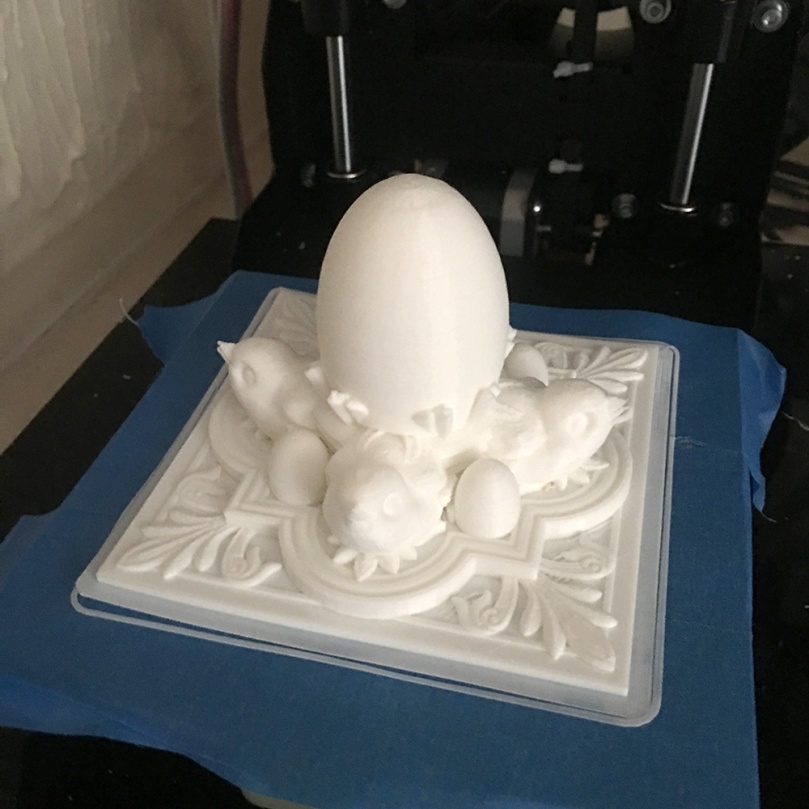
Cool!
I took this and glued it to an MDF box top using Pinflair Glue Gel and, whilst that was drying, I sat down to consider if any more brain-egg plops could be formed.
The answer was an inevitable yes!
Cue chirpy chappy two!
This guy is flapping amazing.
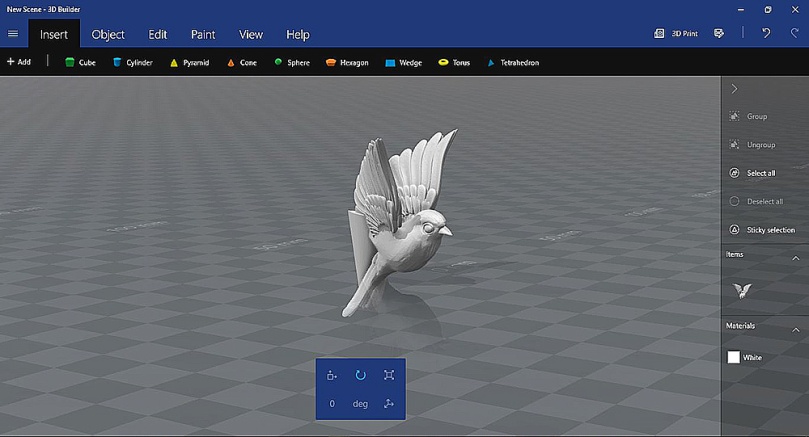
I had already decided that he would be stuck to the box top at the corners so again I used one of the built in shapes from Microsoft 3D Builder to add an upside-down cone to the bird and then chopped out a wedge using a cube.
Four of these were then printed off and glued to the box top.
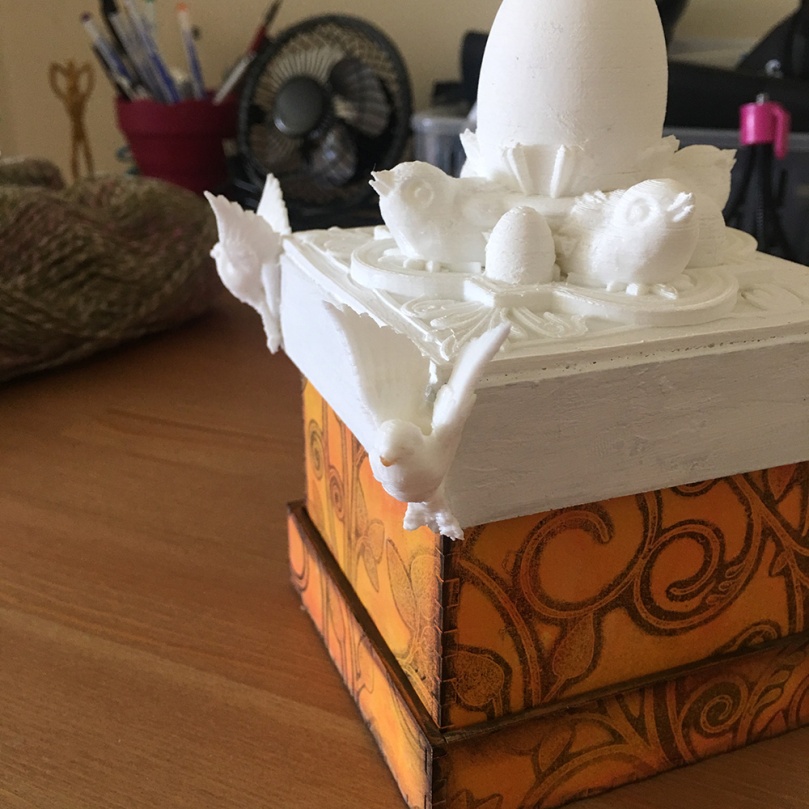
Still quite not there though as now there is a ‘bald patch’ between the flying birds.
Brain-plop says SWAG!
So off I went to find a swag design and then edited it to give the centre an egg shape – quite a lot of those in this post aren’t there?!
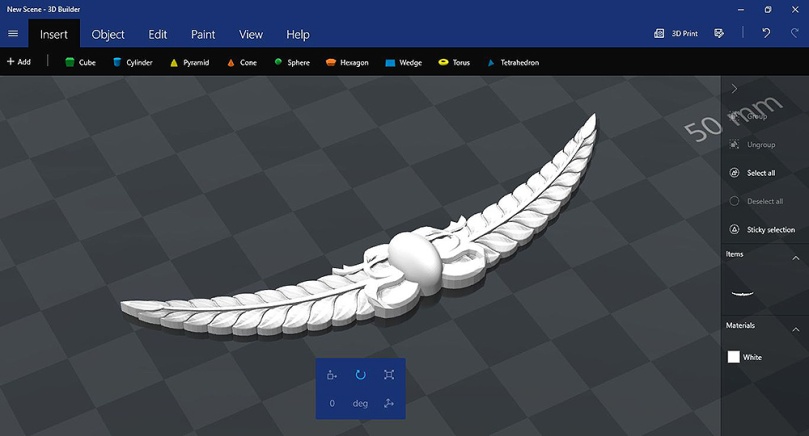
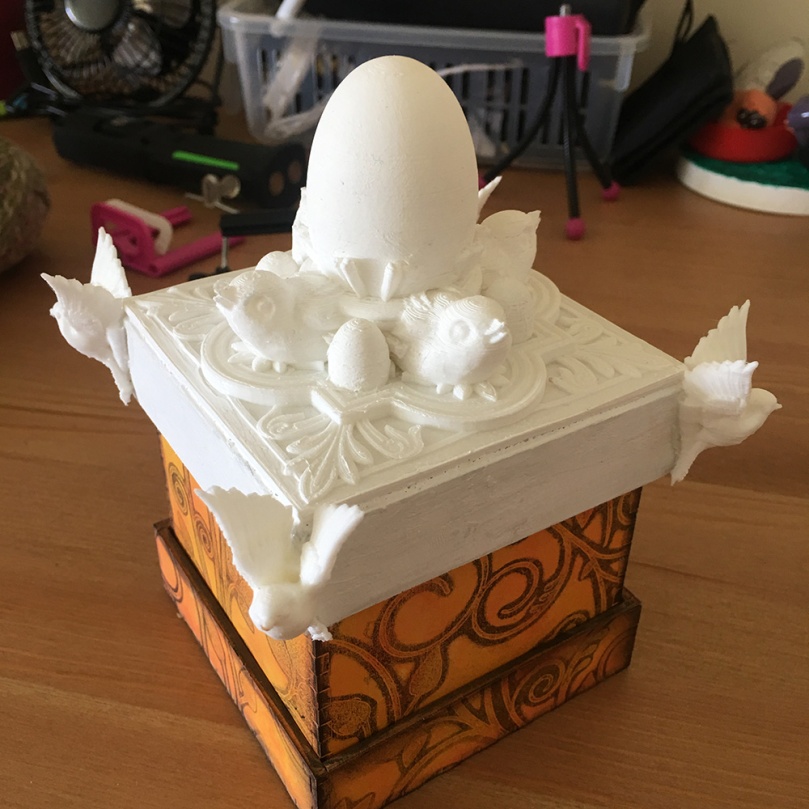
Four of these were printed and then attached to the box lid with Pinflair Glue Gel and held in place while drying with 3M painters tape.
Phew! I’m all plopped out!
I left this overnight to fully dry and then rose in the morning ready to raid the paints and pastes and decorate the box!
For the next steps in this story, please click on the numbered page links below.

Just amazing
LikeLiked by 1 person
Brilliant John
LikeLiked by 1 person
Absolutely amazing x
LikeLiked by 1 person
That’s amazing! You are sooo talented!
LikeLiked by 1 person
WOW John :)
LikeLiked by 1 person
Well done John it is gorgeous. I half expected it to turn into a Faberge egg. Now there’s another idea.
LikeLiked by 1 person
I love it. Wouldn’t it be a wonderful for a wedding ‘Nest Egg’ gift voucher?
LikeLiked by 1 person
Ooh that would look great in gold!
LikeLike
Awesome, absolutely beautiful, and I love birds as well. x
LikeLiked by 1 person
wow just wow !!!
LikeLiked by 1 person
Great work, I can also see the base part being cut out for cards with ScanNCut :-)
Keep playing xxxx
LikeLiked by 1 person
Wow this looks amazing!! What a famtastic gift for someone special. Isn’t it wonderful what we can male on our own homes these days.I wish these gadgets were available when I was younger! Looking forward to the next installment to see your project finished.
LikeLiked by 1 person
Wow John this is amazing,😆
LikeLiked by 1 person