For a recent playtime I showed you a couple of designs using Stampscape rubber stamps.
In this next post I am heading back to some stamps that I have had with me for a while. They are the Cover-A-Card stamps from Impression Obsession.
Now, I will start by telling you that this make did not turn out at all as I was planning.
But I guess that’s the end of the journey, so I think I’d best go back to the beginning.
I had decided to do some stamping to cover an MDF box from Fernli Designs so I needed to make that first.
Here are the pieces laid out and ready to assemble.

After folding up the sides, I had my box.

The lid was put together in the same way and then both were given a light coating of white gesso.

While that dried I grabbed my mega mount, slapped the Cover-A-Card stamp onto it and got the inkpad and glossy cardstock ready.

Inked up and one pass later and it was done!
Love these huge stamps!

I stamped three more sheets of these, one for each side of the box.

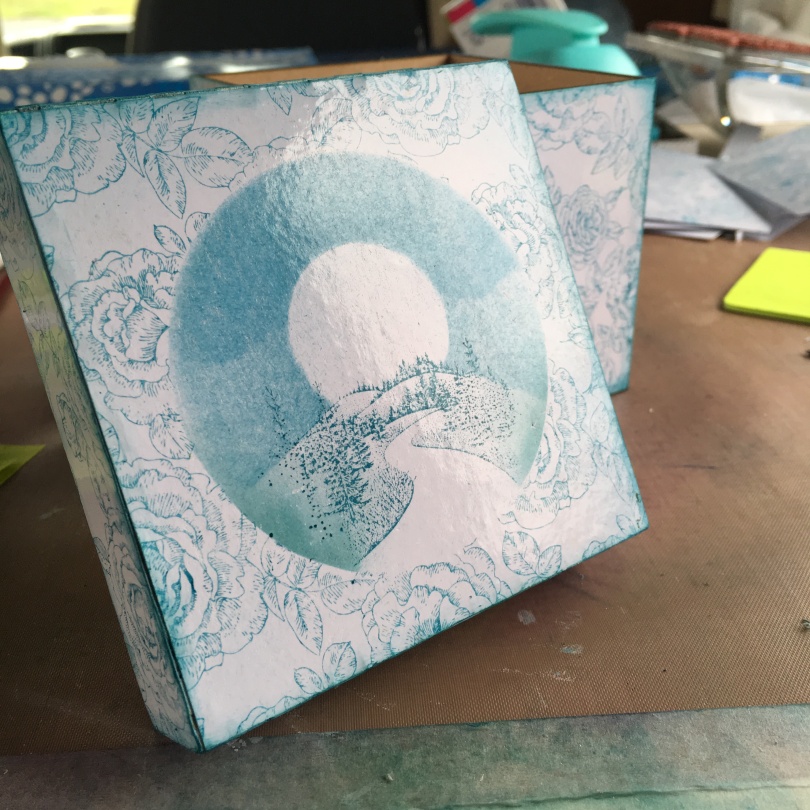
You have possibly guessed that I was aiming for a blue and white porcelain effect.
Looks good, right?
Ok, next. The top of the lid.
This was going to be slightly different and have a scene in it made using the Stampscape stamps.
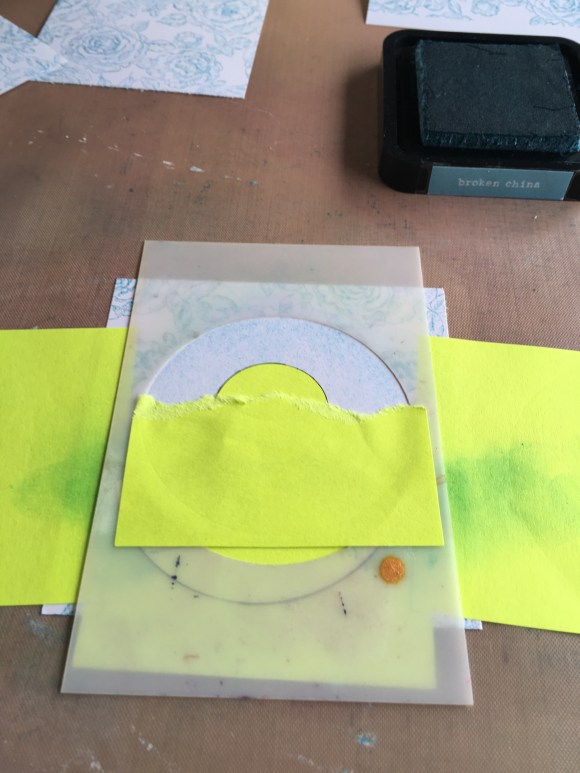
To start, I created a mask from a post it note and popped it into the square of glossy cardstock that has been cut to size already.

This was then stamped over using the same stamp that I had used for the larger sheet earlier.

A circular stencil was then used. Through this I gently dabbed some of the blue that I had already used to stamp with.
I created a mask from a post it note to use when I stamped the foreground.
Again, I used the same colour of ink.

Masks were then made for each of the scene elements and laid on top of other.
Ink was first brushed above the cloud line; the mask was then removed.

More ink was brushed on each time a mask layer was removed until I had this …

Now, it was ‘OK’ but it as at this point that I started to doubt how this would turn out.
Nevertheless I persevered and trimmed down all of the stamped sheets and glued them to the box.


Hmmm. *stands back and mulls it over*
Nope!
Its not what I was aiming for.
Start again?
No thank you.
What then?
This …

I simply cut another square, from the all over print, and stuck that over it :)
How to finish this though?
Had a dig through the die box and settled for a Susan’s Garden flower set.
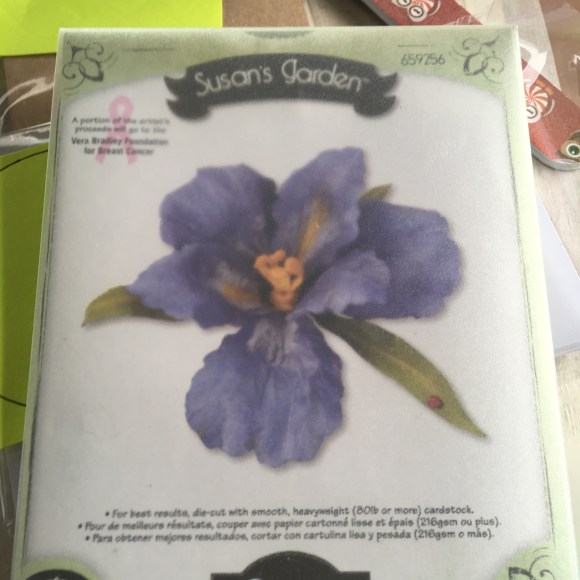
The petals were cut from leftover stamped scraps and also a paper that I had specifically covered in matching distress ink.
As a final flourish, I also added s one paper scrolls to either side of the box lid. These were also cut from scraps of stamps paper.
So, here is the final version …


What do you think? Was I right to change? Would you have stuck with the original?
Hehe, either way, I hope that you enjoyed this little creative journey with me.
Hope to be able to do more soon so will see you then.
Bye for now.
J :)

Both the botanical background and the central landscape art are so beautiful! I wondered for a while what this thing was…a canvas? other craft? I was far from imagining a box! Very pretty!
LikeLiked by 1 person
Like them both John, but think possibly what is missing from the first one is a frame around the image. Maybe would have added an outline of some kind in a dark blue x
LikeLiked by 1 person
Much prefer the second one, even without that lovely flower. Both very inspiring though. I like the box. Did you do anything inside?
LikeLike
Loved both of them John
LikeLike
Beautiful work, thank you
>
LikeLike
This is fab love it
LikeLike
Gorgeous box John and I have this stamp. Don’t use it enough. Will bear this design in mind. Thank you so much for sharing this. Great idea.
LikeLike
Really like both versions but personally would have had to add something to the first one as it’s missing ‘something’ just not sure what! :) x
LikeLike
Loved both of the things you did. Thank you for sharing your work John & for showing you can change your mind without starting at the beginning again. x
LikeLike
Very nice.Thank you John.Keep up the good work.
LikeLike
Love it John. What an interesting journey you had. Have to admit I prefer the end result. Thanks for sharing.
LikeLike
Wow, beautiful! I do like the “mulled over” second look but that’s just my style however the first really was a creation that was amazing to see! Not my style but I appreciate the techniques used. The only reason I’m choosing the second one is because I like the flow of the design without an interruption but this is again, my personal opinion and style. This mdf box turned faux ceramic is brilliant, the colors charming, the design elements seemless and flows throughout the piece, the top just ties the theme altogether. Obviously I love it but once again, it’s always neat to see your creative process and “get into your head” a wee bit! I’m a fan for sure
LikeLike
Definitely love the finished result. Thanks for sharing.
LikeLike
Fabulous John, Love everything about this and the story of ‘the journey’ was interesting . Thank youmfor your kind sharing. Bless you :-) x
LikeLike