
Day two of the Christmas blog post countdown has arrived! I’ve been making an assortment of Christmas tree decorations over the last few weeks and this was one that I did mid-November on a cold and wintery day – it felt so cold that I thought that it was going to snow!
You can imagine that creating a snow scene was like doing a rain dance but I cranked up the heating and set too.
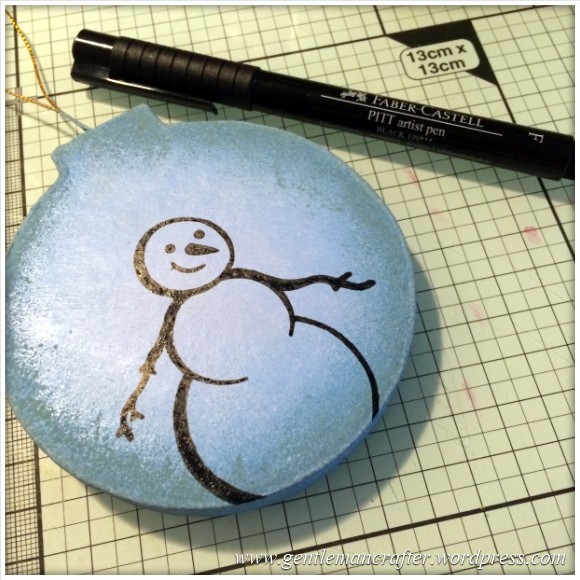
Anyway, the basis of this bauble was a blank paper mache bauble shape that I picked up at my local Hobbycrafts store – I think that it was about 50p.
I gave the bauble an all over coat of light blue paint and then stippled over the edges with some darker coordinating paint.

Looks a little more rounded than just a flat shape, don’t you think?
Next, the snowman stamp was inked up with Versafine ink and plonked right in the centre of the bauble. Plonk is an actual technical term you know ;)


Oops, didn’t quite get the whole thing. I guess that’s what you get for trying to stamp on a hollow object.
To correct this I used a Faber-Castell PITT artist pen (Indian Ink) to colour in the gaps.
Sorted!
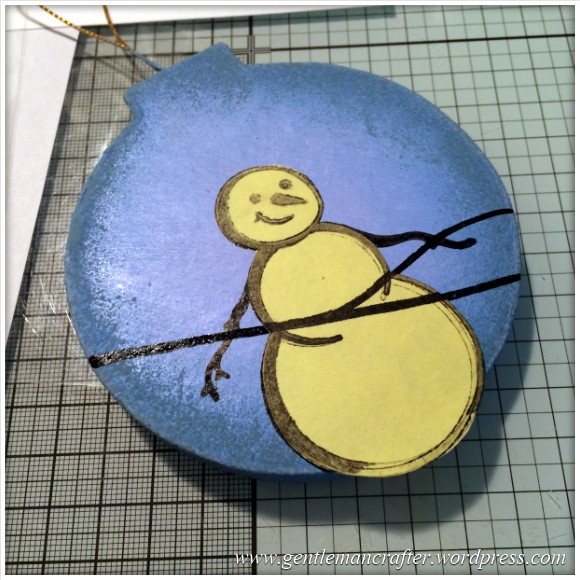
I made a mask from a post-it note and popped this over the snowman.

The stamp set came with a hilly snow scene line set also so I stamped this across the bauble.
Before removing the mask I also applied some white ink to the snowfall stamp from this set and “liberally” stamped (chucked) it all over.
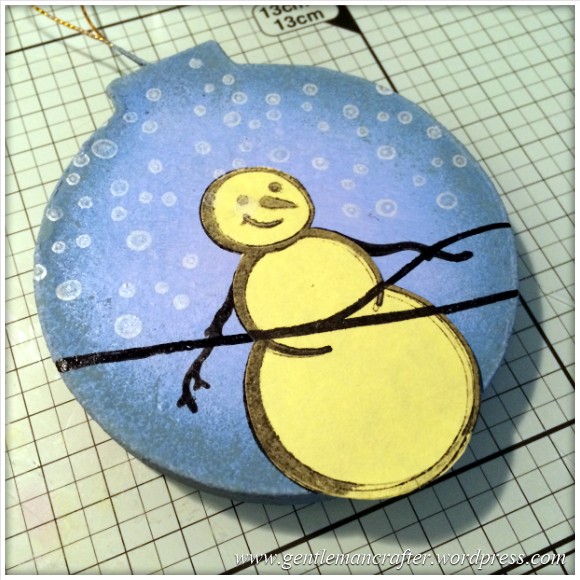
Think I went a bit mad with this. Looks like there needs to be a heavy snowfall warning to accompany the bauble, lol.
Anyway, I popped a dot of white acrylic paint in the centre of each “snowflake” because, to the naked eye, they looked a little faint.
I also stamped a couple of actual snowflake images around the edge. Maybe this would look like the others are in the background?
For the next step I used some cream coloured acrylic paint to start filling in the snowman and hills in the background.
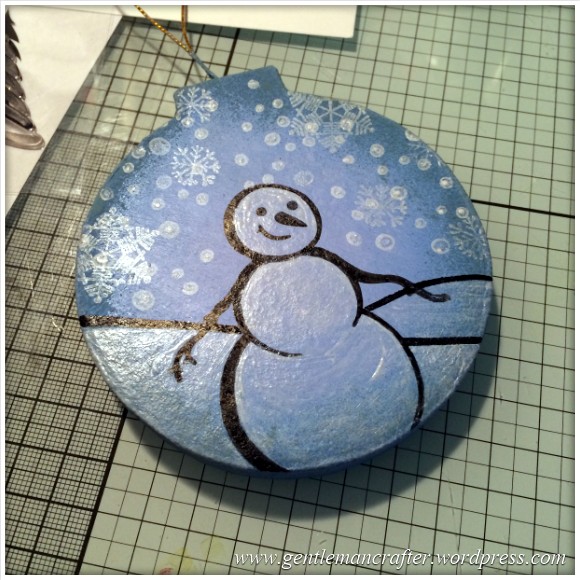
The first application didn’t have a lot of opacity so I kept adding further layers until I got a good depth of colour.
I did in fact apply more layers to the snowman than the hills as I wanted him to stand out.
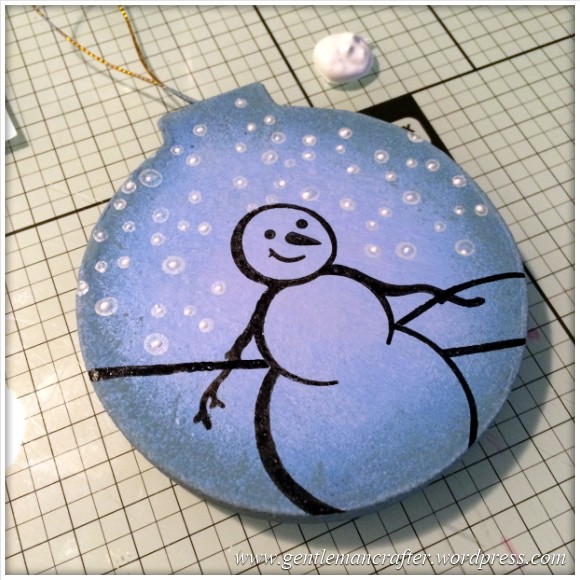
For the next bit I also added a couple of trees, using stamps, and then went over these with that black PITT pen again.

It was at this point that I realised I wanted to give my little man a scarf – oh poo. Um, Ok, just chuck it on …

… and then paint it in…
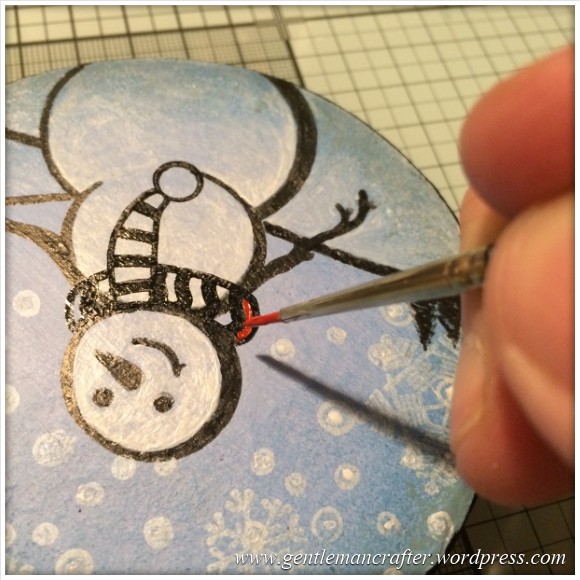
Ta-daaa…
… no-one would be any the wiser would they – well, unless I told them, like I just told you.
You’ll need to keep it a secret now ;)
At the end of the painting etc I hung the little chap out to dry.
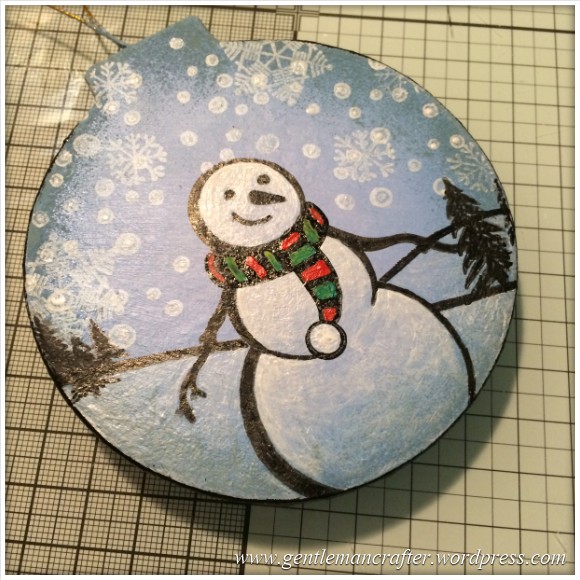
The next day I came back and added a whole loada bling!

Well, it would have been rude not to, lol.
By the way, I didn’t mention it earlier but I did use some ink to black over the edges. This framed up the design nicely. You may have spotted this but as it wasn’t a hugely important thing I completely forgot to take a pic of the step in which I did it.
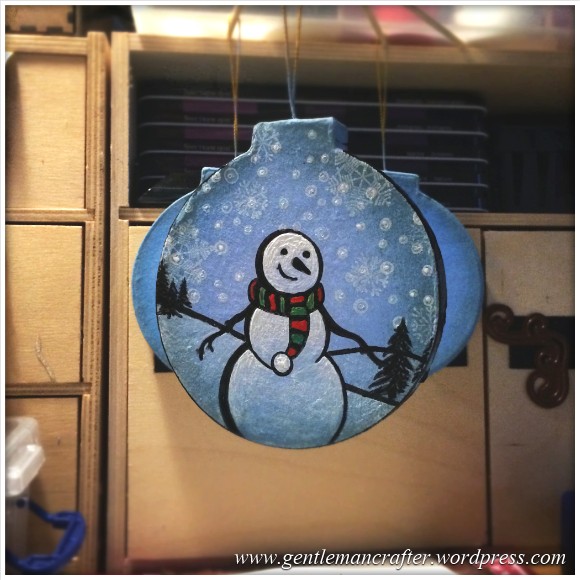
And finally here is my little chap on display for all to see. (Ok, that does sound a little ruder than intended – stop sniggering please, lol). I meant that the bauble has been hung on my lovely Balsam Hill Christmas Tree you naughty people.

What do you think? Fairly quick and easy to make if you want to have a go yourself. I have two more of these bauble mache shapes – I wonder if I should do the same or something different on them…
Thanks for reading today and I hope you can stop by again soon.
Take care for now.
J :)

I just love them John,it most be great to look at them on the tree,and say ( I made them)
Ita.
LikeLiked by 1 person
What a great idea! I’m looking forward to having a go at this myself. It looks like fun. Thanks again for sharing your lovely ideas with us.
LikeLike
Very cool. Not only do I enjoy and learn so much from your creative process but your dialog is so whimsical! If you wrote a book about crafting, it would be a best seller. Jus ‘sayin :)
LikeLike
Lovely John, now the same for the back…….you never know he could have a little snowball tail, wouldn’t that be fun….
LikeLike
Hi John I love this bauble it will look fantastic on your new tree. Hugs Jackie
LikeLike
Brilliant John. You give us so much inspiration. May be I will have a go but it will be for next year now! Another decoration for our tree!! Thanks for sharing.
Happy crafting
Carole.
LikeLike
I love it, he’s so sweet. Well done John, really enjoying your daily Christmas blog
Love and Light
Sioux x
LikeLike
That’s brilliant. A little work of art! xx
LikeLike
Love it and so cute xxx
LikeLike
Absolutely beautiful John.
Love it!
Carol
LikeLike
Hi John
This has reminded me I have some wooden bauble shapes I didn’t get around to decorating last year… and I’m so behind I’d better do them in the spring so they’re ready for next Christmas!
Lovely use of a stamp- and the improv scarf. Do more if you have time, perhaps put a bobble hat on mr snowman or have a night scene? They’d be a big hit with children of all ages and quite a talking point!
Loving your projects, have fun
Hugs, T x
LikeLike
brilliant!
LikeLike
Lovely bauble….perfect for your beautiful tree. Definitely decorate the other baubles…but I suggest not the same design – you are so creative, that will not be a problem!!!!
Ja
LikeLike
Absolutely stunning, well done you. ( again ).
LikeLike
Really nice don’t fancy doing 12 for me ha ha xx
LikeLike
He is lovely,going to give it a go. Thank you John
LikeLike