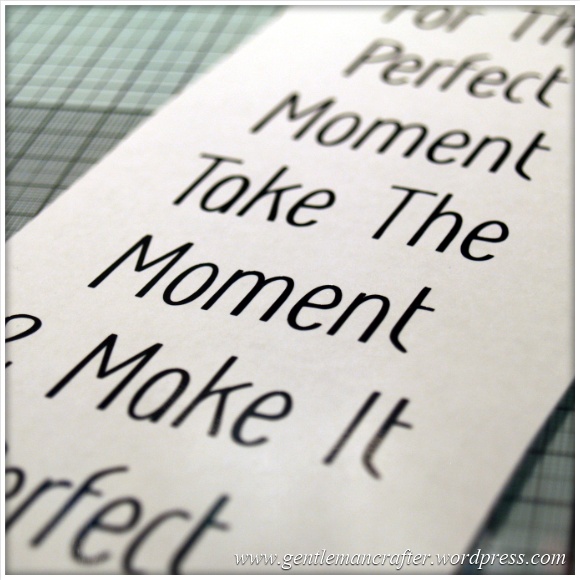
In a range of my completed projects using the Brother Scan N Cut I have used Peel Off vinyl sheets to create sentiments or even a complete verse.
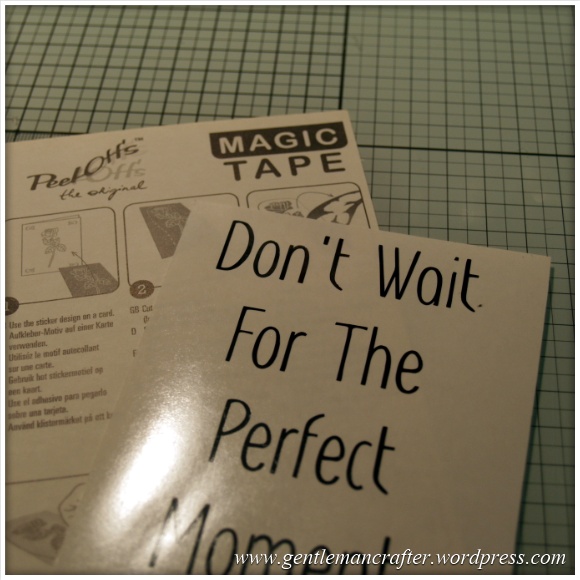
Transfering this to the finished project was a little challenging until I remembered Magic Transfer Tape.
Here is a quick run down of how it works and why it is AMAZING!
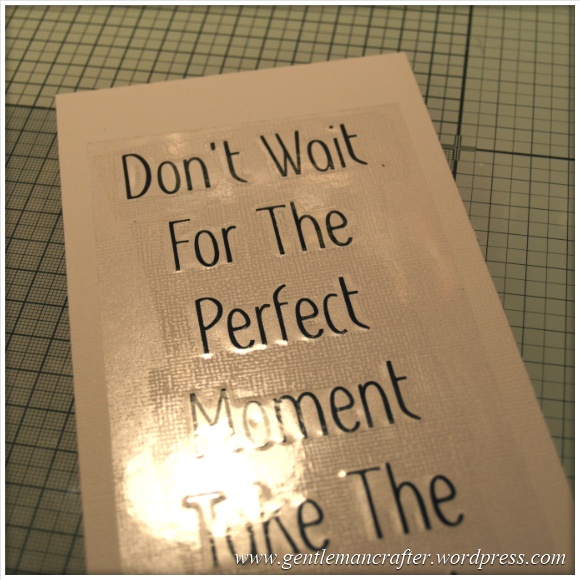
So image this, you’ve cut an entire verse from Peel Off vinyl sheet and you have to get it off the carrier and onto your project. You peel it gently, you talc your hands, you try not to tangle it and then you have to get it all straight and evenly spaced on your project.
Inevitably something goes wrong, you swear a lot and then throw a paddy. We’ve all done it.
Anyway, I remembered that a long time ago I was introduced to Magic Transfer Tape – this stuff was literaly amazing. It grabs hold of your peel off vinyl, holds it in place and then releases it onto your project perfectly!
Noticed that I am in love with this stuff yet? Lol :)
Anyway, this is how it happens in step by step piccies –
1. Cut your design from the peel off vinyl sheets and then peel away all of the background so that you have just what you want to transfer left.

Then, grab yourself some Magic Transfer Sheet and cut it down to fit over your design.
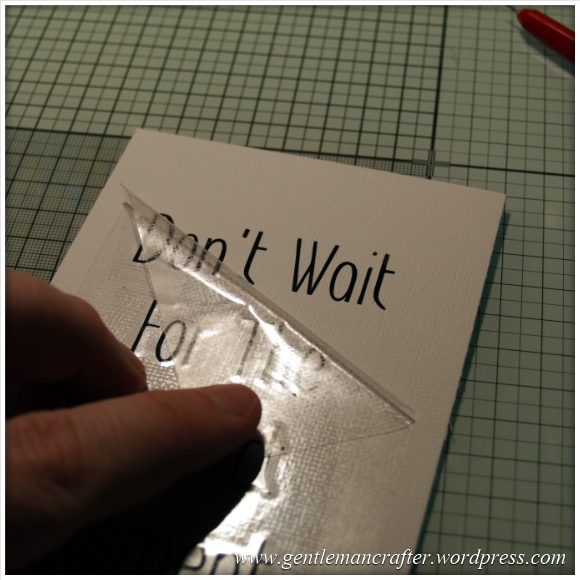
Peel Off the backing and lay the transparent sheet over your design and rub down over all of the vinyl areas.
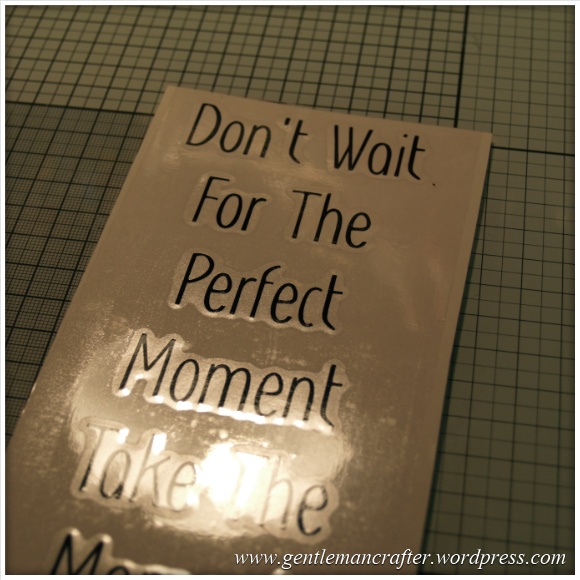
Now, GENTLY peel back the tape, putting it back and rubbing again if any of the elements don’t pick up on the first peel (do this as you go – it’ll never line up again after).
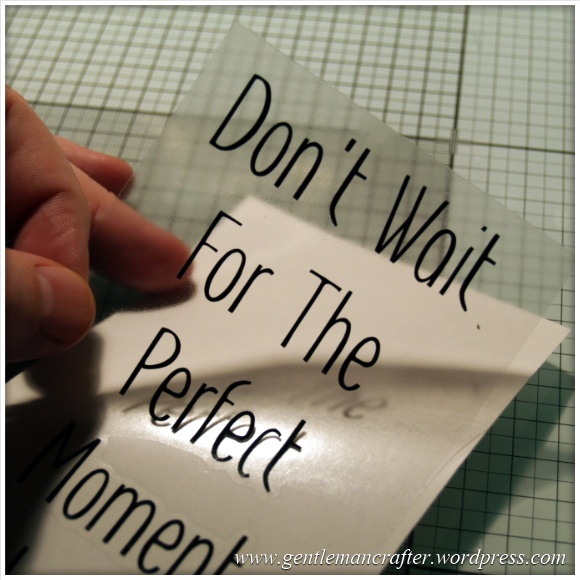
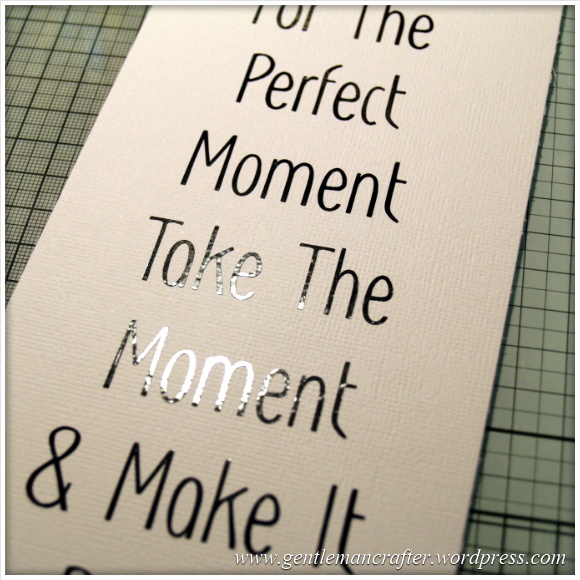
Next, take this to your cardstock, glass, ceramics or whatever you are going to put the design on and rub over it again.
Again gently peel back the overlay making sure that each element adheres to your project as you are peeling the sheet back. Top Tip – Be Patient!
Once you’ve finished peeling off the Transfer Sheet you are done!
What a neat trick eh?!
Now, how many things can you all think of using this technique on?
Oh, by the way – I should have given you my suggested settings for cutting vinyl on the Brother Scan N Cut.
FYI I am using the Create and Craft TV Peel Off Vinyl Sheet.
- Cutting Mat: Standard (purple)
- Cutting Blade: Standard (blue)
- Blade Depth: 1
- Blade Pressure: -1
- Cut Speed: Any – smaller designs might benefit from a lower speed.
If you have any questions or comments about this post, or anything that I have waffled on about in it, or would like to suggest an idea of where you could use peel off verses, then please feel free to use the comments box below.
Thank you for reading again and I hoped that you enjoyed this little tip.
See you again soon.
J :)

Thanks for the tips and ideas from all the other readers.
LikeLike
Thanks for the tip on transfer tape, I’m just starting out on my crafting journey and loving new ideas but finding it hard to carry out any as yet, can’t decide what to do first so building up a “library ” of ideas and tips , many thanks, have seen you on creat and craft .. Love the ideas .
Yvonne
LikeLiked by 1 person
Hi just got my CM900 and still playing with it! Can I cut a verse such as twinkle twinkle from the vinyl from c&c to stick on a nursery wall and use the method described?
LikeLike
Yes
LikeLike
Or you just buy dollar store clear contact paper for a buck and it does the same thing.
LikeLike
I’m having trouble locating designs/fonts to prin. I want to do different images/fonts that are not listed on my machine. I’m knew at this and I feel very lost.
LikeLike
I’m not sure how I can help here Janet. Perhaps it might be an idea to join an online group – there are lots of people out there sharing ideas and finds.
You don’t have to go at this alone.
J :)
LikeLike
Hi John. Is it best to Download all your SVG Files onto a USB Stick and then Transfer them into your Brother ScanNCut Machine via the USB Port. Regards Edna
LikeLike
You might be best having a read of this blog post – Scan It Saturday – Converting Different File Types In Brother Scan N Cut Canvas « Gentleman Crafter
https://gentlemancrafter.wordpress.com/2014/05/10/scan-it-saturday-converting-and-cutting-svg-files-with-the-brother-scan-n-cut/ – it explains how to convert SVG files for use with the Scan N Cut.
J :)
LikeLike
Just had a quick look online and came up with 3M Scotch tape. Is this OK to use?
LikeLike
Um, not really sure. Might be worth a try if you can’t get hold of magic transfer tape.
LikeLike
it is absolutely great john I have used it quite a lot over the years wonderful and looks so professional elizabeth
LikeLike
Thank you so much for sharing John. I shall have a go at cutting vinyl. again. My first time wasn’t that successful. Not too sure where to get the Magic Tape but will google it and see what happens.
LikeLike
This is a great idea John, & I wish I was at that stage with my peel offs !! I have been trying to cut a peel off sentiment that I wrote in my own handwriting & I remembered you saying during one of your demos to scan in large & then reduce in size rather than the other way round. I have it scanned in but can’t for the life of me figure out how to reduce it in size….. I am sure it’s staring me in the face …. does anyone have any tips to point me in the right direction please ?
LikeLike
Check the instruction manual is tip 1. Tip 2 – when on cutting mat screen, click top left button on screen. This opens edit screen – you’ll probs need to unify/group before you resize though.
LikeLike
Just wanted to share this idea – if you flip your ‘writing’ (so that it is reflected as if in a mirror) and then cut it from the vinyl, you can use them as decals for your car windows. Have been using low-tack masking tape to transfer cut words/images to other surfaces.
Also, the vinyl works well as a mask when airbrushing body shells for radio controlled cars.
LikeLike
Thanks John sounds amazing and having step by step info helps will get some magic tape and try this out.
LikeLike
Wonderful as usual
LikeLike
Got to be honest John, tried to do a vinyl peel off sentiment last week and got on a right ol tangle and gave up! Obviously must get some of the transfer sheets. Thanks for showing us how xx
LikeLike
WOW! What an amzing product! I’ve never heard of this before so thank you very much for introducing it to us, on this page, and also giving brilliant instructions on how to use it. Many, many thanks, beba :-)
LikeLike
I’ve found that a similar thing used to work with the dreaded peel-offs! Especially for small words – just a short piece of sticky tape, de-stick on your jumper or skin, then lay the tape over the word/s to be lifted from the sheet and bingo, hopefully, just the word/s you want all together and no curling! I also start the ‘lift’ with the point of my craft knife, can carry to project with this as well.
(NB – don’t use the SNC sticky mats while wearing a hairy jumper – the hairs stick to the mat!! Not too easy to get them off.)
LikeLike
John, great idea, is this the same stuff as “magic tape” which comes on a roll?, If not where can we get these sheets, and can they be cut up just to take one word off, Thanks, look forward to your reply.
LikeLike
Hi John, I have used this trick many times as I only used to work with either the adhesive vinyl or iron on t-shirt vinyl using the craft robo. I have made many name labels for toy boxes, electronic items and various other things. I have also made wheelie bin numbers with the street name which look really smart when applied properly. The biggest job I have done was to make a company logo for my friend’s husband who was just starting up in business, using the transfer tape (or decent de-tacked masking tape) works really well to give a neat professional finish. Another good use it to make stencils from vinyl to be able to etch through. I love working with vinyl as an alternative to traditional peel offs because of the variety if colours available, thanks for sharing!
LikeLike
Good job John. Love the sentiment
LikeLike
Thanks for that John, I did have trouble transferring just a Happy Birthday now I know what to do. Always look forward to your Saturday scan its.
LikeLike
really great John – where do you get the magic tape? I want to try this.
LikeLike
googled it and found lots :-)
LikeLike
Ordinary Magic Tape , I get from Rymans as a good price, and even better when they do a special offer
LikeLike