Digitizing An Embroidery Design In Hatch Embroidery Software Part 1.
A brand spanking new series of Sunday Stitch posts starting this week with a continuation of my exploration into digitizing embroidery designs.
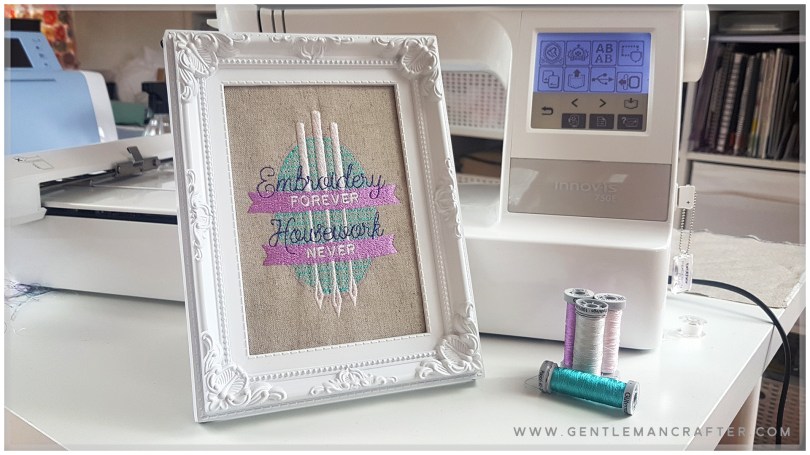
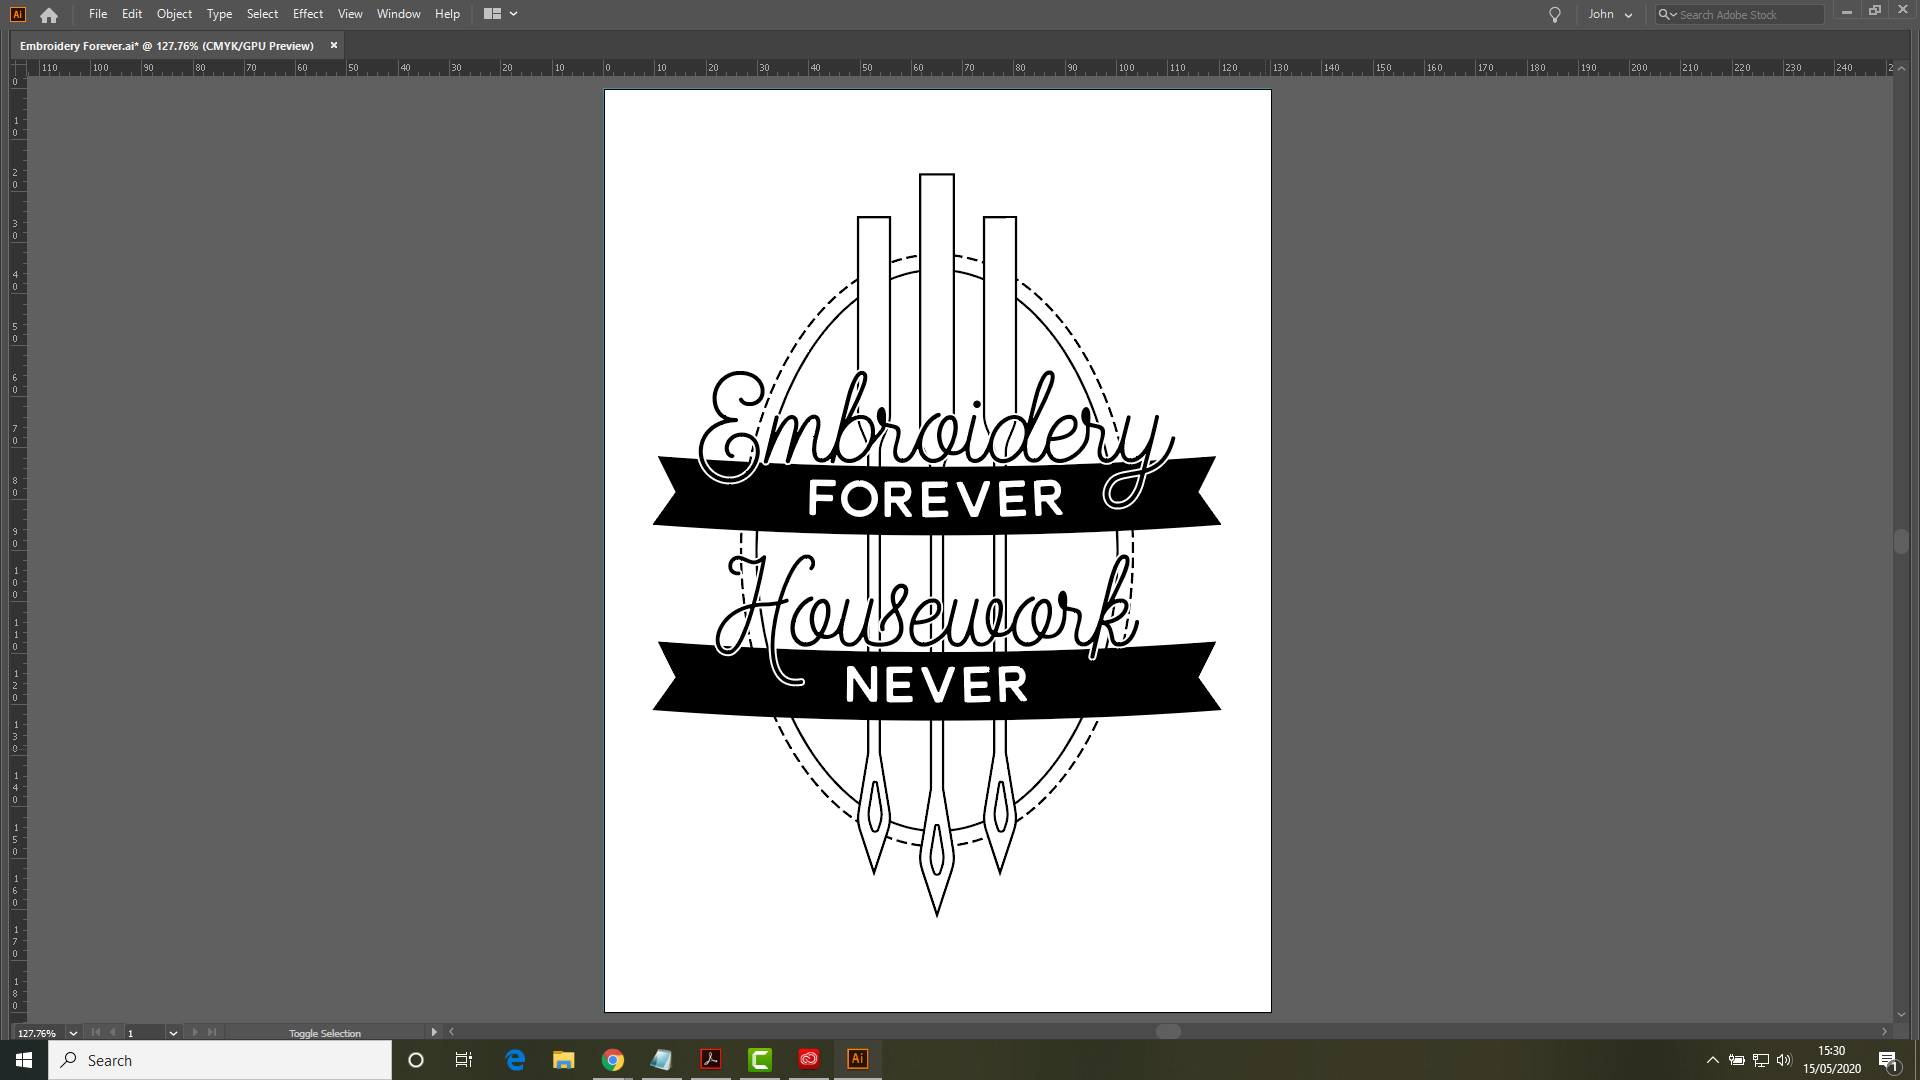
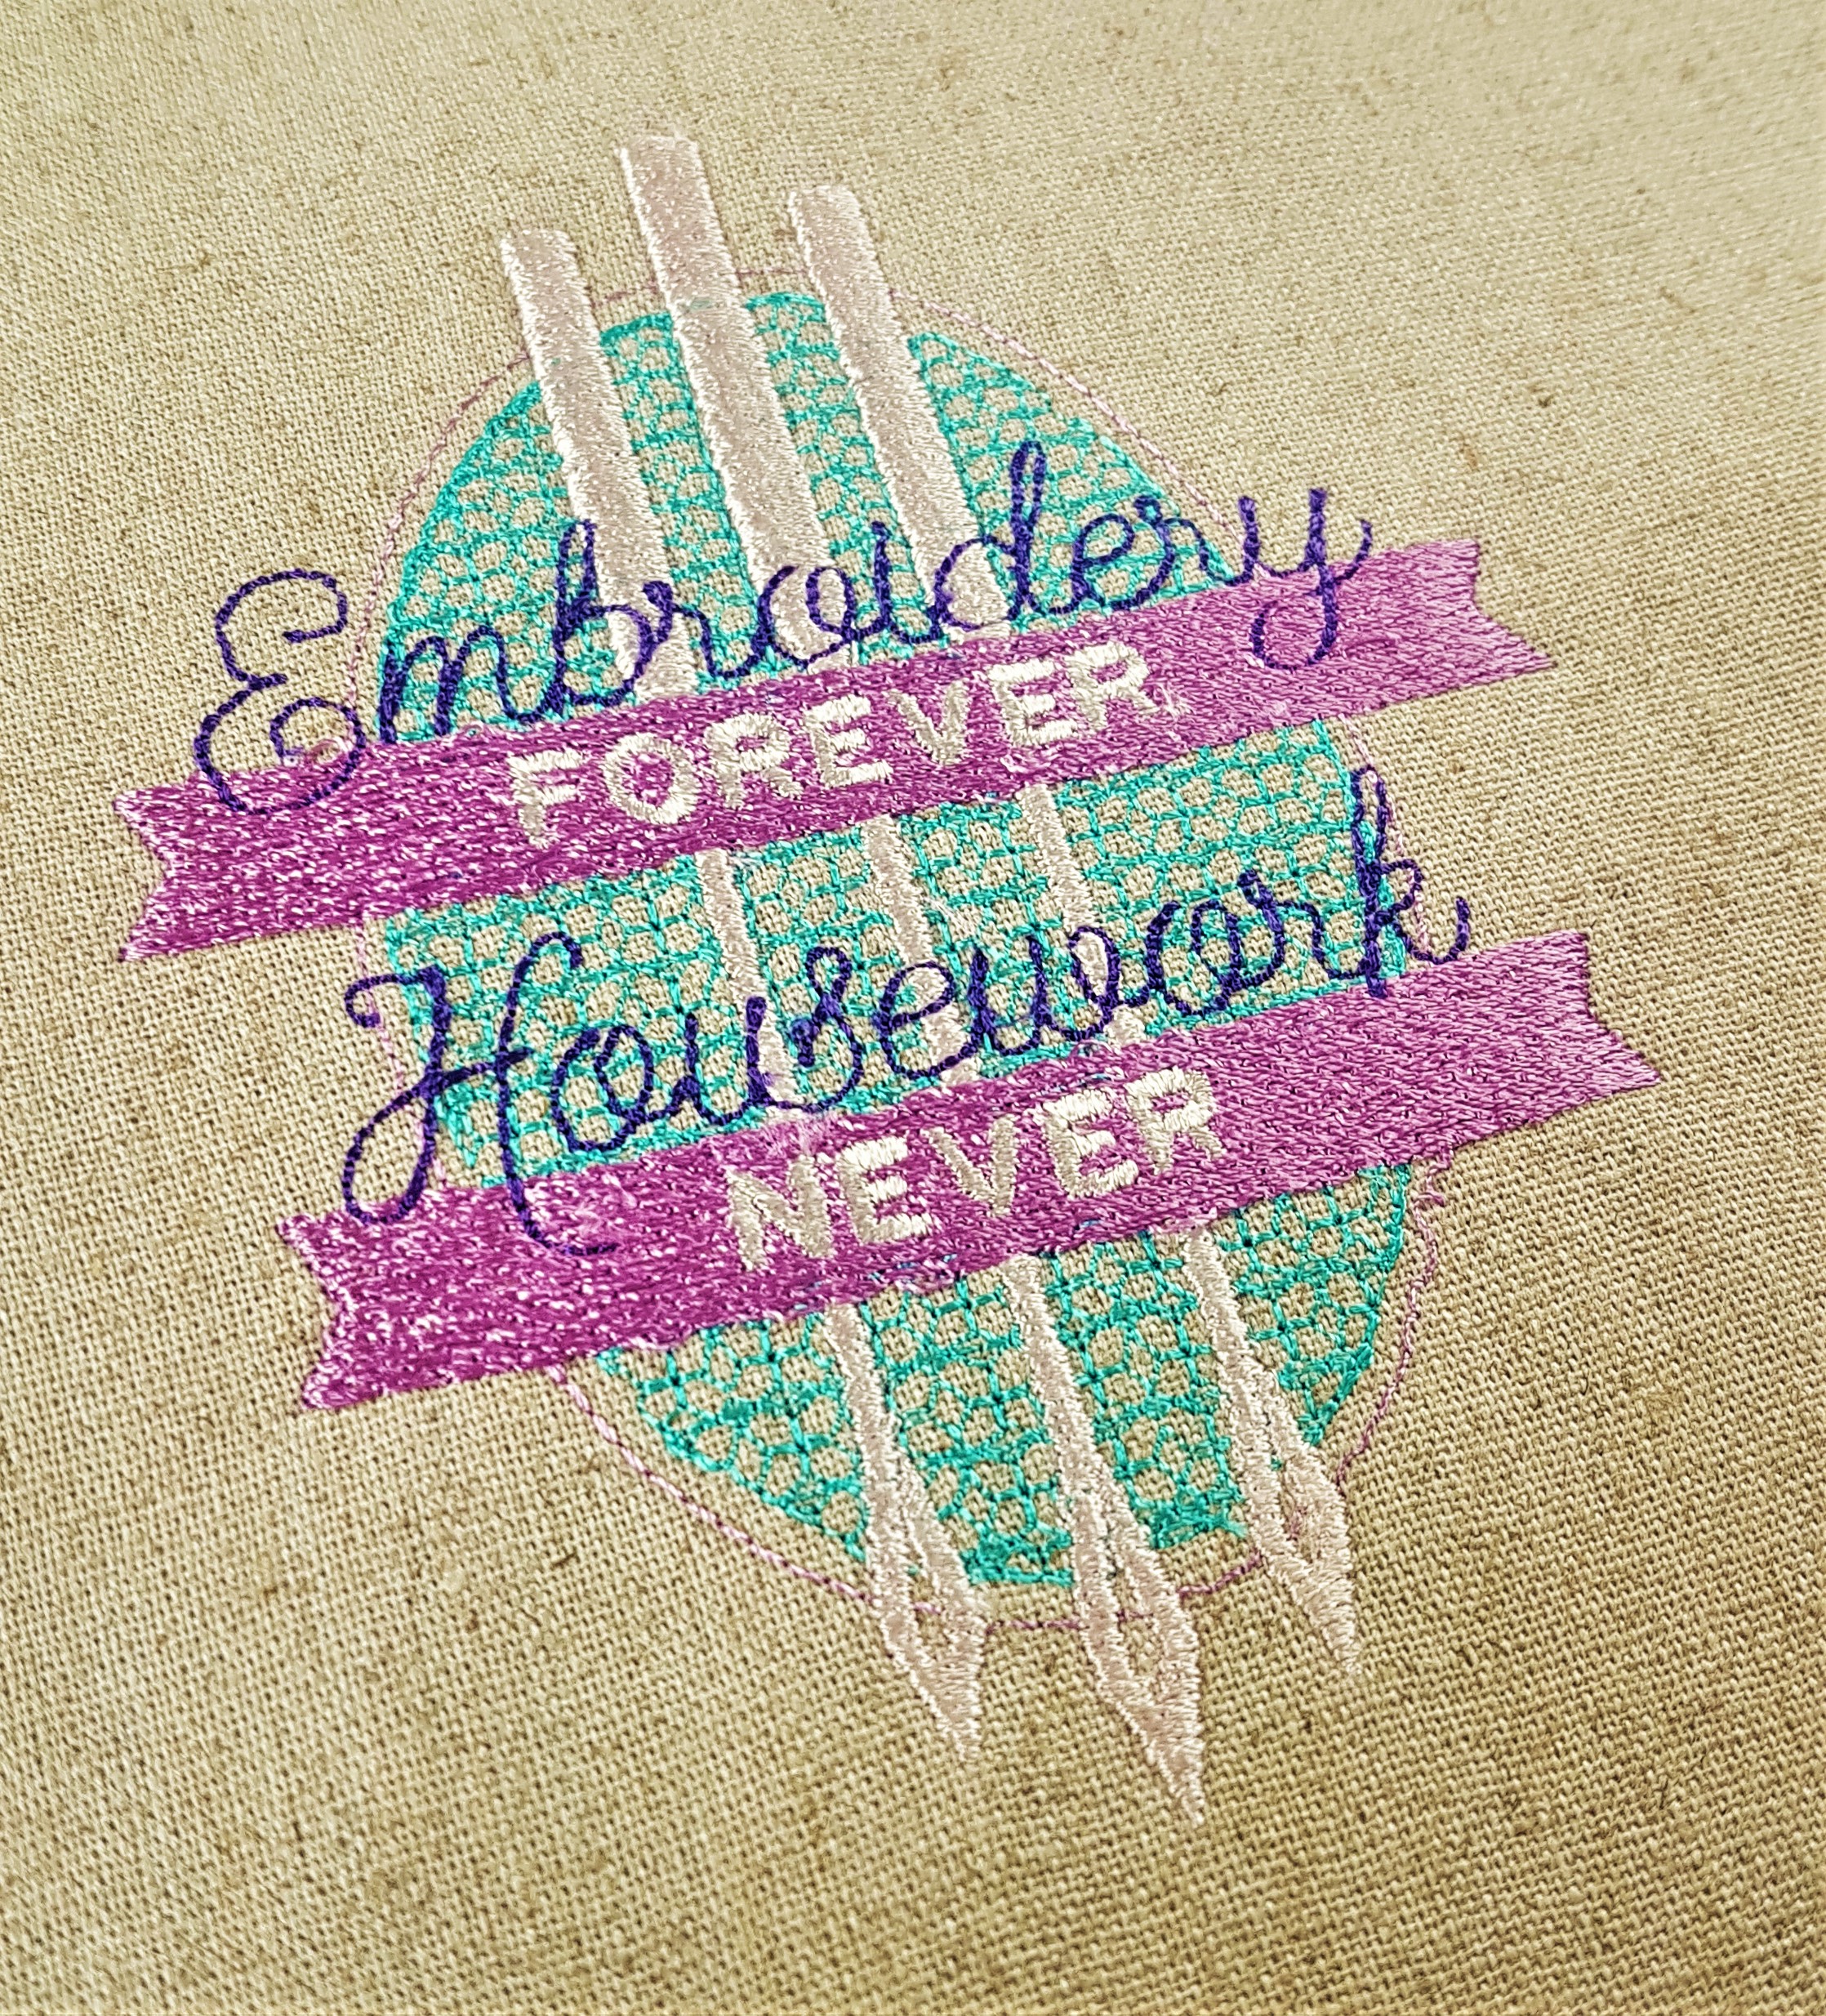
During this 10-part mini series of posts – which will be released in two episodes each Sunday for the next 5 weeks – I will be sharing with you the process that I went through to go from this …
… to this.
Exciting, right?!
I was going to share the whole process with you in one video but when it turned out to be over 45 minutes long, I thought it best to pop it on the blog in shorter manageable bite-sized snippets.
In this particular episode I will be showing you the first couple of steps; loading the artwork and a quick tip that I learnt from the Hatch website for locking the design in place – very handy!
So, when you are ready, just hit play.
The next episode will be out later today. See you there?
Just a reminder before I go, that I used in Hatch Embroidery software for this project. To find out more about it and download a free trial copy, please visit Hatch Embroidery Website
Enjoyed this post? Then you might also like these other from the sewing, machine embroidery or the fabric, fibre and yarn archives.
If you have any questions or comments, please feel free to leave them in the comments section below.
I look forward to hearing your thoughts.
Thanks for stopping by and I look forward to sharing more with you soon!
Bye for now.
J :)

Hello John.
Super with teaching in digitizing. I’ve been to the Hatch website because I wanted to have the same drawing you use to practice on, but I can only find the finished embroidery, and that wasn’t exactly what I wanted today. Am I looking in the wrong place or is it not an option. I know I can find something else to digitize, but it’s nice to do it together.
LikeLike
Oh! Sorry about that, I said that without first checking it would be there. Whoopsie! I will try and get it on this blog asap.
LikeLike