The experiments in resin casting continue and this time I am working with a different kind of resin and using a specific technique. Fancy a look at how it all turned out … ?
As you may have seen from my earlier blog posts about resin casting I have been experimenting with different inclusions and different resins.
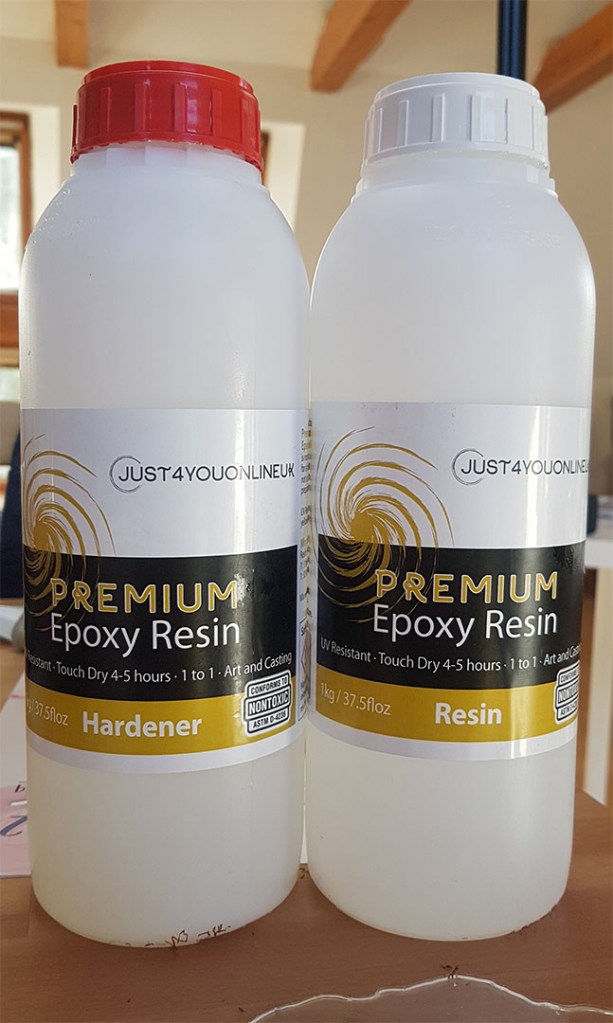
This time around I wanted to try some of the Premium Epoxy Resin from Just4youonlineuk. Why? Well, because it boasts a much shorter curing time, virtually no odour and has one of the easiest mixing ratios of 1 to 1 – making it perfect for the easily confused, like me!
Don’t forget, those lovely ladies at Just4youonlineuk have offered you ALL 10% off of anything – or everything – if you enter code – gentlemancrafter – during checkout.
No minimum order, no time limit. Code can be used multiple times too!
The bottles are giants, 1KG each! That should be good for quite a few experiments I reckon.
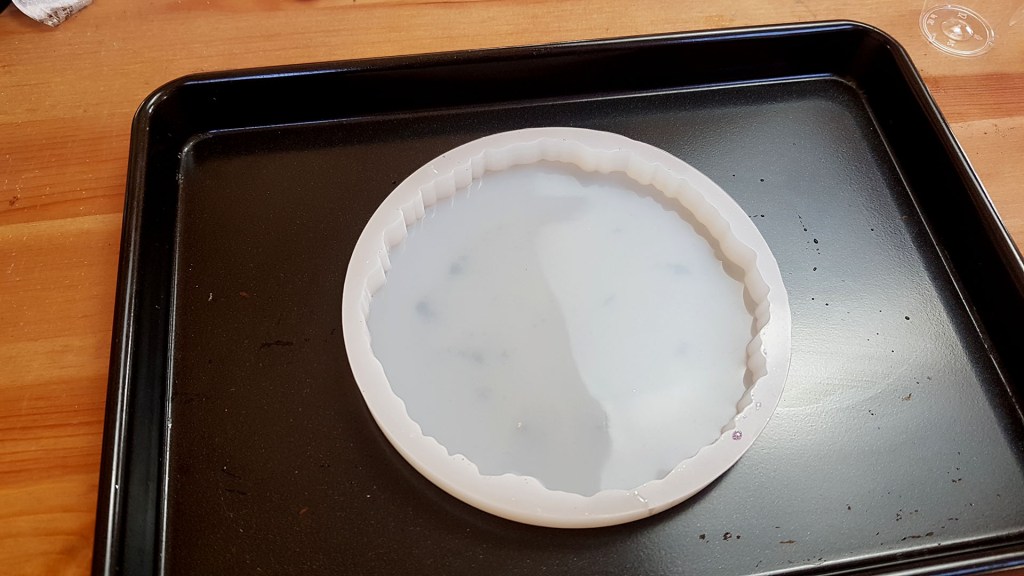
For this experiment I am also using on of their molds too, the round agate one. You’ve seen me use this one before.
For the inclusions I chose to keep it simple this time, which is not like me, lol!
The reason that I chose to do that is because in most of my experiments so far I have been throwing in literally everything and I haven’t always been happy with the results so I had a look online at other folks creations and noticed that they were more reserved in the variety of ‘bits’ they added to their projects.
Always willing to adapt I fiddled through the gorgeous glitters and pretty powders in my stash and settled on a baby pink pearl pigment powder … sorry for spitting on you.
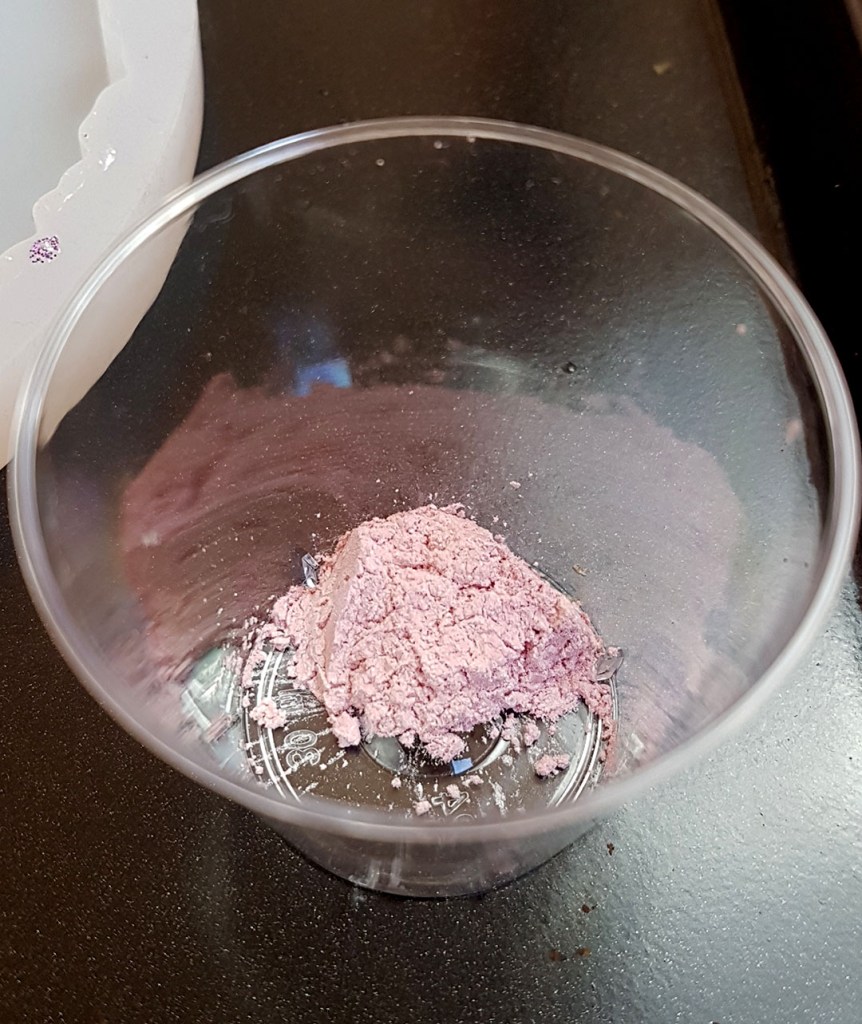
Just a quarter of a teaspoon would be enough.
I measured out some resin. one plastic cocktail shot glass of resin and one of hardener. Much easier than actually measuring or weighing! I poured the two parts into a larger plastic cup and mixed for the required three minutes.
Then, I poured a teaspoon of the pre-mixed resin into the shot glass with the pigment powder in and mixed it up.
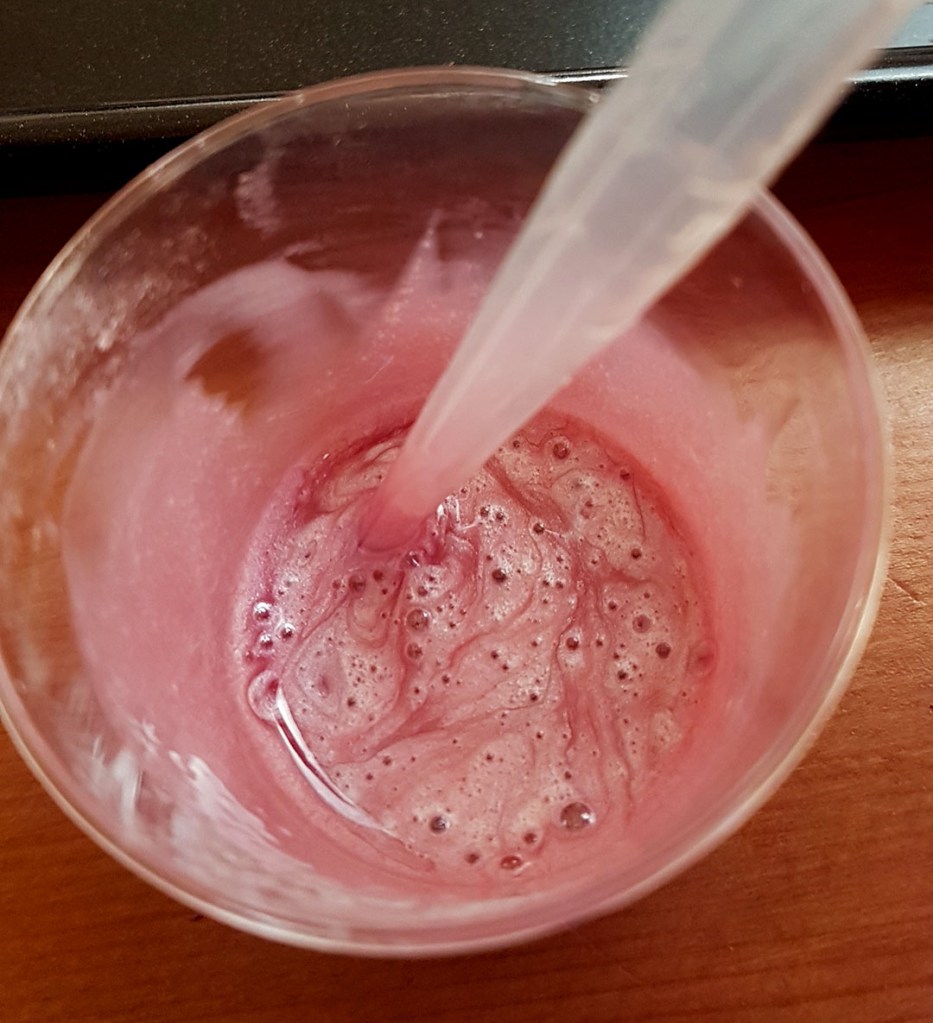
Mmmm, pretty!
To get ready for my pouring I used a plastic pipette to draw up some of the pink mixture and kept this to one side.

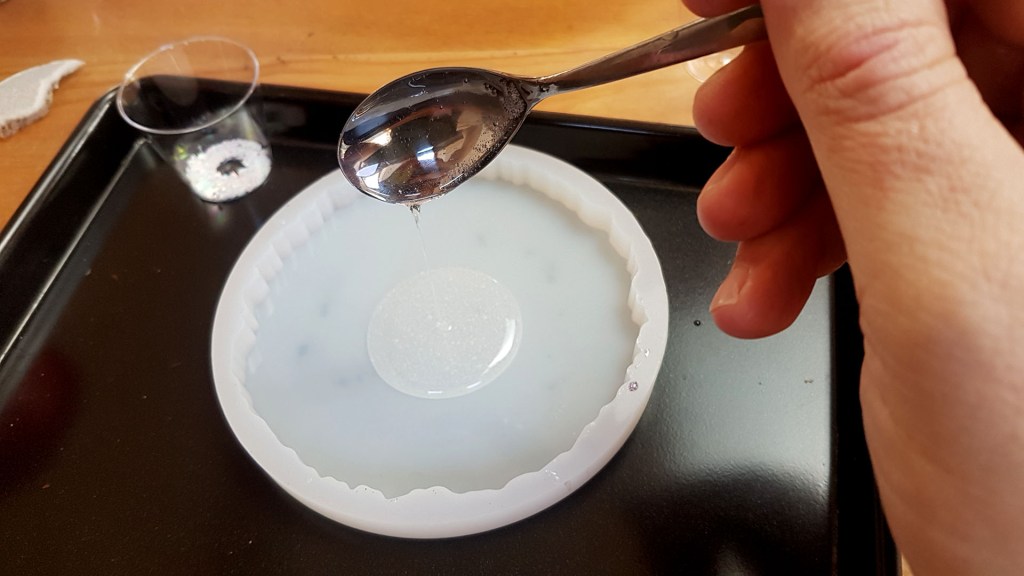
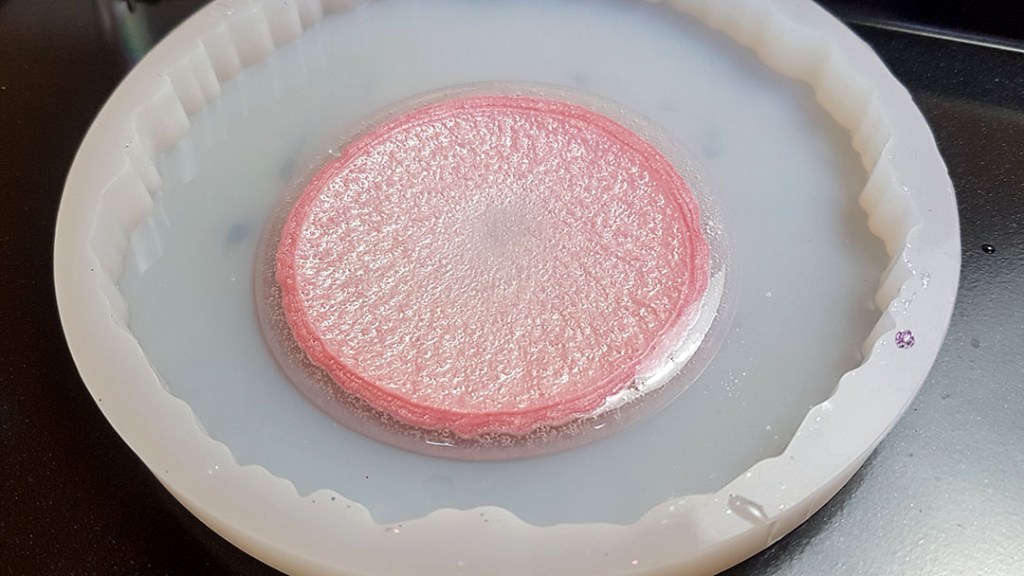
The first thing that I placed in the mold was a teaspoon of the clear pre-mixed resin. This was because I wanted to be able to have the pink mixture spread.
Next, I drizzled – sounds like I’m making a cake – some of the pink mix. Can you see how it sits in the clear, rather than mixing with it?
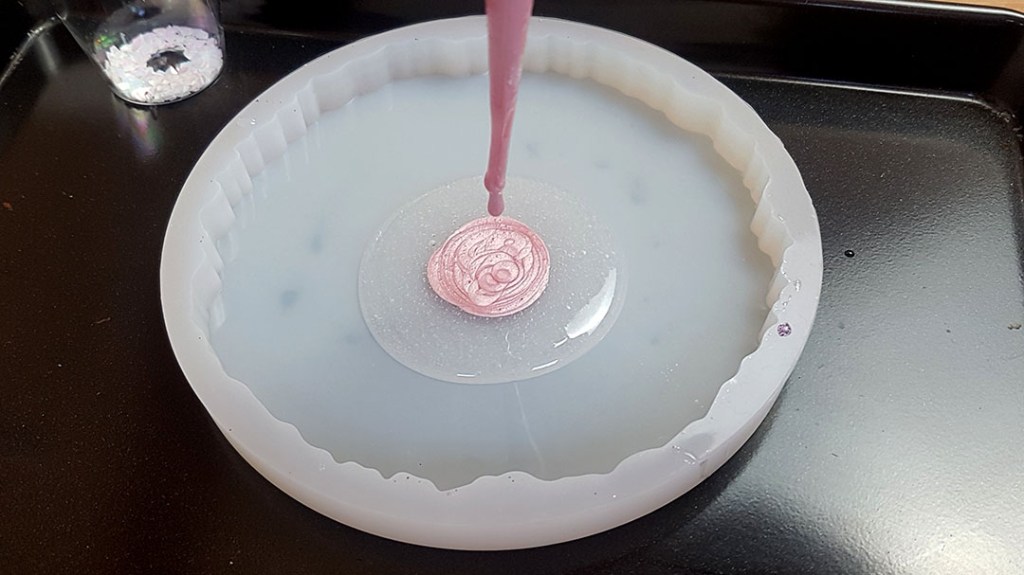
This is what I wanted! Ooo, something worked!
To spread this mix out I then drizzled another tea spoon of the clear mix on top of the pink.
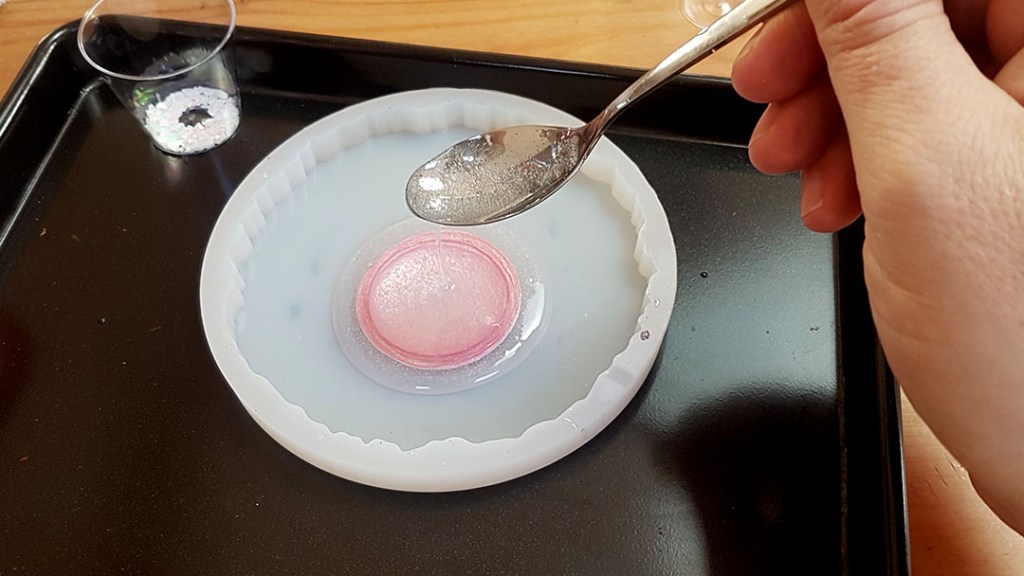
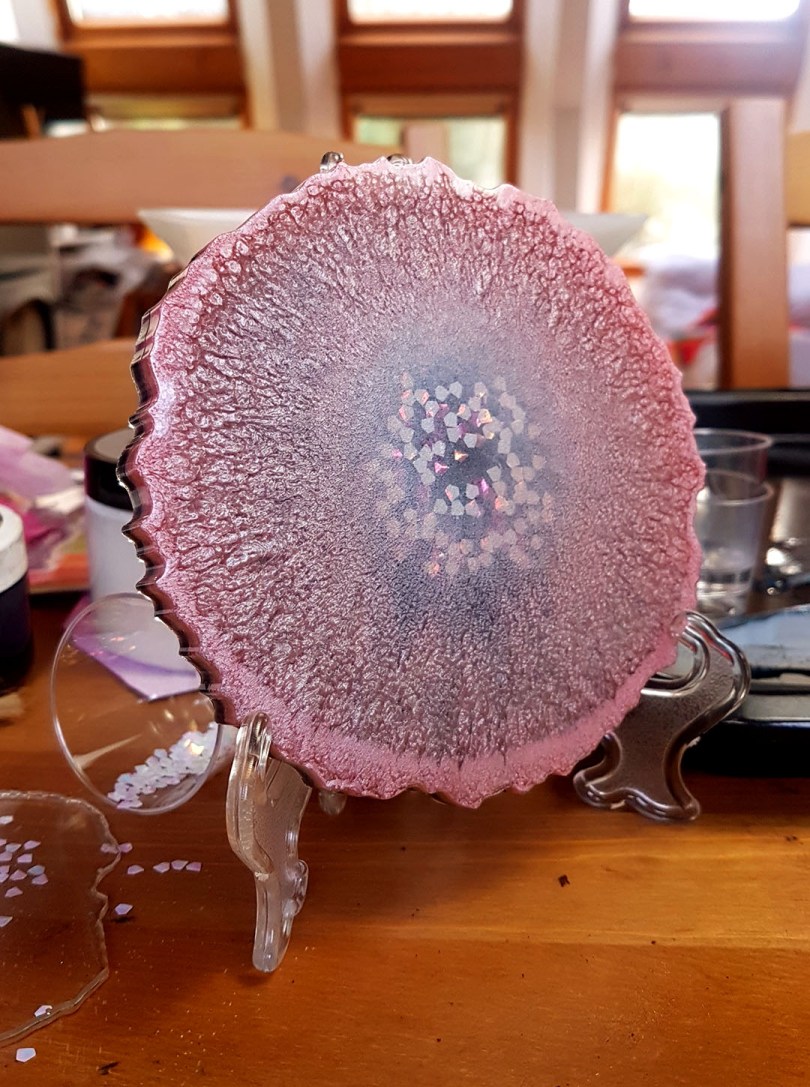
Oh my. Up close and personal, that looks incredible.
Ok, another of the pink mix.

Followed by another clear.
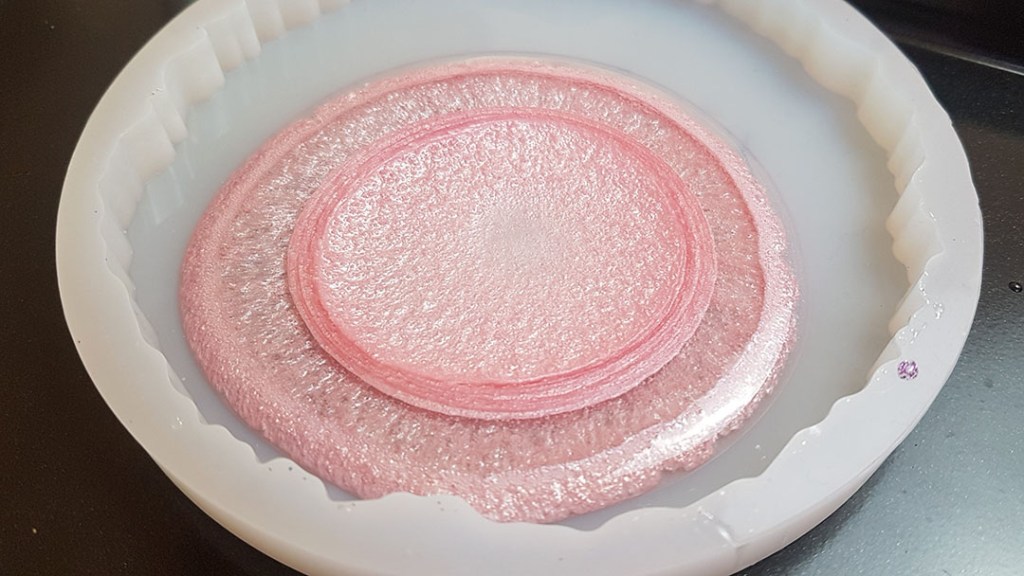
More pink.
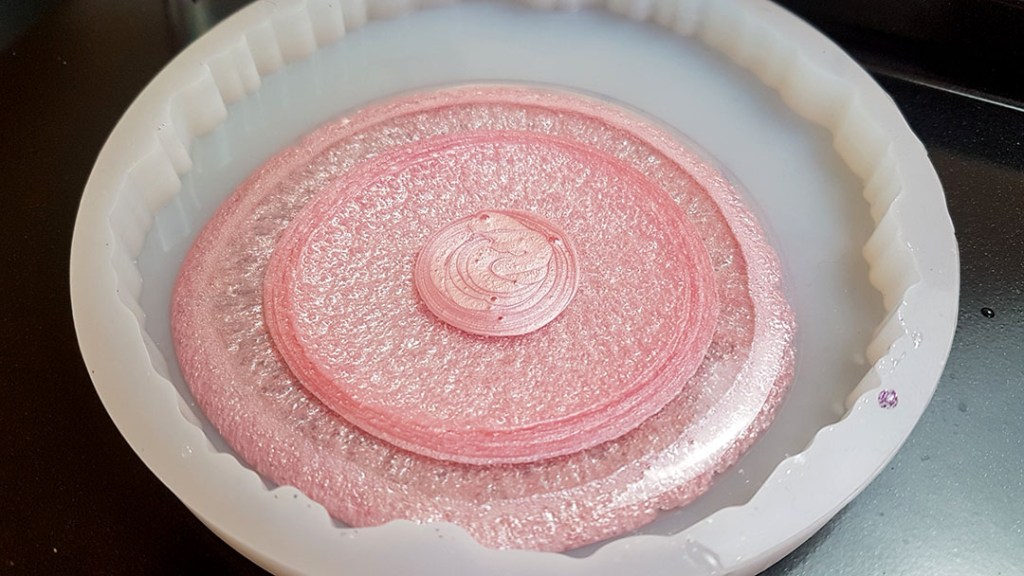
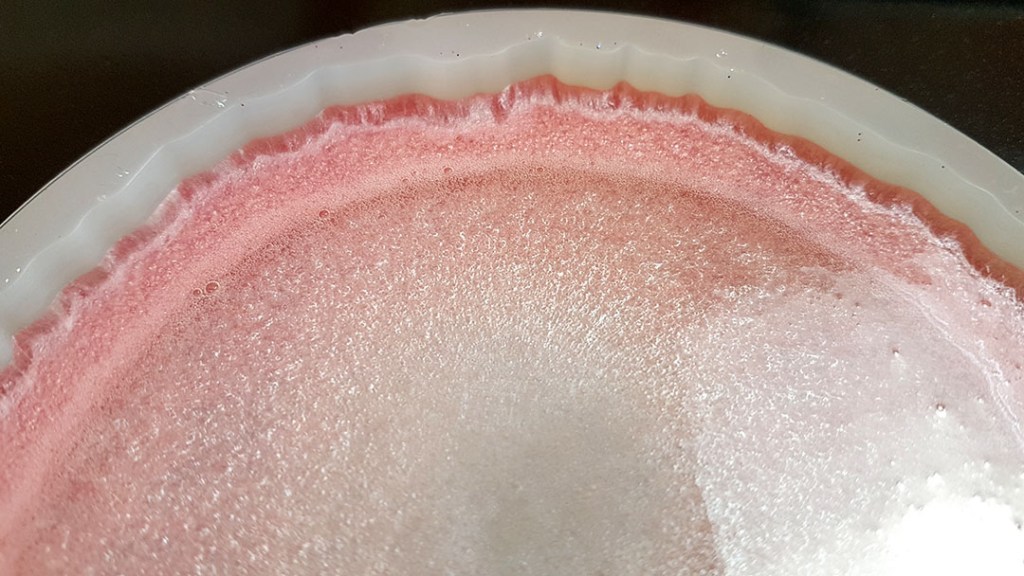
Finally for this layer, enough clear to spread the whole mix to the edges of the mould. My plan was not to fill the mould as I wanted to add a new layer on top.
Looks very pretty so far, doesn’t it?
Lots of air bubbles though so I used my wee blow torch to pop them all.
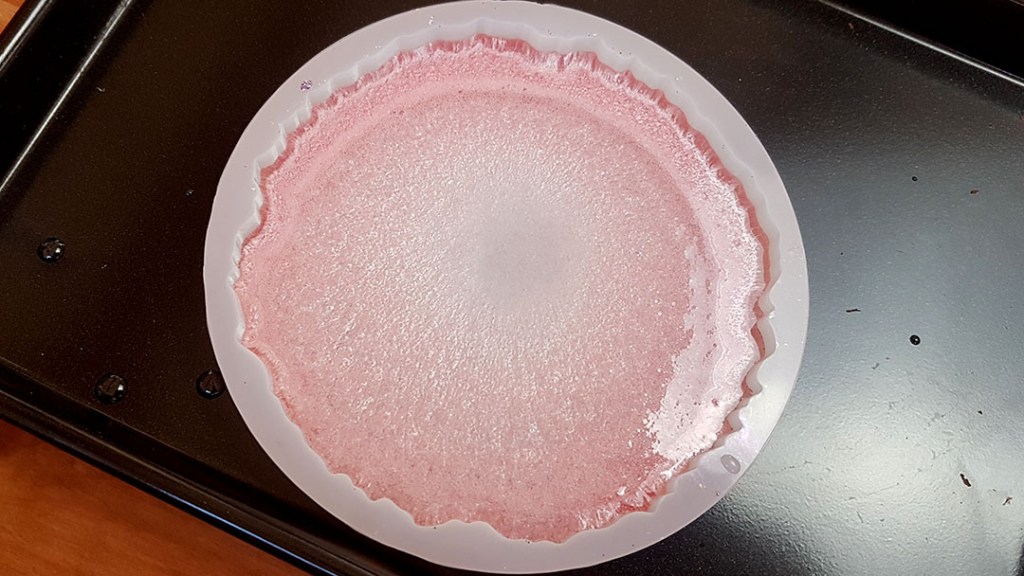
Before leaving it to set, I sprinkled on some large glitter flakes. Just a few, remember I am trying to keep this simple.
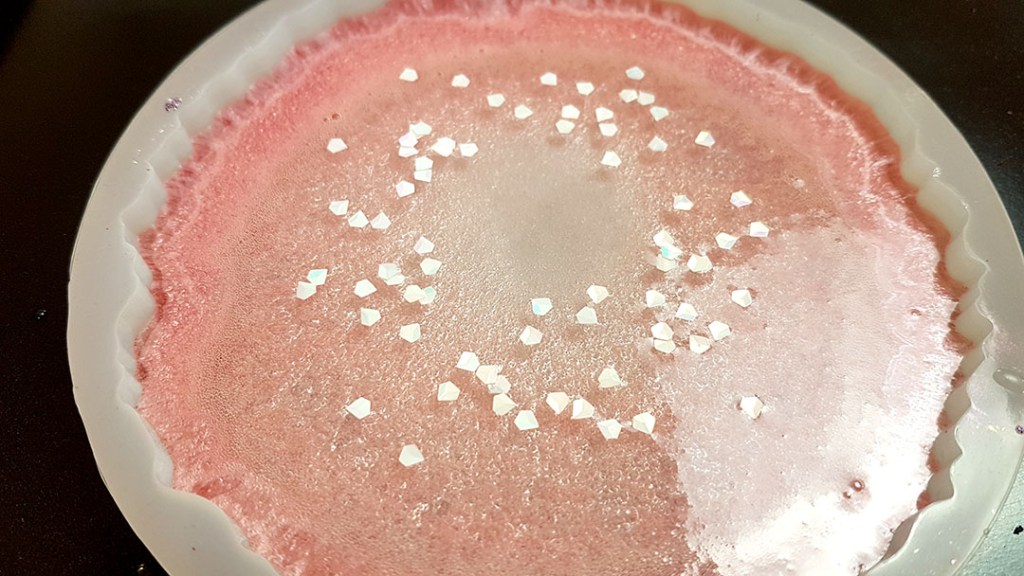
After locking all of the glitters and other pretty pigments in a metal chest, tying that chest up in metal chains/padlocks and throwing it off the side of a boat to sink to the bottom of the ocean I rested easy that I wasn’t going to muck this up and left the project to cure overnight.
This blog post has been split into multiple sections.
Please use the numbered page links below to continue reading this article.

Hi John. Can this resin be used to topcoat an acrylic pour. ? Thanks. Gloria. X
LikeLike
Yes
LikeLike
This is my favourite so far John. I’m not even a ‘pink’ person normally but I love it! It’s amazing how the pink resin has got such texture but it’s under a smooth surface – yum! Oh, I love the balls too, gorgeous colour! Would it be too naughty of me to say it’s a good job they don’t have the same apparent texture as the coaster? Oops, said it now. I hope I haven’t offended anyone :o) Clare x
LikeLiked by 1 person
Lol!!
LikeLike
Great tutorial John and yes I did have a bit of a laugh regarding your ‘left over bits’.
Karen x
LikeLiked by 1 person
Oh my goodness!!! Here I am, making Christmas cards withone hand and trying to do a bit of decluttering with the other every time I set foot in my workroom, and you go and give us a New Craft….
Ok, once the resin is cured, could you use it for a cheese board or similar – obviously not the pink one, but I’m thinking possible present ideas?
LikeLiked by 1 person
I believe both of their resin are food safe to serve on but not to prep on, if that makes sense.
LikeLike
Hi John. Awesome piece of work and thanks for the detailed instructions. Kath x
LikeLiked by 1 person
Beautiful John xx Hazel
LikeLike