I had an idea the other day – I wondered if I could create a split image effect that I could then draw on my Scan N Cut.
Well, I am pleased to say that the answer is yes and, you will be please to know that I recorded this process to share with you.
It’s quite a quick process. Blink and you will miss it but, do watch it a couple of times if you need to.
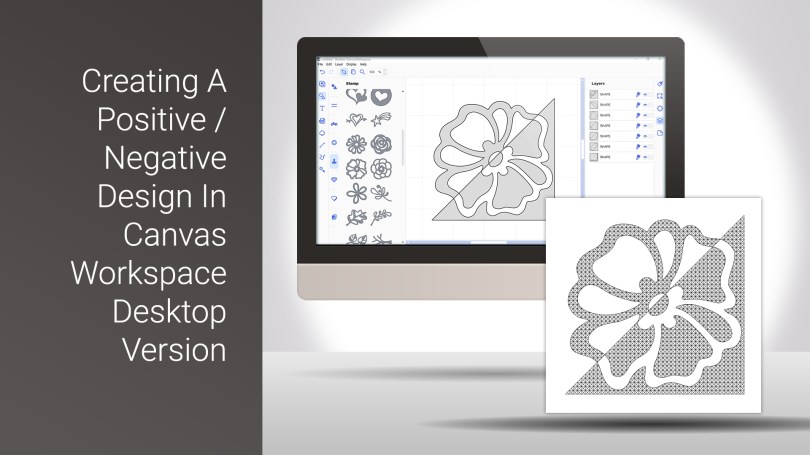
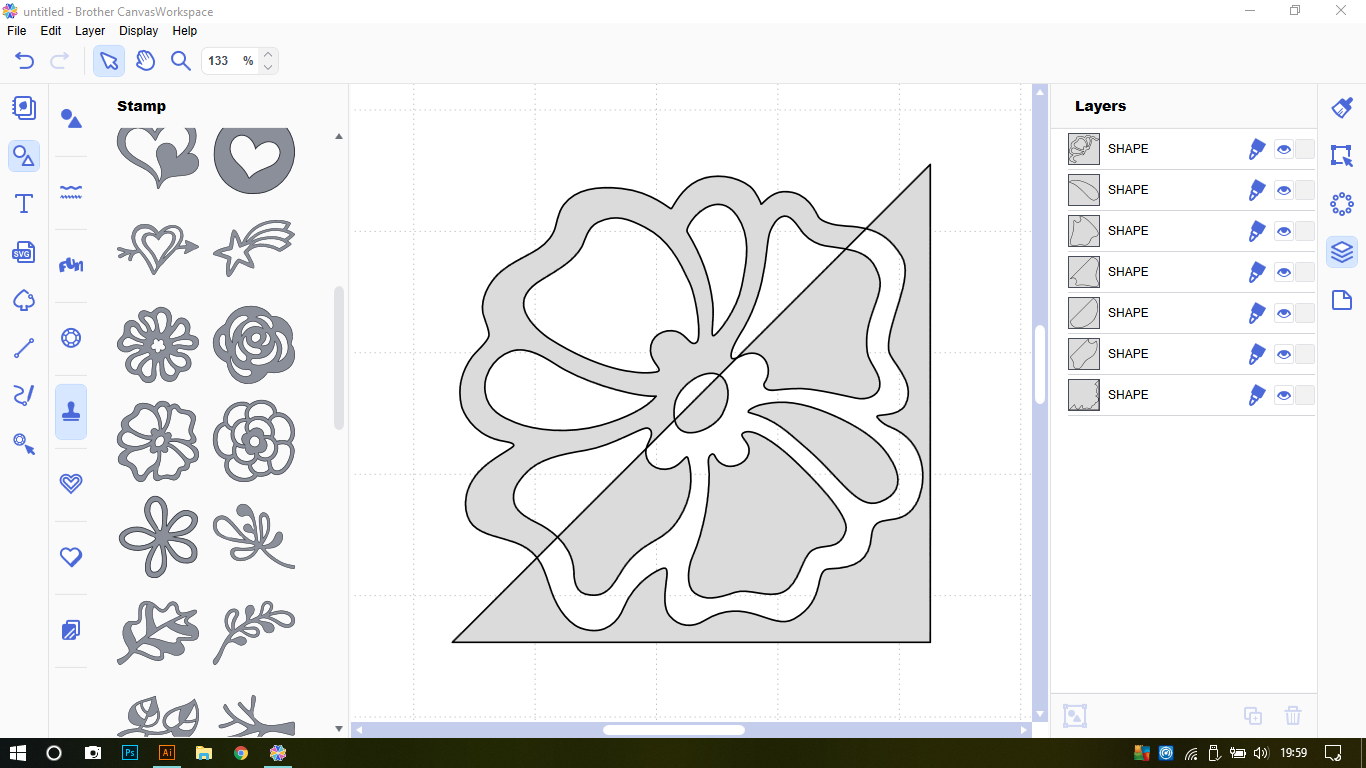
This is what we will be aiming for on the computer.
You will then choose the pattern in the settings are of your machine.
If you don’t want to draw it, you could still use this process to create designs to use with the foiling or embossing accessory packs instead!
Just before we get going with the video, a quick word …
If you would like to see more from me in relation to the Brother Scan N Cut CM series of machines, please check out the following links:
Blog Archive
Scan N Cut (CM Models) YouTube Playlist
Scan N Cut (SDX Models) YouTube Playlist
Canvas Workspace for PC YouTube Playlist
Canvas Workspace for Web YouTube Playlist
Canvas Workspace for Mobile YouTube Playlist
Ok, ready to get stuck in? Just click on the video below.
Ok, like I said, a quick one but I hope you will agree, quite a creative one.
If you have any questions or comments, please feel free to leave them in the comments section below.
I look forward to hearing your thoughts.
Thanks for stopping by and I look forward to sharing more with you soon!
Bye for now.
J :)

Great tutorial John, I see many opportunities to make cards with this. Thank you so much and have a great weekend.
LikeLiked by 1 person
Thank you, John great tutorial as always.
LikeLiked by 1 person