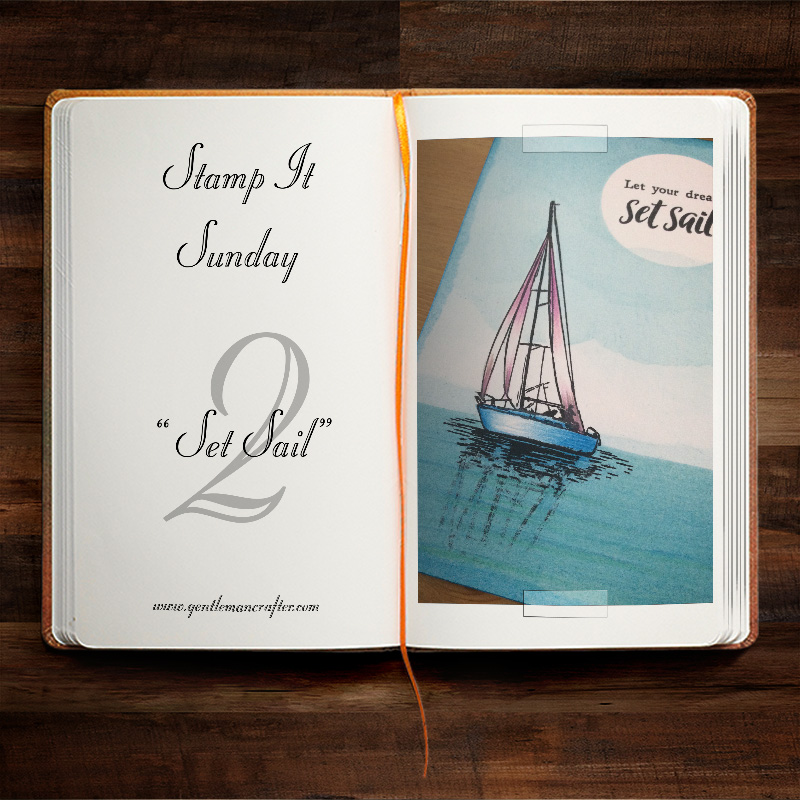
Ahoy thar – time to set sail on the next Stamp It Sunday blog post. Got your sea sicky pills handy … then anchors away!
Warning: Please brace yourself for other seafaring puns.
I shivered my own timbers the other week with the stamps from Issue 43 of Creative Stamping magazine and there were plenty of creative options that I didn’t navigate so I decided to come ashore at this set once again.
See how those puns are just ebbing and flowing like the tide?
To start this journey I die cut a small circle from a sticky note and popped it in the upper right corner.

A little tip for you here – I then placed the other bit of this die cut over the circle.

Removed the circle in the centre and then I had the perfect place to help me line up the sentiment that I had chosen from the set.

Arrr, thar be a pot o’ gold – in terms of a tip, that is. Hehe.
I swapped out the mask sticky note again in order to cover up the sentiment.
Archival ink was again used to stamp out the sail boat just off centre and under the circle sentiment.

The left over ink on the stamp was then used to stamp onto another sticky note.

I swashed my buckle and expertly swished my sword and cut out the mask and popped it into place on the card.

Using a larger sticky note I masked off the upper area and began blending in the sea with Tim Holtz Distress inks and a shaving brush.

I also used a torn strip to add some wave detail.

I let down the main brace and revealed the bright blue sea.

Going to be honest here. I didn’t like this. There was something just not quite right so I got in the life raft and paddled my way back to the beginning of this journey and started over.
Picking up this fisherman’s tale a couple of steps back I used a plastic CD sleeve to do a mirror image stamp to give a reflection of the sail boat.

Better!
After blending the ink on again I also used some sea-green and deep blue pencils to add some more detail to the waves.


Now it’s time to deal with the sky so I masked off the sea.

Tore some strips of paper and began blending on some distress inks, starting at the top so that successive layers would add more colour to the previous one.

Once complete I peeled off all of the sticky notes …

Arrr me beauty – that be the treasure of the sevens seas right thaaaarrrr!
Time to get cracking with the colouring pencils – nothing fancy, just a pack of 36 from WHSmith.

Lovely.
The astute with you will notice the darker edges on the image above. These were created by using a torn strip of paper and ink blending to darken off the edges.
Very simple but quite effective at adding a vignette and focusing the attention on the central area.


Ok. I think I shall leave it at that.


To finish this design off and create the complete look I spread some distress ink all over some linen cardstock and then stamped a compass design randomly across the surface.
This was then layered up with some basic black cardstock and finished with a few pearls.


Well me hearties, that’s about it for this one.
Hope you enjoyed it, and wasn’t too affected by the awful puns.
If you would like to get hold of Creative Stamping magazine or other items involved in this blog post, you should be able to find them online via the following retailers.
![]()
![]()
Hope you’ve enjoyed this blog post. See you again next Sunday for the next installment!
Bye for now.
J :)

Will you be coming to the Craft Fair here at Doncaster Racecourse in July? If you are, I would like to know how much it would cost to book a place at one of your workshops please.
LikeLiked by 1 person
I’m afraid not.
LikeLike
Love the finished result John. Well done. I really must make an effort to try stamping!! Love the puns too, made me smile!!
Happy crafting!
Carole
LikeLiked by 1 person
John, after I saw your first post using these stamps, I knew I had to have it. I got the last one in my newsagent’s. Hixxysoft now has it for £5.76 if anyone is still looking for it. I haven’t been stamping very long, but I have had hours of pleasure trying out all kinds of techniques with this wonderful stamp set. Now, you’ve given me even more brilliant inspiration. Going to grab a cuppa and get stuck in. Thank you.
LikeLiked by 1 person
Just lovely me hearties!
LikeLiked by 1 person
That’s such a good way of doing a reflection,bit of a faff normally! Must try that,thankyou.
Lovely!
LikeLiked by 1 person
It’s a masterpiece! I love how you’ve done the background paper too as it all ties in beautifully with the colours which were just perfect. Thanks for the tip with the cd sleeve too. I love stamping but haven’t done any in a while so thanks for getting me going at it again. Thanks again – Liz X
LikeLiked by 1 person
That’s amazing. You make everything look and sound so easy.
LikeLiked by 1 person
Love it John, truly you are so inspirational.
LikeLiked by 1 person
You are a clever chappie and your pictures make it very easy for me to copy your techniques…..thanks John, as always a cracking card. Karen x
LikeLiked by 1 person
Lovely card and thank you for the very helpful tutorial. Brilliant.
LikeLiked by 1 person
Love this one. Your masking techniques are so helpful and inspiring. Also the reflection technique. x
LikeLiked by 1 person