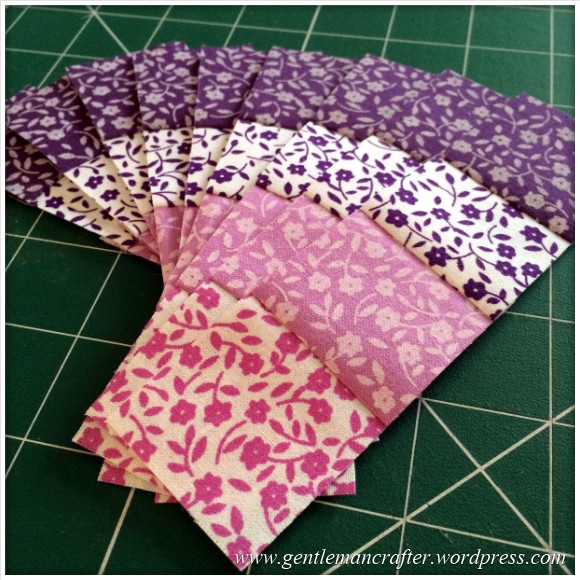
Last week I highlighted a few projects that I started using some pretty Fat Quarters that I had picked up at the local market.
My intention was that I would have all of the projects finished this week and that this post would show the triumphant results!
Yep, well, life got in the way a little but I did manage to make some progress so here goes …
Remember the quarter square triangles that I showed you last week?
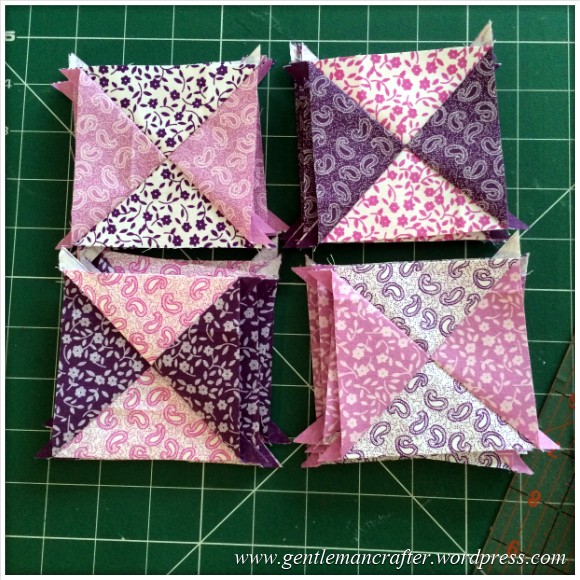
Well, I picked up from where I left off with them and decided to create a simple layout of squares dissected by thin sashing so cut some one inch wide strips from 100% black quilting cotton and got set to sew.
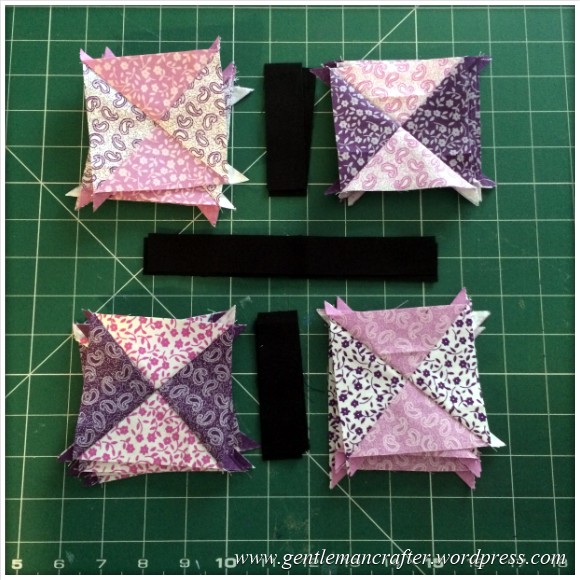
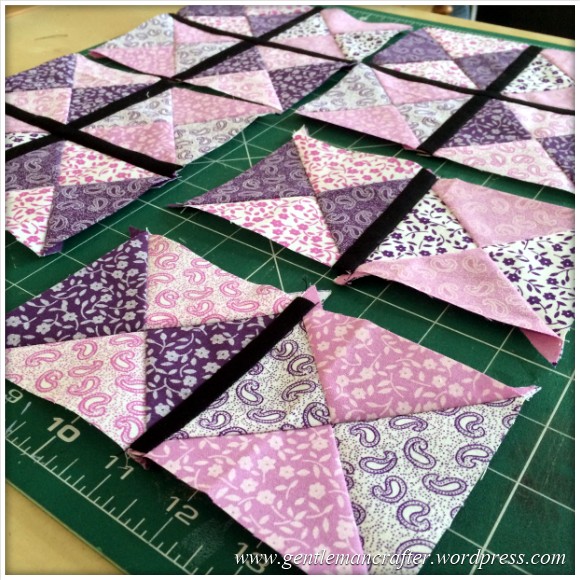
The strips were cut so that I could assemble the squares in sections, starting with one square, a strip and then another square for the bottom – the same for the top and then joining those two pieces together with a longer strip, like this …
It was a bit tight, even with a quarter inch seam allowance as there is very little room for error when working with such thin pieces. I did however find that using a Sewline fabric glue pen for temporarily keeping the pieces in place whilst sewing was MUCH easier (and quicker) than trying to pin or baste with thread – I would highly recommend getting one!
I continued in this fashion for the other groups of squares…
 … until I had four sets of four squares.
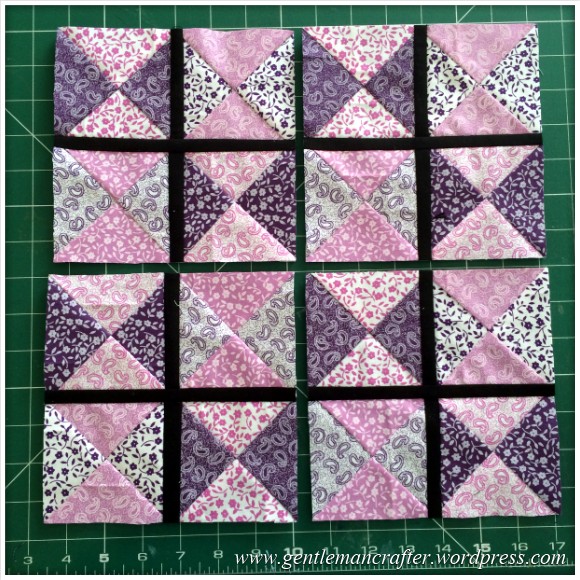
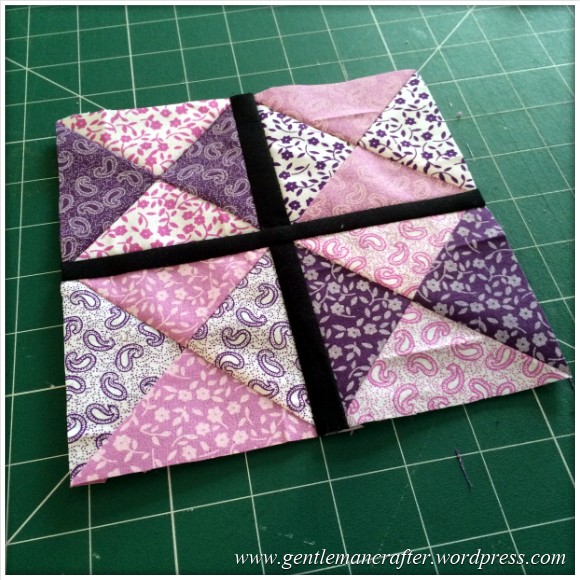
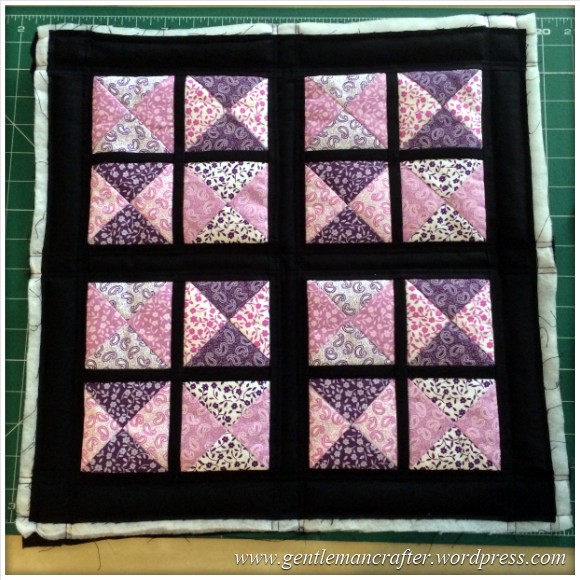
I then cut more sashing so that I could do the same thing to join these four squares together, but this time I cut the strips at two inches wide instead of one inch, and got sewing.
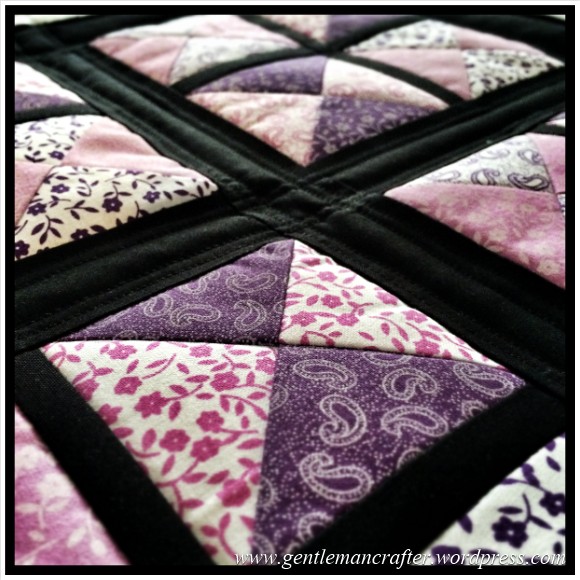
This is the result.
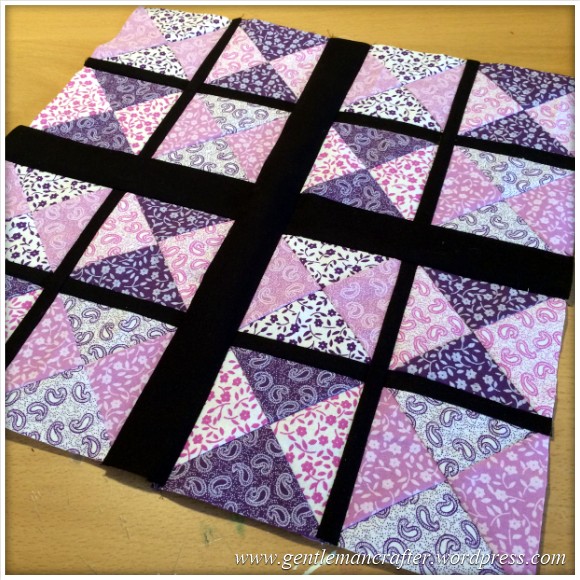
I was quite pleased with how this was going, considering that I was making it up as I went along – which is not always advisable when working in patchwork.
The surround was also made from two inch strips of black cotton sashing.
It looks a little like a window frame doesn’t it? :)
Before going on to the next step I gave some thought to the binding. I wanted to do something a little decorative so I looked at the batch of things that I was toying with last week and dug out the strips of strips.
They matched the fabric that were in the triangles in terms of tone and colour families so I felt that they would be perfect.
I arranged them to see how they would look and found that if I were to attach them as groups of two on each side, that it would look great.
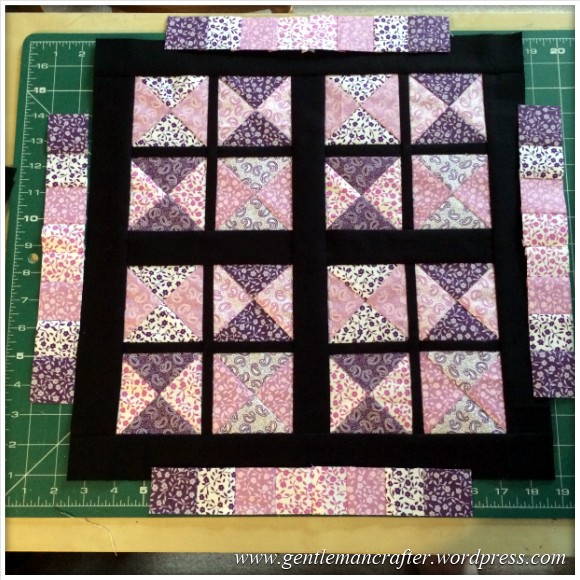
I’ll be filling in the corners with black fabric. I did have more of the fabric and could have made this striped look for the whole outer edge but got it into my head that I liked what I saw so I went with it.
I didn’t start sewing these yet though as I still wanted to do a little bit of top stitched quilting on the panel.
After creating a sandwhich from some batting and a panel of black cotton fabric (that I spray basted together) I started to stitch.
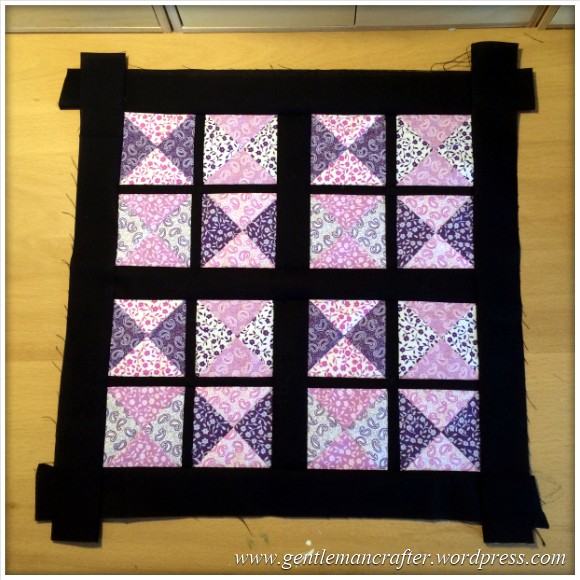
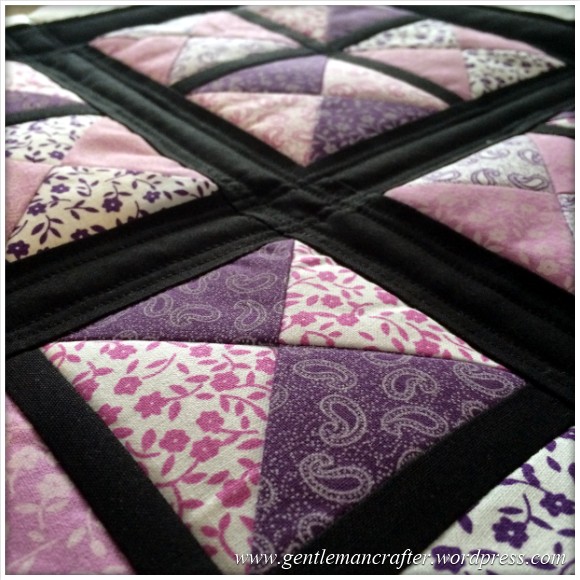
First I created a line that ran parallel to the edge of each of the thicker sashing strips.
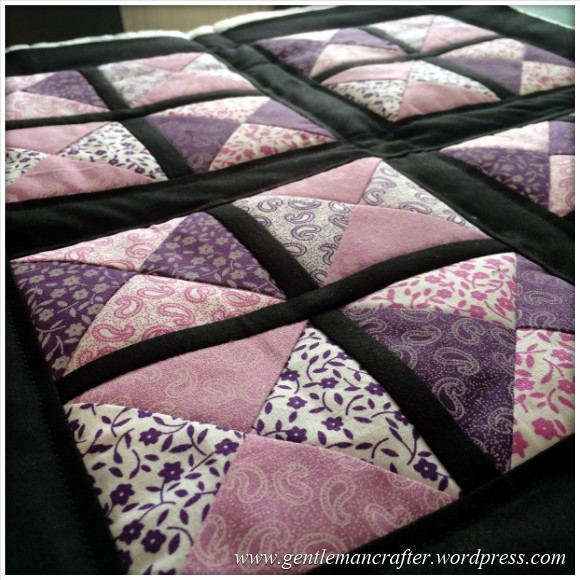 And then a second set, offset and parallel to the first.
So this is where I got to before the day came to an end.
It’s a shame that I couldn’t get it finished but I’m grateful that I had some time in which to stitch.
I’ll be picking this up next week and trying to finish it, and hopefully some of the other projects too.
Anyway, how are things going with your projects? Going well I hope.
Thanks for the catch up, I’ve enjoyed seeing you again.
As ever, if you have any questions or comments about this post, please feel free to use the comments box below.
See you next week for more Fabric Friday!
J :)

looks lovely, gorgeous colours.
LikeLike
Thank you :)
LikeLike
Hi John,
Just beautiful!
How do you find the time to do all these lovely projects? You must have some secret time travelling thing going on!
Always love your projects.
Carol
LikeLike
I wish :)
LikeLike
Well done John, I’m a quilter, so I know how long these things take. I’d have carried on though, and made it bigger for a lap quilt, or got enthusiastic and made a bed sized quilt!
LikeLike
Wow this is amazing, love the colours against the black. Sew neat.
LikeLike
This is looking amazing John. Your blocking is so neat! Perfect triangle points!
Thankyou for the top regarding the glue, I’ve been looking for something like this for a while with no luck x
LikeLike
I hate it when I see something that inspires me, – like this piece of quilting! -, as it stays at the front of my mind nagging at me till I have a go. Your work looks beautifully sewn and I find that inspiring as well. Have a happy weekend XX
LikeLike
Love the quilt John hope you find time this week to finish it off.
Been making my granddaughter’s quilt for sometime (about 8 years) but hopefully will finish it soon.
LikeLike
love the whole of your project, the black makes it stand out so well xx
LikeLike
…amazing how a few pieces of fabric joined together can make such a pretty object – of course the ‘mind behind it’ ensures success, as always! Your work is so neat & tidy John, everything fits together as it should :)…
LikeLike
Nice points on your triangles John. I’ve so many projects on the go, just don’t seem to have the time to get them done.
LikeLike
Making it up as you go along is my favourite way of using my sewing machine for a project like this. I made a patchwork quilt for my double bed about five or six years ago, and made it up as I went along. It came out even better than I hoped, and I your project looks well on it’s way to being a brilliant make too, John.
‘Sewline fabric glue pen’ – now on my shopping list. Thank you for the recommendation!
LikeLike
Beautiful John, lovely colour combination, do you know where you are going to use it?
Enjoying your FF posts:-)
LikeLike
Not sure to be honest. Possibly a large table mat or small wall hanging :)
LikeLike
Love this pattern so much, the black makes it really pop and I can’t wait to see the finished piece..
LikeLike
Looking great John. I presume you cut the triangles with the brother?
LikeLike
No, they were cut by hand :)
LikeLike
Looking gorgeous John, the black sashing really makes the colours pop x
LikeLike
Love it , colours blend very well. Well done you. X
LikeLike
I have just decided to take up quilting again after many years so i love to see your ideas, when i get my new seeing machine i will be off, very soon i hope.i love this quilt.
LikeLike
I’m so pleased you mentioned the fabric glue pen. I have one that I was given but had no idea what to use it for! Making it up as you go along seems to work pretty well for you – this is looking impressive.
LikeLike
great job, you have lots of imagination and the finished quilt is a success. Thanks for sharing your art.
hugs, Joanne
LikeLike
Love this quilt patern. I love the repeat of the colours. The black gives a really good contrast to the soft pinks and purple.
You have inspired me to try some triangle quitting.
LikeLike