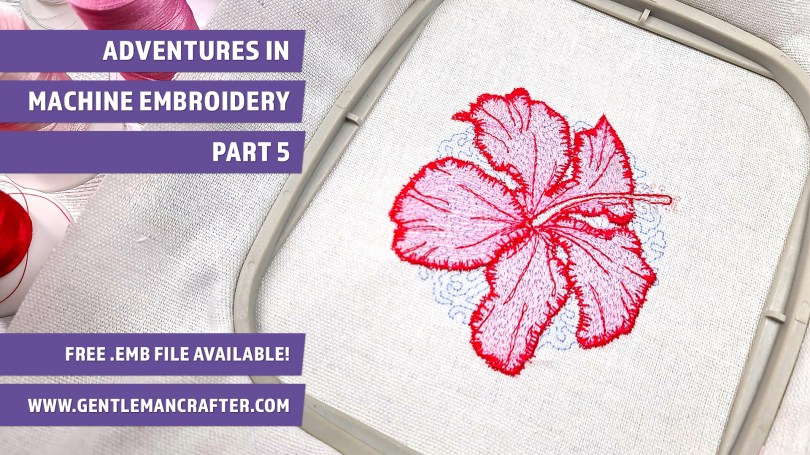
Continuing on with my adventures in machine embroidery this week by digitizing a sketched hibiscus flower. Some things worked, some didn’t but it’s all about a personal learning journey so do join me and see what went down.
Missed Something?
Want to start at the beginning? If you have landed here from somewhere around the internet and have missed any of the previous posts in this series, you can find them all snuggled in this archive.
Look At What I Made!
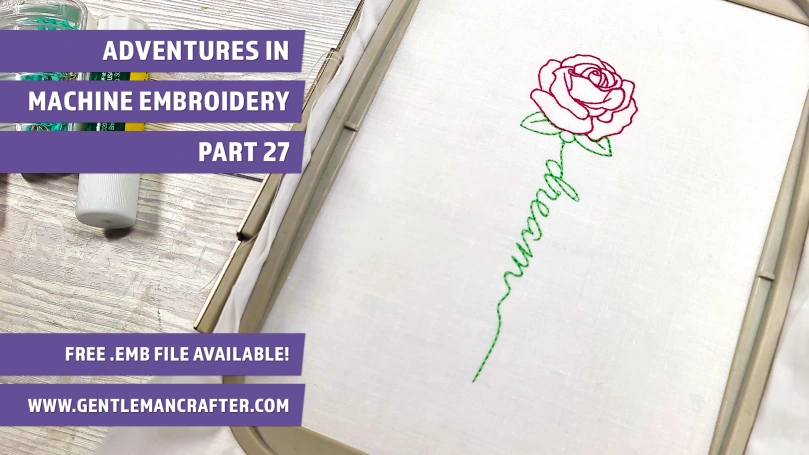
Here is the final stitched design.
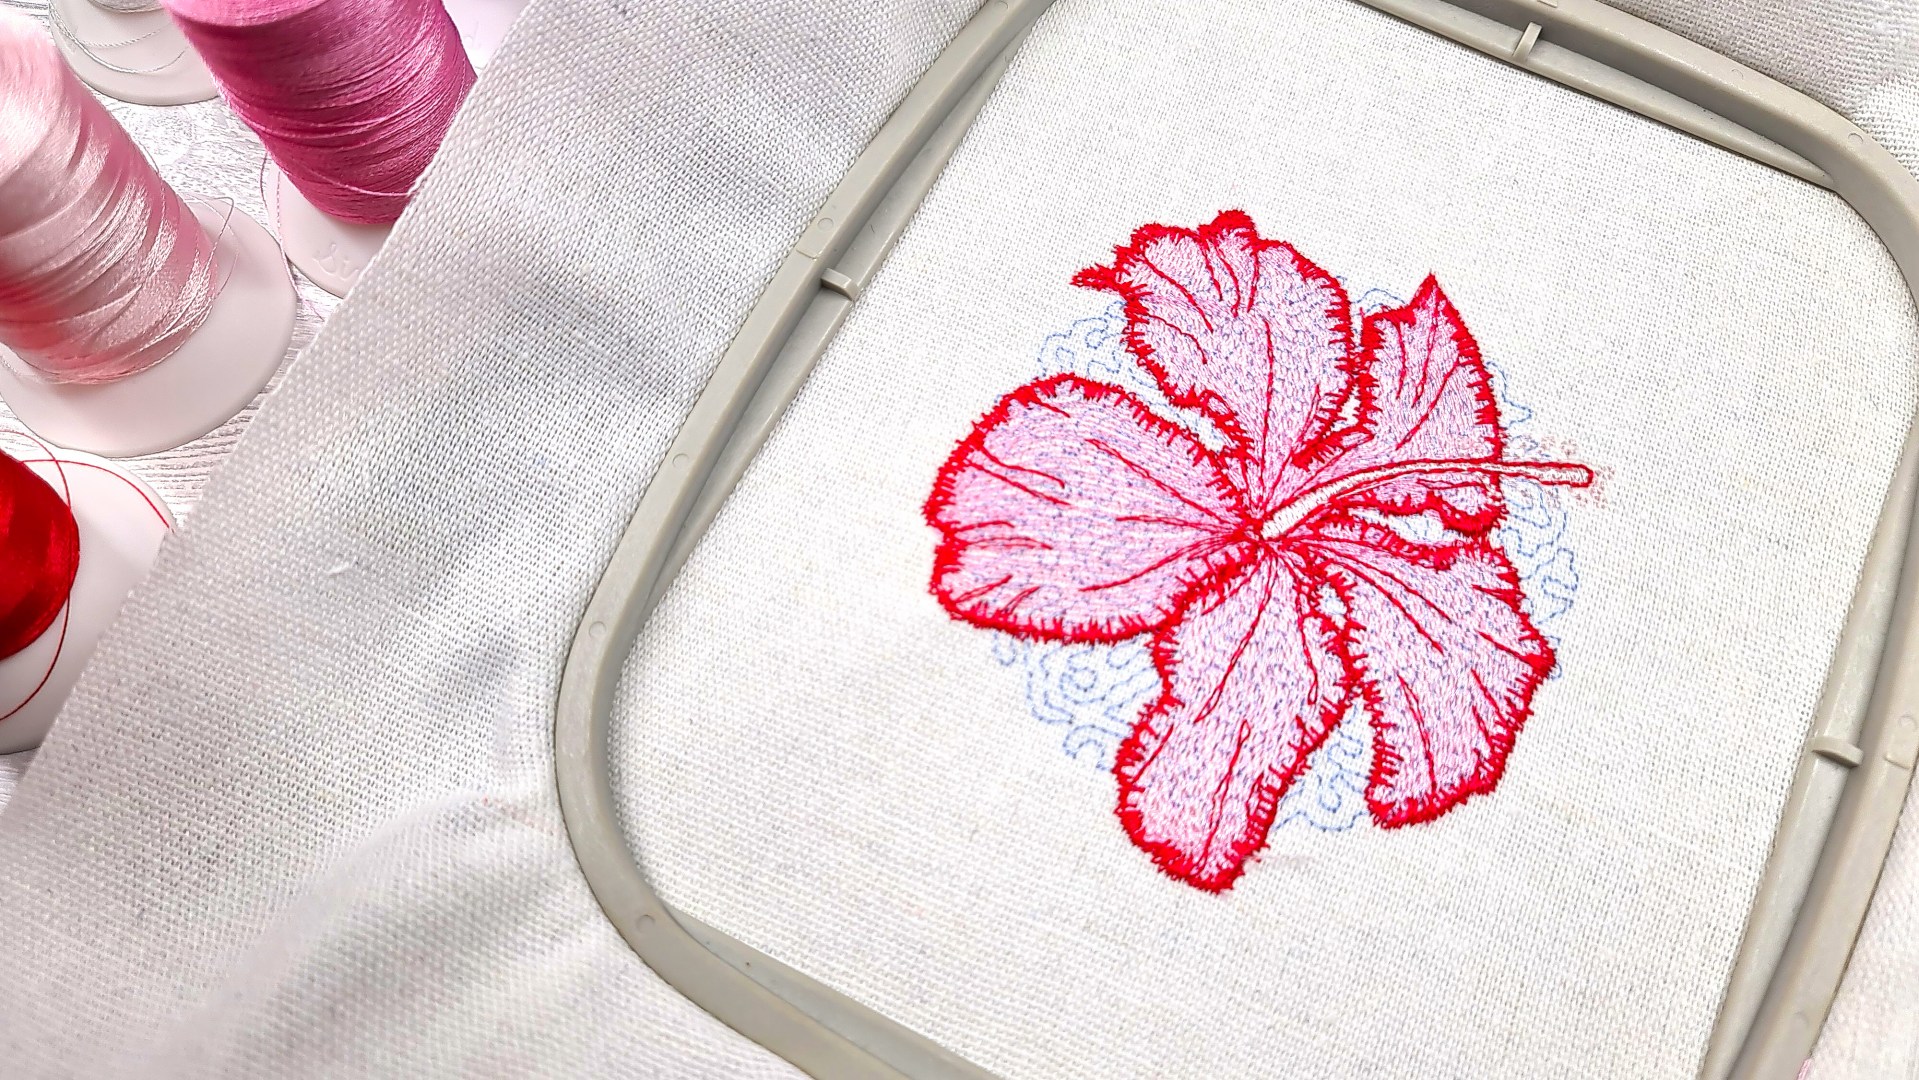
Fresh, floral, fancy!
Getting To The Point
I was happy overall but again, as with last week’s design, I would likely change up the colours; perhaps even reduce the border to a single stitch.
There were also a few jump stitches that I missed in the final tidy up but I can fiddle with those another time.
Hatching An Idea
Want to see how this idea became reality? Well, you are in luck as I put this video together to show you how I achieved this technique. Just hit play and have a slurp of your lovely beverage.
Download The Free Embroidery File
If you would like to get a copy of the .EMB (Hatch Embroidery) file, just hit the download button below. PS, it’s in a zipped folder so you will need to unzip it first and you will need a copy of Hatch installed on your computer to open it.
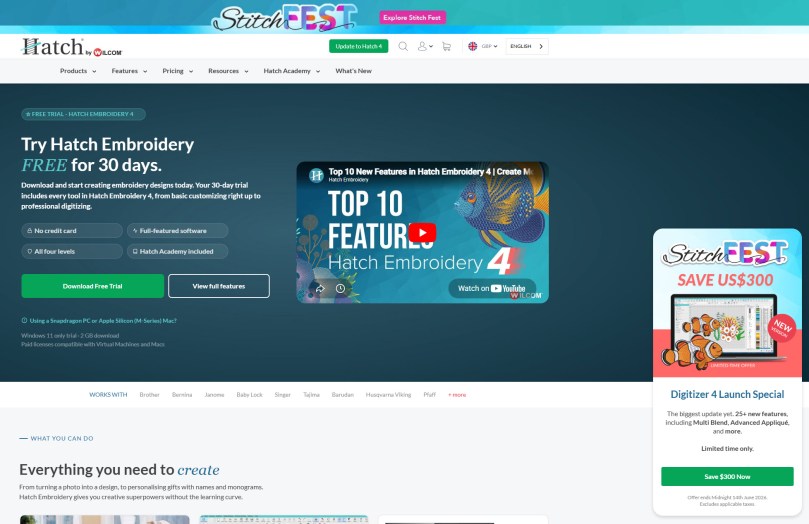
Download Hatch Embroidery Digitizer for Free!
Want to try this software out for yourself?
Hatch offer a fully functional 30 day free trial of their software so you can give it a good road test prior to buying!
Just hit the big button below to nab yours!

Ok, that’s me done for this post. Hope you enjoyed hearing about my adventures in machine embroidery and will pop back again soon.
All the best,
John.
More Machine Embroidery Blog Posts
Find more fabric fibre and yarn blog posts here …


This looks gorgeous John!
Thank you so much for sharing, stay safe and have a wonderful evening.
LikeLiked by 1 person
Thanks John, love the design xx
LikeLiked by 1 person