Nearly two years into my “official” machine embroidery journey and I still haven’t scratched the surface of the Hatch Embroidery software. I have been feeling that there is a lot hidden that I really need to bring out and so I decided to start making some reference swatch libraries so that I can make full use of the included styles.
Come see how I set that up and how it is going.
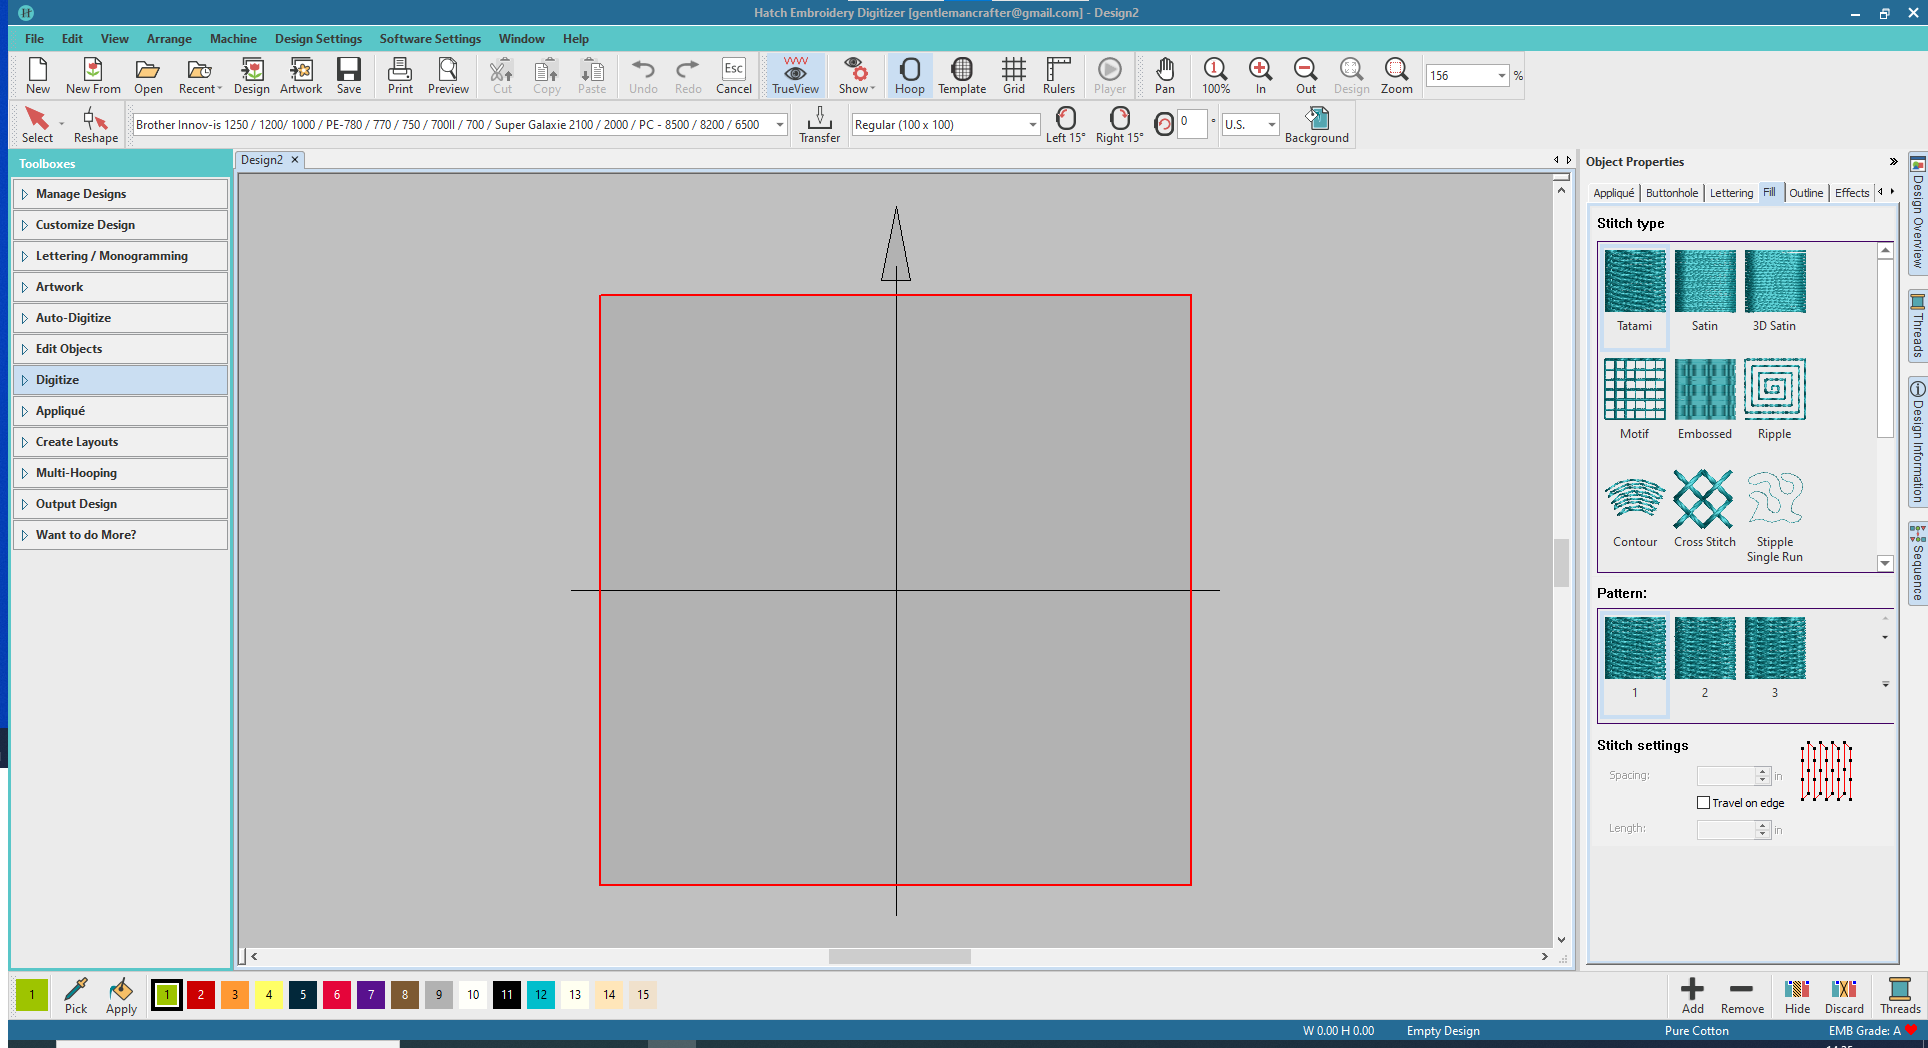
You probably guessed that this started out in the Hatch Embroidery Digitizing software – good guess!
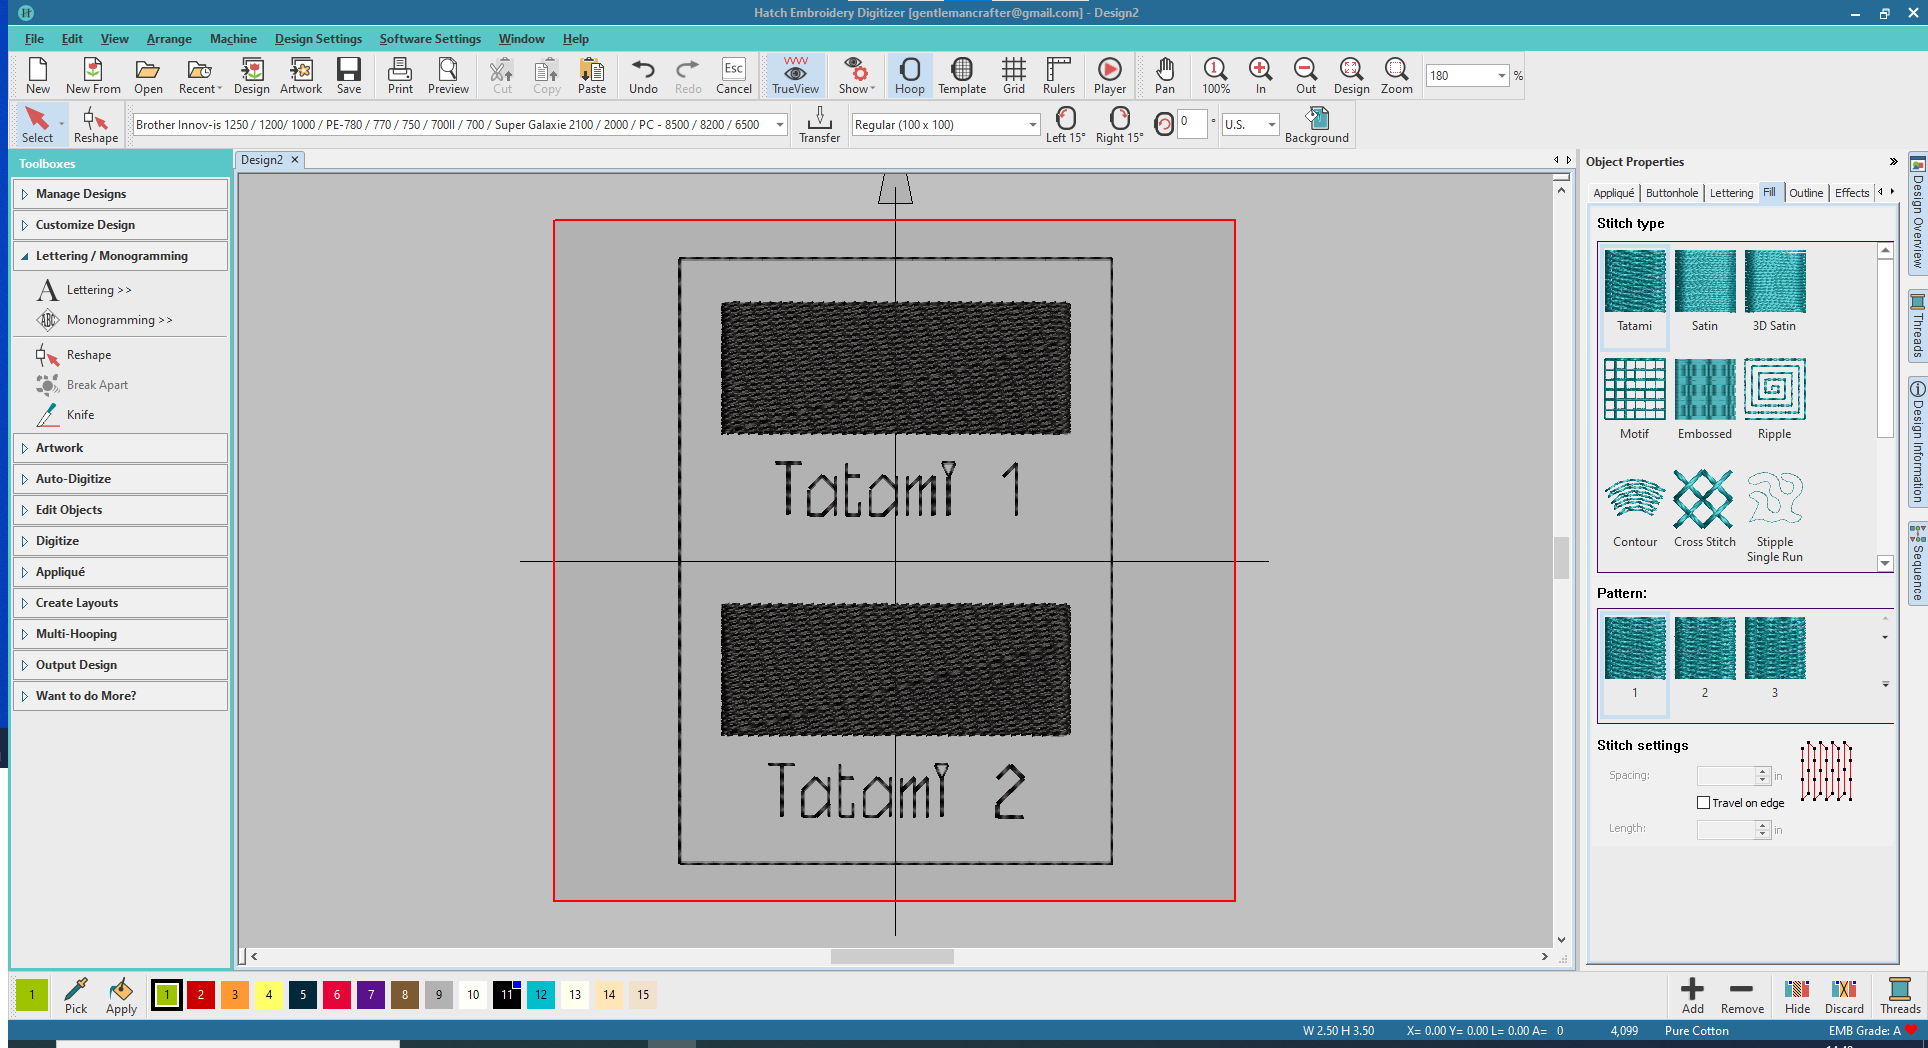
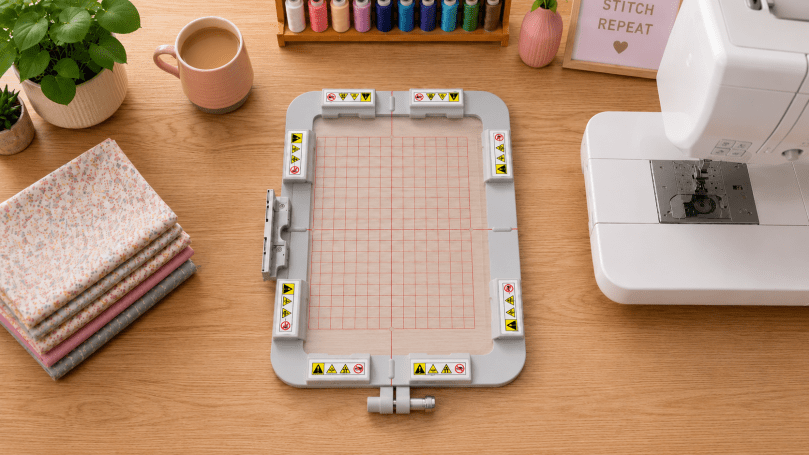
I opened a new document, applied the frame size that I was going to use (4 inch square) and set the centre of the design.
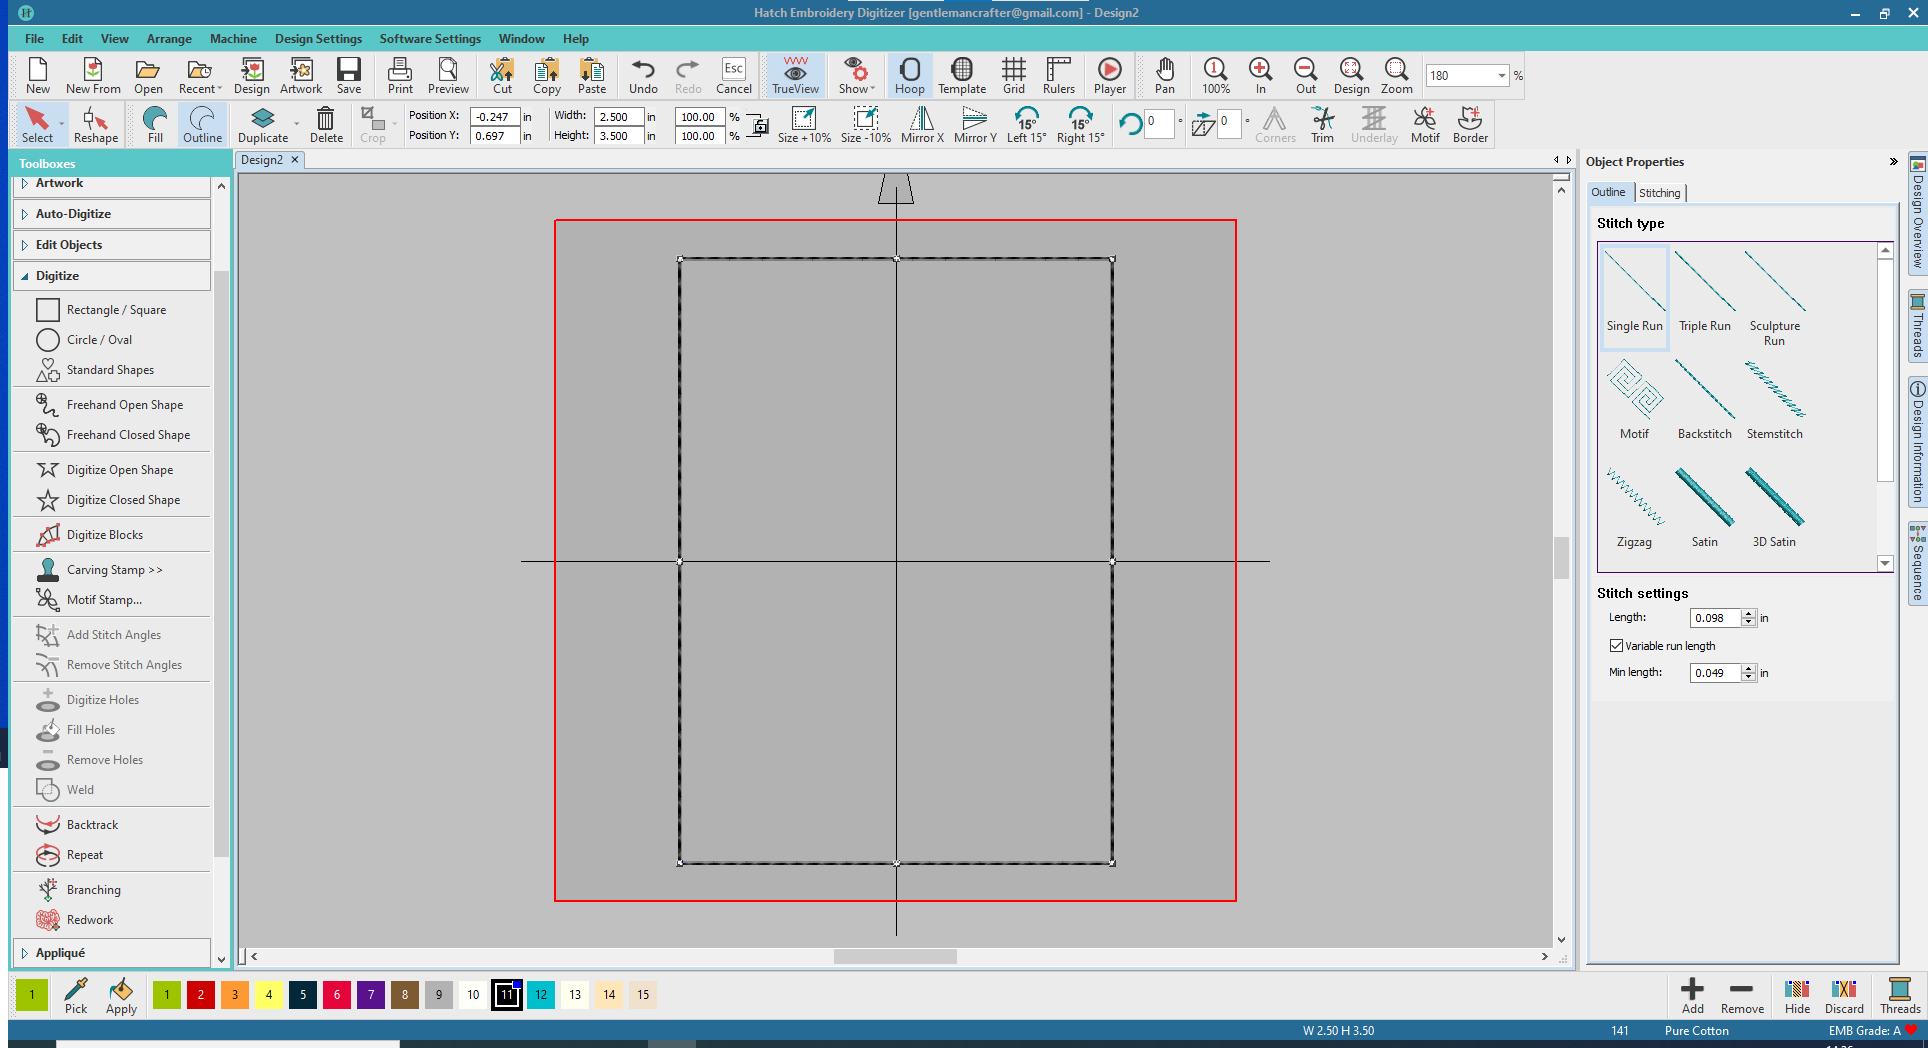
Then, from the Digitize Toolbox, I added a 2.5 inch by 3.5 inch rectangle and set this to outline with a single run stitch.
This will be the overall size and I chose it because it fits perfectly in the trading card album that I had chosen to house the swatches.
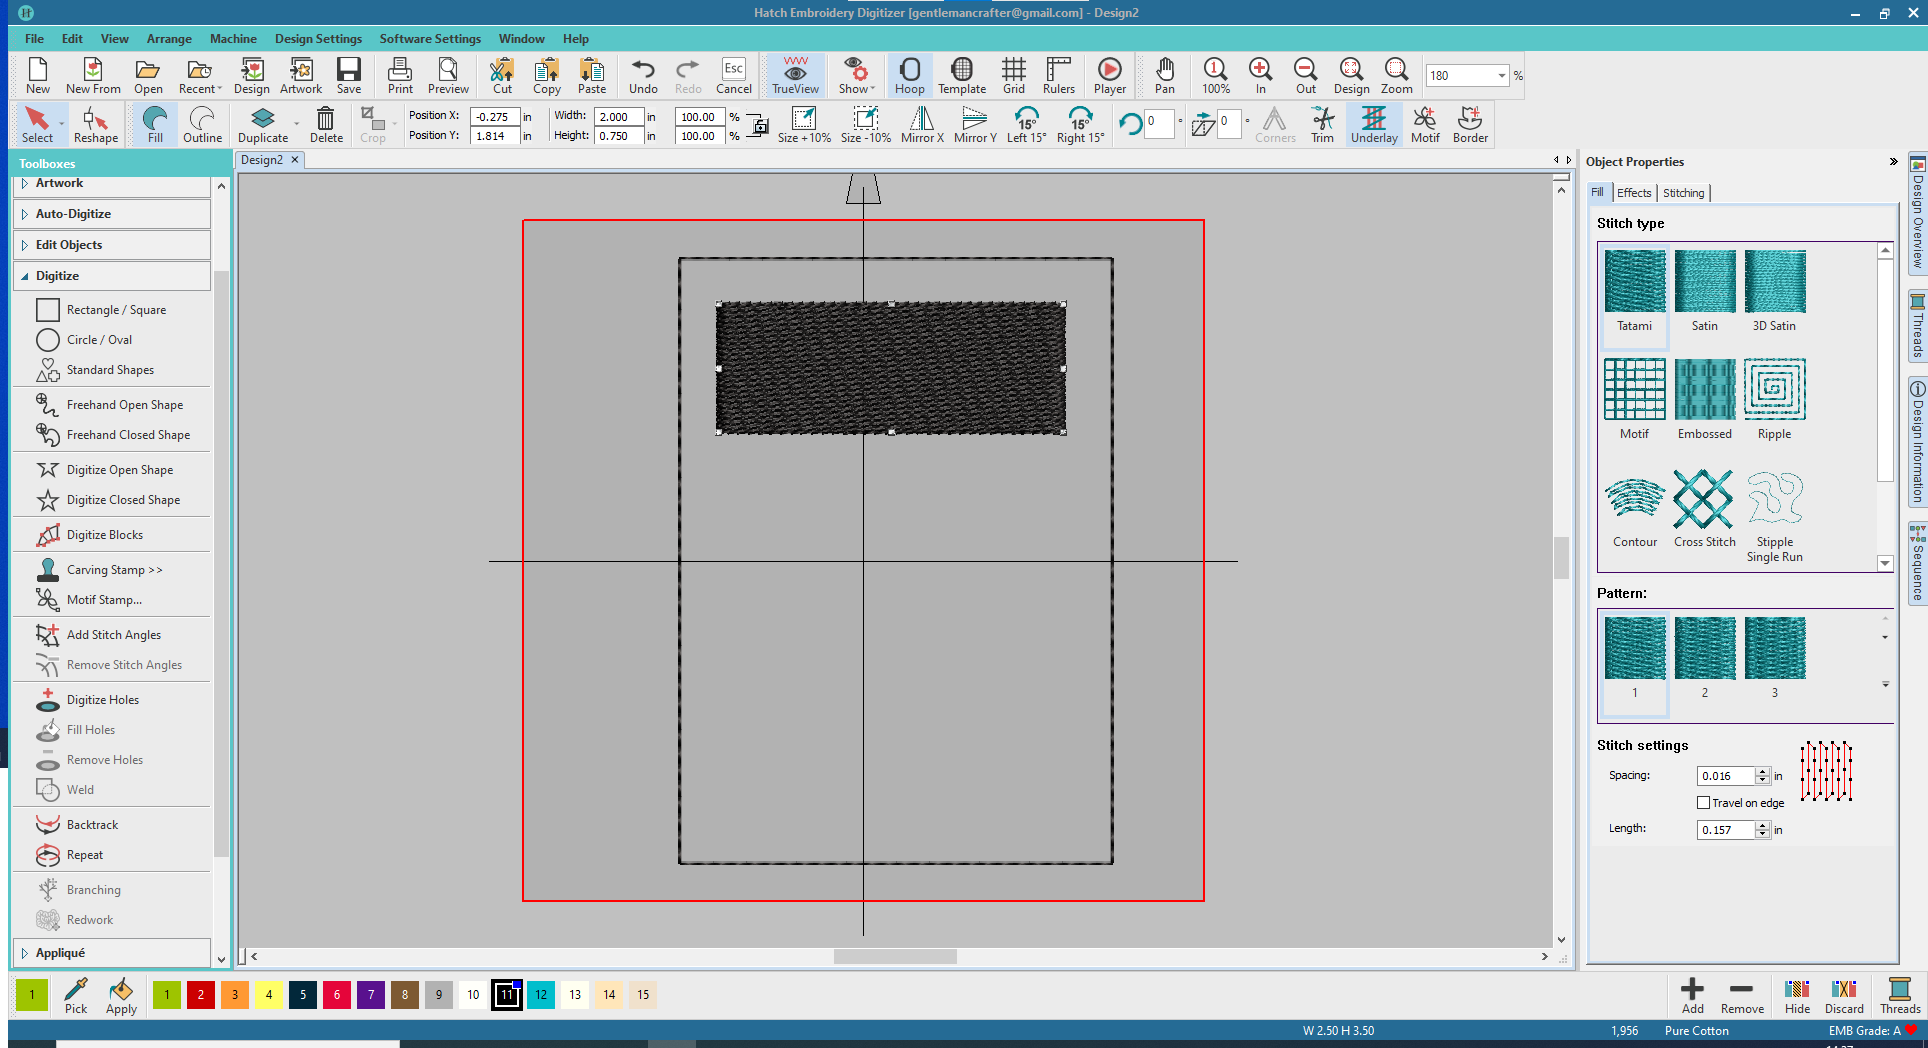
Next I added another rectangle. This time though it was 2 inches by three-quarters of an inch and was set to fill with the Tatami stitch style.
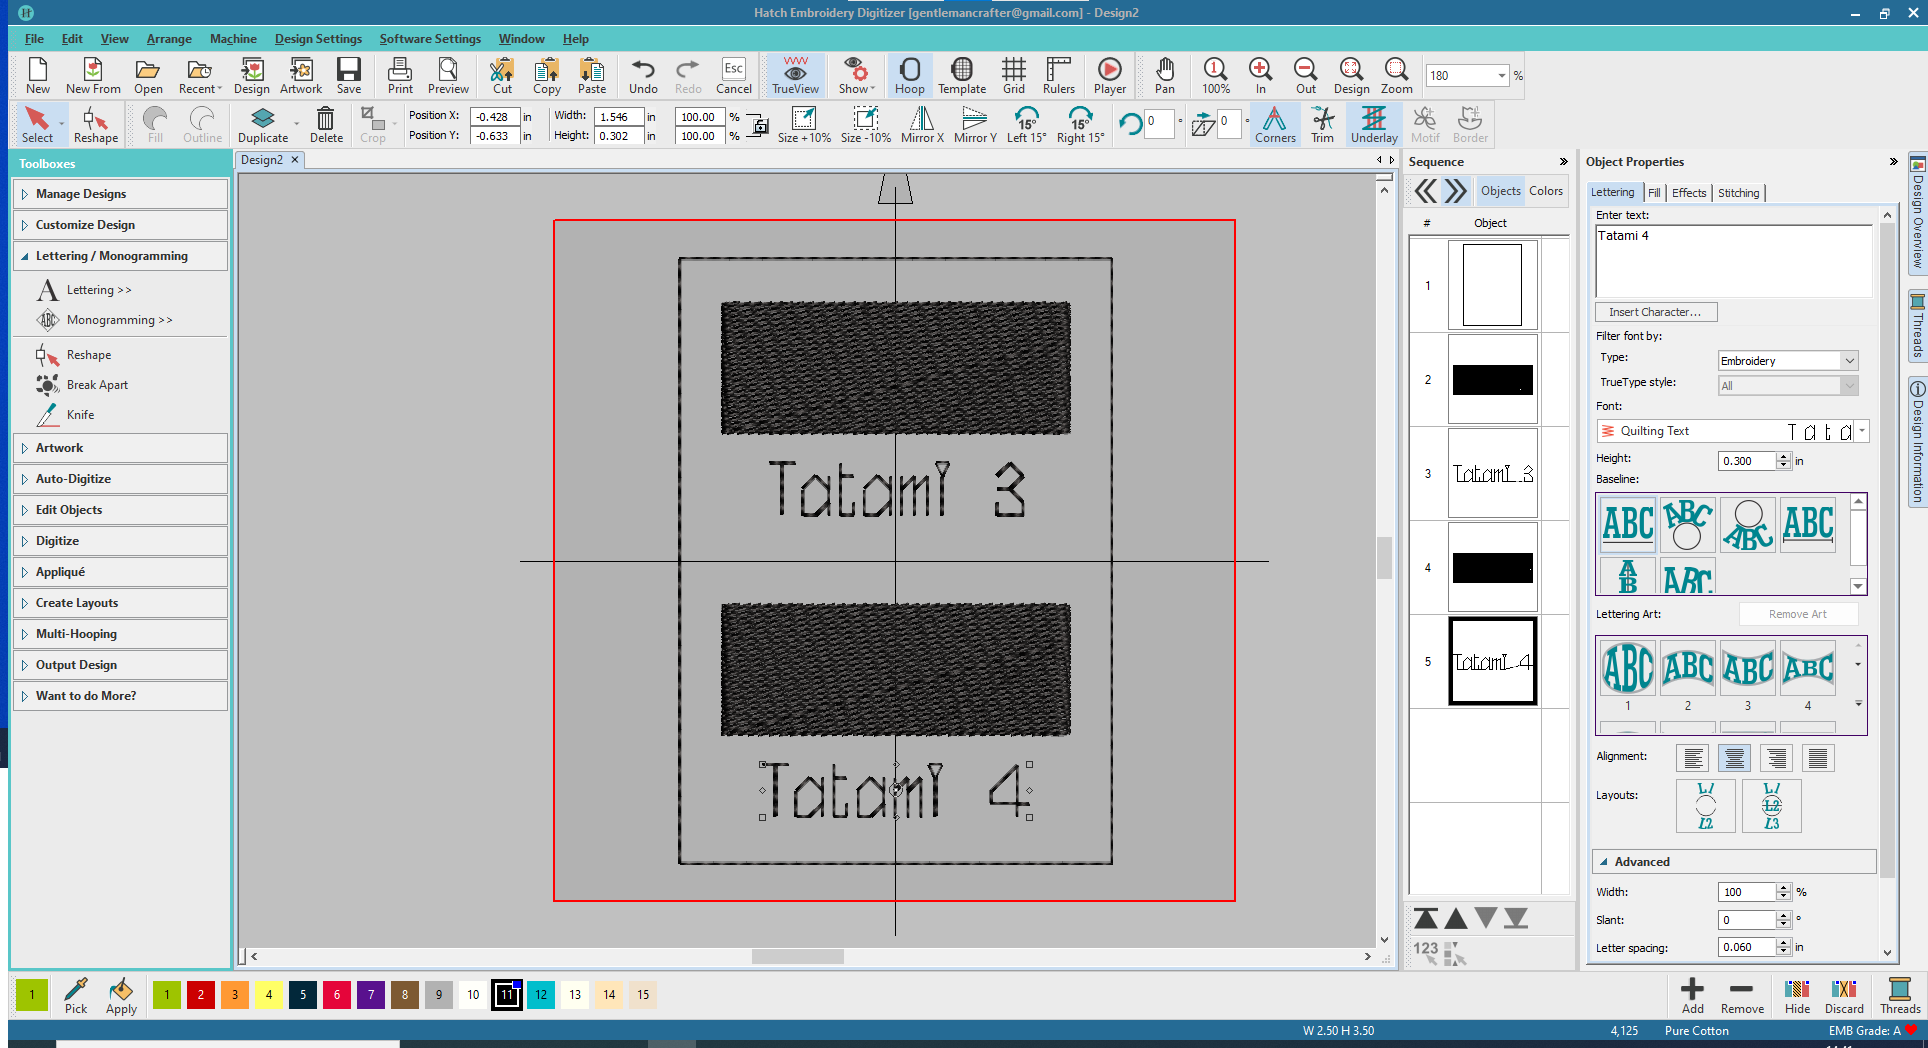
From the Lettering Toolbox I then added a title area, selecting the quilting text and setting it at 0.3 inches tall and centred text.

These two elements were then duplicated using a shortcut key combo (ctrl + D) and moved down to the bottom half of the main rectangle.
I saved this out as design 1. I then used the sequence menu to change up the patterns to the next two and changed the titles, saving out the result as design 2.
Over the course of two cups of tea and a podcast about Carol Baskin I repeated this with all of the Tatami patterns and the embossed pattern fills.
This resulted in quite a few .EMB files as you can see.
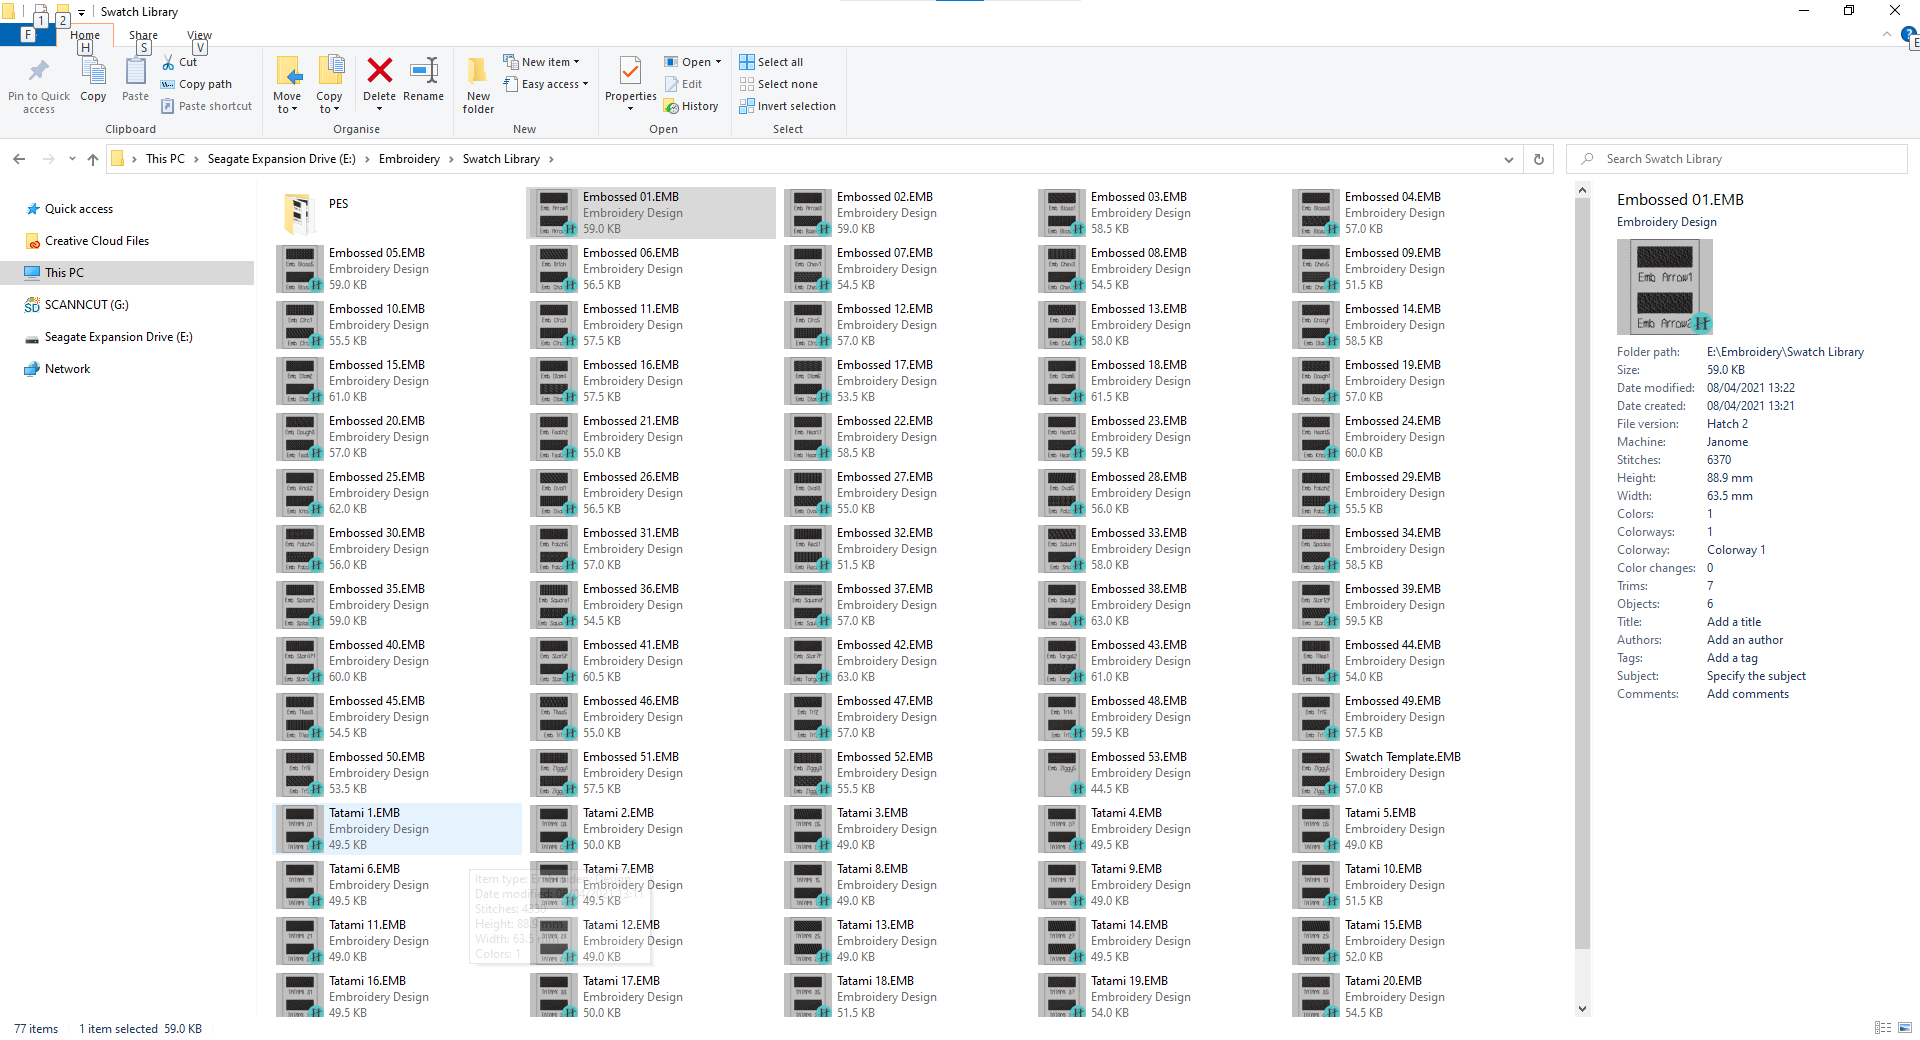
Small problem, I need them all to be in the .PES format in order to use them with my Brother embroidery machine.
No sweat, as the Hatch software has a conversion option as part of the Manage Designs Toolbox. This meant I could batch export all 77 swatch files – woohoo!!
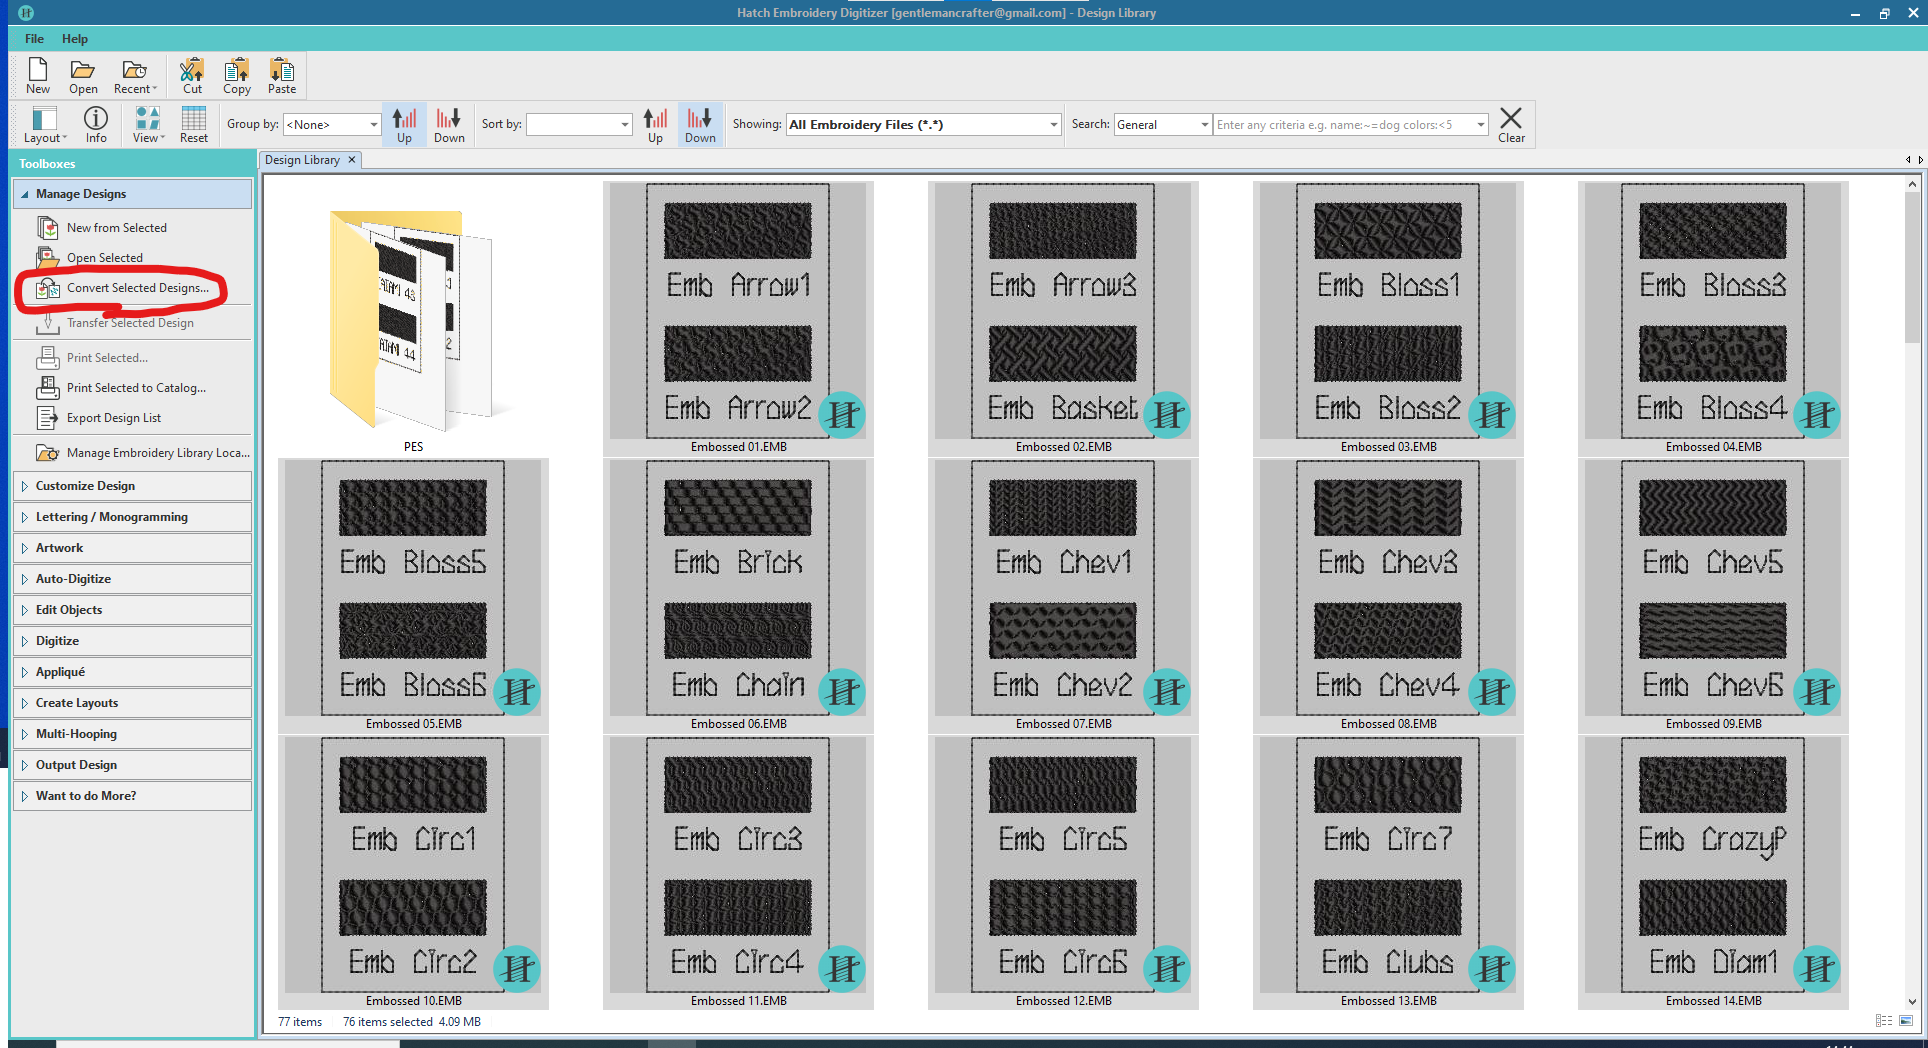
Boom! All done in a couple of clicks!

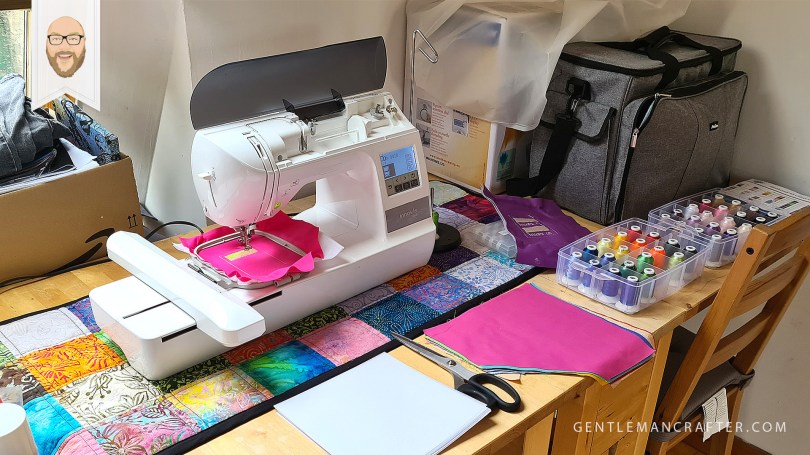
Having transferred them to a USB stick I then set up the stitchy area and got cracking.
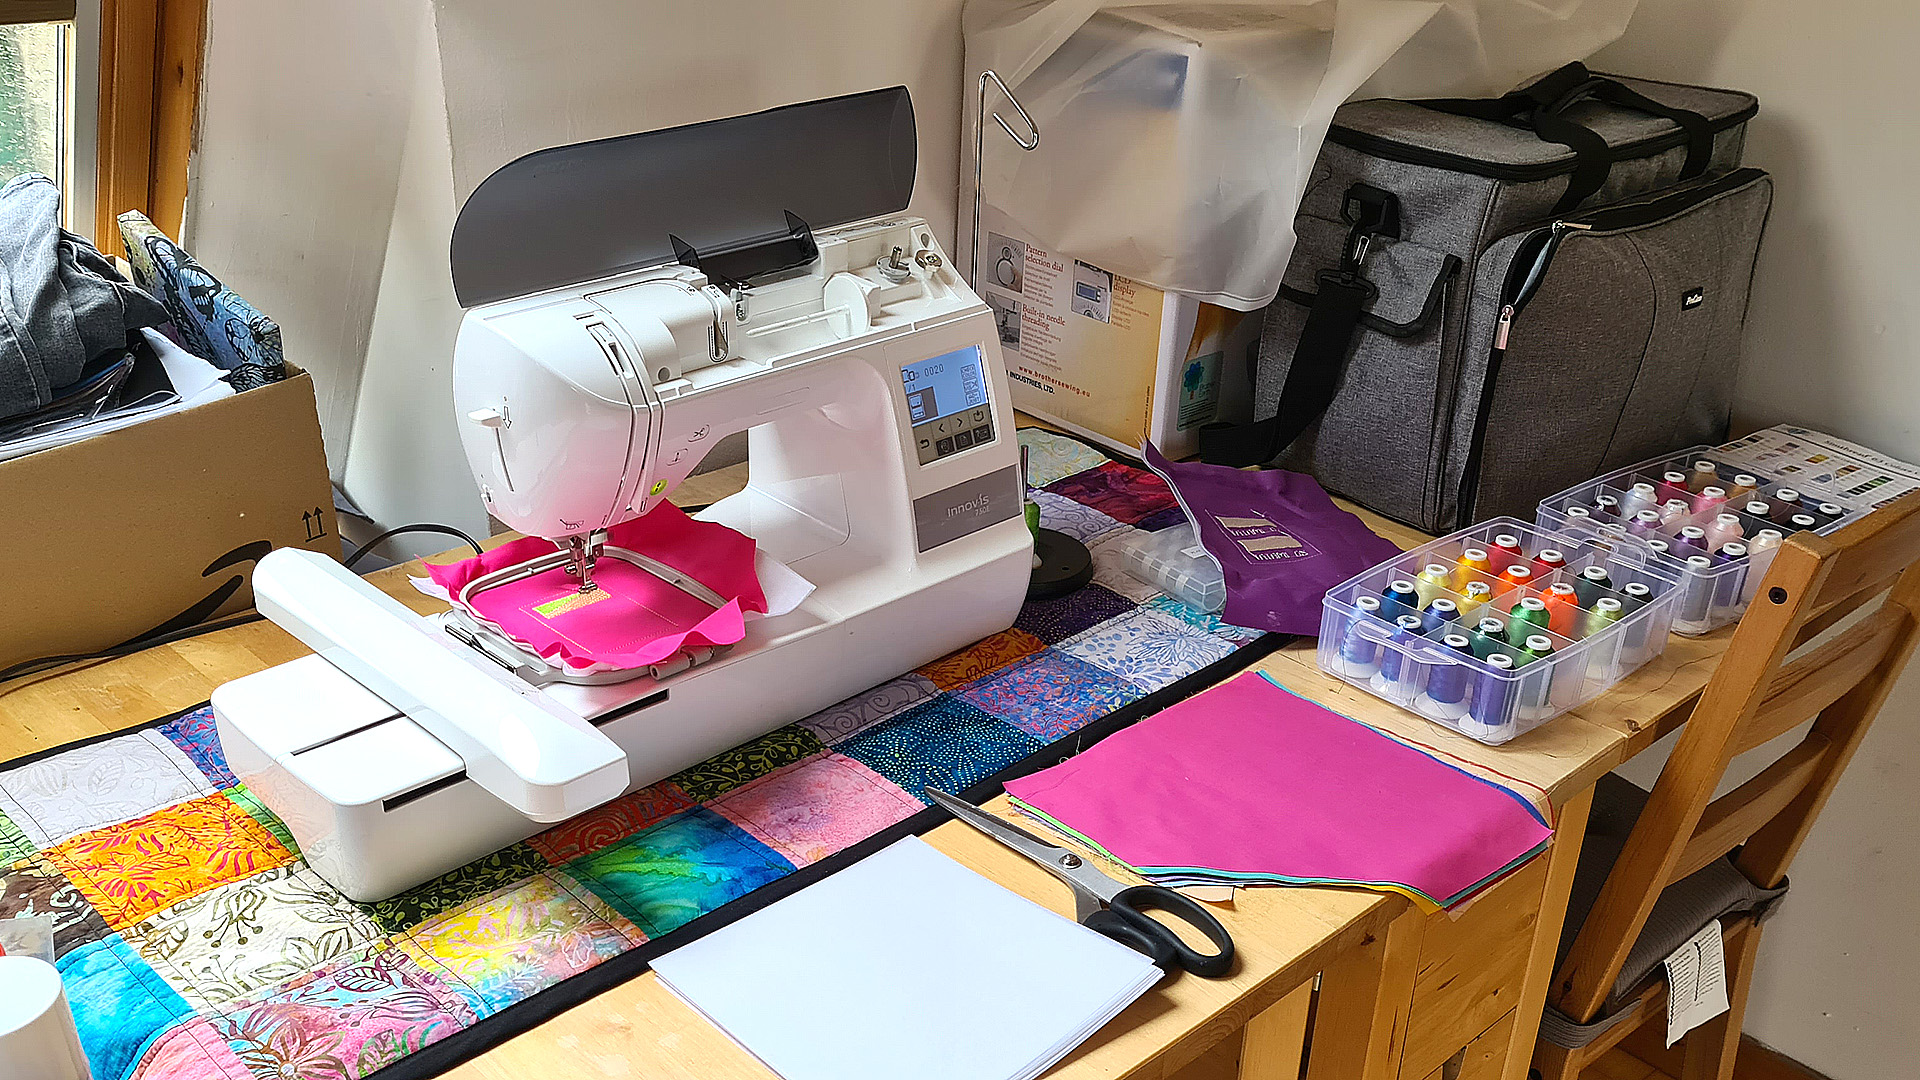
Stitching, slurping tea, writing this blog post and more all happened whilst I was intermittently stitching out the swatches and adding them to the album.

It’s going to take a while to do the lot and I also have all of the motif fills to create too so I will give you an update in the near future once they are all done.
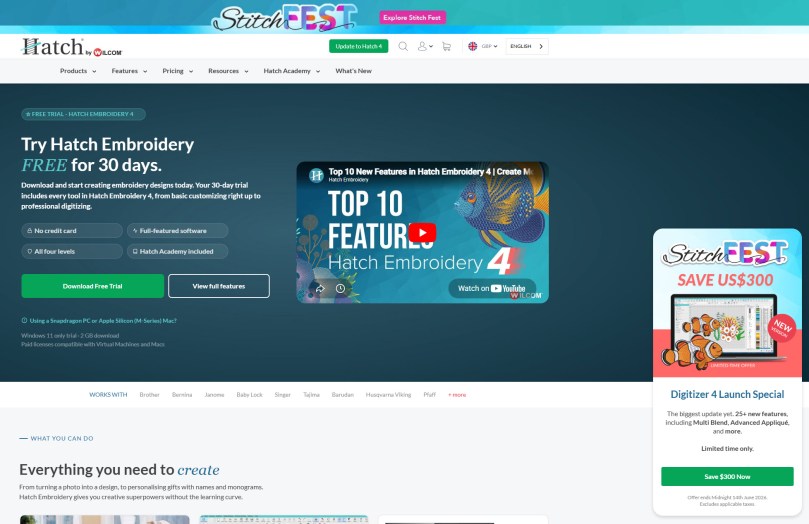
Anyway, time for me to sign off shortly but before I go, let me say that if you would like to try out Hatch Embroidery software for yourself, just hit the big button below and I will whisk you over to their website faster than you can pull your knickers up and you can download a free fully functional trial copy to have a go with the software yourself.

More Machine Embroidery Blog Posts
Also, if you would like to see more from me waffling on about Hatch Embroidery software, machine embroidery and also see some of the previous tutorials that I have made, do check out the other posts that I have on this blog.


Right, that’s about it for this one.
If you have any questions or thoughts about the content of this post, please feel free to pop them in the comments section below. I look forward to hearing from you.
Many thanks for stopping by and hope to see you again soon!
Bye for now.
John.
There are literally hundreds more posts in the archives so please do check out the suggested posts at the bottom of this page or visit one of the category archives below or check out the related posts section at the end of this post.

Although I don’t have a embroidery machine and don’t intent to buy one, I love reading how you getting allong with your machine and what you do with it.
It’s just like with colouring mediums swatches, it lakes time to make them but it saves a lot of time and hassle to use them. Thank you so much for your lovely post, stay safe and have a wonderful weekend.
LikeLiked by 2 people
Great idea John xx
LikeLiked by 2 people