Acrylic paint pouring is making a big impact across the internet lately, however, there doesn’t seem to be a consistent recipe for success, the instructions aren’t clearly explained and the ingredients can be hard to find or are cost prohibitive.
My goal for this series of blog posts is to break the mystery surrounding this technique and make it accessible, easy and affordable.
You have my permission to punch me if I do not.
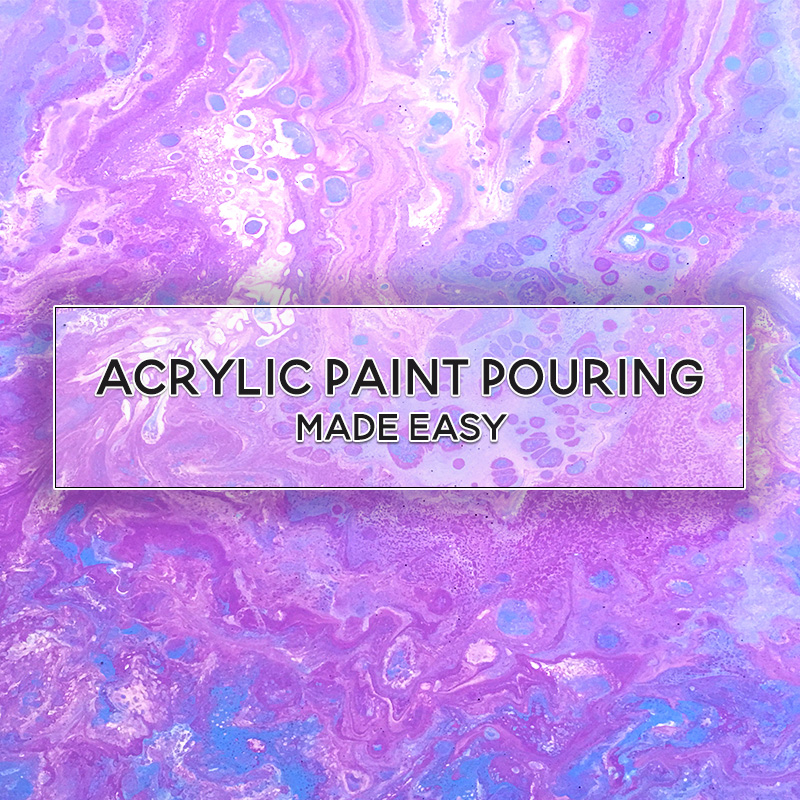
By the way, have you seen ‘paint pouring’ before? If not, here are a few that I made this week.


Rather lovely aren’t they?
Before we begin, please let me clarify one thing. I don’t claim that this is ‘THE’ technique, this is simply my version of a general technique.
It’s the results of many hours of research and experimentation in trying to complete the three goals that I set out at the start of this post.
Why clarify this? Well ‘paint pouring’ is a general title for a technique so if you look around the internet for this phrase there are many paint pouring artists, each with their own style, method or recipe. You might think therefore that what I am about to show you will give you the results you’ve seen elsewhere. It won’t. It will show you the results that you will see throughout this blog.
Ok, everybody clear?
Good, then let’s move on.
If you would prefer to watch and listen rather than read then you may like to know that I have a full-length video over on explaining everything in this blog posts series.
Click Here To Watch Affordable Acrylic Paint Pouring With Cells Made Easy Full Length Video
Now, supplies.
Below is a list of suggested supplies. Many of these can be substituted for what you already have at home thereby reducing the overall cost. I’ll explain more under each section.
If you don’t have any of these things I am very excited to say that you can generally pick the lot up for less than £10 if you know where to look. Don’t worry, I’ve got a few suggestions on this too.
Kit List
Paint.
This is ingredient one in our pouring paint mix.
‘Soft Body’ means you’ll need less pouring mixer. The soft body is the runnier kind of acrylic paint that will self-level and dry with a fairly uniform surface.
‘Heavy Body’ Heavy body paint is the thicker stuff that looks a little like toothpaste when you squeeze it from the tube and it dries in this shape too.
Opaque paint is better than translucent. This only generally comes into play with the pricey paints. Budget bottles are usually opaque as standard. Worth checking the bottle though.
Glue.
This is ingredient two in our pouring paint mix.
Cheap and cheerful PVA is great! You know the stuff. It’s often called ‘school glue’ and is sold for maybe £3 per litre. Make sure that the bottle does not say, ‘dries white’.
Cheap and cheerful PVA is great! You know the stuff. It’s often called ‘school glue’ and is sold for maybe £3 per litre. Make sure that the bottle does not say, ‘dries white’.
Water.
This is ingredient three in our pouring paint mix.
Tap water. Yes, seriously I saw one video recommending bottled water. NO!
WD40.
This will give us our cells. Mini cans of this can be picked up for £1 from most pound stores.
Cocktail shot glasses.
Don’t get excited. We’ll be using these to measure out our ingredients.
I managed to find a pack of 20 for a £1 from the pound shop.
If you have small plastic posts or plastic measuring spoons at home, these would serve equally as well.
Plastic beakers.
These are used to mix our pouring paint in.
Just regular sized plastic drinking beakers. I got a pack of 5 for £1 from the pound store.
If you eat things from plastic pots regularly, like yoghurt, wash these out and keep them as they would be perfect.
Stirring sticks.
If you haven’t already got a stash that you nicked from a coffee shop or service station then you can most likely find a large bundle in the pound store or other budget kids craft suppliers.
Doesn’t matter if they are plastic or wood. If you’re getting the wood ones though, get the uncoloured ones.
Large tray.
This is an optional accessory. This is to catch all of the paint that runs off our canvas during the pouring.
Especially useful if you need to move the canvas to another location after the pour.
If you don’t mind using your large turkey roasting tray then you’ve no need to buy this.
Key things are that you can fit your chosen canvas/board/mdf blank inside its perimeter.
If you’re going for a mammoth project, might just be easier to mask off the whole area with bin liners rather than trying to find a roasting pan that will fit a whole pig in it.
Canvas/Board/MDF blank.
This is what you will pour your paint onto.
Canvas board can be picked up very cheaply. If you want to save some more pennies and have some blank wood shapes or MDF etc already in your stash, these work well also.
You may wish to prime your surface, especially MDF, with a couple of coats of Gesso.
So, I guess it’s time to reveal the fail-proof pouring recipe … join me in part two of Affordable Acrylic Paint Pouring With Cells Made Easy! now!

Hi John, just a thought, if you put cling film over your tray before pouring, it would probably be easier to clean and dispose of. Maybe you’ve tried it already.
Best wishes
Sioux x
P.S. Love the video
LikeLiked by 1 person
This is very true!
LikeLike
Wooooo! Watched it all and how fab….playing for grown ups : ) serendipitous, sophisticated results. Simply sooopa darhling : )
LikeLiked by 1 person