
Hey ho campers!
Been having a little play with some free papers that were in issue 156 of Cardmaking & Papercraft magazine and thought I’d share a tip on using them for something other than cardmaking.
I am going to be making paper beads. Very simple and a great way of using up lightweight paper from magazines (that I am sure we all hoard).
Basic tools only on this one. A paper trimmer (or scissors), a bead rolling tool, PVA glue and a tape runner (option all).
To get started, trim the papers down to roughly A5 in size.
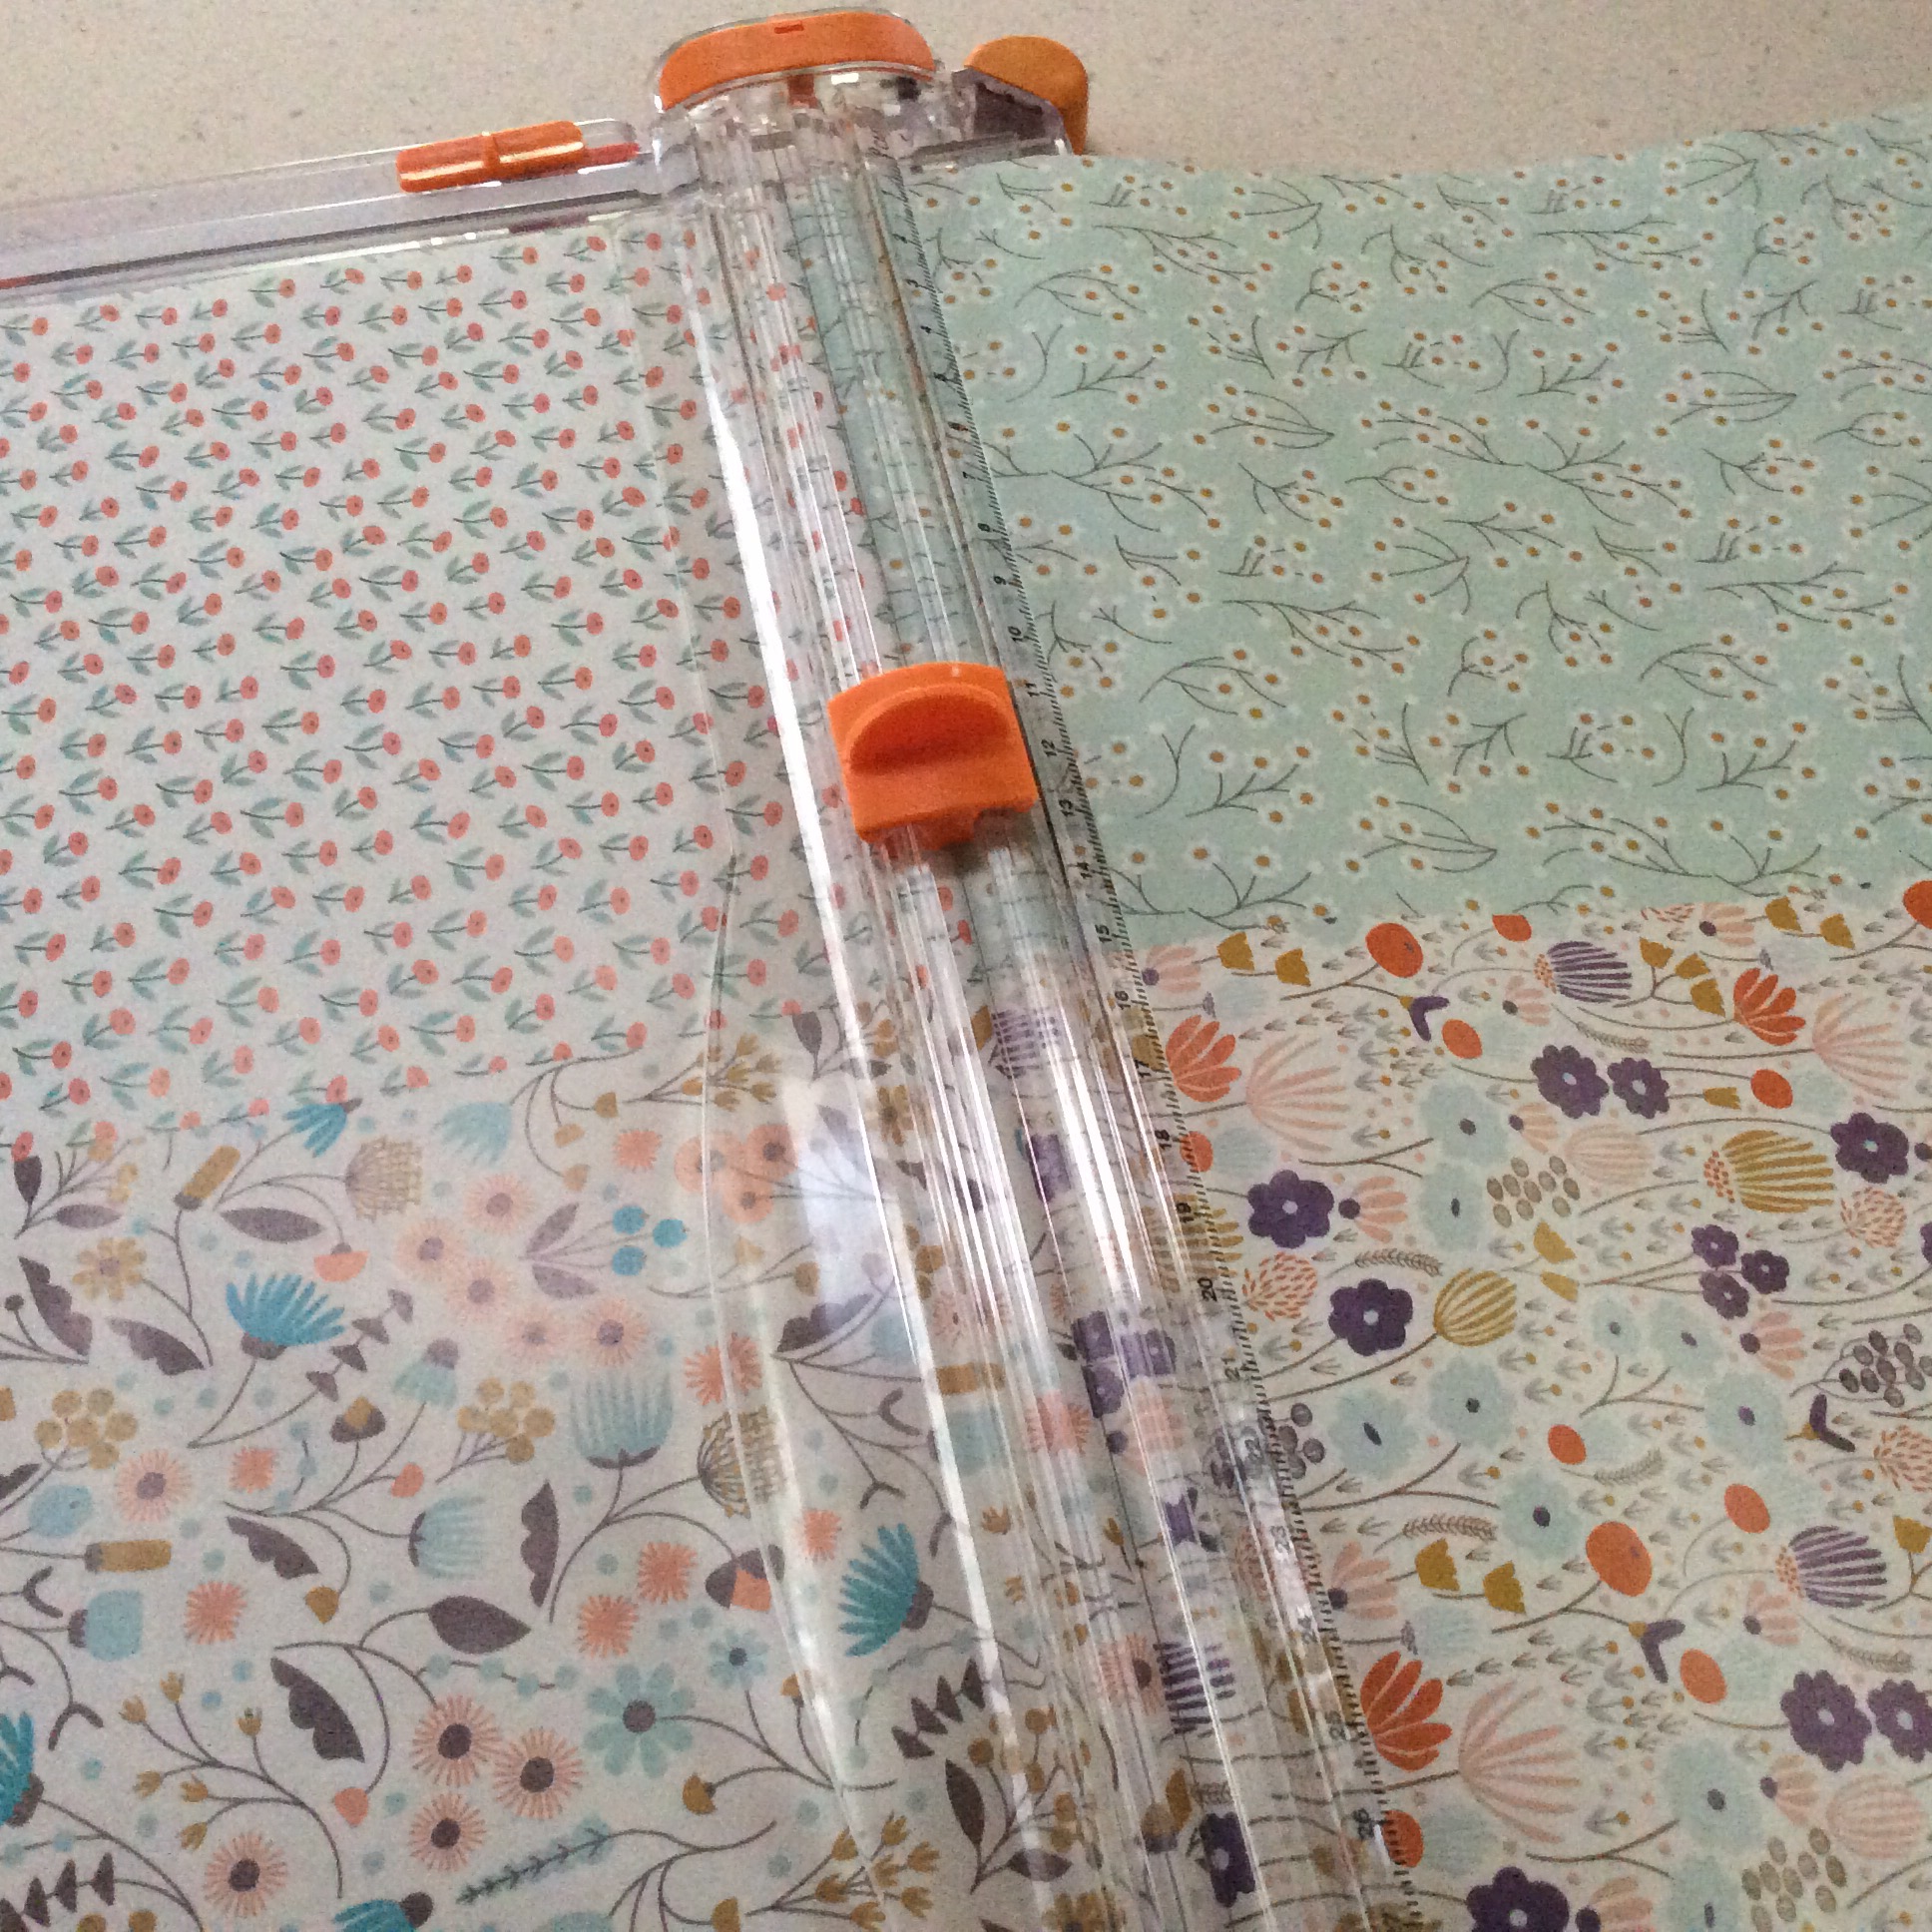

Then, cut the sheets into one inch strips along the longest dimension.

Take a strip and insert it into the groove in the bead rolling tool.
Roll the tool so that that paper begins to form around the tool. You may need to hold it a little until it gets going.
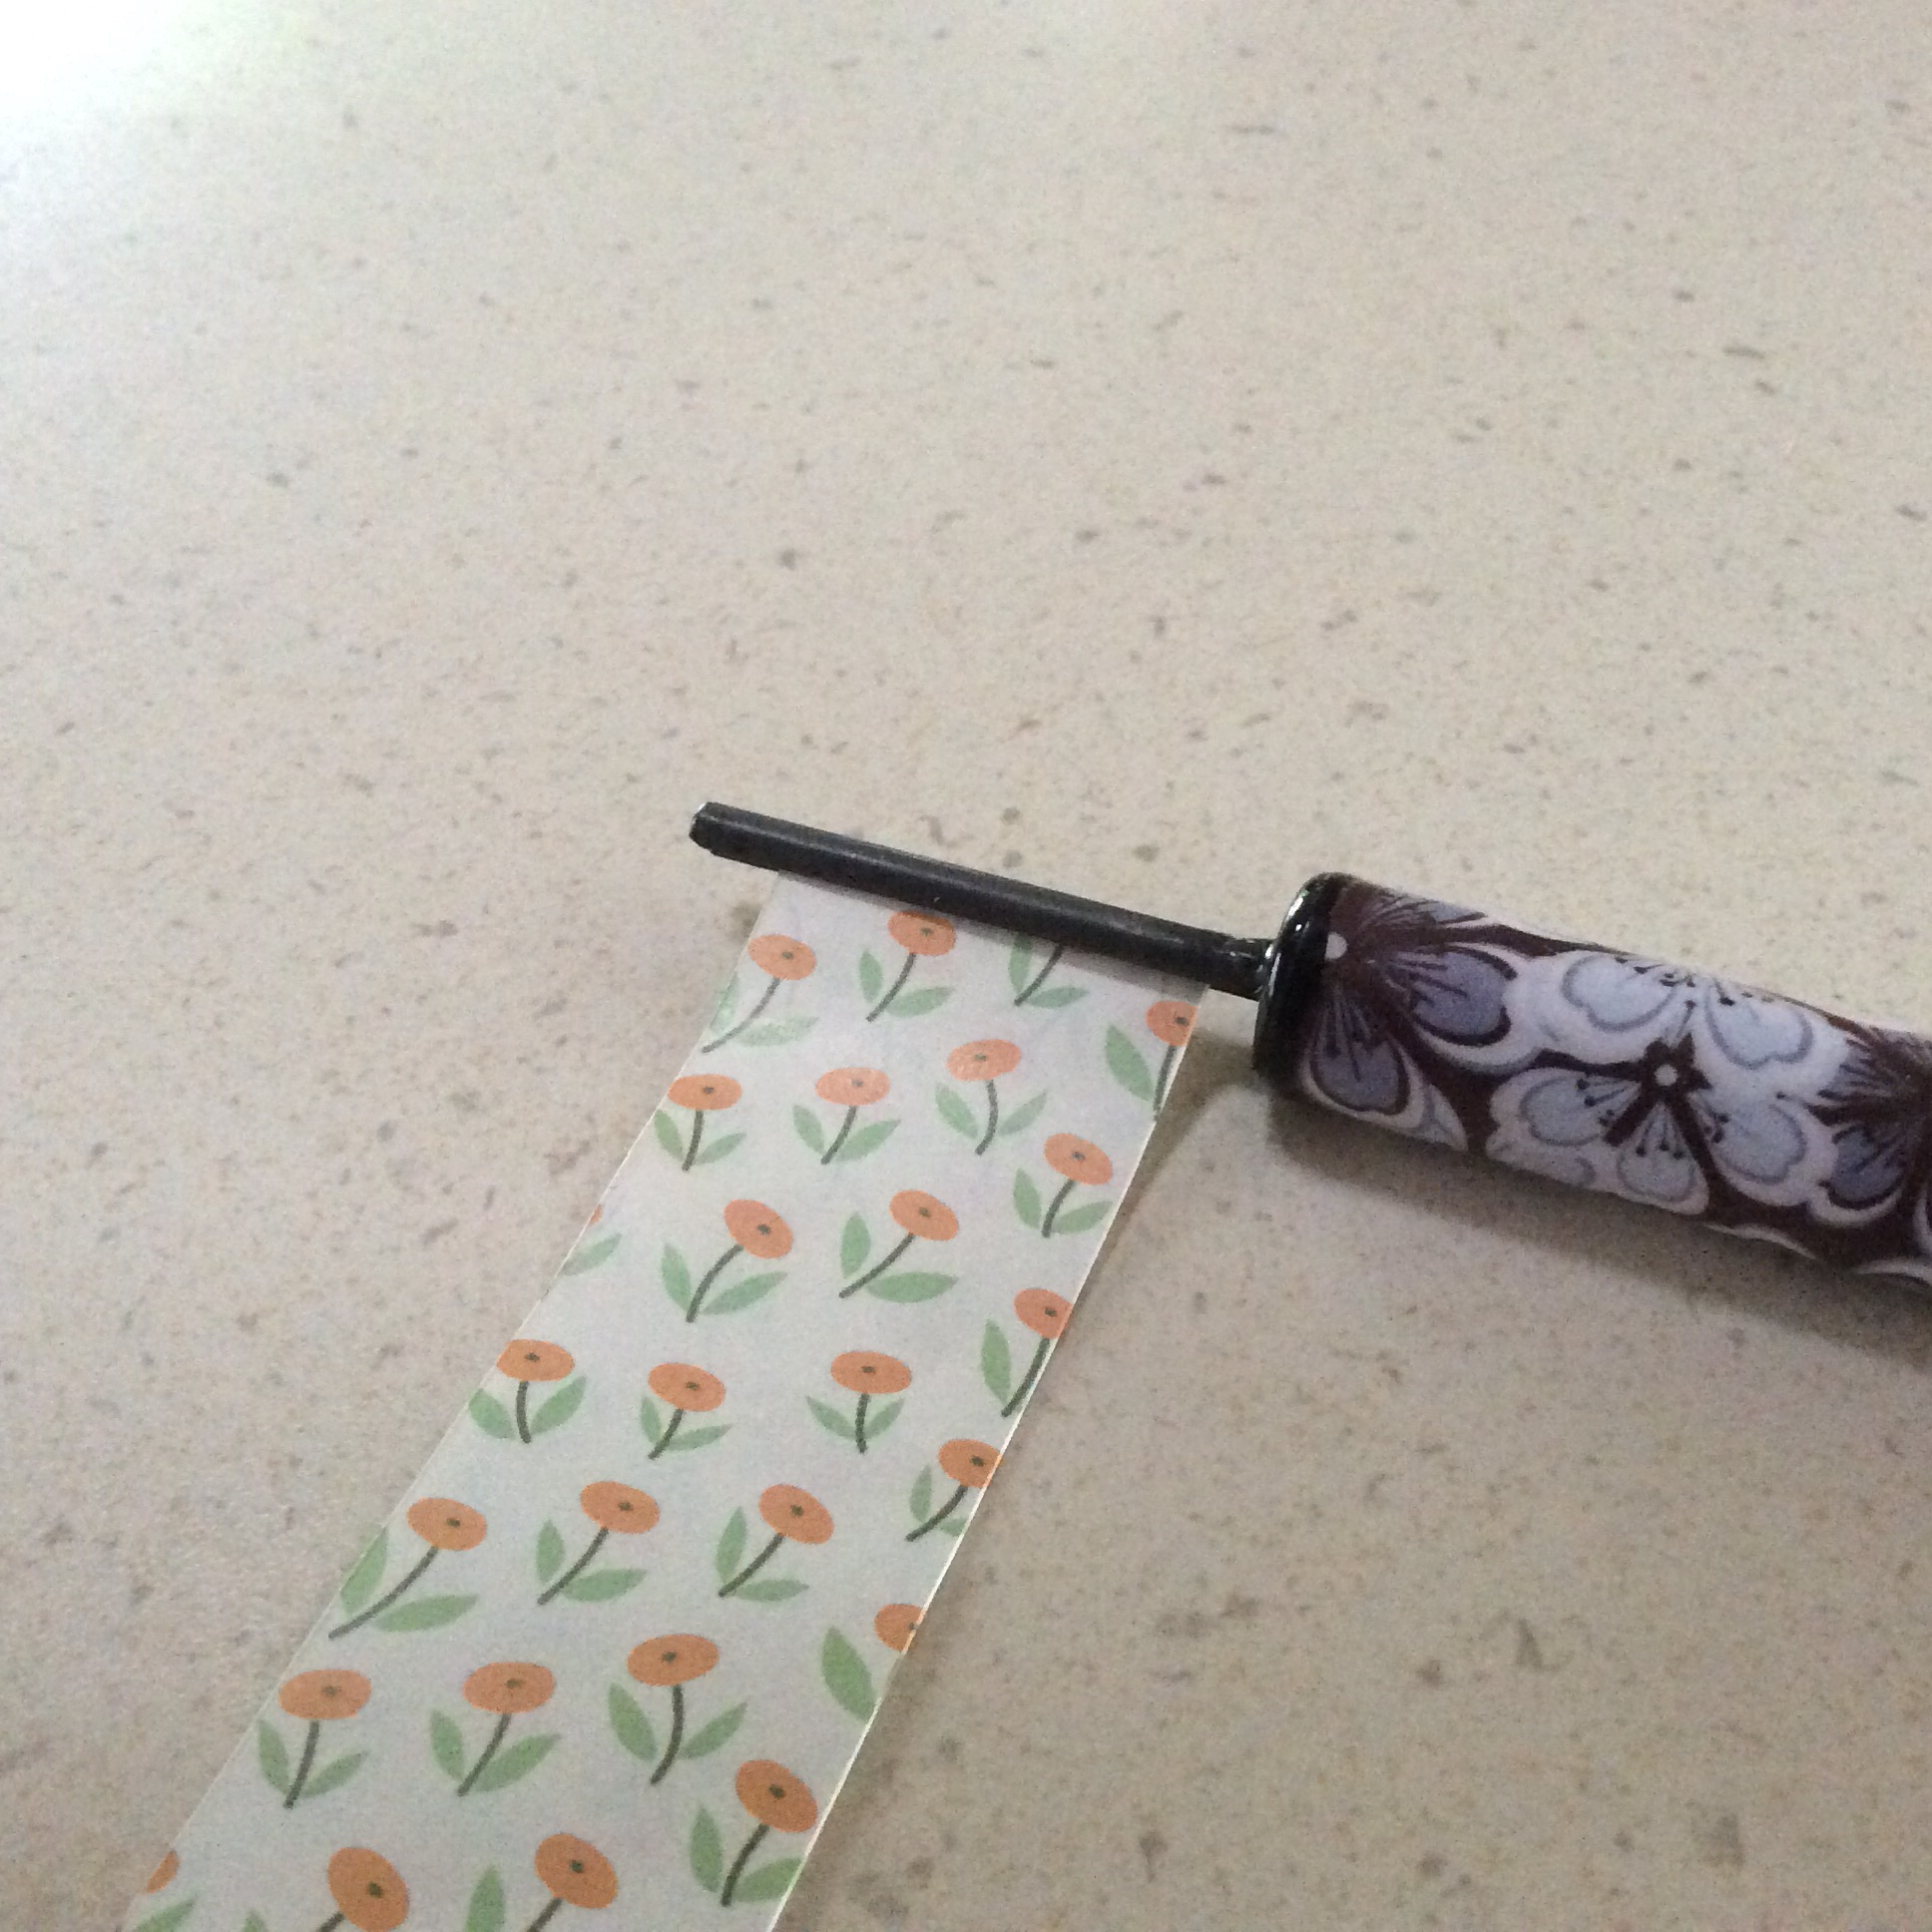
Then continue to roll until about one inch remains, don’t let it spring loose though!
Next, apply either glue or tape to the very end of the strip and continue to roll until the end sticks to the part that has already been formed. I tend to use tape at this point because it’s less messy and doesn’t ooze out of the ends. You could use glue if you preferred.

Another reason that I don’t use glue at this stage is that I tend to use the PVA to glaze the bead and to make sure that all of the ends and the edge are firmly stuck and smoothed down.
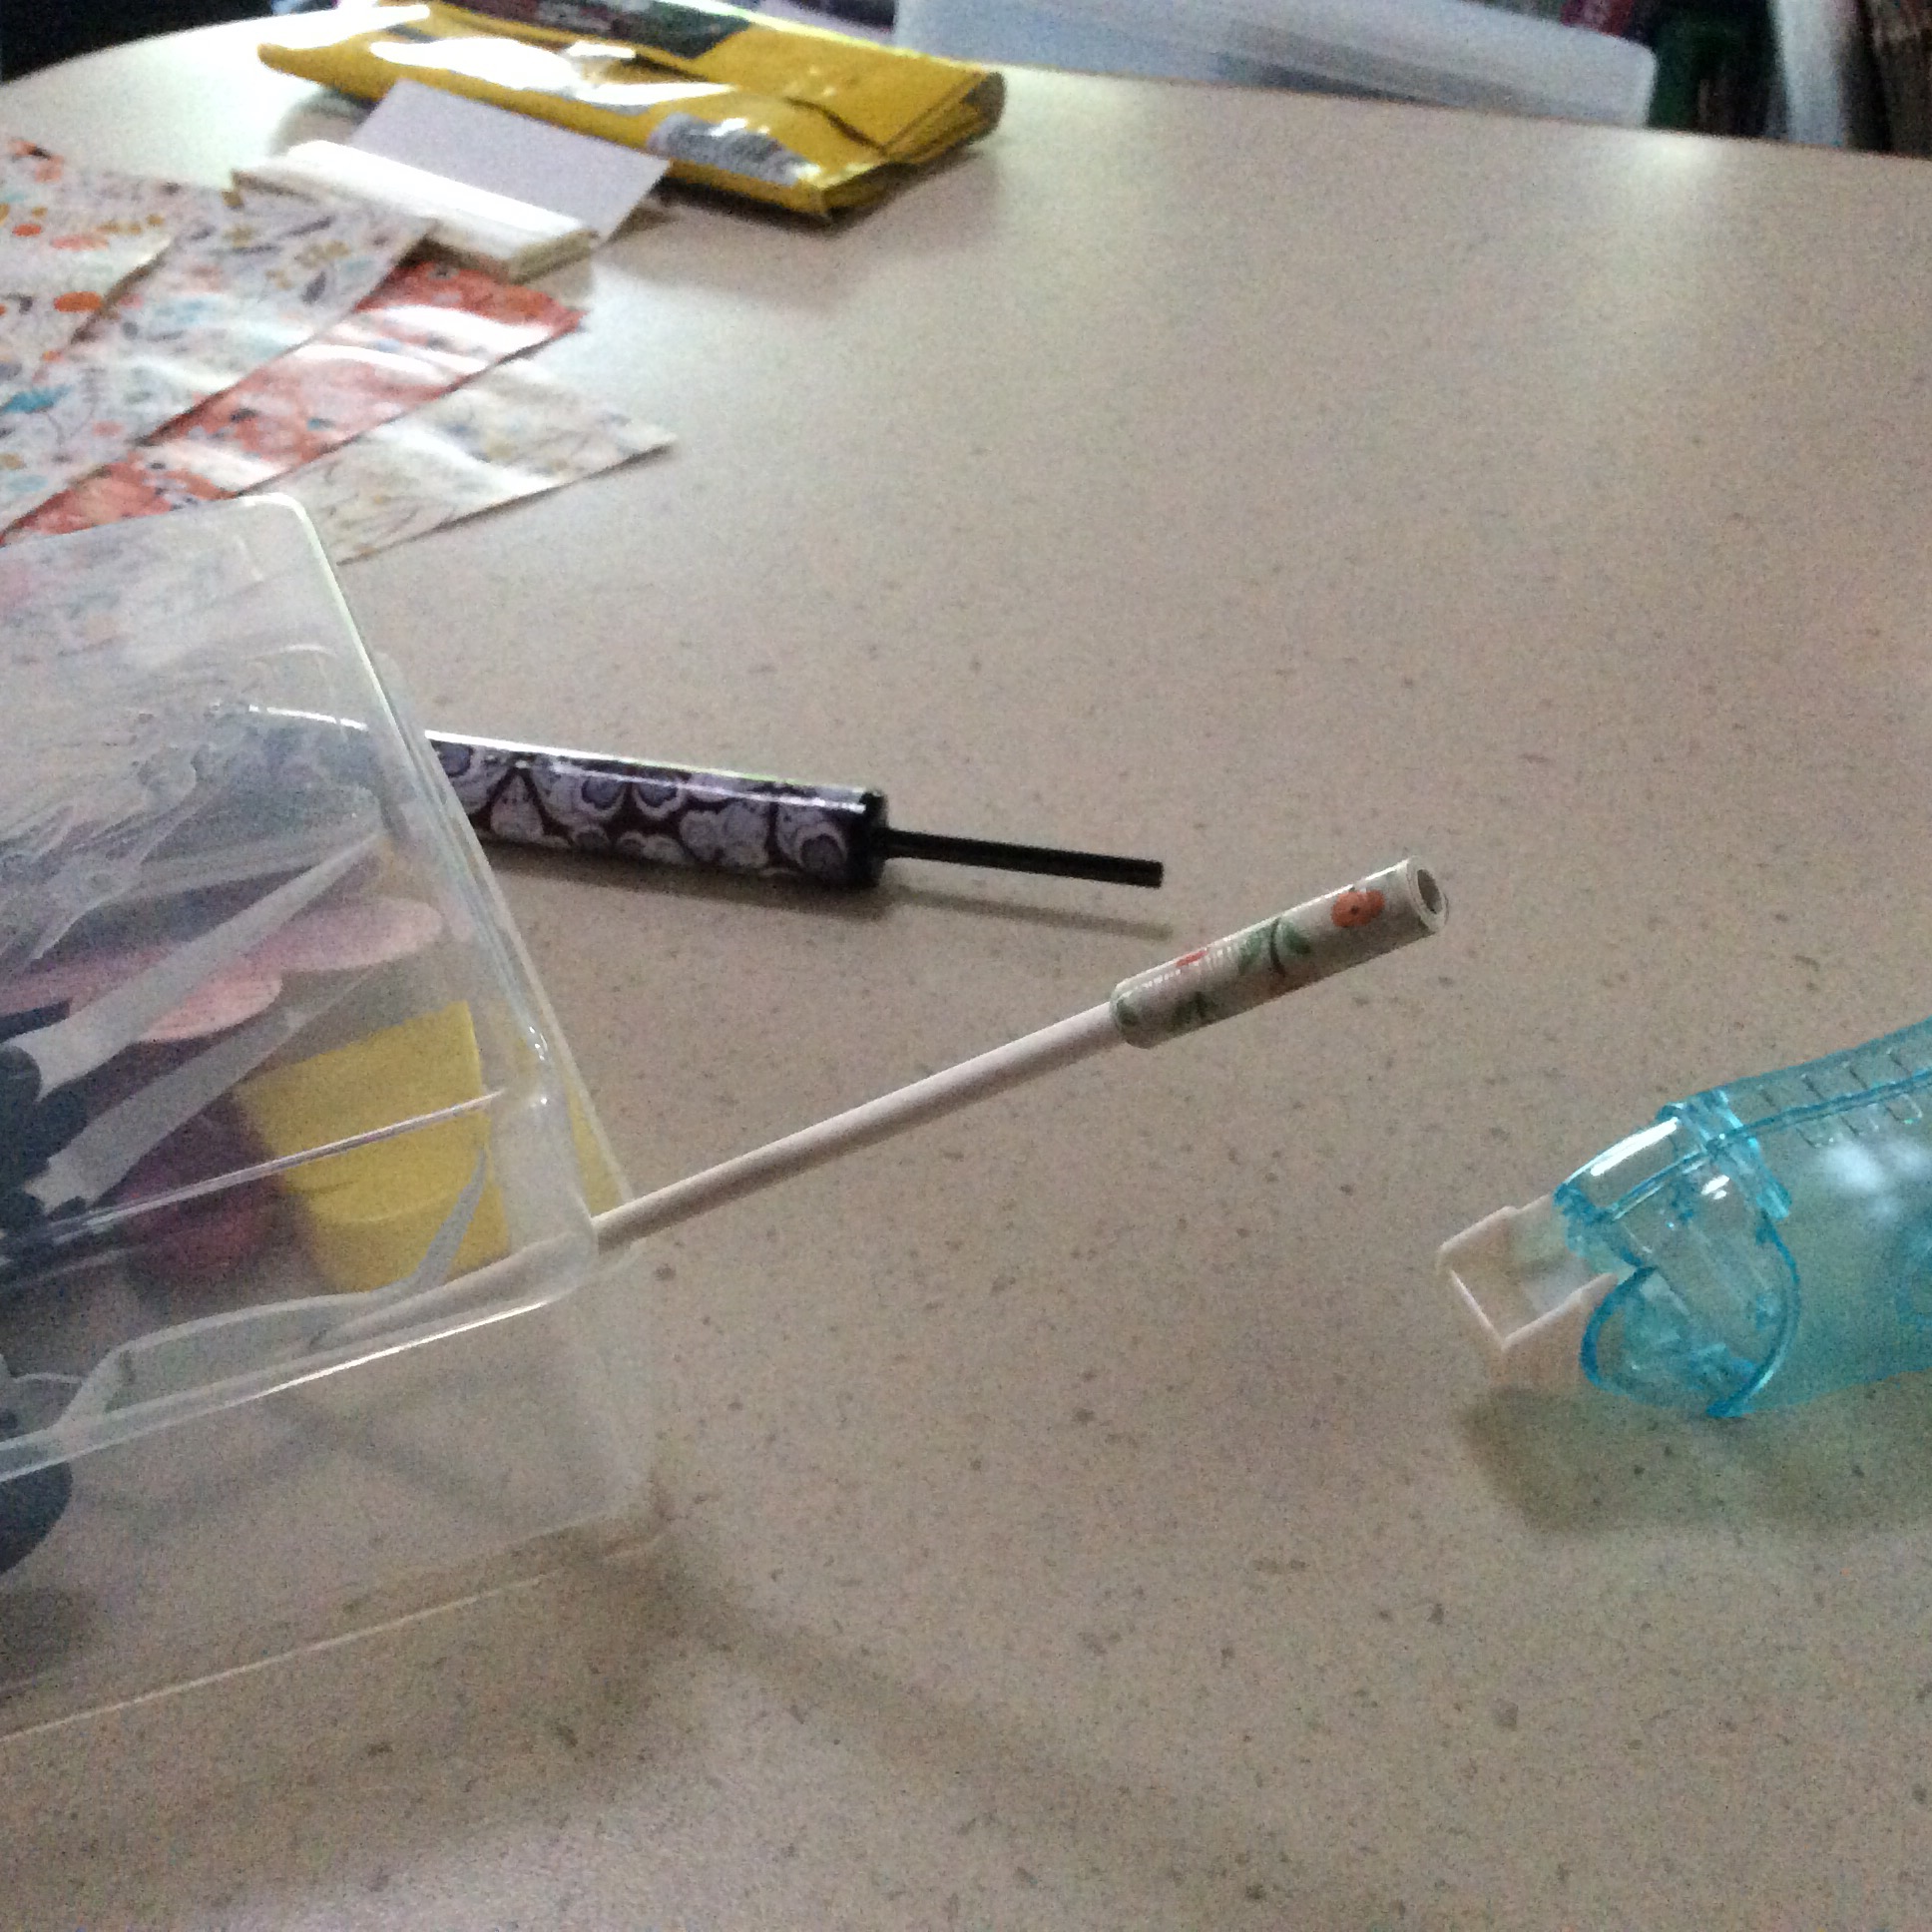
To do this I transfer my bead onto a cocktail stick or paper stirrer and then lightly coat the bead in PVA glue. You could also use a fancy glaze or even a nail polish for an even more durable effect.
Eek! Apologies for the fag packet slipping in there!
Continue to do this with all of your strips until you have a good pile. Then, they sky is the limit when it comes to using them.
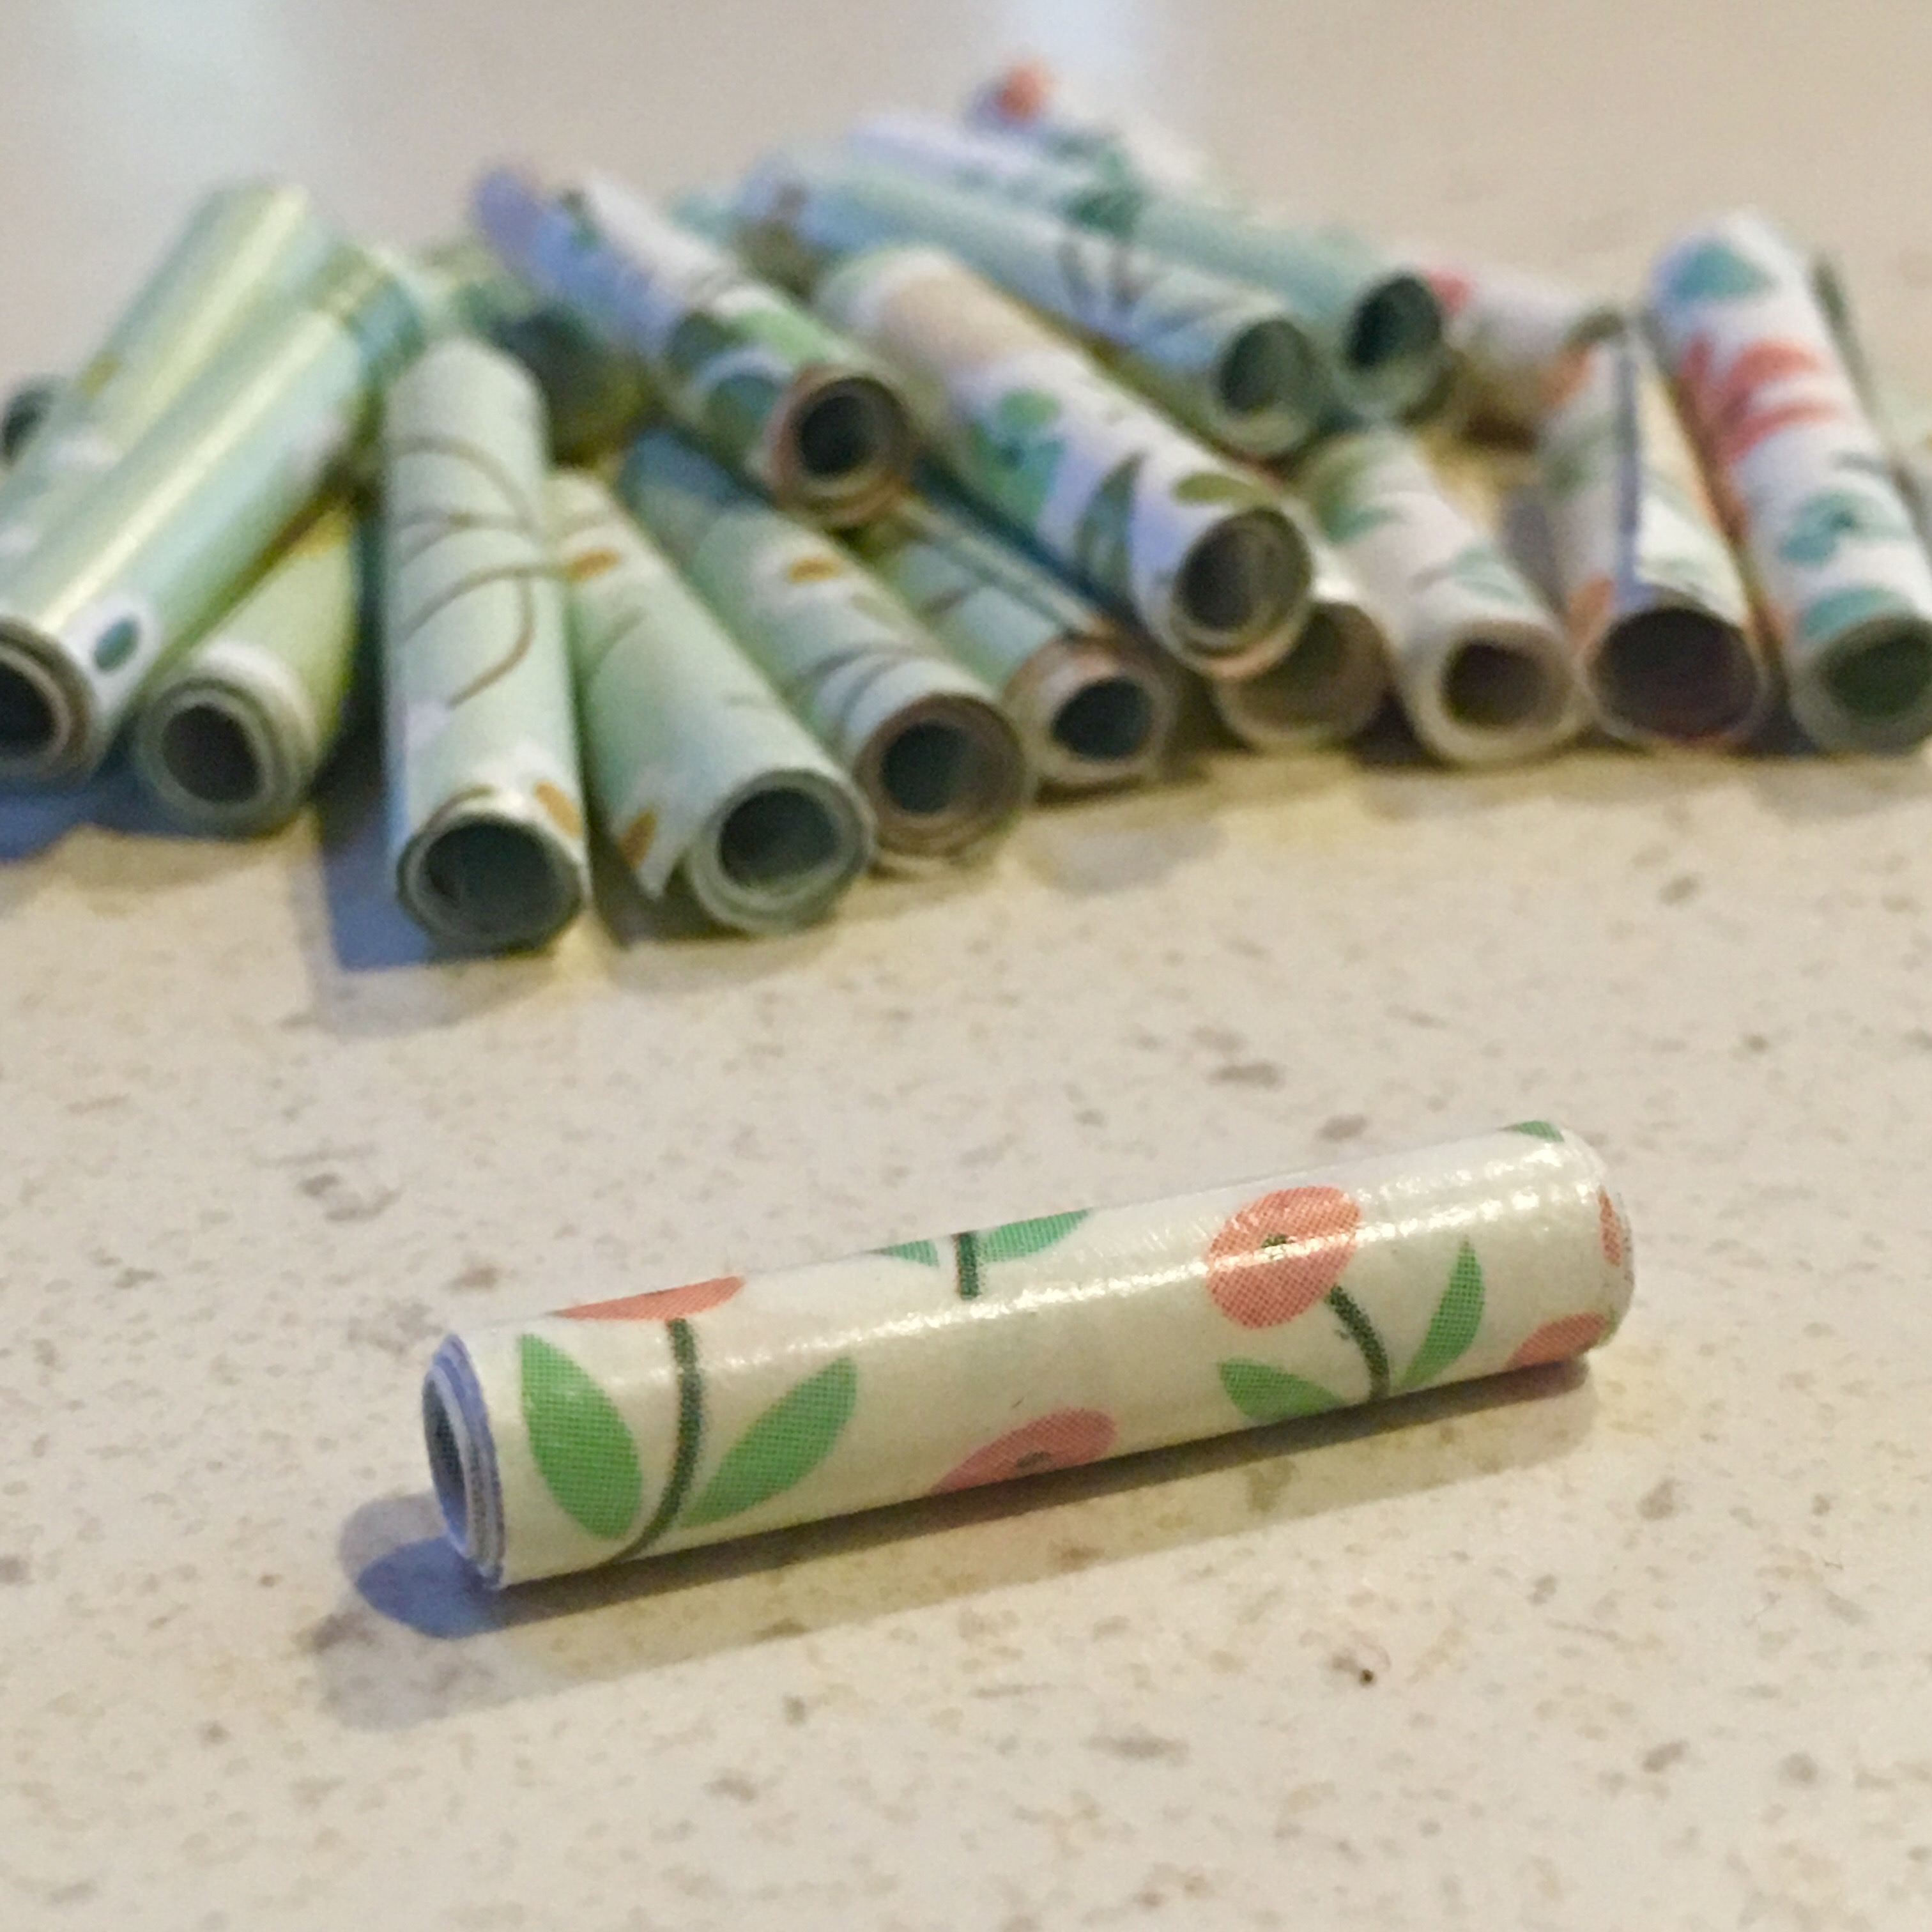
Use them as tassels on bookmarks, as beads in jewellery making, as mini cigars for toy dolls – wait, no, not that! Oopsie.
Anyway, I wonder what I will make with mine …
As always, thank you for reading and I will catch you again soon.
J:)

I made some years ago, but used magazine pages 1/2 inch wide and tapered, then used a cocktail stick. I did coat them in nail polish and still have them xx
LikeLike
Hi John, they are lovely. To save the drying time of nail varnish etc, try rolling the bead over a clear embossing pad, while it is still on the cocktail stick. Then coat with clear embossing powder and heat up with a heat gun. It’s quick, it’s dry and it’s very shiney.
Love and Light
Sioux x
LikeLike
Loving your paper beads and what a laugh you gave me with the idea of cigars for dolls lol :)
LikeLike
I did not know there was a tool for rolling beads, all this time I have been rolling them by hand!!! Thanks for the tip about using the free papers, I gather then all in a pile and then about once a year decide I have done nothing with them and into the recycle bin they go. I am off to have a play now and see what I can do with the current pile.
LikeLike
Hi John,
Many things in that post to make me smile. First, paper beads! I made those so often when I was a kid, should put that on my ” must try again list”. Second, Tape v glue. I am the eternal smarty pants who thinks “I’ll use glue” when tape is recommended. Cue horrid mess. Third, Tobacco pouches sneaking into photos, I have more than a few photos with a rouge baccy pouch sneaking into shot! I Swapped baccy for gum about five years ago, got addicted to the gum. Started vaping last September and am able to alternate between nicotine free and very low nicotine juice. Now I just have to put the vapouriser out of shot ;-) Hope your enjoying your adventures and the ads on Create and Craft are bringing in the extra interest. You take care and I’ll message soon.
Very big hugs, T x
LikeLike
Super idea – quilling tools are ideal for that. I am going to give them a try, and I am sure they will be successful too. Love the blog.
LikeLike
So simple. I like simple. Love the fag packet. Keeping it real!!
LikeLike