It’s been a while since my last Scan It Saturday blog post and I’ve been deliberating what I should tackle in the next batch so I had a think about some of the most commonly asked questions that I get about the Brother Scan N Cut and decided to base this next collection of posts around those.
This first post will be about using the Direct Cut feature, in particular for cutting hand stamped images.
I have previously mentioned this feature in the following archive blog posts.
It might be worth a quick browse of those posts too (maybe after this one?)
The steps via which to complete a direct cut are also covered in the instruction manual so I won’t be going into detail on the operational side of things, just a few of my findings, conclusions and tips.
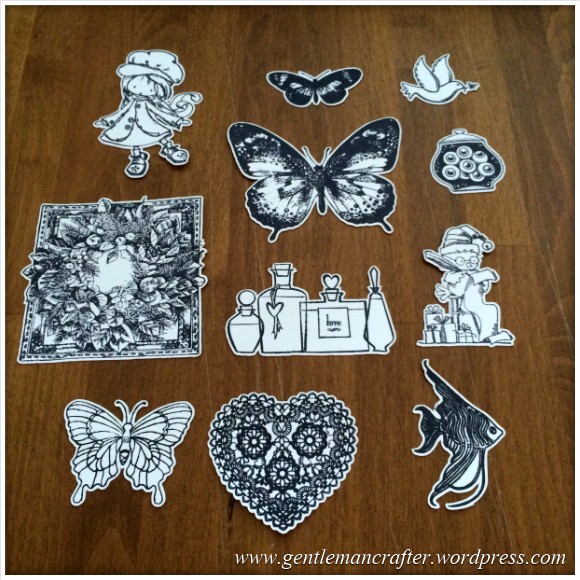
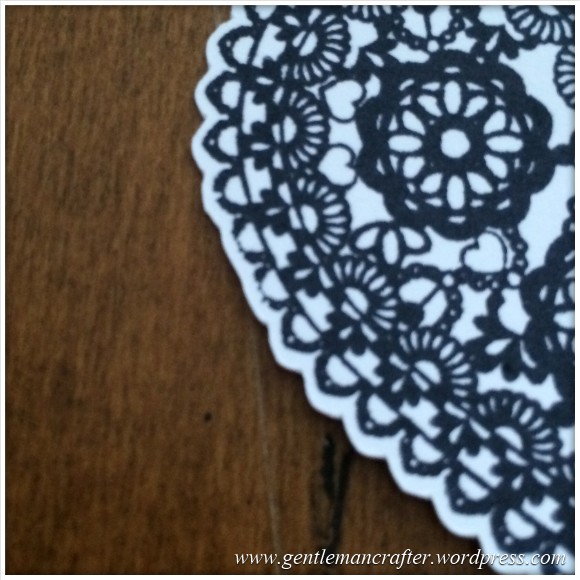
First, here are a few examples of hand stamped images that I have cut using the Direct Cut feature of the Brother Scan N Cut.


I am still as amazed now as I was when I first got my machine last year – this is certainly an impressive feature.
Now I will be honest, not all of my attempts have worked as well so I set about trying to find some common factors that may help me (us) find what variables work best, what doesn’t and most importantly, why.
The results of my findings actually turned out to be more obvious than I thought and they came down to three things; these three things are also quite easy to remember as they all begin with a ‘C’.
Clarity.
Contrast.
Closed.
Why not chant this to the Wizard of Oz classic, Lions and Tigers and Bears – haha I can’t believe you did it!
Ok, back to business – allow me to expand on each of these – I think that will answer a lot of our FAQs.
Clarity
The design that you use needs to have a good level of clarity in it’s detail. What I mean by this is a design that does not have a lot of fine lines or shaded detail forming the outline or extending beyond the overall outline.
This design, for example, did not seem to work no matter what I tried.
The fine lines around the centre area I think are where the issue resides.
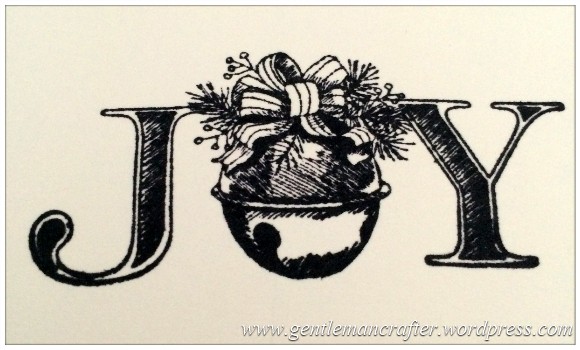
This design on the other hand, with it’s plethora of detail, still worked because it was predominantly contained within a “box”. The detail that extended beyond the box still gave the machine a clear line to “trace” against.

Contrast
This next point comes down to a standard requirement for any scanning operation completed on the Scan N Cut and it is the need for contrast between the image and the surface on which it is printed.
For example, a black stamped outline on a white sheet of card would be a good example of 100% contrast. You can even use bold coloured inks on white paper however, as an example, a citrus yellow ink on white paper will present very little difference in contrast and the machine may not be able to ‘see’ the stamped image.
The idea therefore follows that as the contrast decreases, it will also decrease the success rate of the scan.
Here is a quick pic of one of my tests back in the Brother Scan N Cut Test Lab 1 post
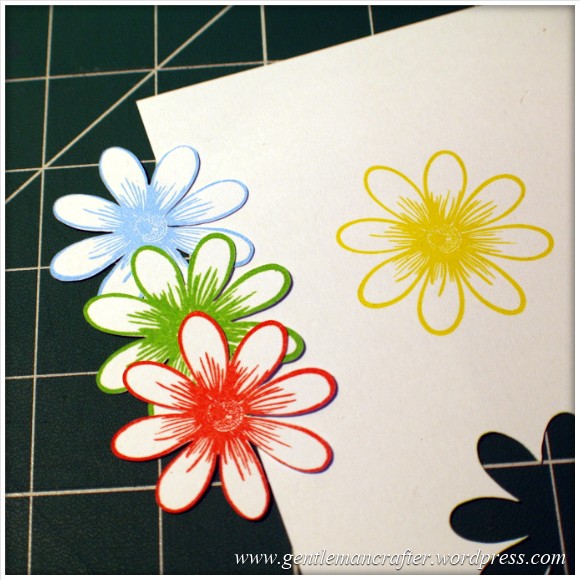
The red, green and blue were fine, but the yellow just didn’t offer enough contrast.
Closed
Again, as with any scanning operation, your design needs to have a “closed” outline in order to achieve the best results.
Shaded, stippled, dashed or otherwise broken shapes or outlines will probably not give you the result that you expect.
Here is an example of what will happen with this type of image.
When I tried a scan of this image …
You can see from the scan results that the machine did not pick up an outline.
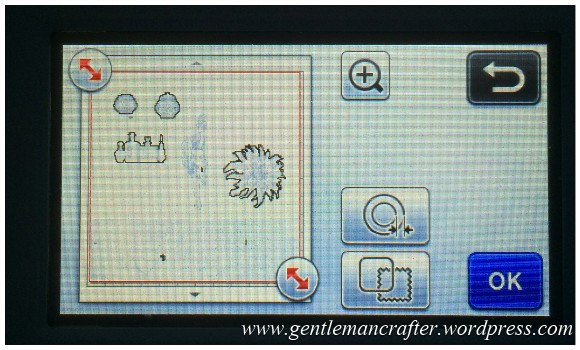
If you take a closer look at the outline, you can see that it has “open” sections.
To resolve this, I used a fine Pigma Micron pen to “close” the outline (both in the hair and the frilly edges of the dress) …
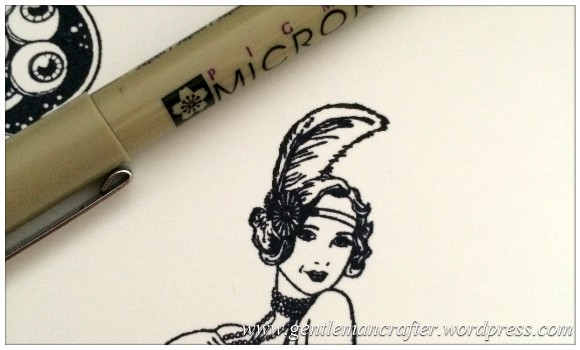
… and then rescanned the whole sheet.

As you can see, by closing the outline, the machine was then able to complete a successful “tracing”.
Here is the final cut.
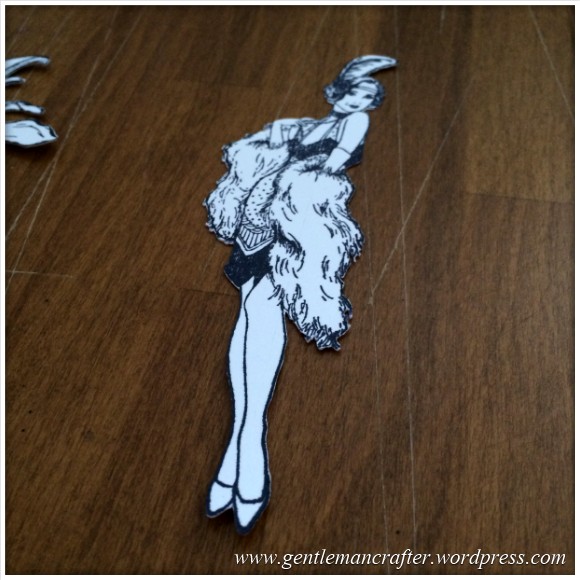
Sassy isn’t she?!
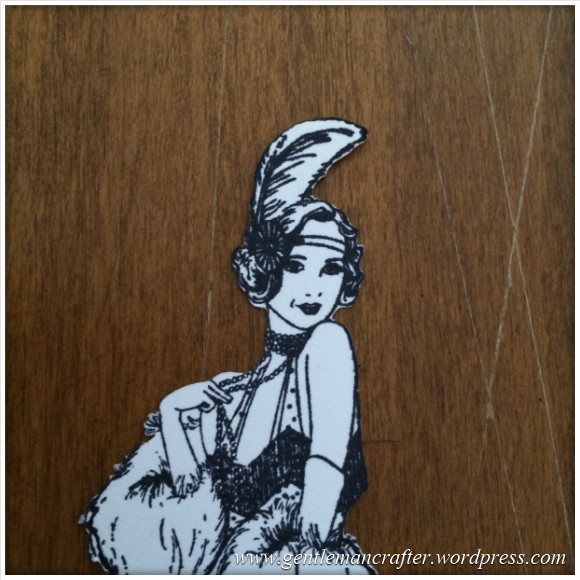
Whilst we are talking outlines it would be worth me mentioning that the results that you get out are broadly speaking going to be mirrored by what you put in.
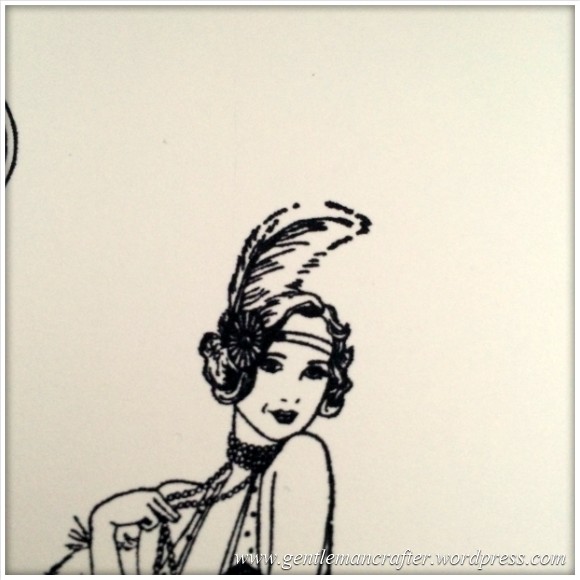
In the next image, you can see how I mis-stamped the image.
There was enough of an outline for the machine to detect however you can see that it has followed the flattened areas where I haven’t made a good impression so it’s worth taking the time to make sure that you make a good impression with your stamp before asking the Scan N Cut to find the outline – first impressions do count in this case.
Final Thoughts
I guess that if you are as stubborn as I am and will probably be adamant on using a particular design that is presenting one or more issues. In this case you might like to try one of the following.
Clarity – Try using a fine detail pigment or archival inkpad and allow it to dry before scanning. This will hopefully give you a clear defined line for the machine to “see”. You may also like to look at the paper that you are using – a textured paper for instance may change the outline by leaving gaps where the “pits” in the texture are – it might be worth trying a smooth stamping paper and see how that works for you.
Contrast – Try different combinations of colour/paper. That’s an obvious one really.
Closed – If the outline is broken, try closing it with a pen that matches your ink. Alternatively you could try the acetate overlay technique as shown here – http://www.youtube.com/watch?v=lgyn-VtwDIQ&list=UUtxikHf3olTw1xn-m-keCqw.
I should also say that I have been surprised on occasion by attempting a scan that I thought would not work but then it did, or it worked in a way that I wasn’t expecting.
For example, in the next example, there were two surprises for me.
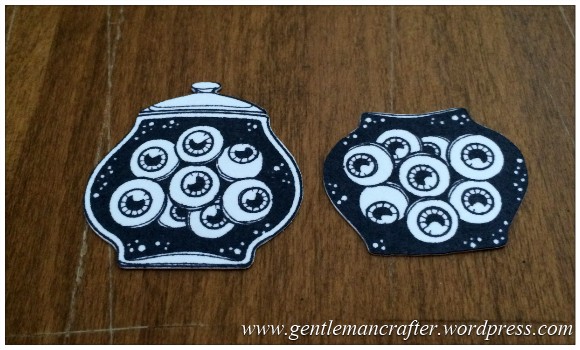
For the cut on the left, as there was a gap in the line between the lid and the jar, I anticipated that the machine would cut this as two separate shapes however it cut it as one.
For the cut on the right, I mis-stamped the outline so the machine ignored that and tried to find an alternate closed outline, which was the central area of the jar.
For me, this actually turned out well as I have now realised that I can isolate areas of specific stamps by leaving gaps in outlines that I don’t want – bit of a billy bonus really :)
Anyway, before I go I feel it only right to remind you that these are not ‘rules’ to prevent you from using certain stamps and nor are they ‘failings’ of the machine – they are instead my own findings and experiences of working with the Scan N Cut (which I love) that I hope will help you to achieve greater results and give you more confidence in using the Direct Cut feature.
In conclusion, I shall leave you with this thought – give it a go or you will never know.
Don’t forget, this particular feature does not store the outline and therefore should be fine for cutting out the majority of designs however please remember to gain permission if you are planning to sell (for whatever reason) your hand-stamped (and cut out) creations from the copyright owners.
Right, that’s me about done here. I am sure that I have only scratched the surface but hope that I have helped enlighten some of you who may not have got to grips with it yet and that you are now equipped to make more informed choices. If however you have any further questions, comments or tips of your own about this feature then please feel free to pop them in the comments section below.
That’s it for this post. Thank you for reading and I’ll see you next time fellow scanners!
J :)
Now where did I put those Jaffa Cakes?

Hi John
I recently received my S&C for Xmas and have been cutting out my stamped images.
I wanted to see if I could use it to create paper piecing pieces from patterned paper. I was wondering if there was a way of fooling the scanner into increasing the contrast when using darker papers?
Also, if the outline it selects is not correct, can you correct it just on the machine or would you have to take it into canvas?
LikeLike
There is a way to adjust contrast levels after you have scanned the design in Scan To Cut Data but unsure if it would give you the result you want. Might be worth exploring the acetate overlay technique. As for outline editing, this would need to be done in Canvas Workspace.
LikeLike