
Welcome back to another Monday Mash Up!
This week I have been toying with using old templates again … this time I have been taking a two dimensional template and turning it into a three dimensional gift box.
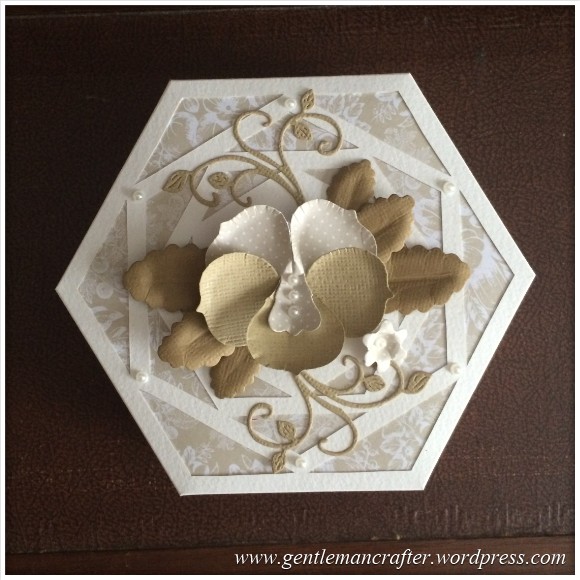
I was very proud of the finished result …

But it all started with this template.
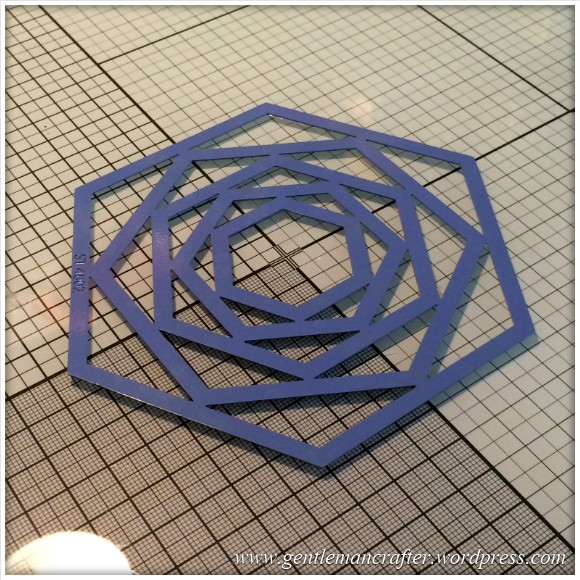
(I’m afraid that I don’t know what the brand of stencil is, but it should work with any equal sided hexagonal template).
After toying with a few ideas I got it into my head that I wanted to make a box from this.
Not an easy job, I thought. For a start there were no clues as to where to score, cut or fold.
So I set about experimenting and then came up with a solution which went as followed.
Firstly I traced around the outside and some of the inner areas.
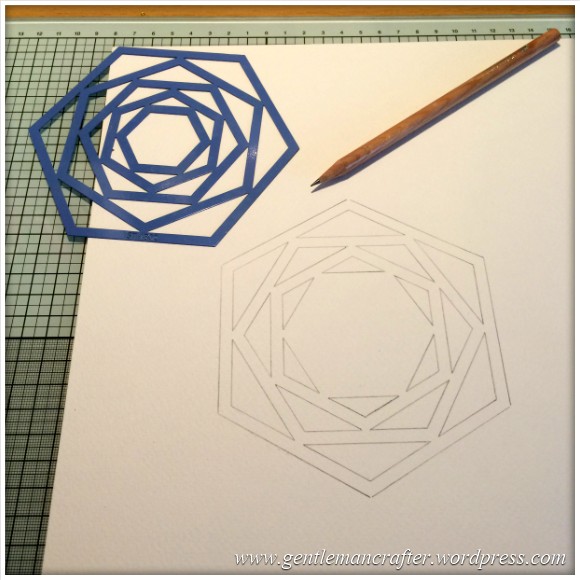
I then used a ruler (with layering marks) to draw a new border around the outside edge (equal on all sides).

Then I added lines that went from corner to corner, running across the middle of the design.
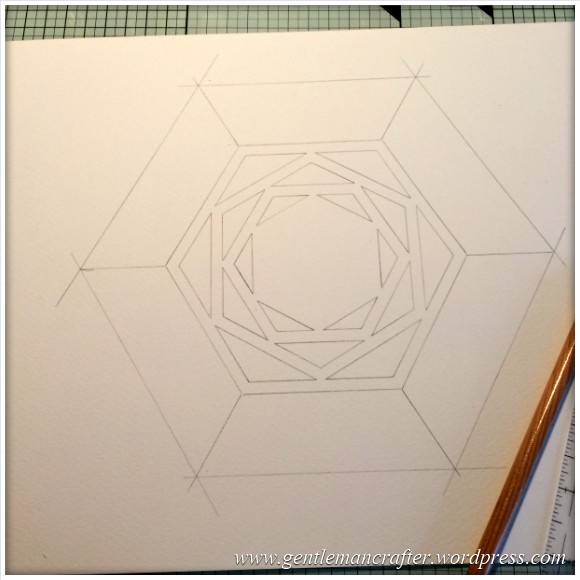
Next I added additional lines to create pie wedges on the corner.

I then cut out some of the central design.

I found it easier to do it at this stage rather than trying to do this after I had cut out the lid as it helped to have the rest of the page as a holding structure.
I then cut out the box top, leaving a flap at each corner, and scored the folds, as seen here.

I then used the stencil to cut out a piece of decorative paper and stuck it in the middle over the aperture.

I then began folding in the edges and sticking the flaps with PVA glue.
I held them in place with paper clips whilst it dried.
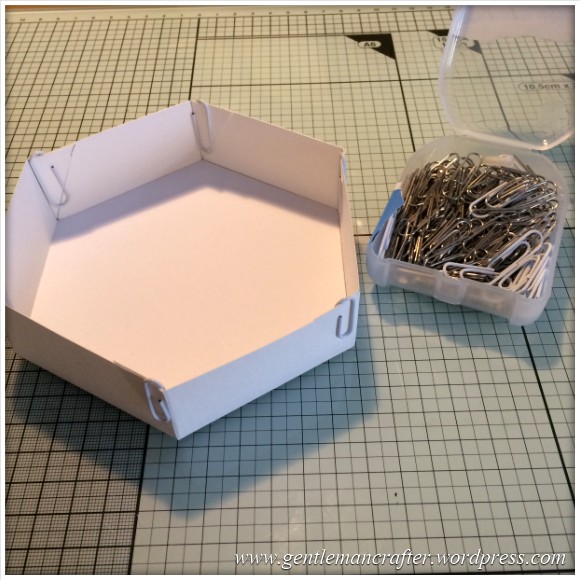
Here it is with everything stuck and drying.

I made the base by tracing just around the outside of the box.
The construction for the box bottom was similar to that of the top apart from adding a small (1mm or less) border INSIDE the shape AFTER tracing the outer border. The intersecting lines went to the new corner point. This made the box base slightly smaller than the lid so that it fitted inside the lid.
The decoration was a mixed affair and used a variety of dies for the flowers and swirls. Some sticky backed pearls were the final touch.

So that was basically it. A mini mash up if you will.
For those that are interested here’s a quick list of some of the specific things that I have used:
- Watercolour card for the box.
- Decorative papers from the docrafts Papermania Jesse Edwards Capsule Collection
- Cardstock from American Crafts Neutral collection.
- Pansy dies from La Crea Designs.
- Swirl die from Cheery Lynn Designs.
And here are a few more pictures of the completed box.


So, that just about puts the lid on this week’s Monday Mash Up. I hope that you have enjoyed it and will have a go with one of the templates in your collection.
Thank you for stopping by and reading (or just looking at the pictures).
If you have any questions or comments, please feel free to use the comments section below and I’ll do my best to get back to you.
Many thanks.
J :)

Stunning!!!
LikeLike
What a lovely box, will have a go! As to template for the top, I do have an inexpensive suggestion. Ali Reeve sells a hexagonal layering template on her website. The layers are joined together with tabs, but there is nothing to stop you separating them and then it would be easy to arrange them accordingly…xx
LikeLike
Hello John.
i have just been reading you TUT on the lovely bag you made.
you are a very competent sower and i am hopeing to learn a lot from your TUTs.
i would like to thank you for takeing the time to do all this so you can shear with use usefull info.
may be you could take up Debbie’s old position on create and craft with the sawing shows. i think it would be a treat to see a man on the sawing shows and i have to say. “you have a nice speaking voice. Thank you. X
LikeLike
Fabulous box . Will add it to my list of projects. I hope you don’t mind if I ask a question im ok at converting files for adding to a usb but I don’t seem to be able to do the same for fonts. Can you help
LikeLike
Is this in relation to a particular machine?
LikeLike
Yes sorry I know this is probably the wrong place to ask but didn’t know where else to look. It’s in connection to the ScanNcut . It’s one of those things you look at too long and never see the answer when you should
LikeLike
If you are trying to convert fonts in Scan N Cut Canvas you will need to either use the built in fonts or type that sentiment in another program and save as an image file format such as JPEG or SVG in order to convert it.
Hope this helps :)
LikeLike
My reply to your reply doesn’t appear to have been seen . The machine in question is the ScanNcut
LikeLike
Fab looking box, in one of your pics the top decoration looks like a Green Man image.
Great share:-)
LikeLike
Brilliant project John, must try it out, realised I have got 3 hexagon shaped boxed in decreasing sizes, they were a gift with some M&S toiletries in. They will make a great template. If I haven’t got a poppy die I will use what I have. Such a wonderful creation, keep them coming x
LikeLike
Beautiful. x
LikeLike