
A decorative free SVG cutting file for you all this week.
This time I have designed a complete card front, you just need to add your choice of topper or sentiment.
The design also incorporates a trellis style background and all layers and mats.
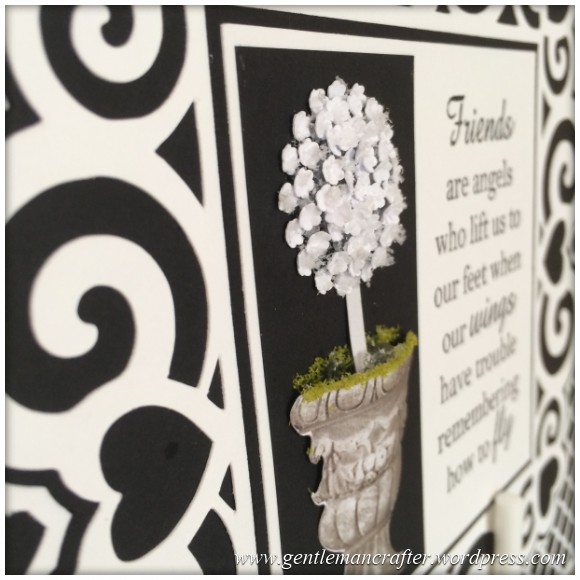
Here is a picture of the “naked” card front (i.e. just showing what the cutting files will give you).
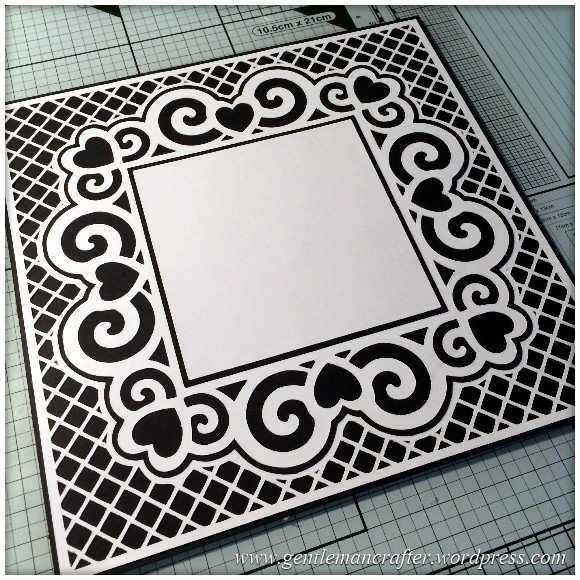
So, as you can see, most of the work has been done.
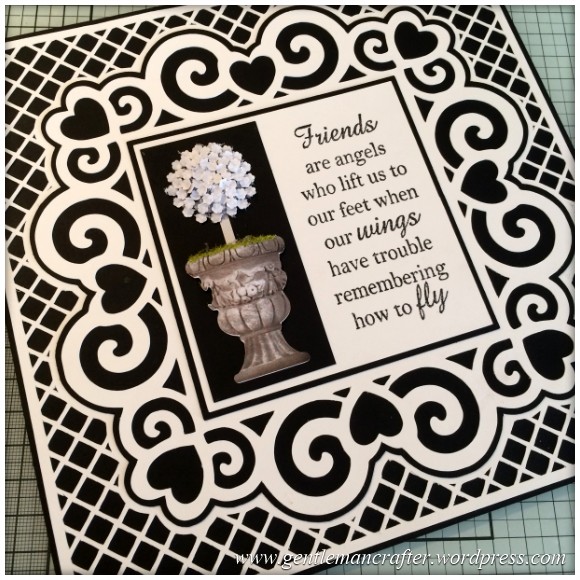
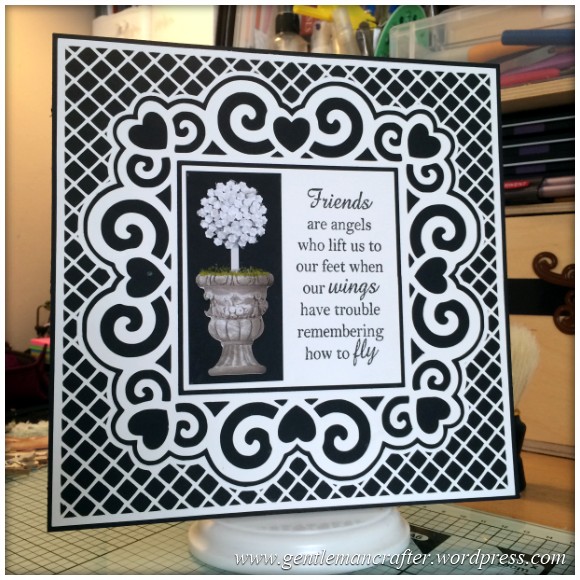
I worked with just two colours for this creation but you could do each layer in a different shade of colour if you preferred.
The finished card front is just a tad smaller than eight inches square so you can just mount it straight onto the front of an eight inch square card and be done. Due to the thin lines on the trellis, it is unlikely that this would reduce in size well however you could increase the size if you wanted to use it on a larger scrapbook page.
There are six cutting files in all. Each is a seperate layer of the design. The layers are supplied in both FCM and SVG file formats so should work with all known home hobby cutting machines including the Brother Scan N Cut, Silhouette and Cricut machines.
You can download all six by clicking on the button below.
You will need all six if you want to create the complete look however if you don’t want the lattice background you can just use the files from layer 3 onward.
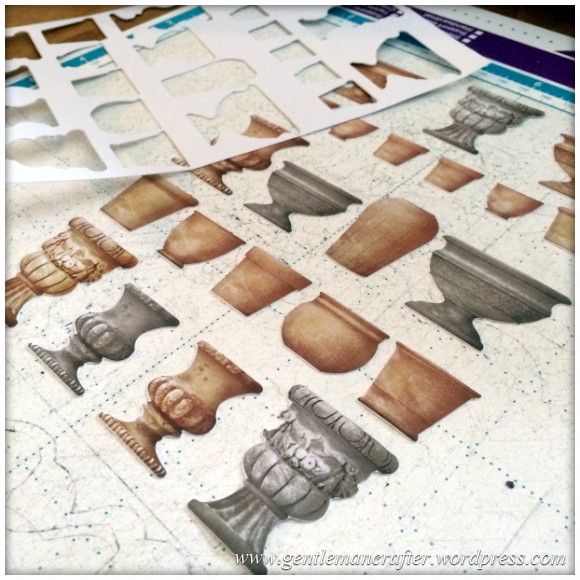
I managed to make a quick design using the test cuts and a few extra bits.
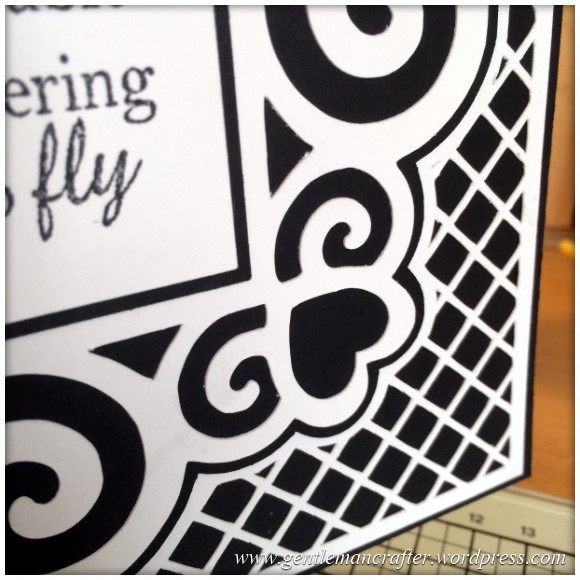
For my tester project I have used Neenah cardstock. If you want to use different cardstocks then I would suggest something around 220gsm or less. This will incorporate Neenah and most lightweight cardstocks (American Crafts Bazzill Basics, Coredinations etc). I don’t think that the fine details will cut so well from thicker cardstocks; but do feel free to experiment.
I used the Direct Cut feature of the Brother Scan N Cut to cut them all from their sheet.
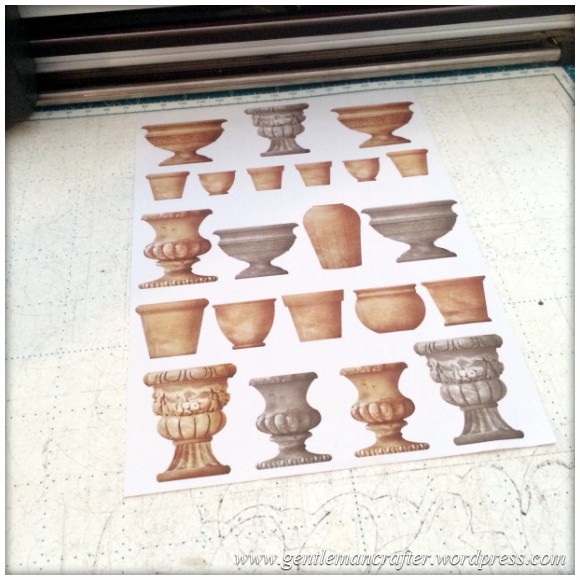
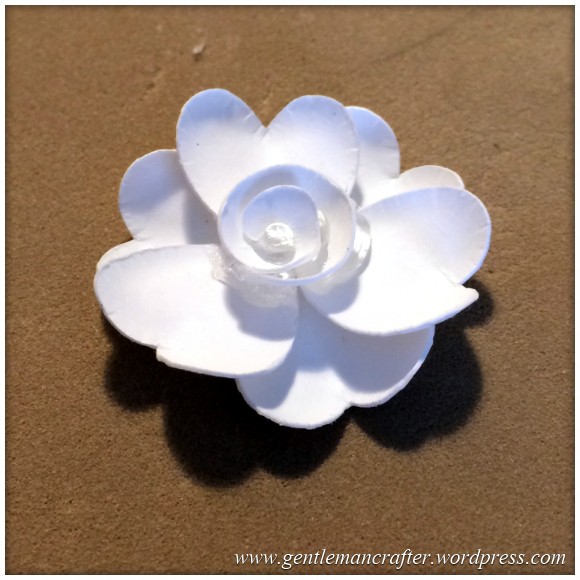
As a final thought, I had a go at making some flowers from the “waste” of the frame.

Right, that’s it for this week’s post. I hope that you like the file and will use it in your card making adventures.
As ever, as I have made this design completely from scratch, you are free to use the files to make and sell as many handcrafted items as you wish however please don’t share/sell the file or the basic cut outs.
If you know someone that would like this file, please feel free to send them a link to this post or use the handy sharing options below.
Want More SVG Cutting Files?
If you would like to see more SVG cutting files from me, please visit my Patreon page.
Thanks for reading and I’ll see you again soon.
J :)

John thank you. This card is fabulous,and one I know will be made more than once. Jackie Lewis
LikeLike
I love this design, John! I have two weddings coming up and this will make a beautiful card. Thank you for your generosity in sharing with us!
LikeLike
Thanks so much John – this is simply lovely. Thanks for sharing.
Karen x
LikeLike
Maggie Kent
I really love this John can I take this into
Cricut explore to cut, if i can how.
LikeLike
The FCM file format can only be used in the Brother Scan N Cut.
J :)
LikeLike
Nice one John, It’s so good of you to share these files, and from the comments, a lot of people greatly appreciate it. It is very encouraging for all of us. Happy weekend. XX
LikeLike
Morning john. , could you please tell me where did you get the verse from ,it has been a hard first half jan. Being told I was level five parralized. From neck down, then a month ago had stroke but through it all I have had my family and craft friends to be my wings following your blog and watching create craft so thank you for being such a caring sharer. Xx
LikeLike
Wow! Sounds like a rough first half. Hope things settle in the next few months. The sentiment is from Creative Expressions Simply Sentiments sheet.
LikeLike
Really lovely card John, thanks. Is there a programme I can view these in, other than Canvas? I can ‘see’ .svg files but have to import .fcm into Canvas before I can tell if it is the one I want to use or not.
LikeLike
Sadly not.
LikeLike
I am going to have a go at this while my husband watches the golf. Thanks for the file.
LikeLike
Brilliant, John, thank you, thank you. Where would I be without your ingenuity, hard work and generosity in sharing. The SNC can do so much that I would not be able to work out, so thank you again!
Annie x
LikeLike
This must have taken many hours to perfect John. It’s fabulous! Thank you so much for sharing.
Marion UK
LikeLike
Brilliant as always thanks x
LikeLike
This is so beautiful, the cuts look so clean. Will be trying it out later for my neice who had her first baby yesterday.
Thank you John
Love and Light
Sioux x
LikeLike
Absolutely beautiful. I just love the little flowers and their construction. One of these days when I win the lottery I will buy myself the Scan & Cut machine.
All the very best!
Carol
LikeLike
Great , realy up my street, thank you so much
LikeLike
Hi John this is a stunner thank-you so much I am just getting to grips with Brother ScanNcut and you are making it very enjoyable.
Kind Regards
Jenny x
LikeLike
John, is there a way to create a desktop shortcut for scanncut canvas. If yes, could you please do a post showing us how to create it.
LikeLike
It’s quite simple to do.
1. Open Canvas in your browser.
2. Copy the text in the address bar.
3. Go to your desktop, right click on a blank space and choose New>Shortcut.
4. Paste the text in the box and click ok.
That’s it.
J:)
LikeLike
Thanks John, so simple when you know how. I’m learning all the time…it’s great, keeps the brain ticking over!!!
LikeLike
wow fab thanks for sharing cant wait to make use of it Thanks
LikeLike
I love this. Thank You :-) B x
LikeLike
Great file. Thanks for taking the time to do this and letting us use it.
LikeLike
Omg! Fantastic John, your sooooo clever. Thank you.
Linda
LikeLike
Thanks once again John, another fabulous post. Can’t wait to try this one out. I would love to learn the design process as I’ve got lots of ideas buzzing around in my head. Perhaps some design tutorials might come along sometime….just an idea, ha ha!!!!!
LikeLike
Yet again another master creation John
LikeLike
Excellent I love it ,thank you John
LikeLike
WOW! What a fantastic card, it’s wonderful. Just where do you find the time – I can’t keep up with you!!! Thank you for sharing & letting us use the files you have spent so much time on. You are most generous.
Carole.
LikeLike
This fab,thank you john for sharing
LikeLike