Been having a play with Hatch Embroidery digitizing software this week and have discovered a new (to me) tool and a new lease of life for my abstract art! Come see…
Not sure if I have ever really shared my abstract art on this blog much as it tends to end up on my Instagram page mostly so for those that haven’t caught a glimpse, here are a few examples.
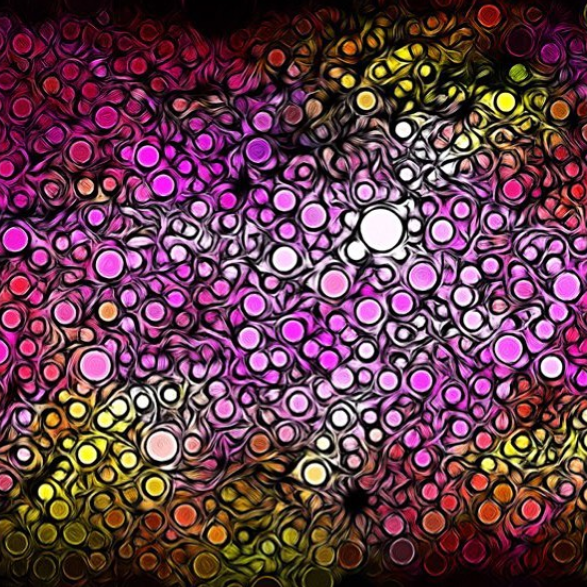
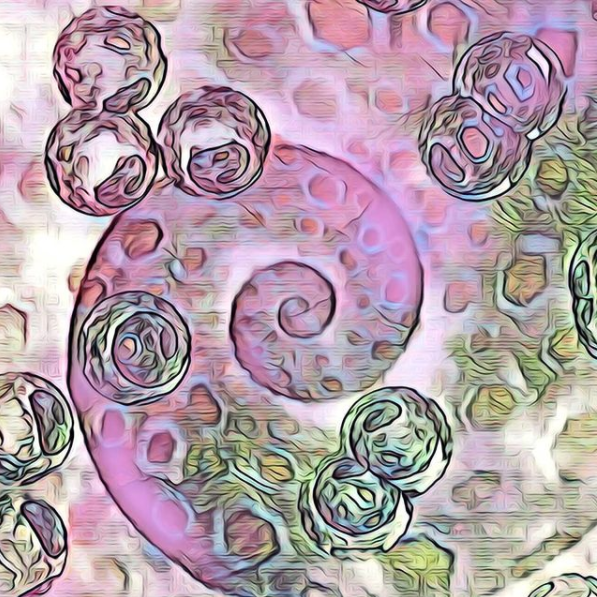

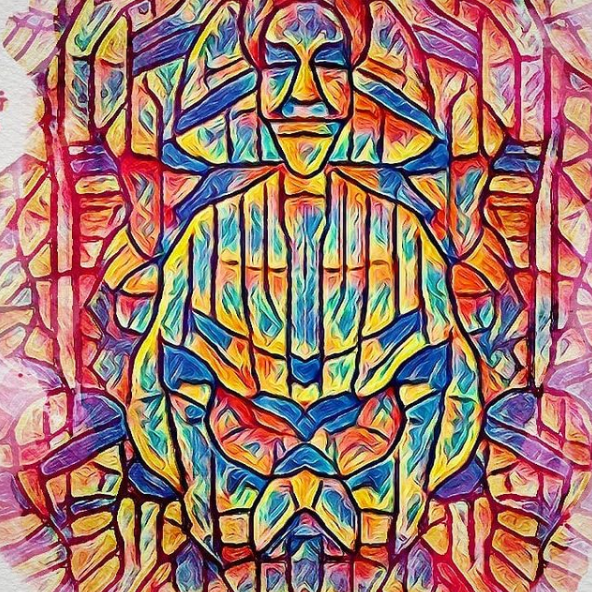
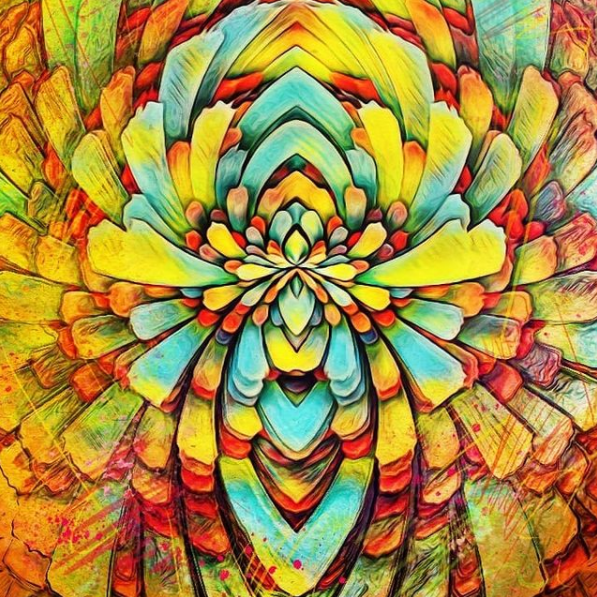
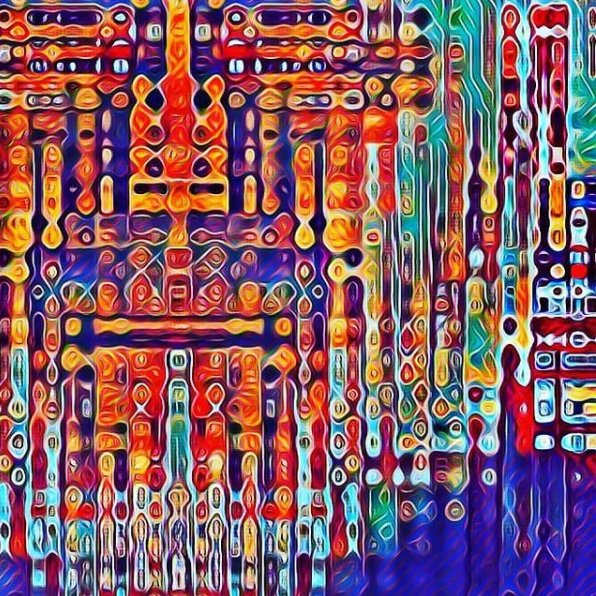
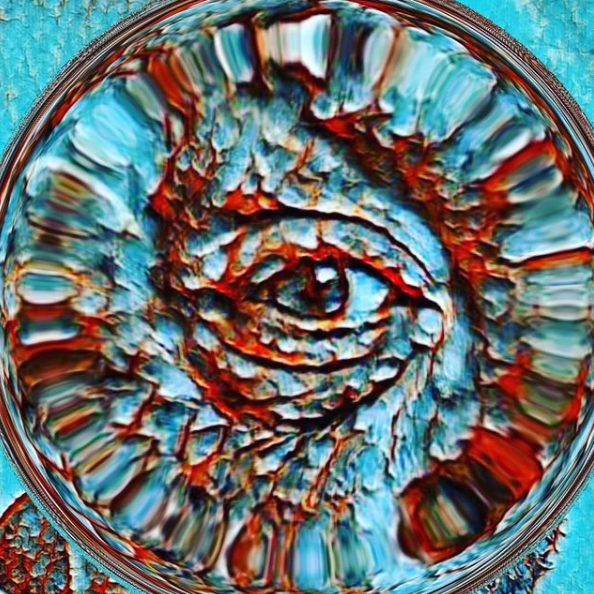
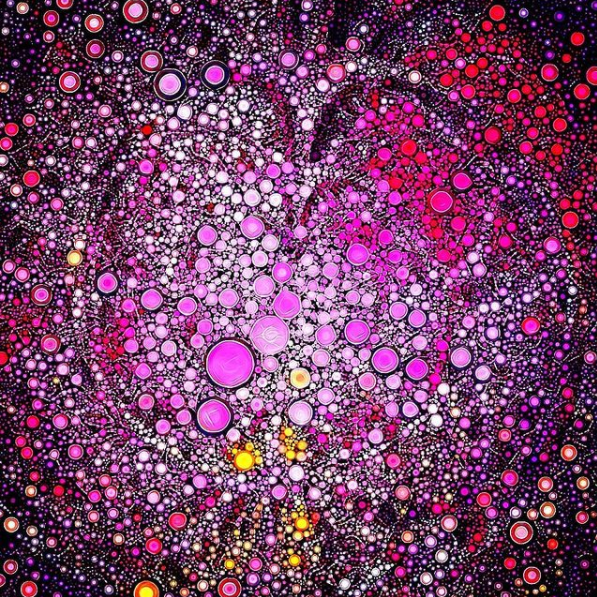

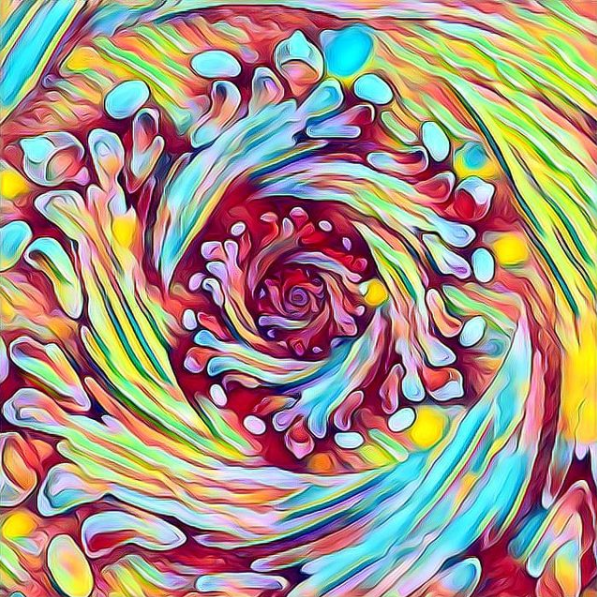
Lacking in context here but hopefully fun to look at.
Anyhoo, when I first got a copy of Hatch Embroidery software I did see that it had a photo-stitch option but have never really looked at it as I felt that auto-digitizing a design was a bit of a cheat and in the early days I was more focused on simply getting a successful stitch out.
Now, with me new found skills and having quite a few successful projects under my belt I have been looking closer at the software, at machine embroidery in general and how I could incorporate it into my other creative pursuits – hence this week’s exploration.
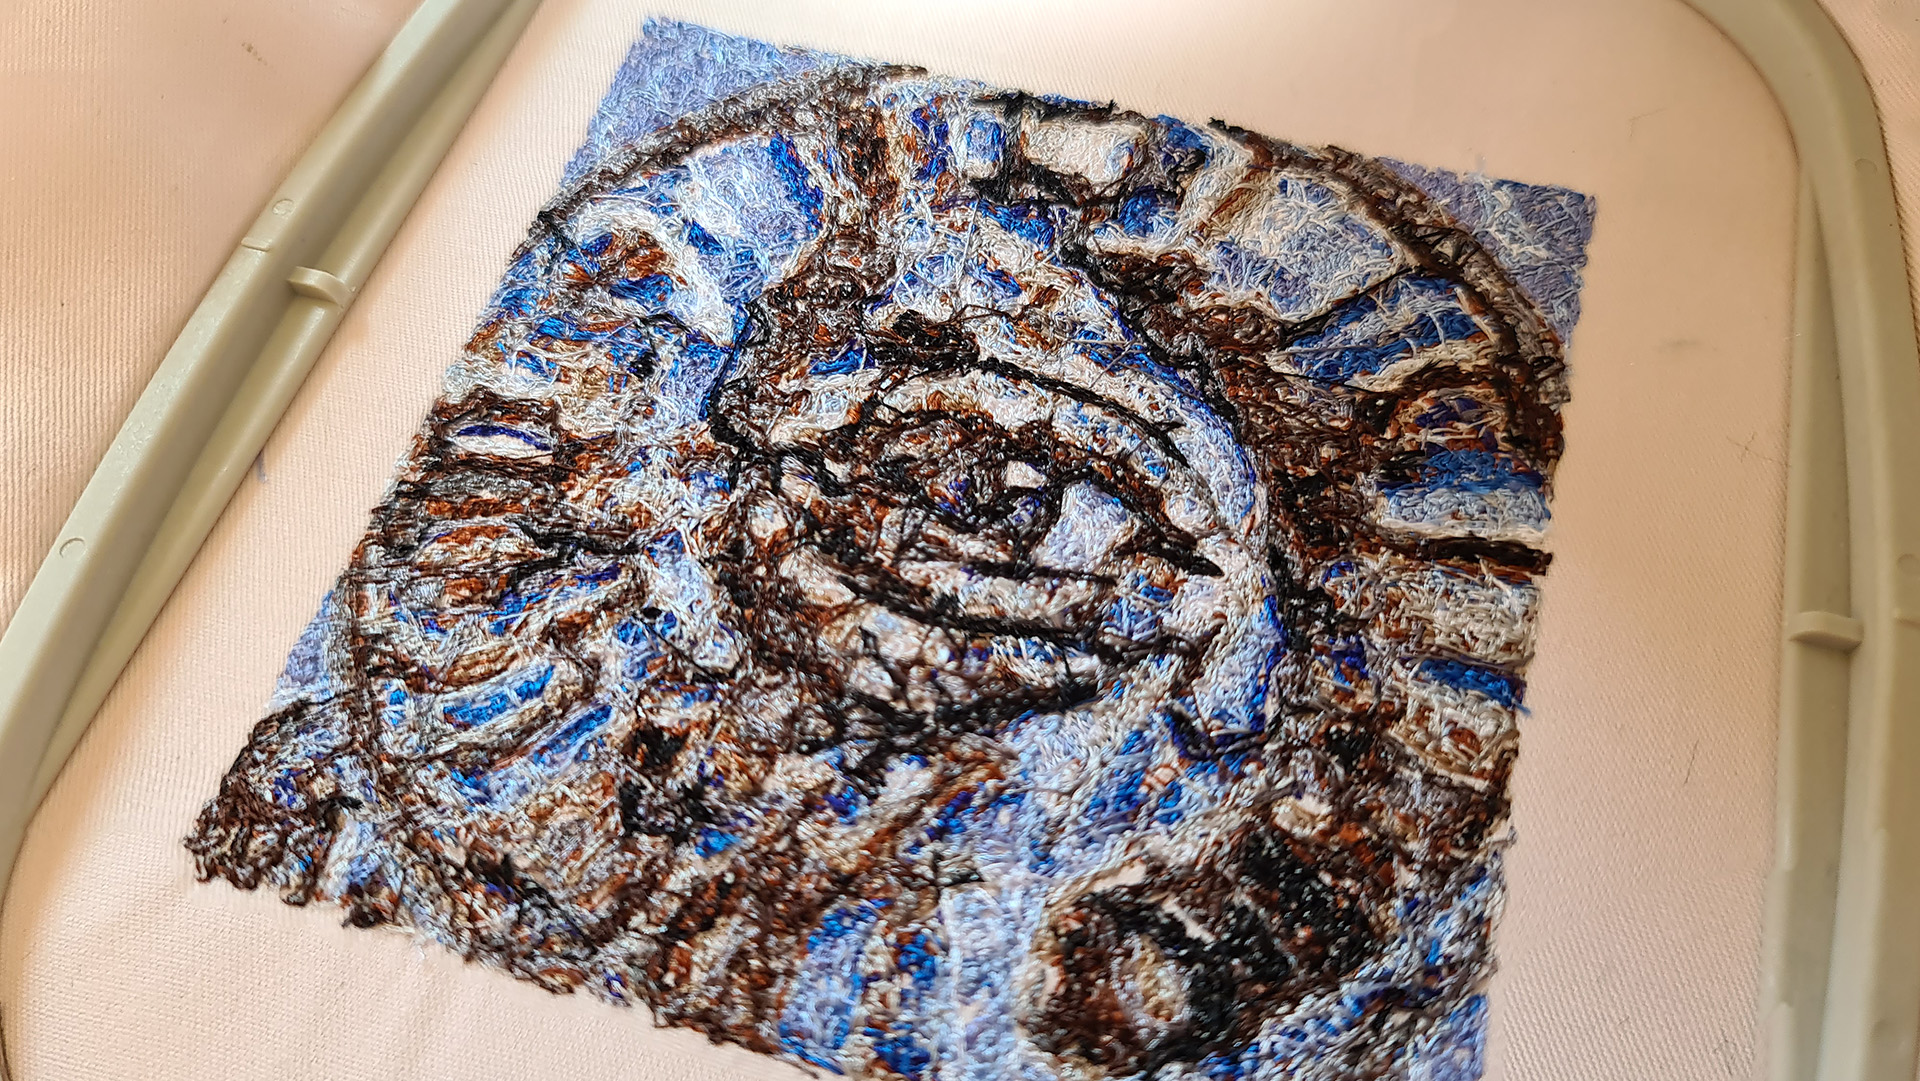
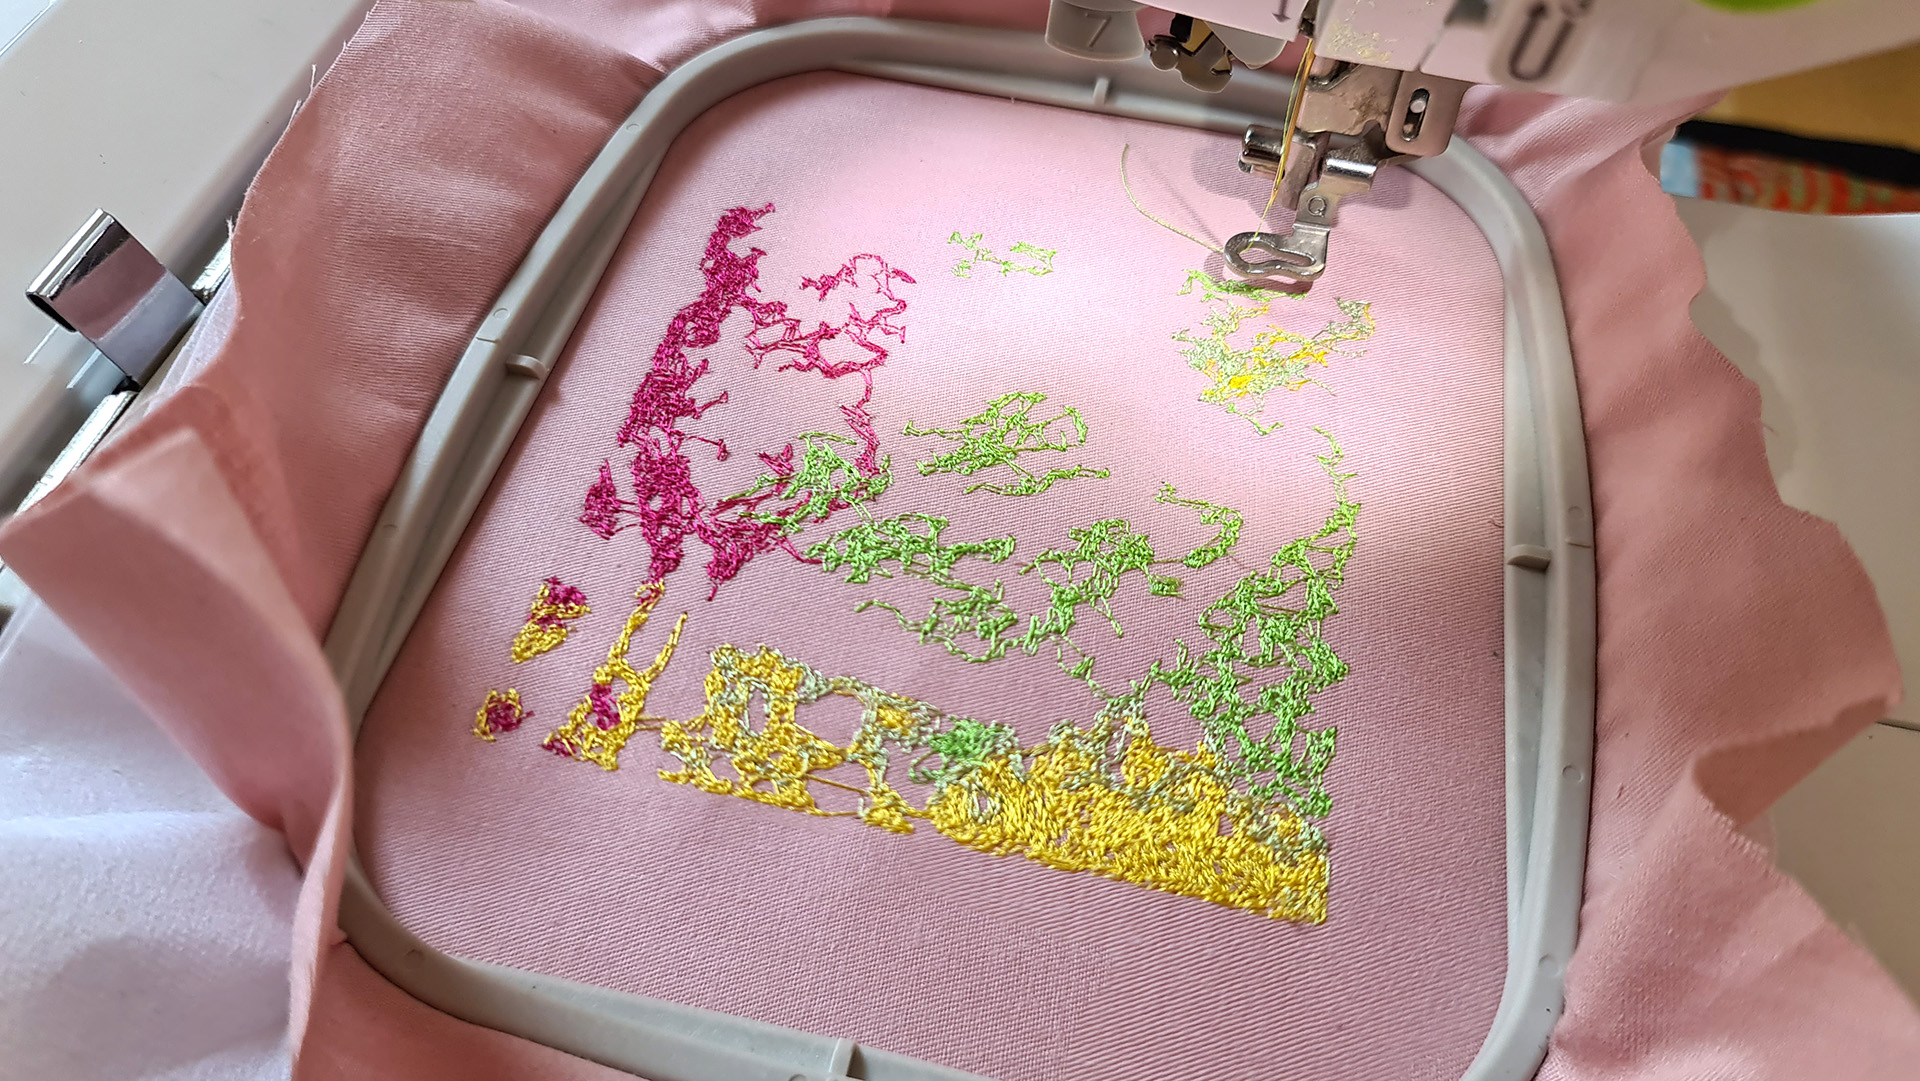
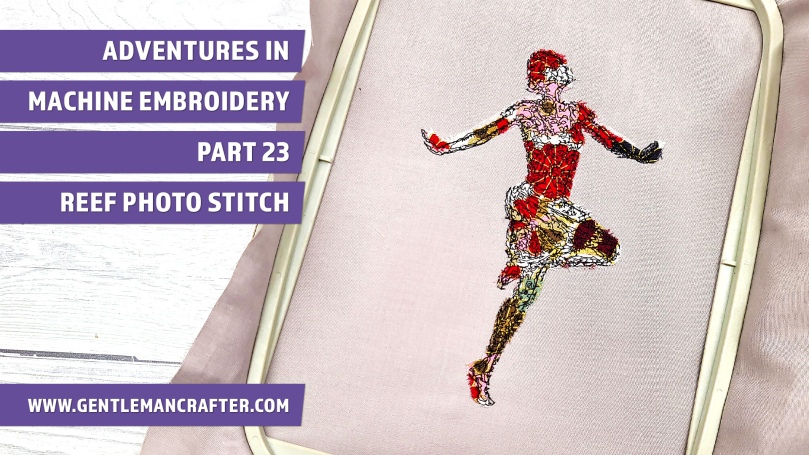
There is a video later on to explain the process so do make sure to watch that but here was the stitch out on my first attempt which was run through the photo-stitch tool in the software with no other changes.
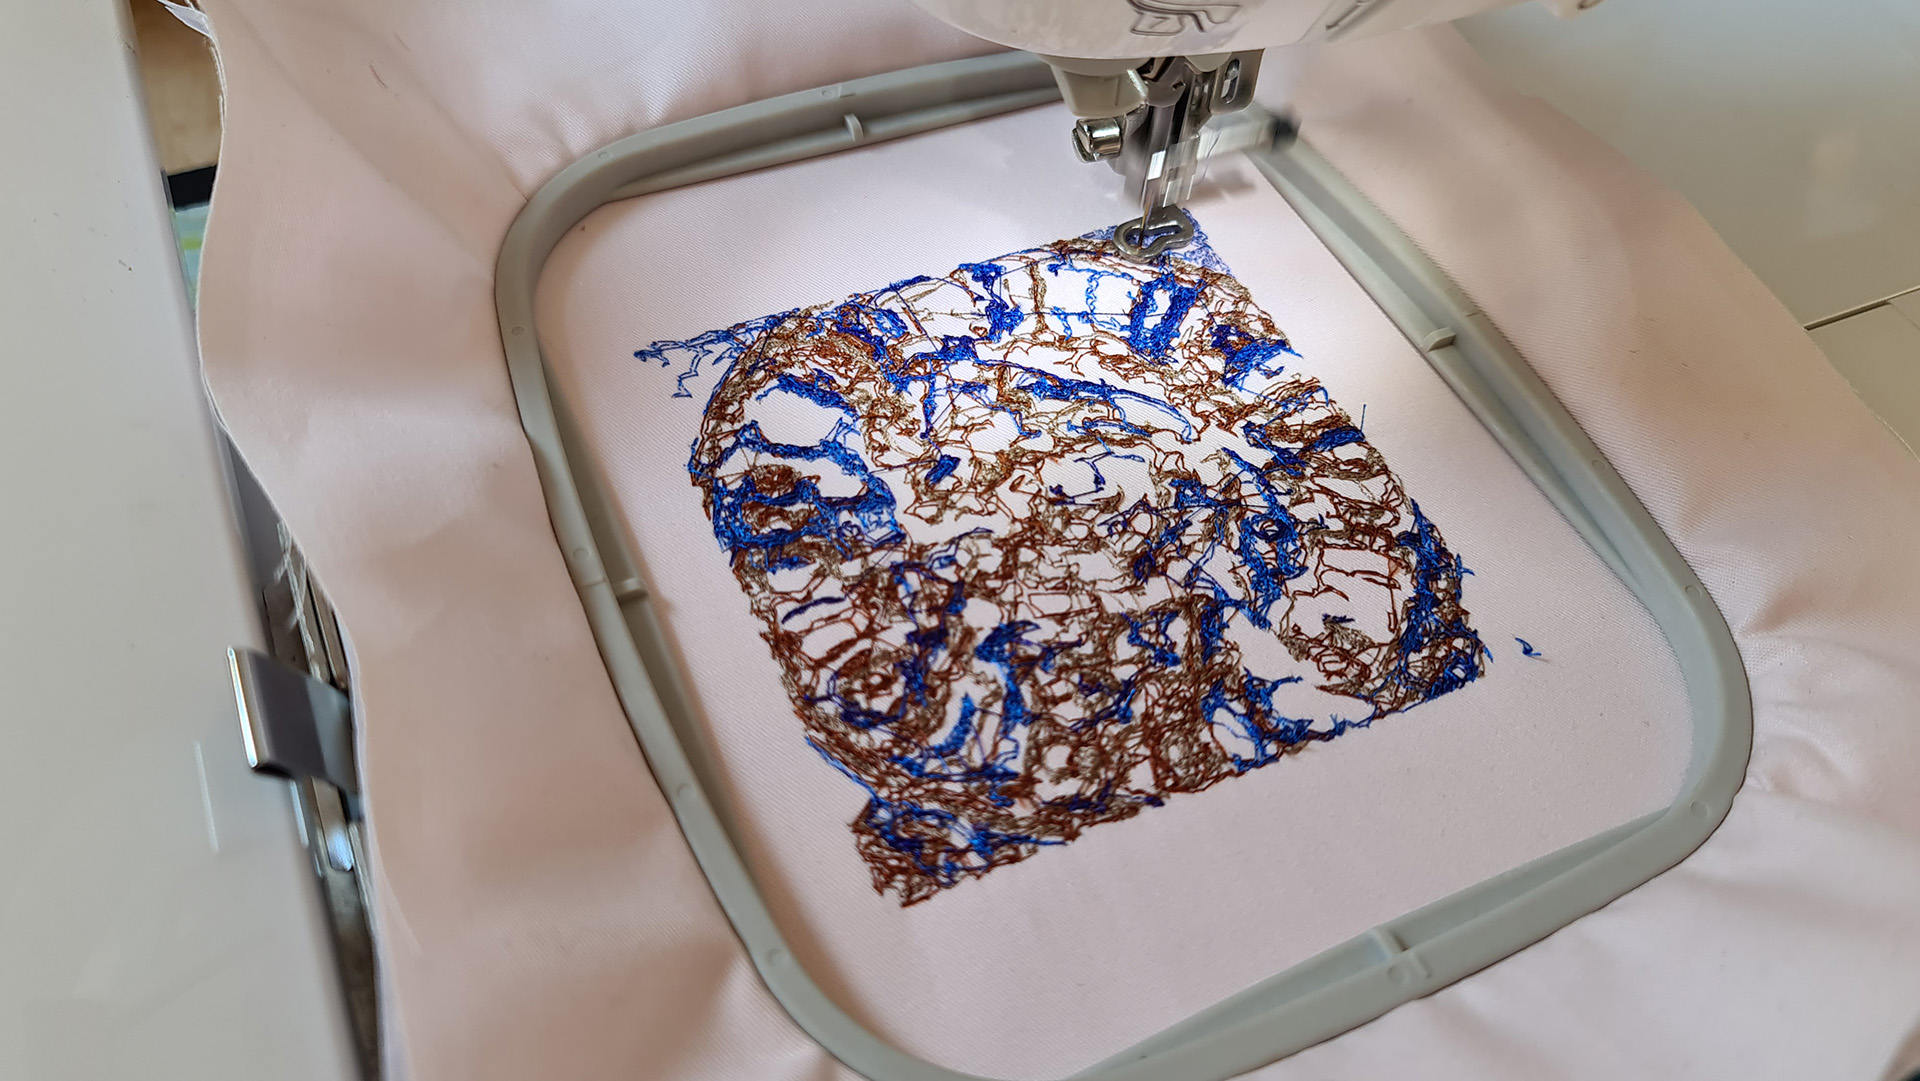
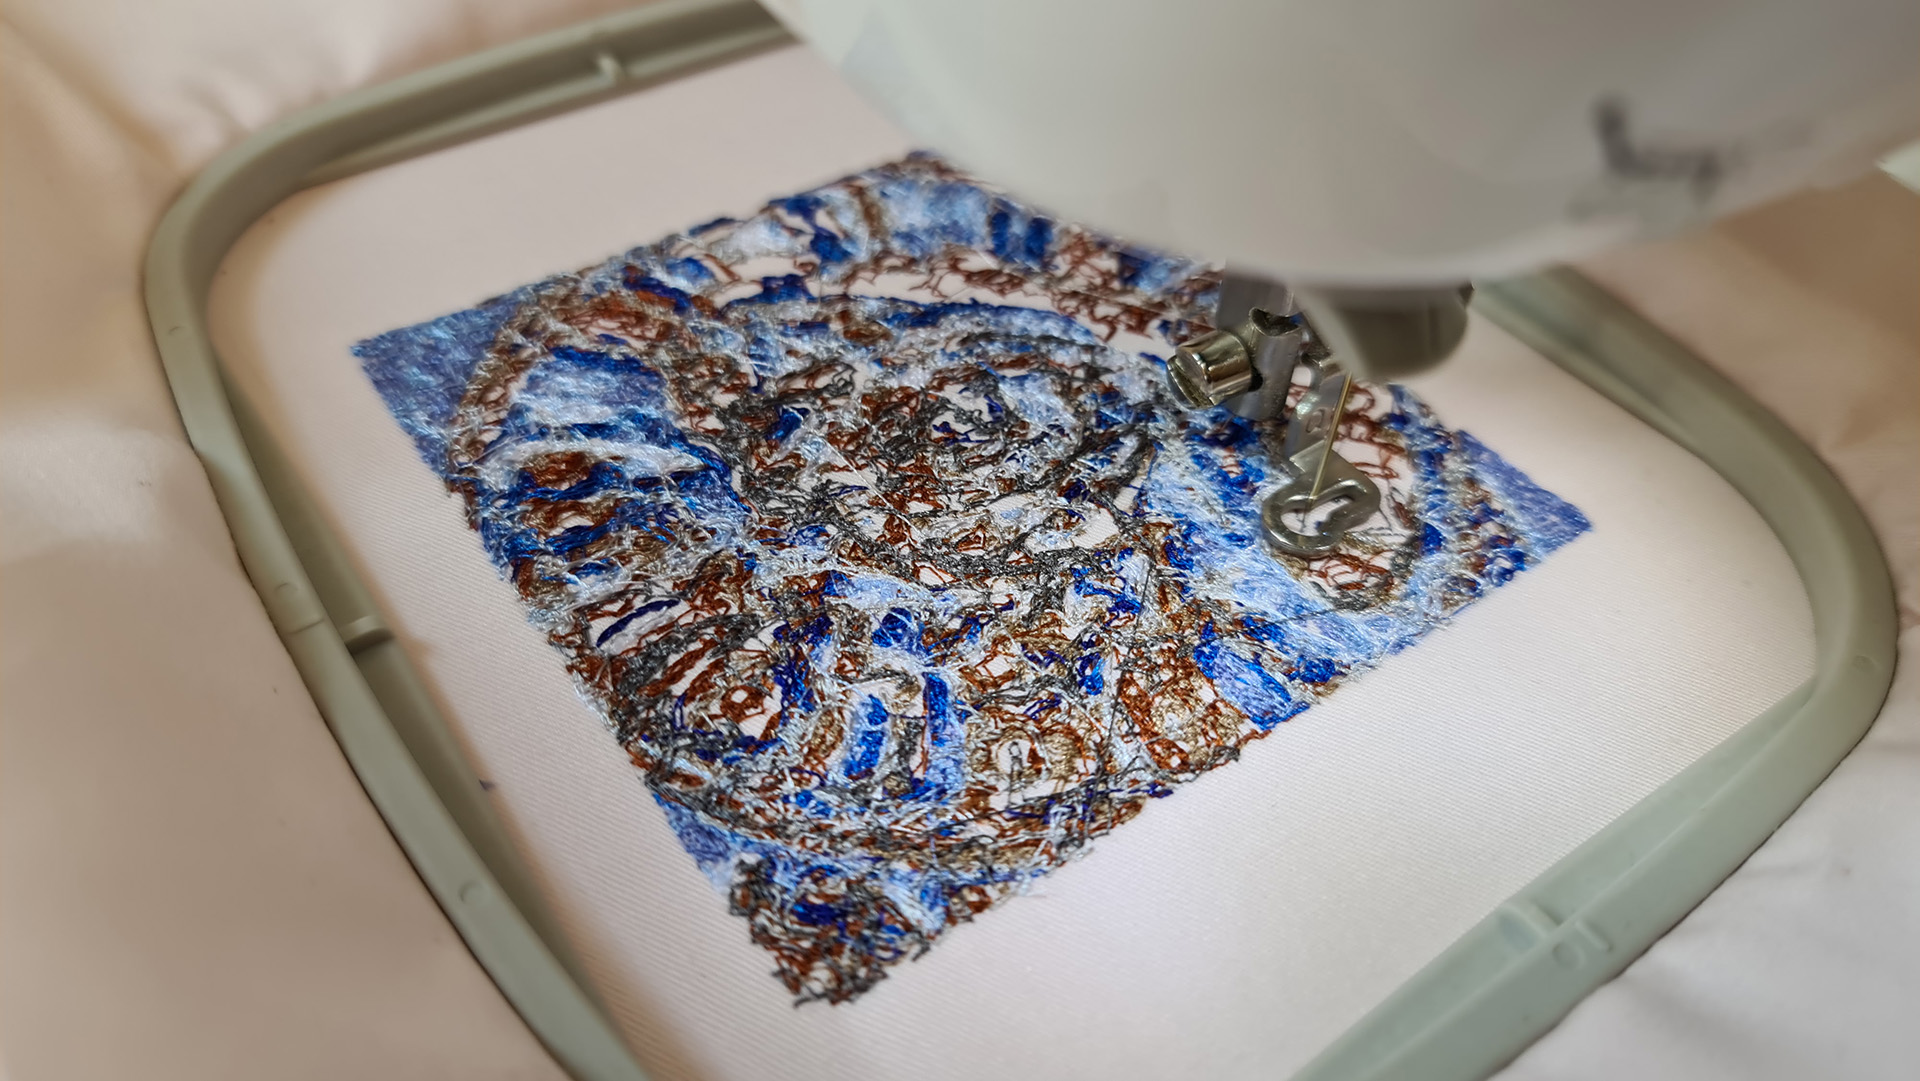
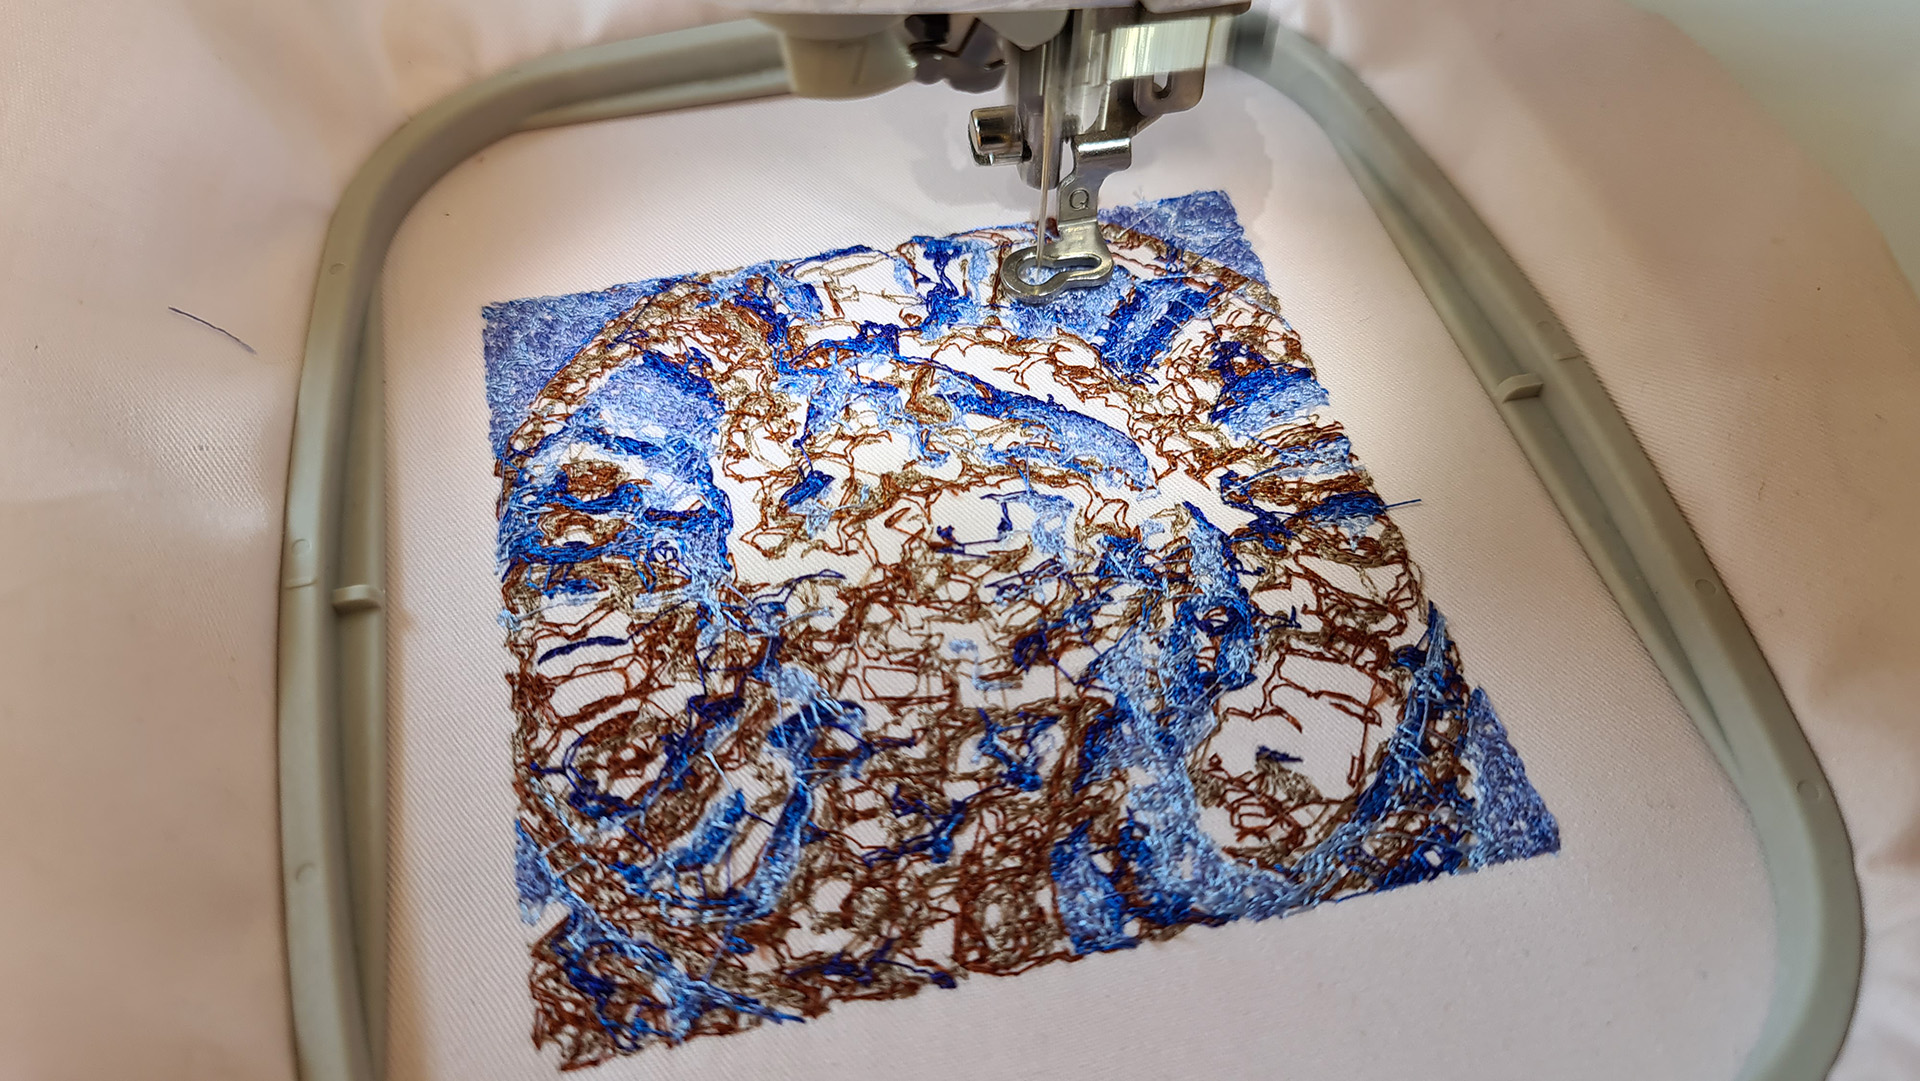
As you can see, it’s almost like colouring in a design with various colours of thread. A very stylized way to replicate an image for sure!
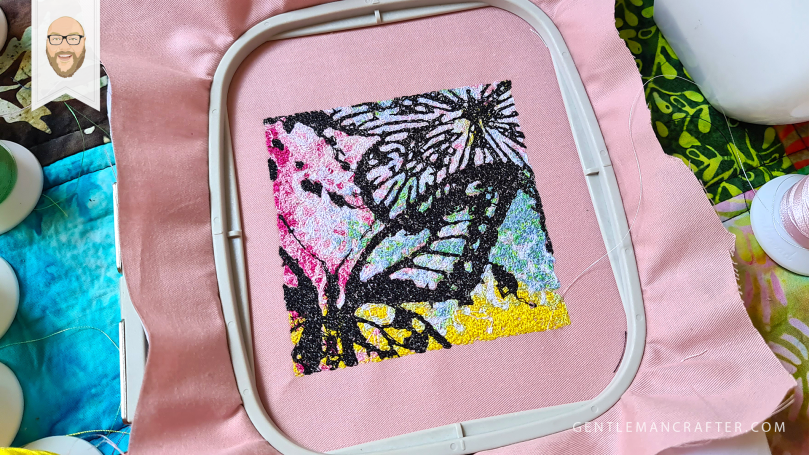
Here is the finished stitch out.
Here is a close up so you can see the way the stitches are formed.
I did learn a few things during that first attempt but first let me tell you about a couple of discoveries that have taken my stitching up a notch.
First, gold plated needles. A gimmick? I don’t know but the intention is that they allow for smoother stitching – also, they look swanky and posh, lol.
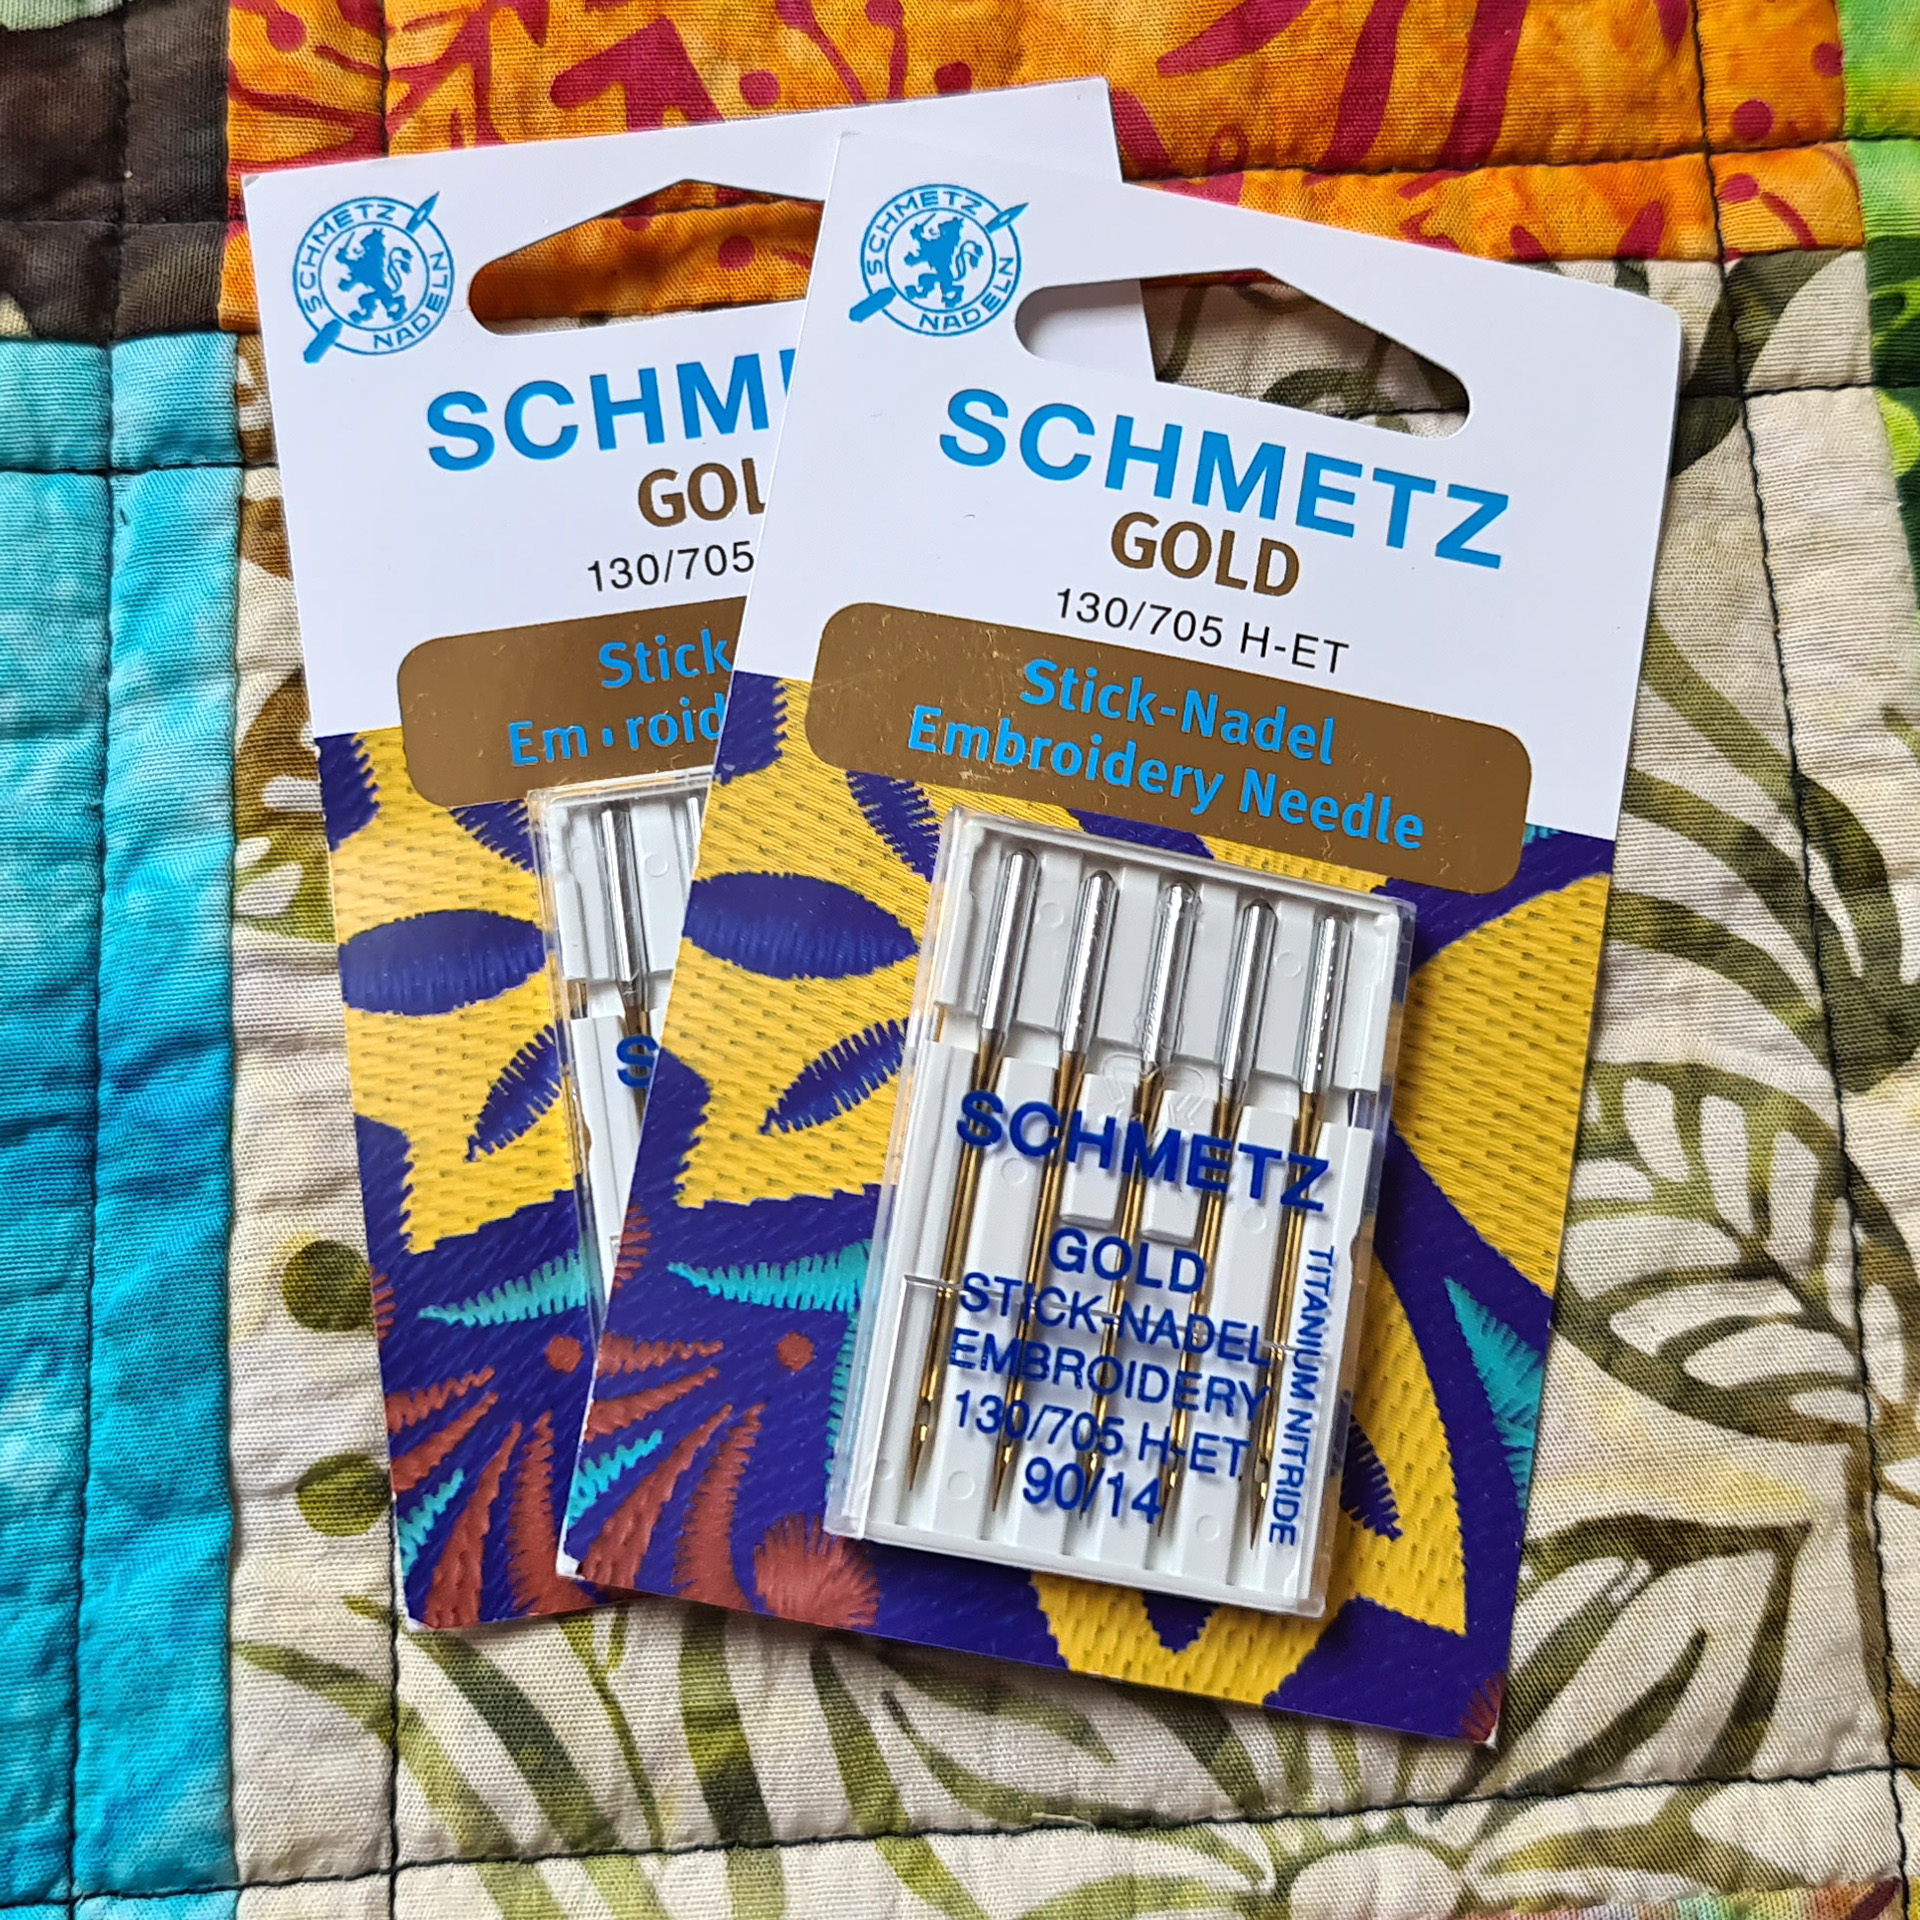
Second, doing A LOT of research into stabilizers. When machine embroidering you will need a stabilizer but getting one that matches your fabric/needle/thread combination REALLY DOES make a HUGE difference.
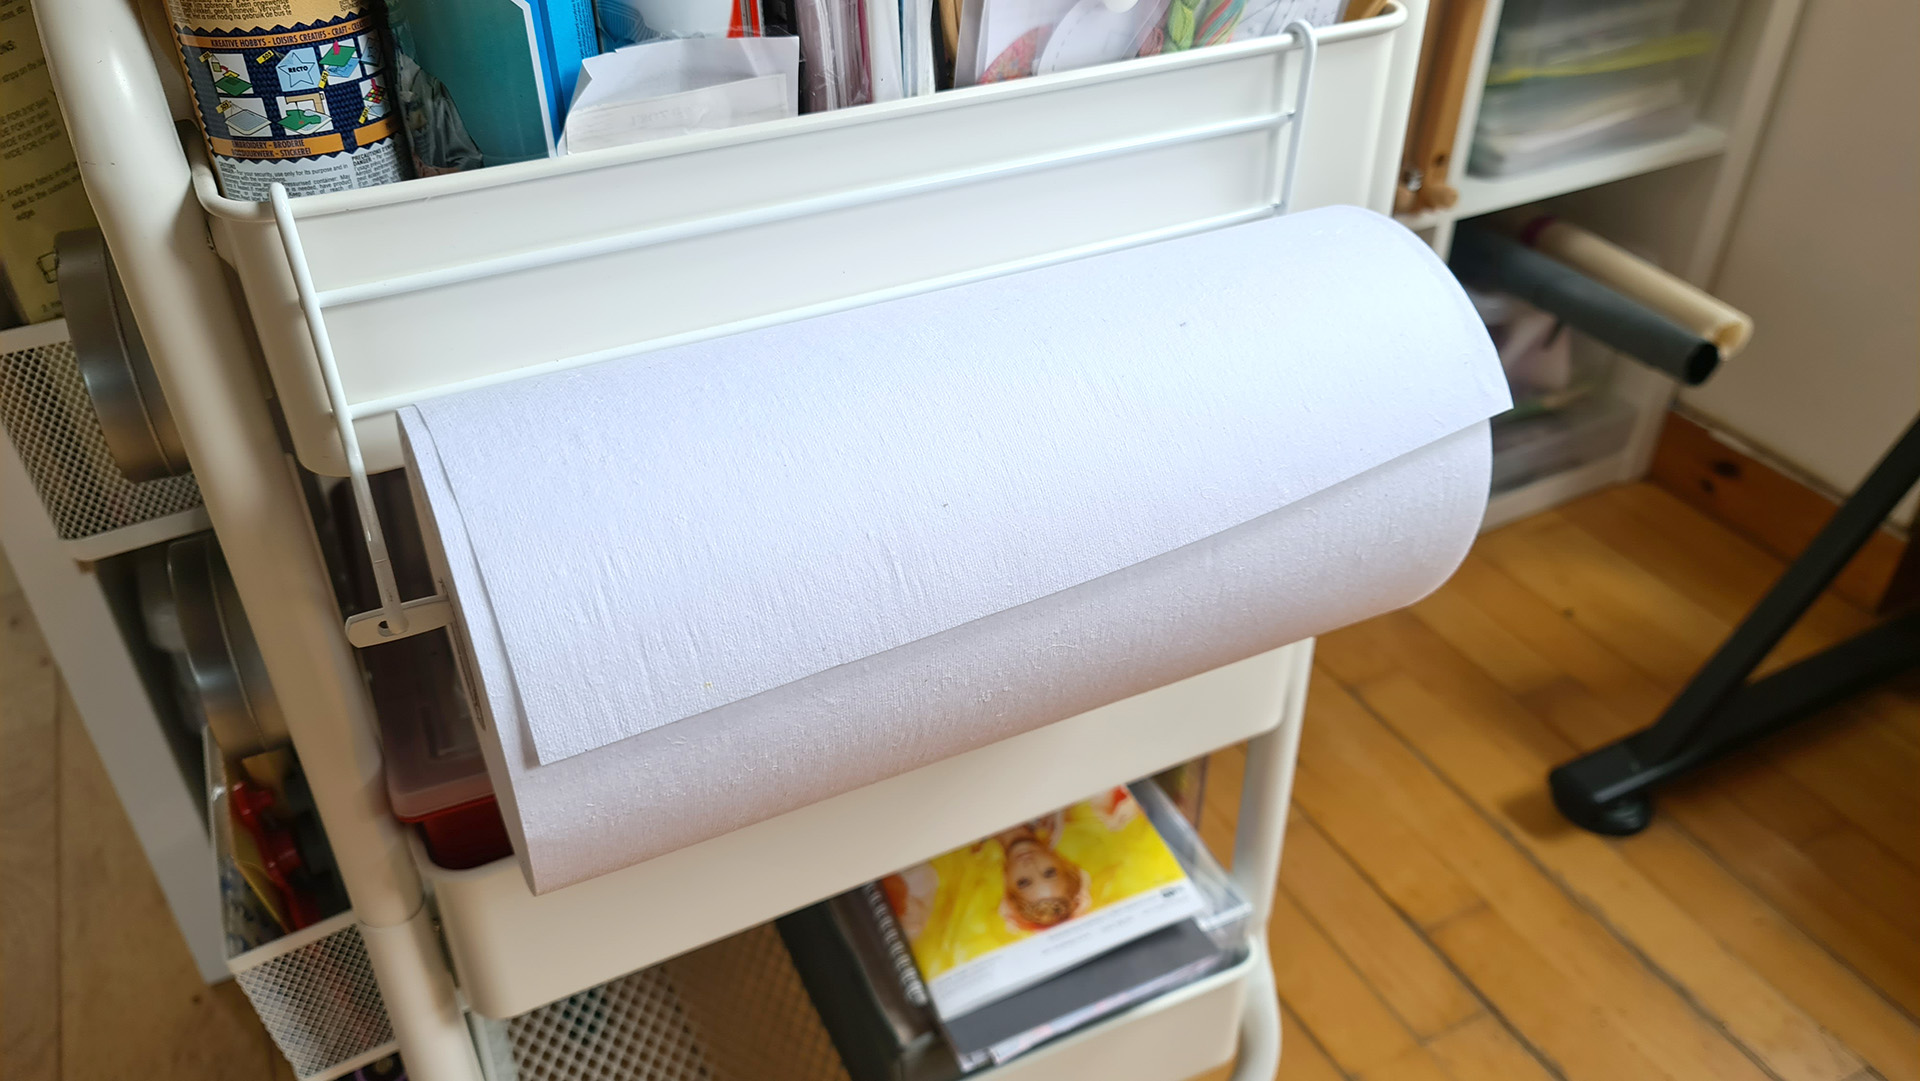
I have previously been using paper-like stiff stabilizer but after nabbing the massive roll (below) of cotton-like stabilizer, the puckering in my designs has almost disappeared without having to change any other settings!
Ya know, I think that I am finally getting the hang of this.
Now, back to the experimental stitchery. Here is what I learned through my first attempt.
- Increasing the number of colours used does not always equate to more detail in the design or a better result.
- Making sure to have colourways of high contrast in the original image does make for bolder more defined areas of stitching. Wishy washy pics are just not going to cut it – you are essentially trying to reduce 16,000,000+ colours to a maximum of 15 so something has to give somewhere. Still, this is perfect for abstract stitching fun!
- I still needed to pay attention to sequencing, both for the colour layers AND the individual elements within each colour layer.
- Reducing the size of the design after applying the photo-stitch effect does NOT reduce the stitch count so, if like me you have a machine with a maximum number of stitches, reduce the image size before running it through the photo-stitch tool.
- This technique takes a lot of bobbin thread and time. The design coming up took almost a whole bobbin and over an hour to stitch out – almost three with the thread changes.
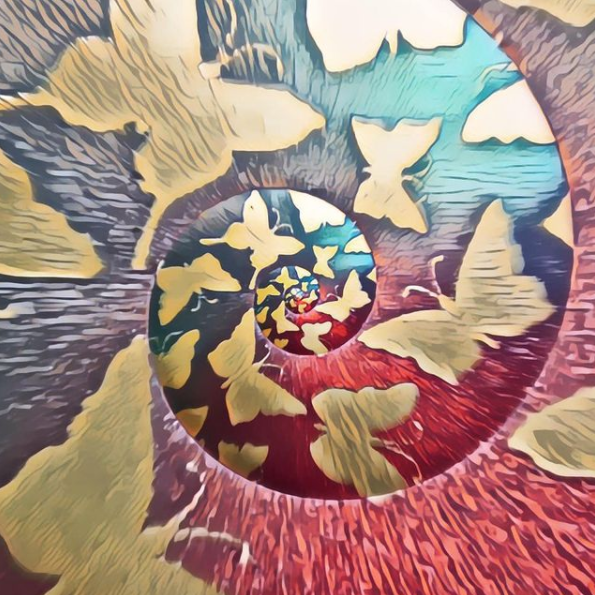
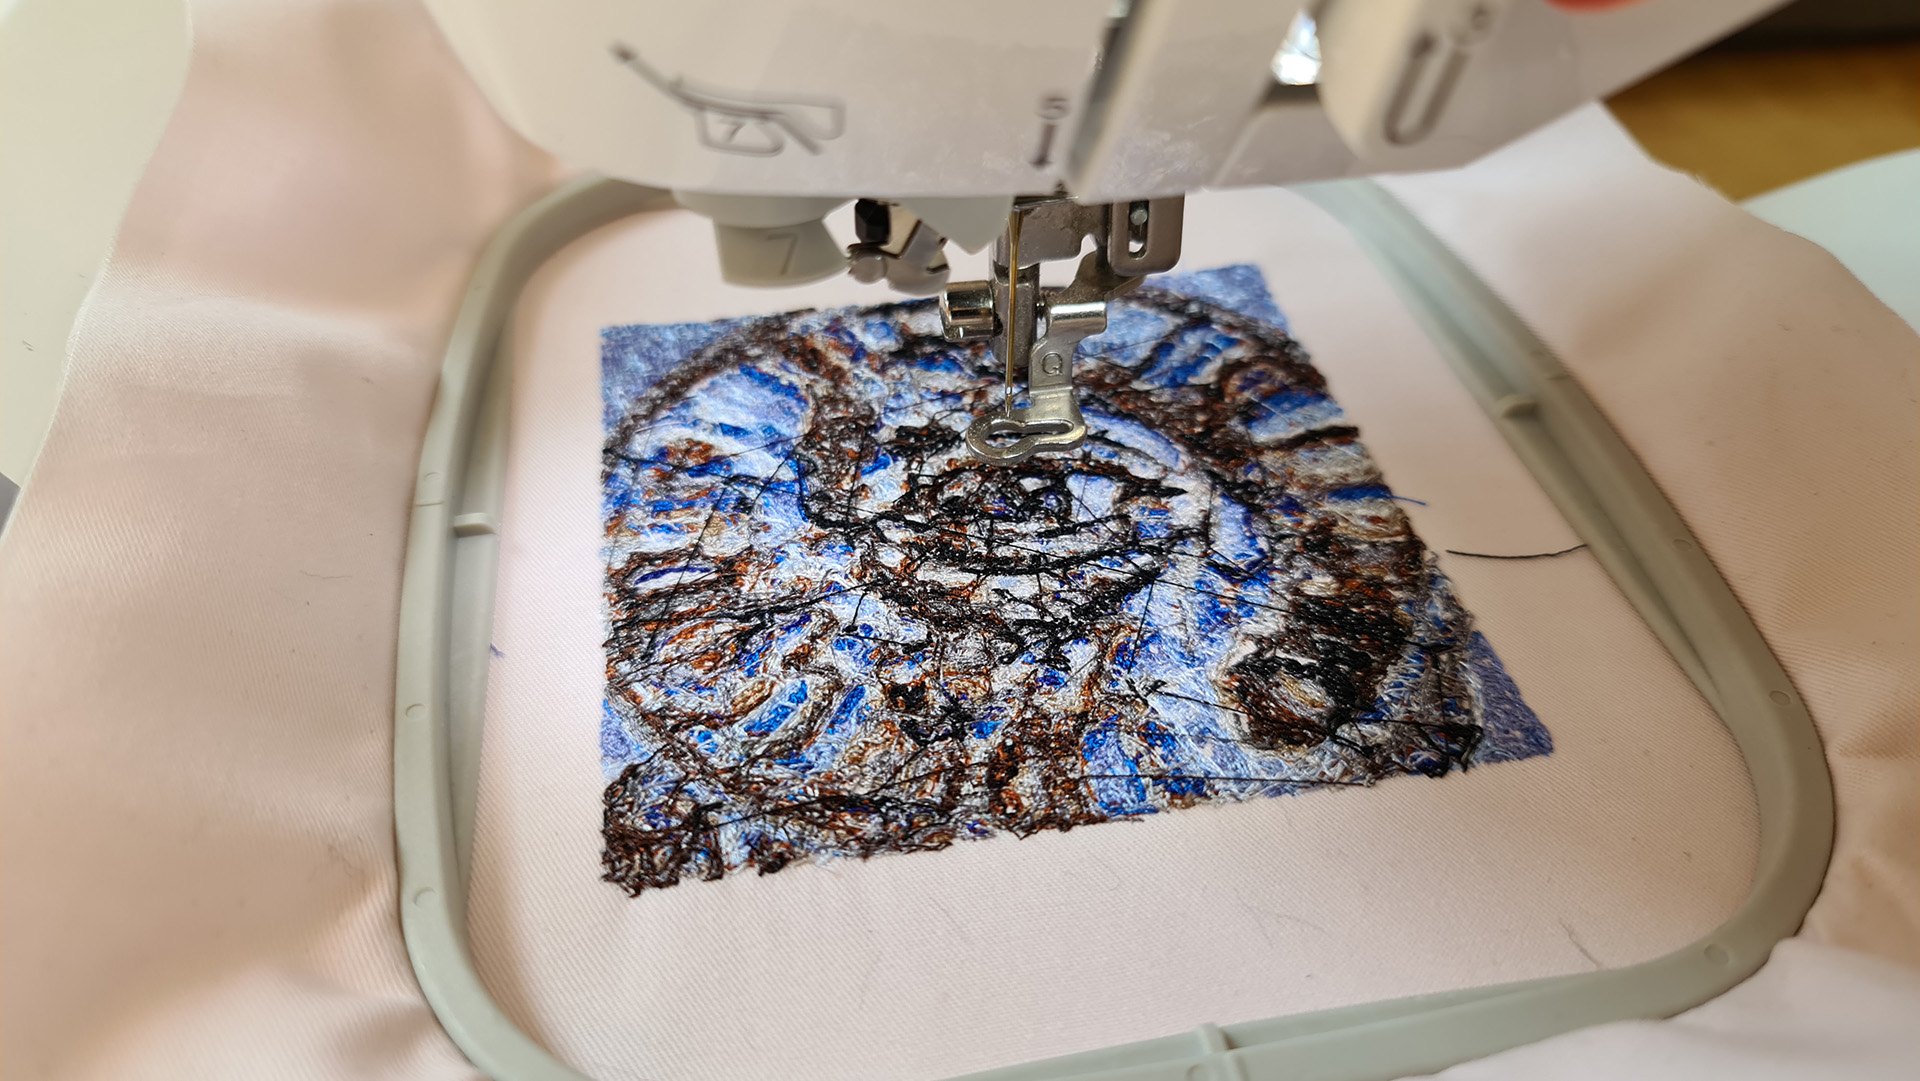
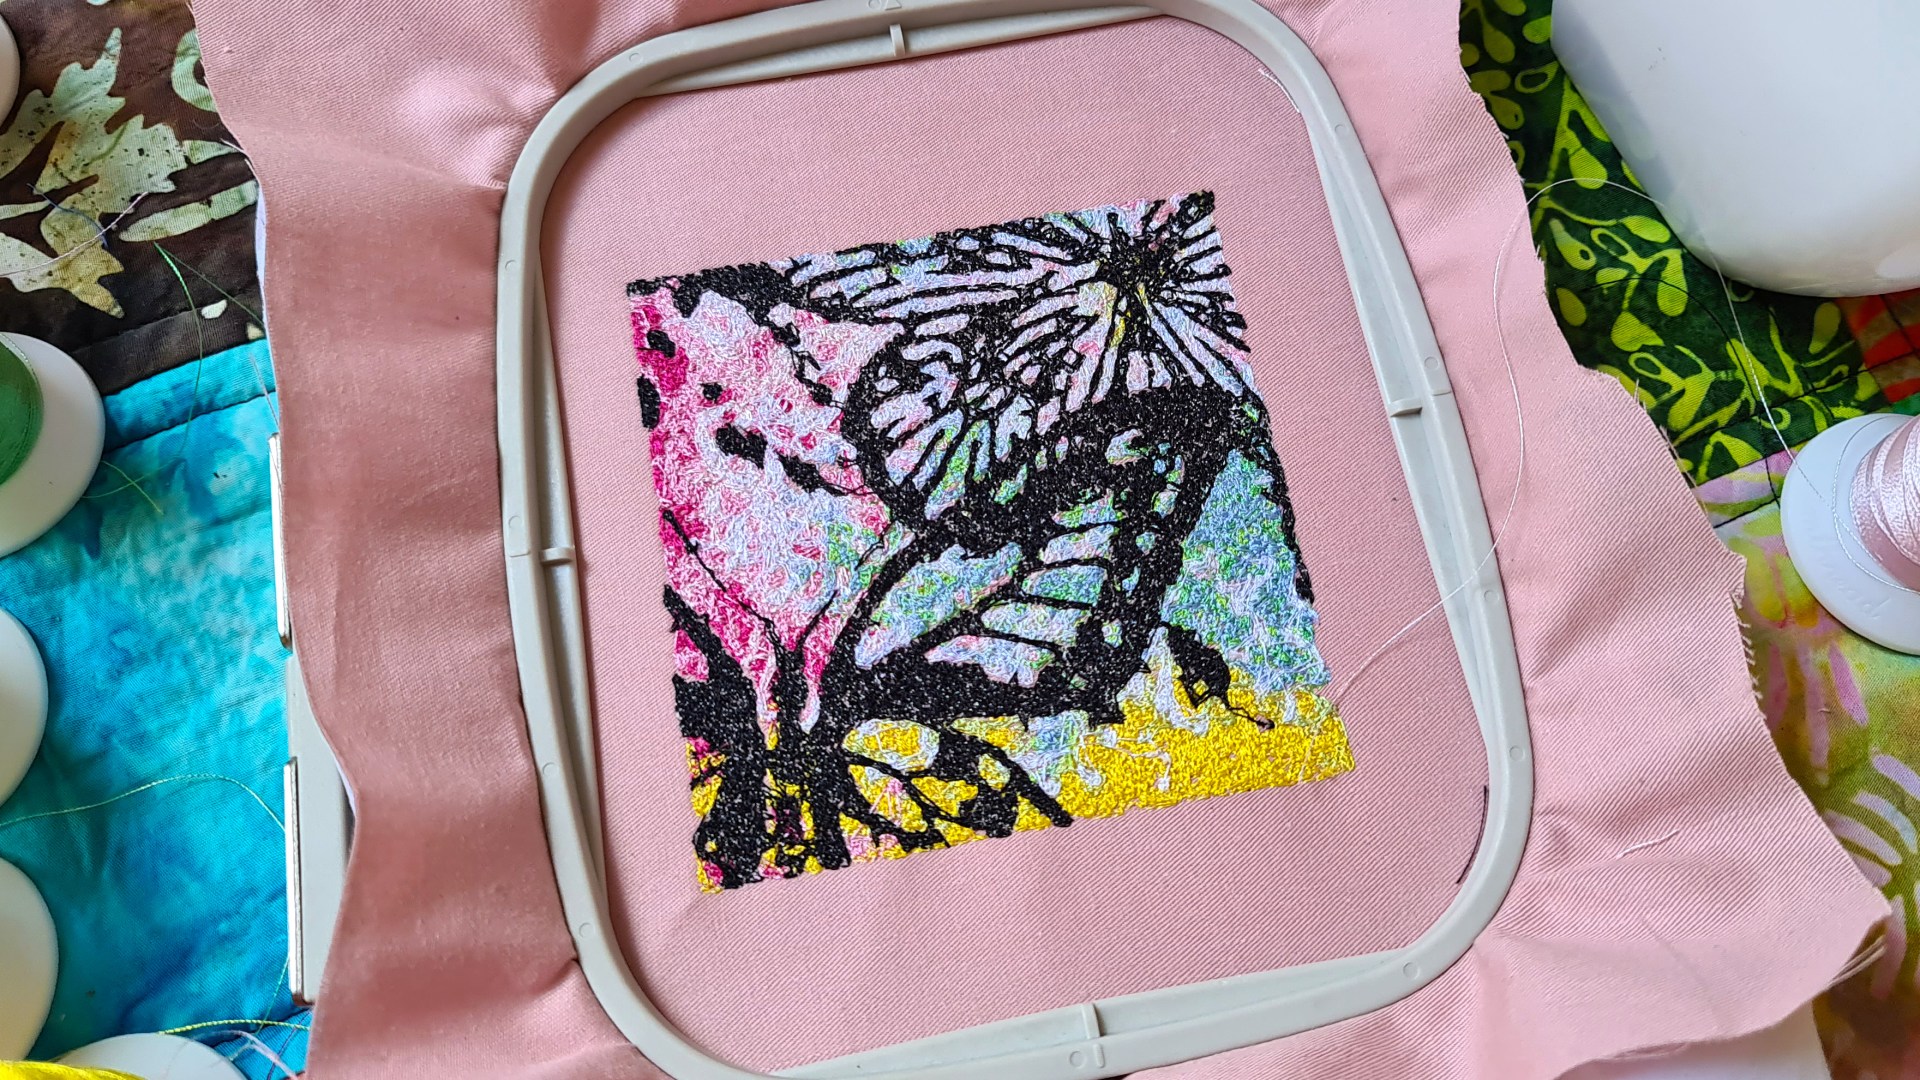
So, armed with this new knowledge I set about digitizing a second design.
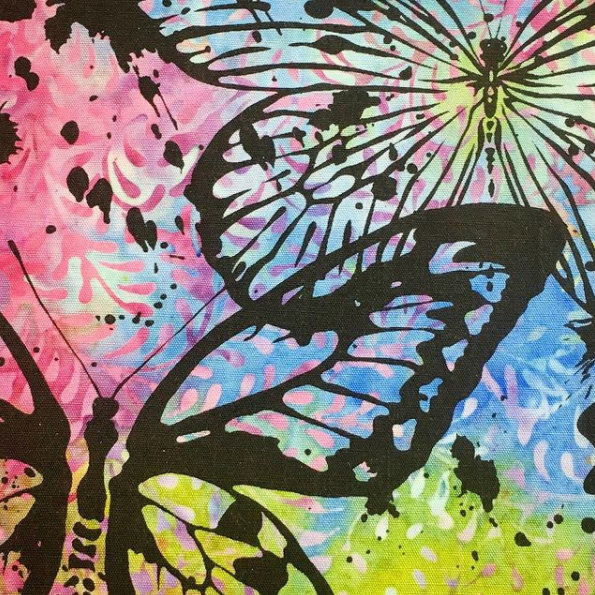
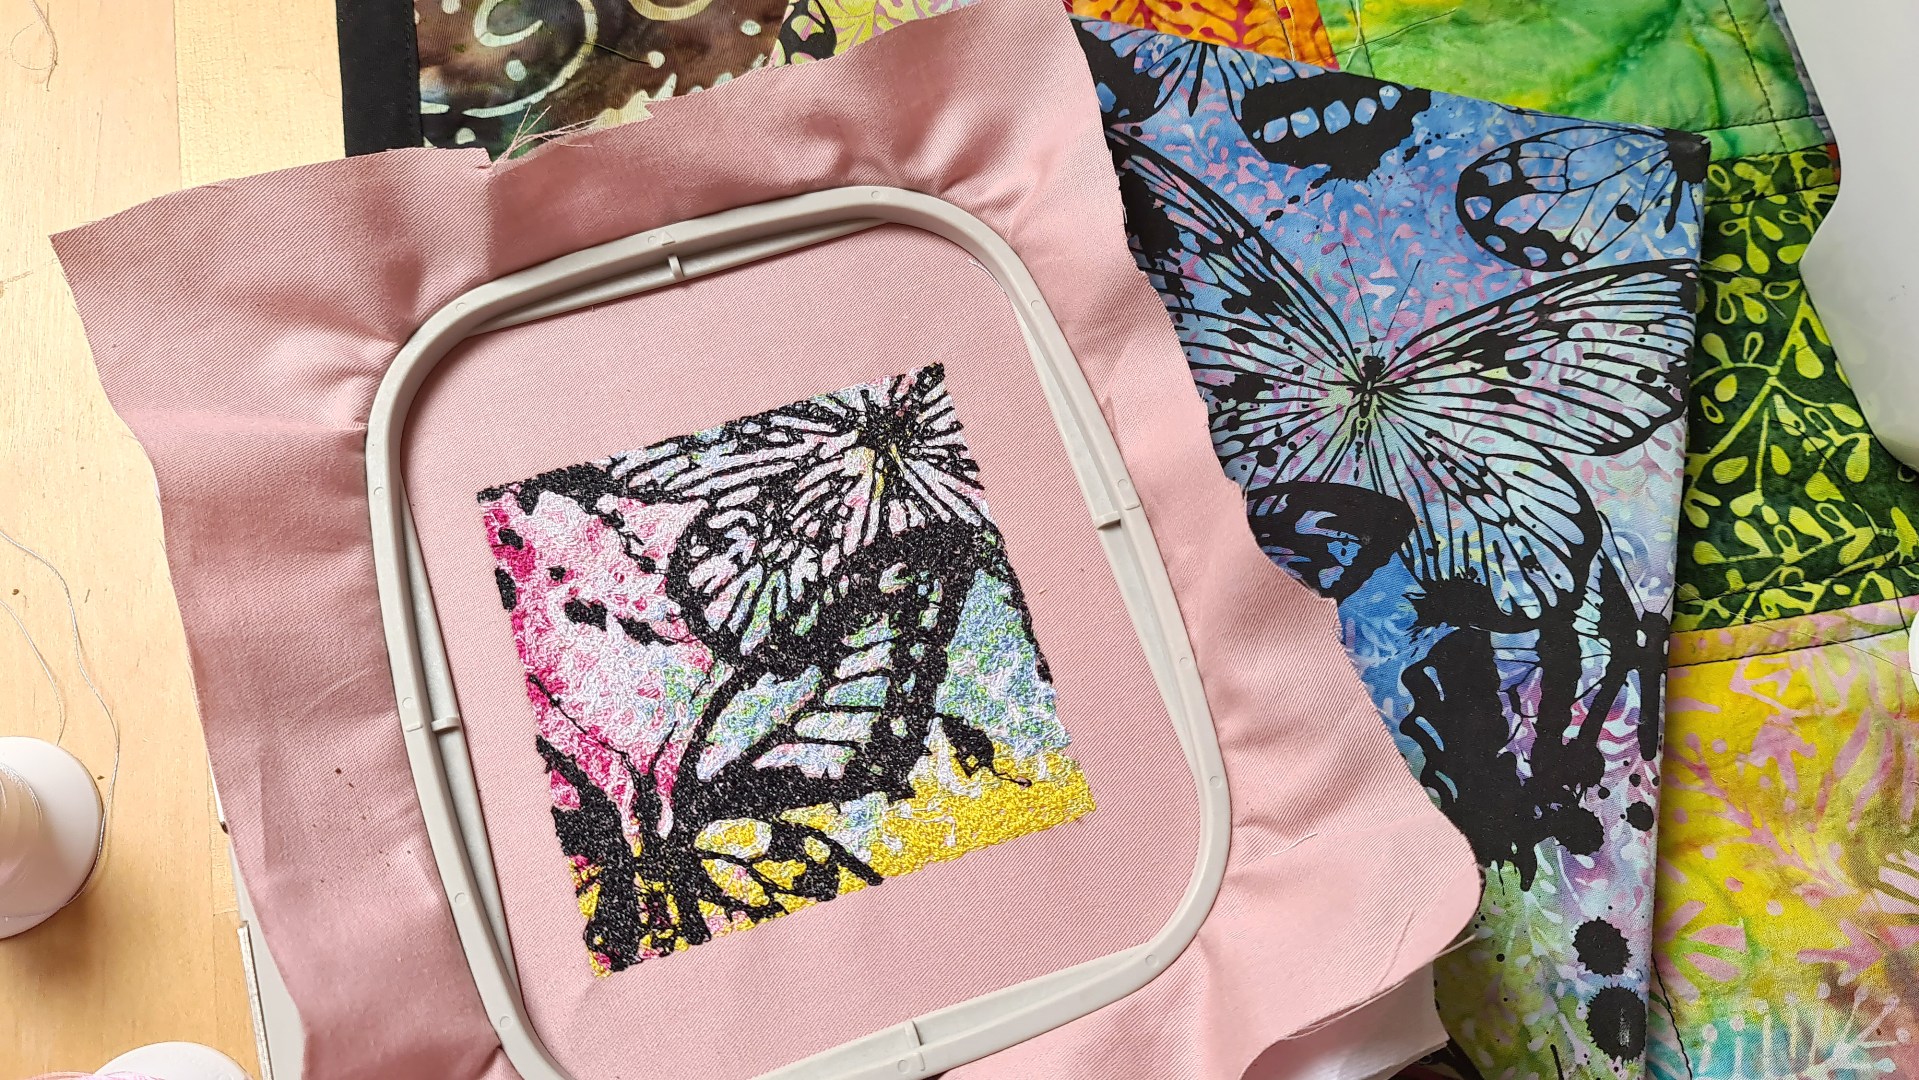
This time it was based on a photo of a screen-printed design that I made a while ago. You can see more about that in this blog post.
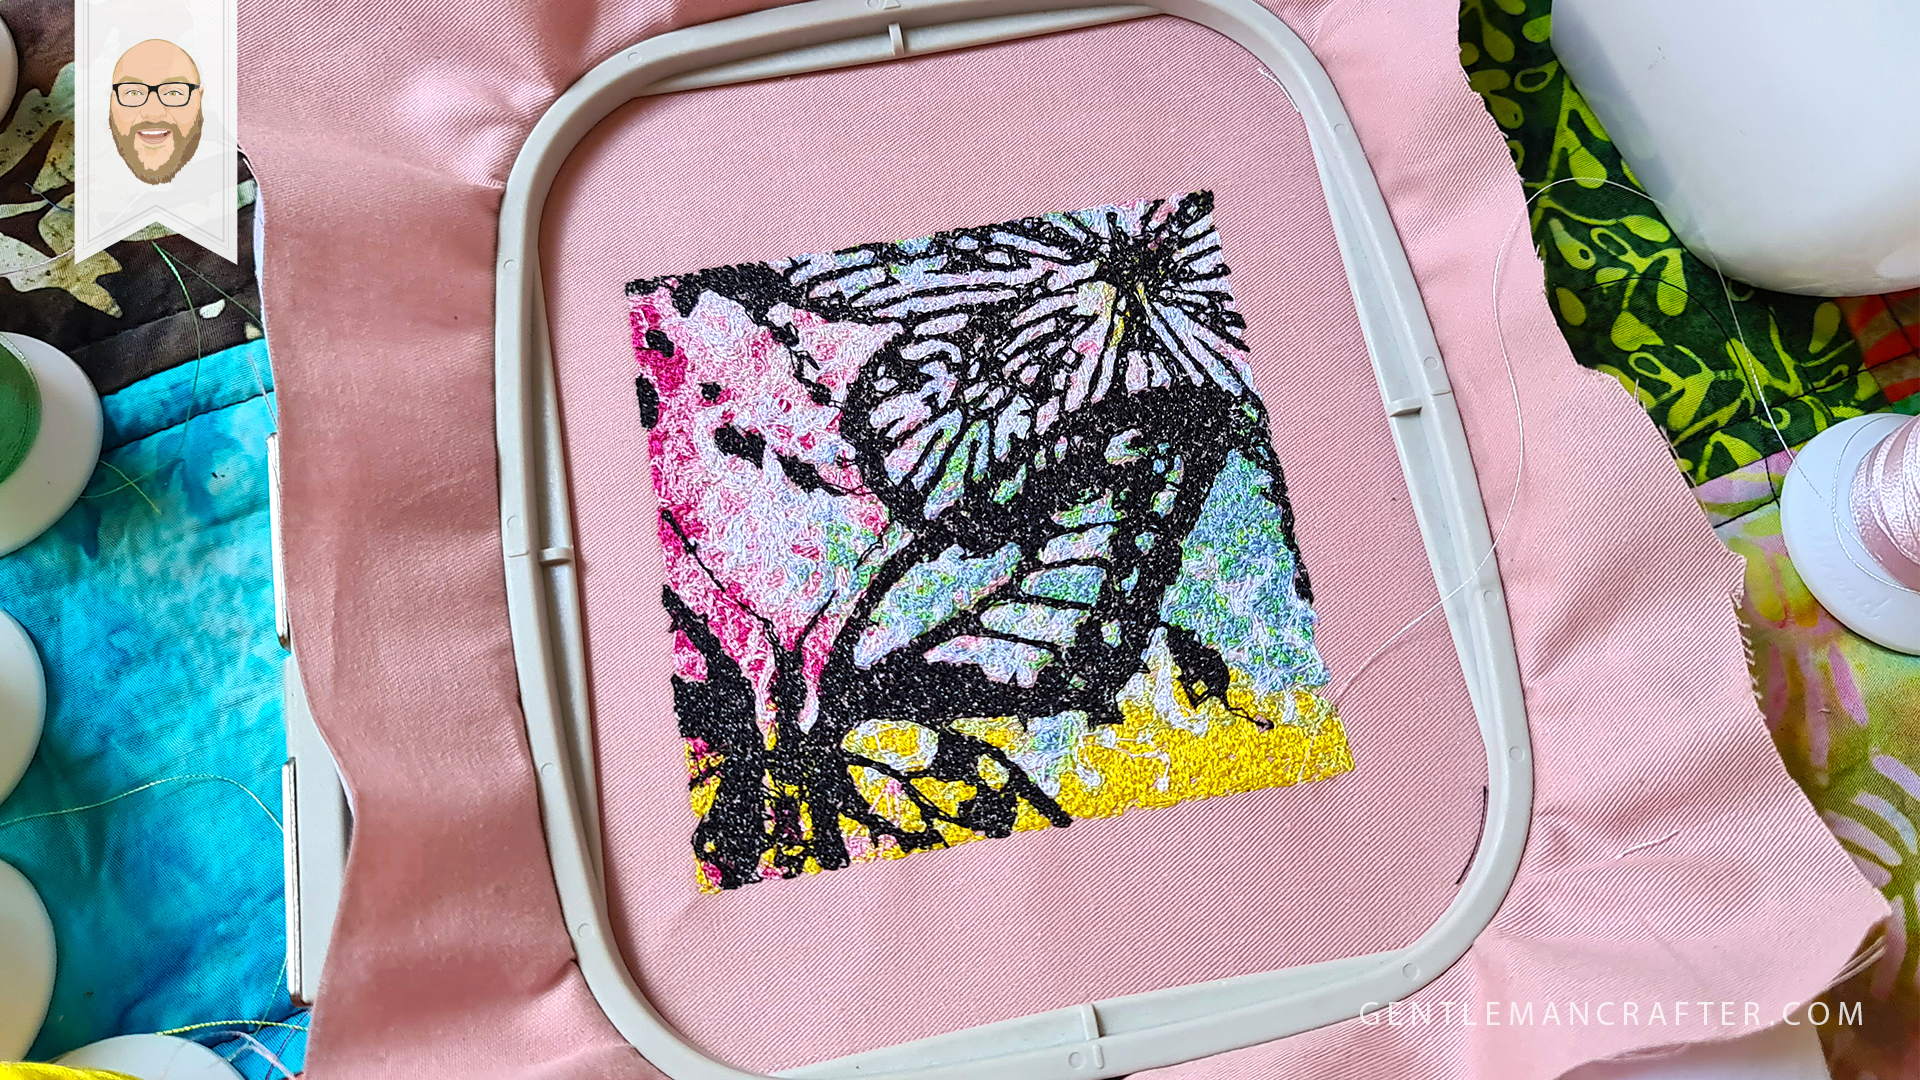
I recoloured the threads and even merged a couple that didn’t really need to be there, changed the sequence to eliminate as many jump threads as possible and set about stitching and trimming.
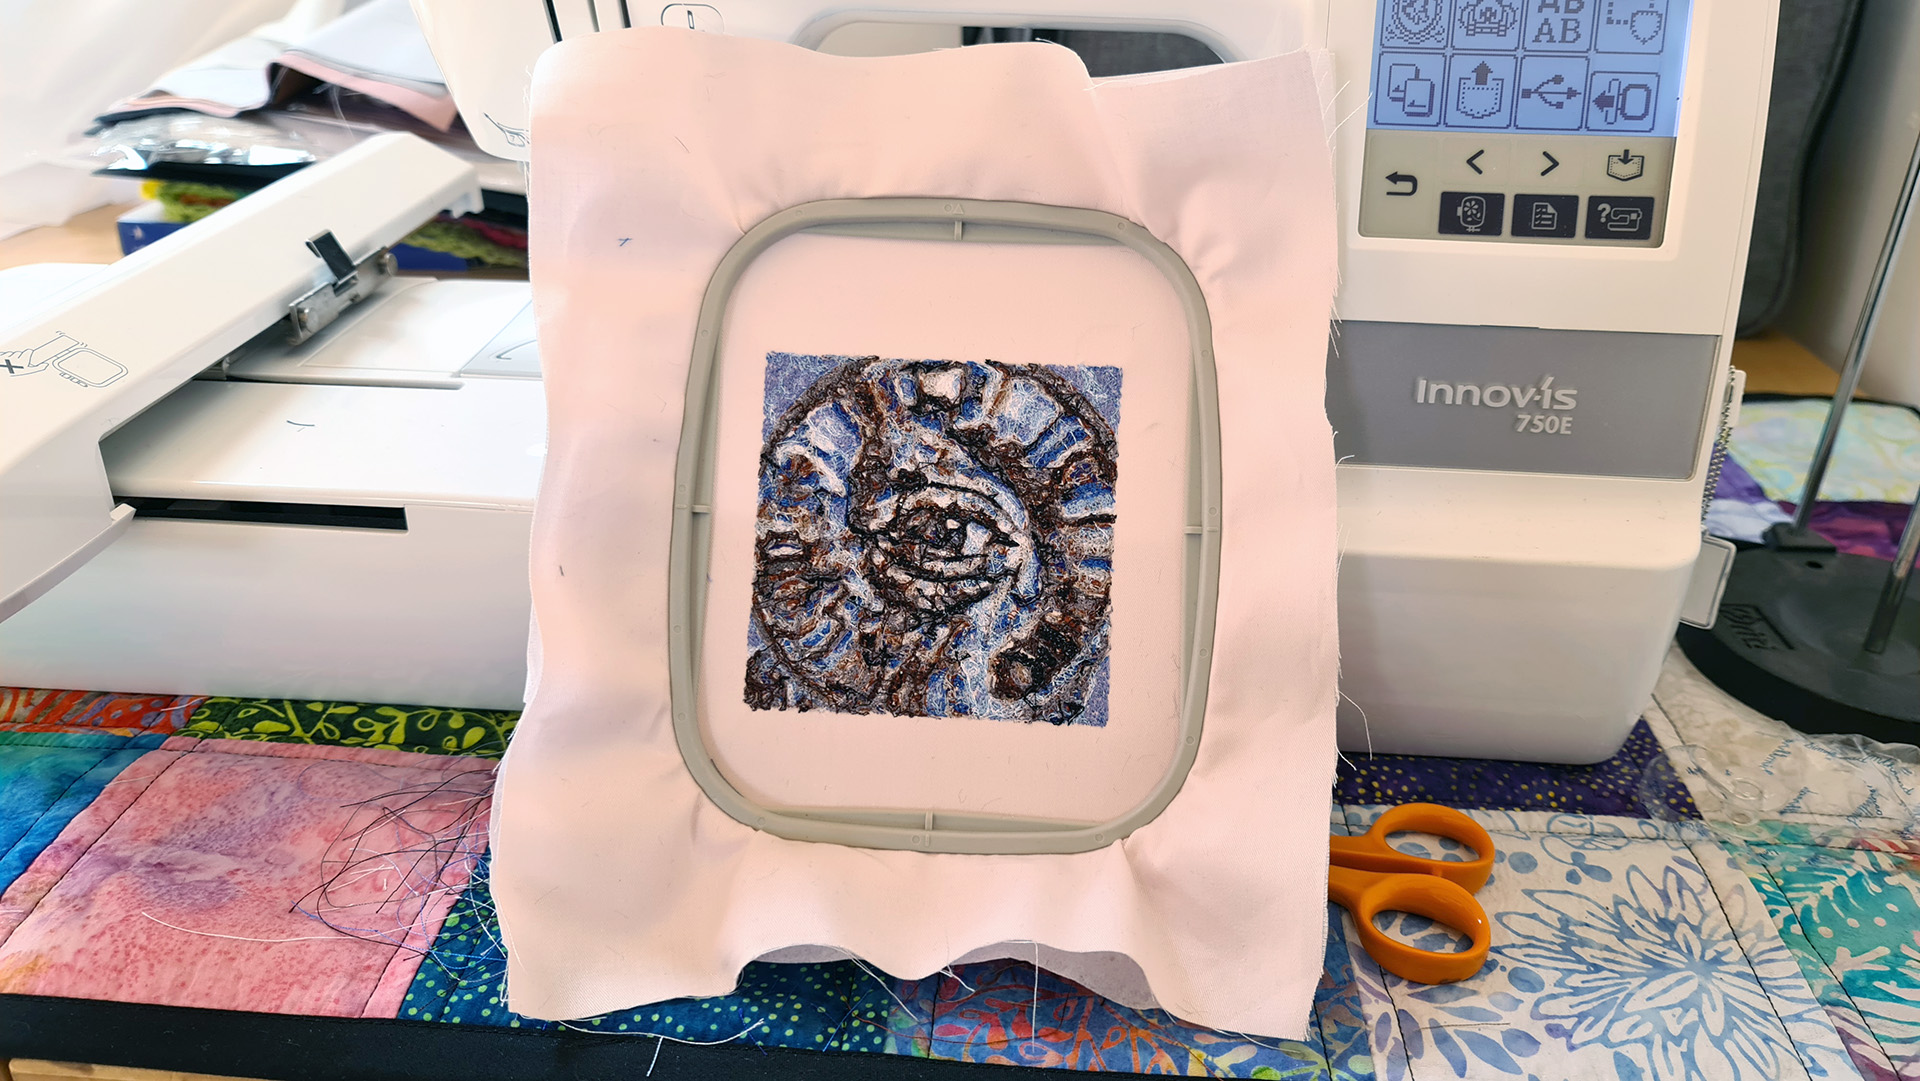
This was the result!
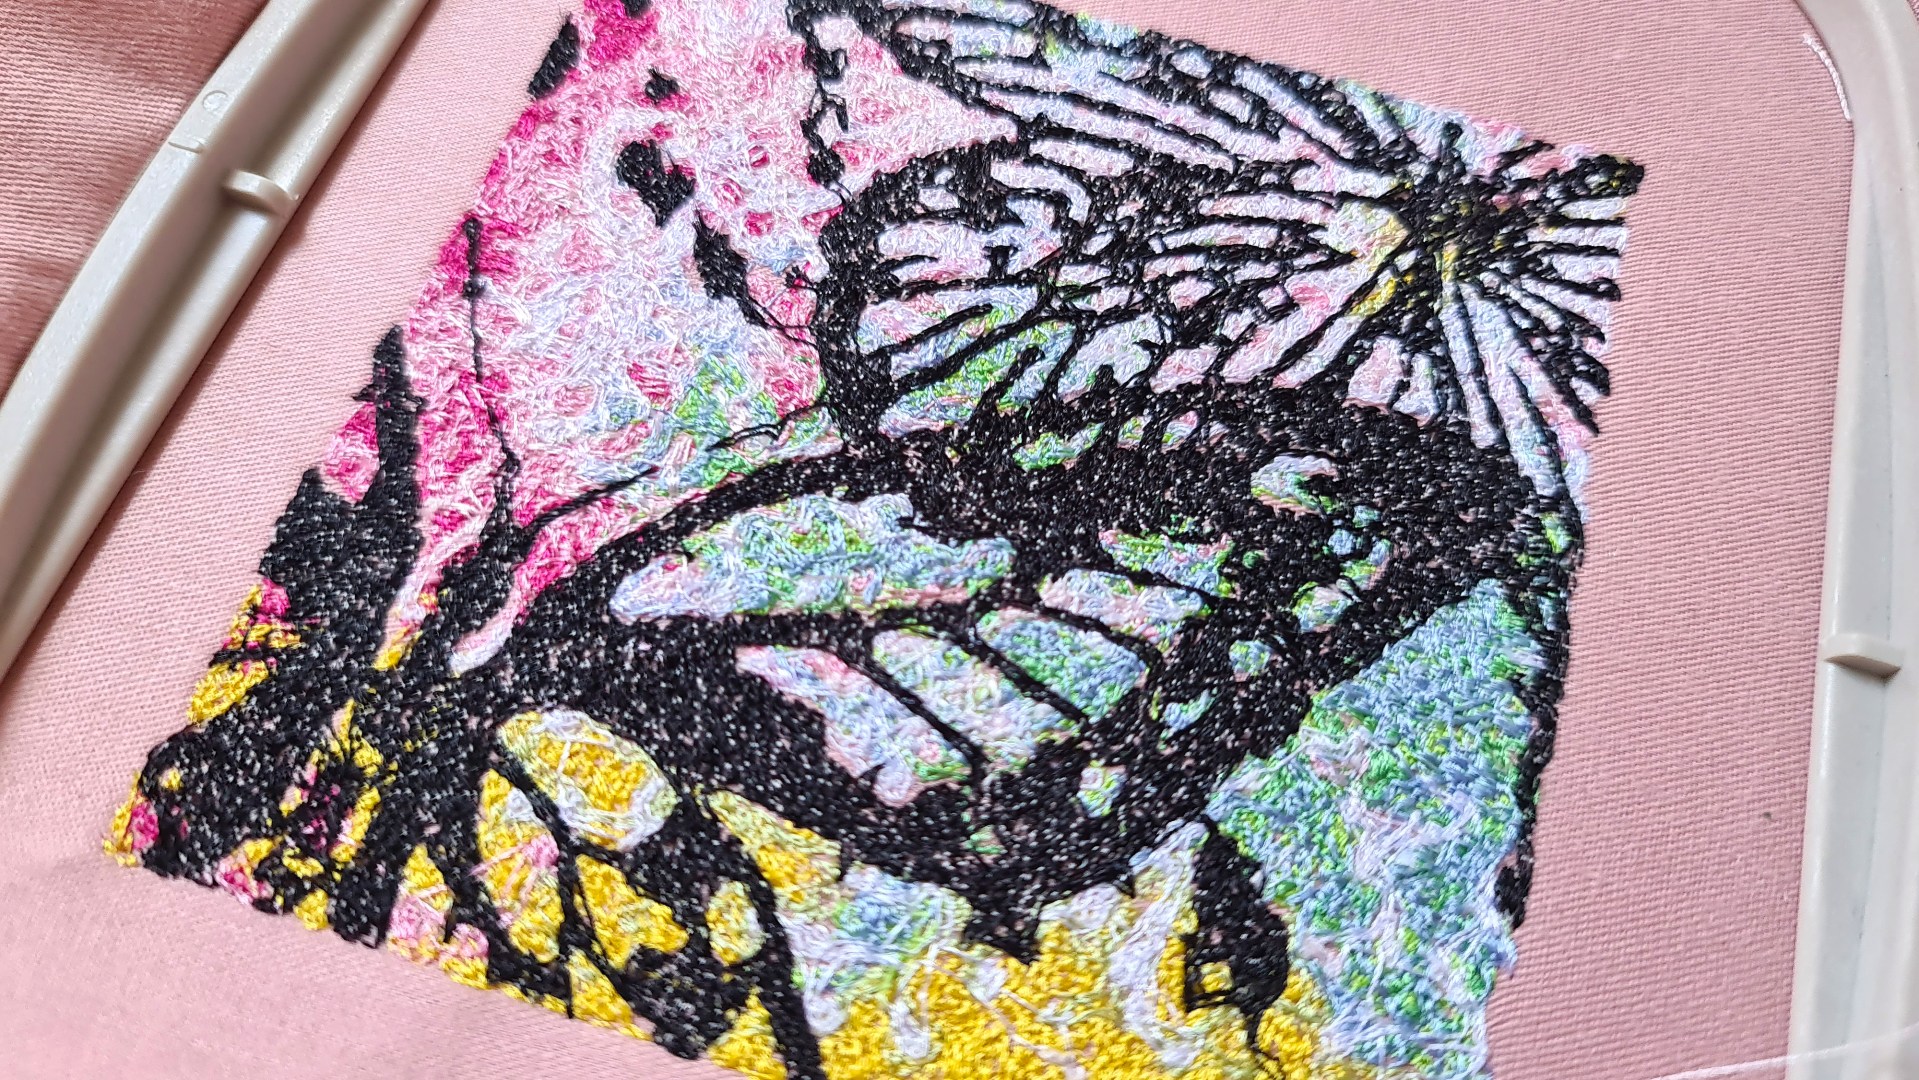
Here is a closer look. It actually looks better from a distance as the stitches “merge” but I love to look at the detail too.
Oh, by the way, you might have been wondering about the blog title. Well, as I was stitching this one out I had a couple of bacon sarnies and got bacon grease on me chubby fingers and wondered if any transferred onto the design. Then, as the design was stitching the thought did cross my mind – I wonder if butterflies taste of bacon…?!
Not sure I will ever answer that question, or even want to find a way to find out.
Now that that disgusting thought is in your head, look, butterflies!
Anyhoo, I promised you a video at the start of this post showing how I digitized this design, so here it is!
If you would like to know more about the software I have mentioned in this post, please visit the Hatch Embroidery website.

That’s about it for this one.
If you have any questions or thoughts about the content of this post, please feel free to pop them in the comments section below. I look forward to hearing from you.
Many thanks for stopping by and hope to see you again soon!
Bye for now.
John.
There are literally hundreds more posts in the archives so please do check out the suggested posts at the bottom of this page or visit one of the category archives below or check out the related posts section at the end of this post.
| Papercrafts | Digital Crafts |
| Drawing and Painting | Fabric, Fibre & Yarn |
| Glass Crafts | Jewellery Making |
| Mixed Media | Needlepoint |
| Photography | Woodworking |
More Machine Embroidery Blog Posts
Find more fabric fibre and yarn blog posts here …

I love the stitching of butterflies and i have already shared your content to my IG page. Would you allow me to use it for my design??
LikeLike
Thank you for sharing the content, I appreciate it. The butterflies are not my original design and therefore I would not have the appropriate rights to pass on, sorry.
LikeLike
I love your abstract art John and this gorgeous embroidered piece you make from the butterflies.
Did you make all the other abstract art also with your screen print kit?
Thank you so much for sharing, stay safe and have a wonderful week.
LikeLiked by 2 people
Thank you. No, the abstract art is a digital process that I’ve been developing.
LikeLiked by 2 people
Beautiful pieces John. Though I don’t do this type of machine sewing, sticking mainly to quilting, I do appreciate the end results. I do cross stitch and embroidery and always use gold plated needles. It seems bonkers but they do feel softer to use and don’t snag the material.
LikeLiked by 2 people
Fabulous – both your abstract art and the resulting embroidery :)
LikeLike
Thank you :)
LikeLike
Ah yes the minefield of stabilisers! I find it difficult buying them online because they give them general terms, it’s either cutaway, soluble or leave in! Would be interested to know what brand/ type yours is .
LikeLike
The brand was Madeira. The same folk that make the embroidery threads.
LikeLike
Thank you 😊
LikeLiked by 2 people
Gorgeous stitching of the butterflies and love that you shared your art pieces as I don’t do Instagram. They are fabulous xx
LikeLiked by 1 person
Thank you Hazel.
LikeLiked by 1 person