Hey hey my little lovelies, how are you? Well, I hope.
In this blog post, I hope to share with you the thought process behind working together another of the MDF hinged photo frames that I put together and decorated with a personal twist.
A couple of weeks ago I showed you an MDF Design From Concept To Completed Creation in which I shared the design journey for the main body of this project.
I am a Virgo when it comes to the star sign thingy-wotsit. To be honest, if I hadn’t known I probably could have picked myself out from the list of traits that a Virgo is said to have.
It occurred to me therefore that I should celebrate some of those traits when decorating this creation.
Before I got started with the fun stuff, though, I sifted and sorted the hinge bits and glued them together – carefully so that they would still open!
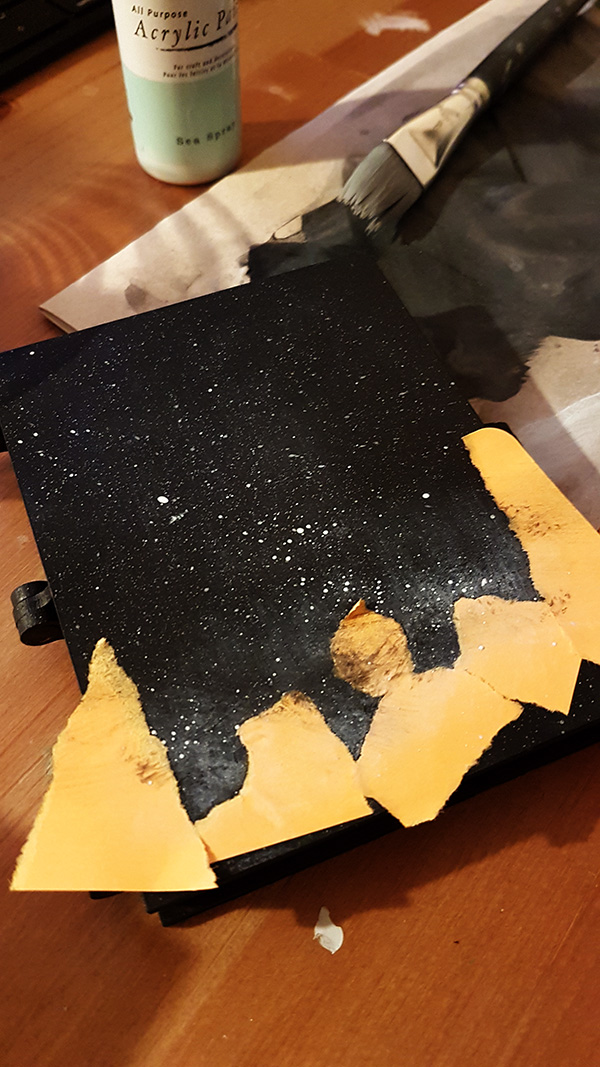
I then coated the front and back with a single sheet of cardstock and gave it a coat of chalkboard paint. I chose this specifically as I wanted a ‘tooth’ onto which further paints and stuff would cling.
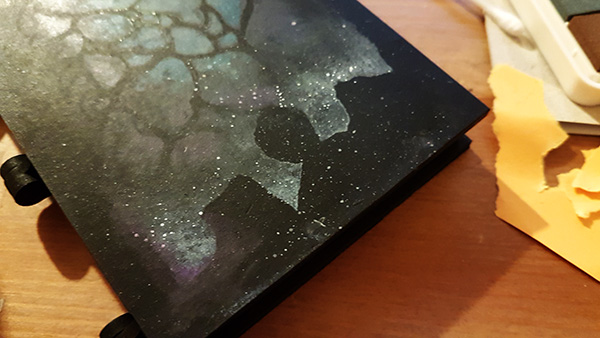
A few ripped up post-it notes were then used to mask of the lower area – akin to a stellar cloud maybe?
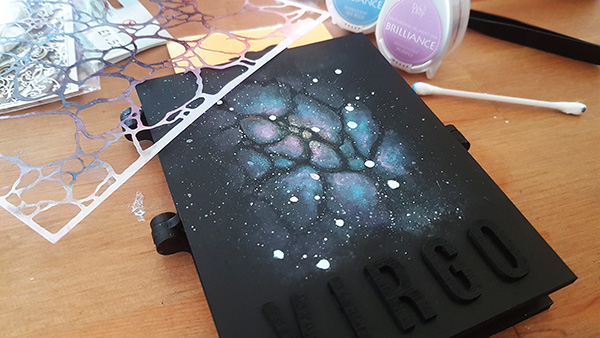
I then used a sea-spray – off-white – coloured paint to splatter on some star formations.
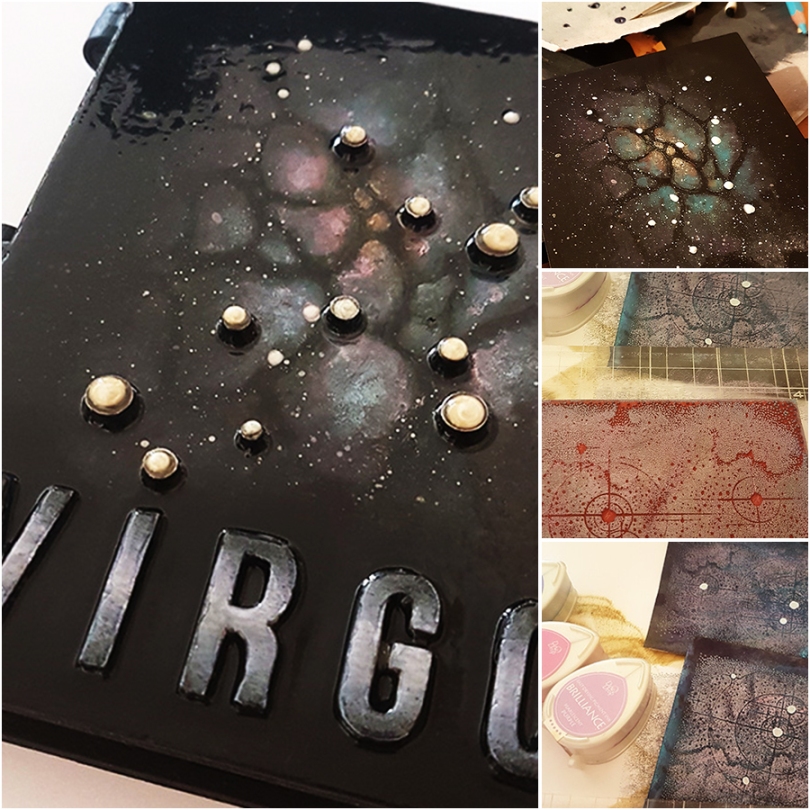
I then used various colours from a multi-coloured pigment inkpad to add more of a colourful central area to my galactic cluster – that’s not a euphemism by the way.
The technical tool that you see in the next photo is called ‘a cotton bud’. Lol!
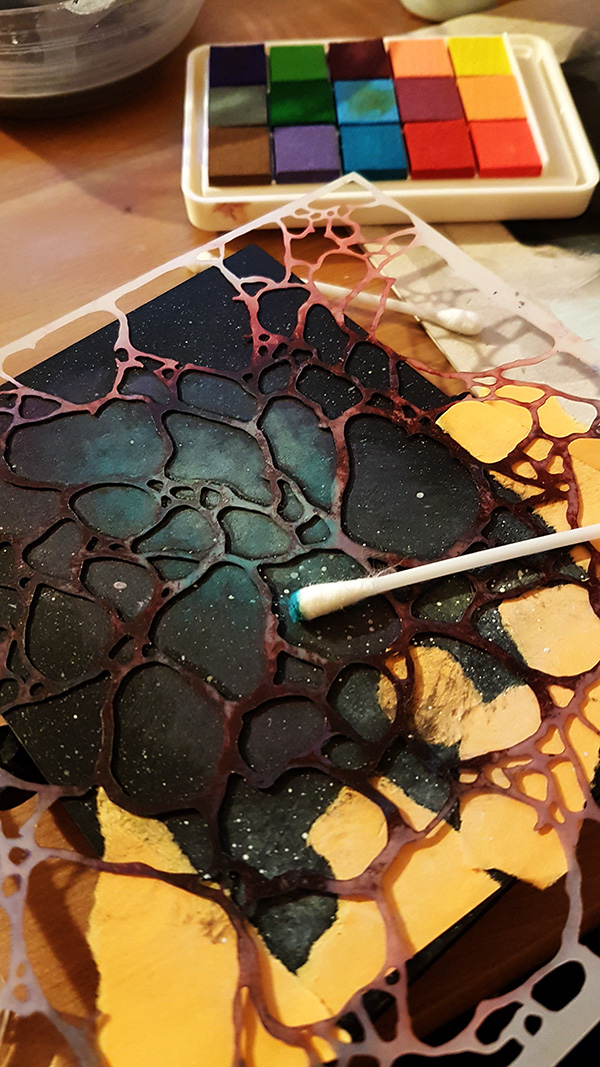
After a while dabbing randomly I removed the stencil and the sticky masks.
Wasn’t too impressed though as the delineation between black and galactic cluster was too harsh.
I, therefore, used the cotton bud and brush to soften this area down.
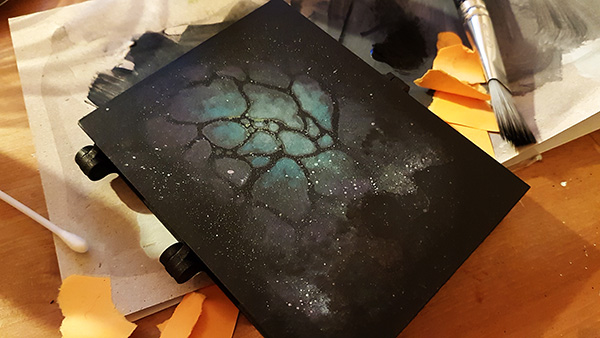
Then added more splatter stars.
Using some of the black paint I dabbed out some of the central area …
… but then I decided I liked it better WITH colour so added that back in.

Indecisive? Sounding like a Virgo yet? Lol!
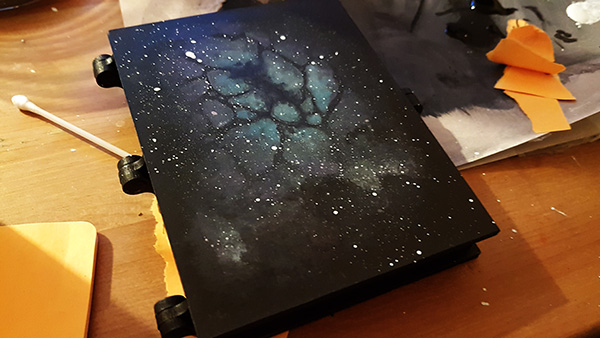
Anyway, I looked up the star formation for the Virgo cluster and, choosing one of the various options, used the high tech solution of tracing it from the computer screen and onto a ripped up bit of paper. I then poked holes in that, transferred the star points onto the project using a pencil and then added some large white dots of paint.

Loving high tech solutions today apparently!
Rummaged my bag o’ alphas and found the right ones to spell out Virgo and stuck them on.

The black paint was then used to coat them to match the background.
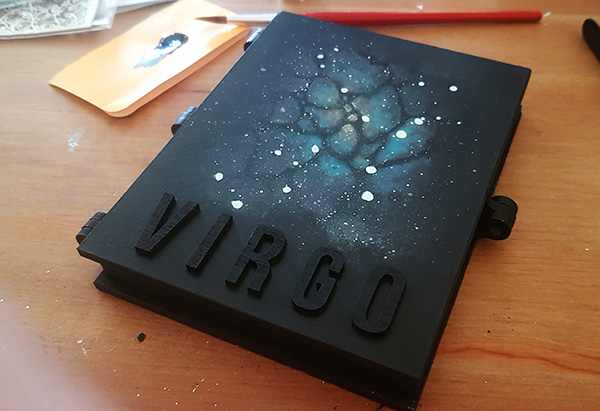
Hmmm, think my cluster needs more colour, again.
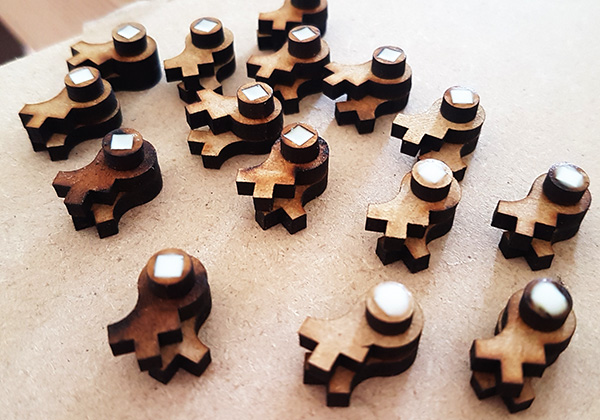
After finishing the fiddling I thought that it would be cool to ‘raise’ the stars so grabbed a few MDF offcuts and painted the edges black.

THen laid them out to make sure that they would ‘work’.
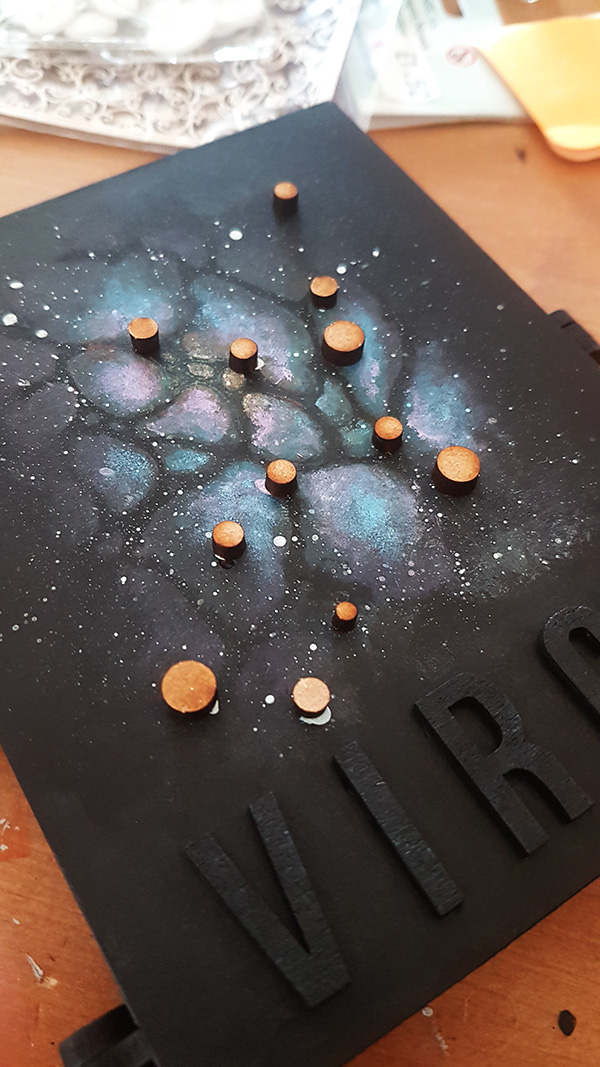
Yup, Ok, what to do with the letters.
PLEASE VISIT THE NEXT PAGE OF THIS POST BY CLICKING ON THE NUMBERED LINKS BELOW

WOWZER great piece lovely words and practical as well.
LikeLiked by 1 person
Stellar!!!
Love it
LikeLiked by 1 person
Love it! xx
LikeLiked by 1 person
Love it John…the colours are perfect.
I too am a Virgo….an everything or nothing girl.
LikeLiked by 1 person
OMD love it John, fantastic creation xx hazel
LikeLiked by 1 person
You could have made this just for me – us Virgos have to stick together. LOVE LOVE LOVE it :)
LikeLiked by 1 person
Hi John. Beautiful as always. Your talent is wonderful. Keep up the great work and continue to inspire us all xxx
LikeLiked by 1 person
My imagination is a bit limited, I can only see what is in front of me now, I can’t visualise it changed, so if I started something, and didn’t like it, I would put it away and probably forget it, where you change it and carry on. It all worked well too. xx
LikeLiked by 1 person