
When I last left this project in 3D Thursday 9 – An Idea Hatches! I had made the ornate box and was about to decorate it.
Ready to see what happened next?
To remind you, here was the final image of the box made using elements compiled in Microsoft 3D Builder and printed on the CoLiDo 3D Printer.
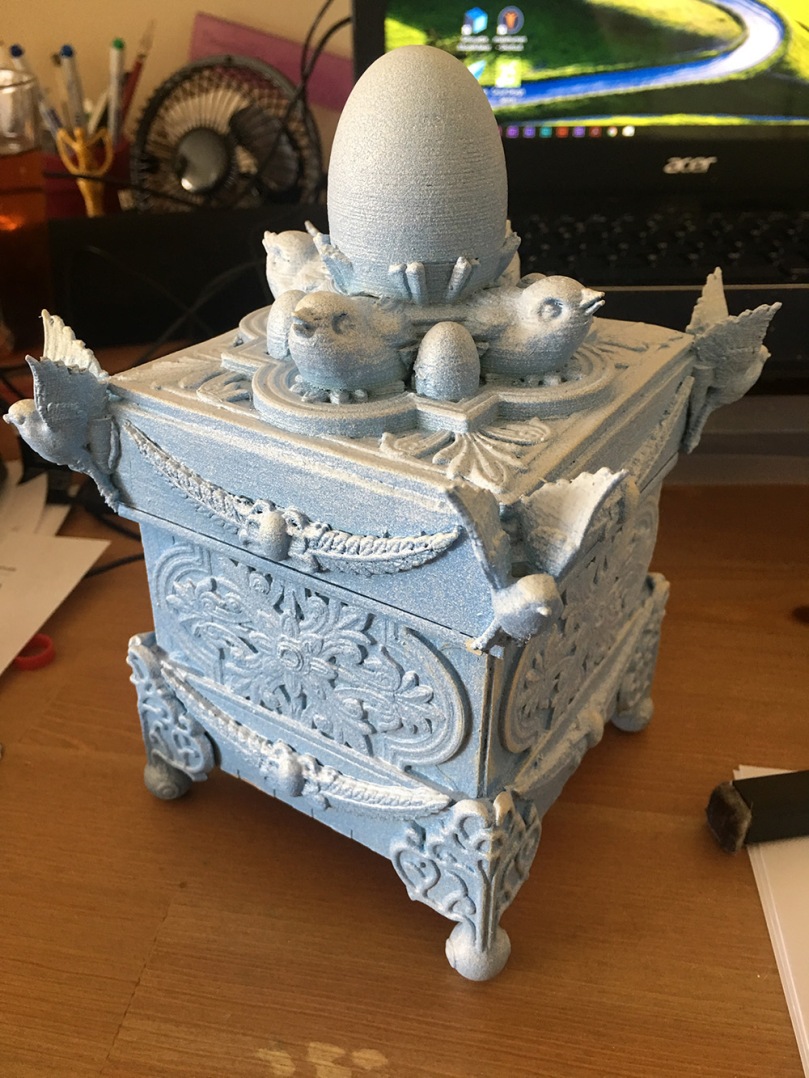
Nice, but a little plain.
I then began creating what I hoped would be a jade look to the box by spritzing on some green F&W liquid acrylic paint.
Also, some copper foiling was added as I wanted to add an air of opulence.
")
")
")
It was at this point that I decided that I hated the whole look completely – but what to do?
Should I respray the whole thing? Adding more layers would potentially create some issues with the overall look so I hesitated.
Should I sand it down? This would simply destroy detail.
Repeatedly rummaging through the stash, searching for a solution, I eventually decided that I would give the box a coat of something to dull down the green and copper and give it an aged look.
So, the recovery option was a layer of white gesso that had been mixed with some Liquitex airbrush thinning medium. This gave it a much more fluid and thin feel.
Laying this down I noticed that the brush was changing colour – oh no! It was picking up some of the green from the previous layer!
Ok, listen, in for a penny so I continued until I had coated the whole thing.
Result! When it had dried it gave me an almost verdigris feel to the box.
Hmmm, just one more thing – I reached for my Tim Holtz metallic mica spritzers and began to add some copper coloured sparkle; letting the ink flow into the crevices by turning the box as it dried.
Ok, John, STOP!
*heavy breathing of nervousness as it dried*
Wow! I was so happy with the result!
Ready to see it?!
Ok, here goes …

Ta-daaaaaa!
What do you think?!
Well chuffed with this!
Got a bit carried away with photographing it so, please feel free to have a gander at this lot…
")
")
")
")
")
")
")
")
")
")
")
")
")
")
")
")
")
")
Ok, phew, what a project!
Getting loads of ideas for other box projects to which I could add 3D printed elements … but these will have to wait as I need to do some more acrylic pouring!
Would love to have your thoughts on this one – how would you go about it without a 3D printer? Would you have decorated it the same way?
If you would like to know more about the CoLiDo 3D Printers, please do head over to Create and Craft TV.
Hope you are enjoying this one so far and will send in your thoughts on how you would decorate – mostly because I need some ideas! Lol.
See you again next week.
J :)

Great piece John I like it very much you are an inspiration
LikeLiked by 1 person
Stunning xx hazel
LikeLiked by 1 person
Okay, now that I’ve got my breath back…I was transfixed as I watched this stunning project transform from a cute handle for a box to this work of art. Congratulations.
LikeLiked by 1 person
I love the way that you show the work in progress. The ‘i didn’t like this’ and ‘it didn’t work ‘ makes me feel more confident when i get something wrong and have to salvage it. The box is beautiful, and I’m glad you carried on and worked through with it.
LikeLiked by 1 person
It’s beautiful John. I’m pleased you didn’t leave it green, wasn’t keen on that, but it came out very well in the end. I also liked it, as it was at the end of Part 1. x
LikeLiked by 1 person
That is unbelievable, I love itx
LikeLiked by 1 person
You should be chuffed! that is totally lovely.
LikeLiked by 1 person
Amazing final look. Think the changes were a brilliant idea. X
LikeLiked by 1 person
John. That’s amazingly beautiful
LikeLiked by 1 person
Ooo, this turned out so well John! Just goes to show the old adage ‘Keep calm and craft on’ is true! Clare x
LikeLiked by 1 person