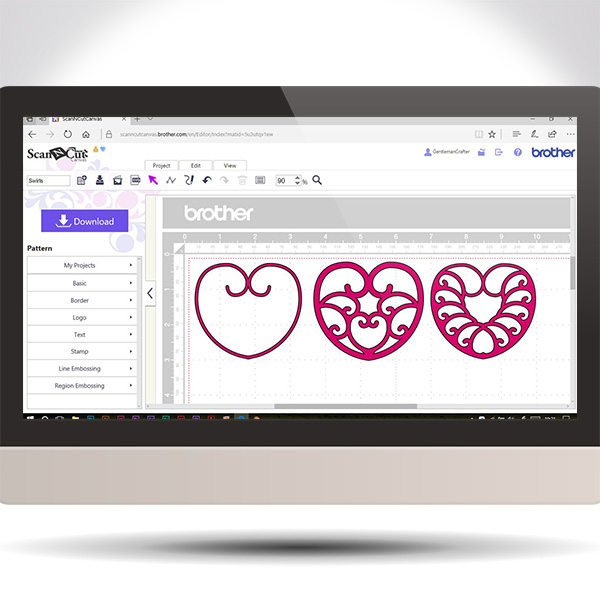
This week I though that it would be cool to use the golden ratio principles to help create spirals in Scan N Cut Canvas.
The video will talk you through what the golden ratio is, how to apply it to a spiral and use the path tools to create one and then move you through design ideas for using that spiral.
Basically, park your butt and get watching.
As ever you may find my previous post on Keyboard Shortcuts For Scan N Cut Canvas useful.
Of course, if you haven’t already got an electronic cutting machine and would like to grab yourself one then you can find them in the UK through www.createandcraft.tv
Right, that’s enough waffle, now for the featured presentation *grabs popcorn and starts to scoff…*
As ever, my sincere thanks for visiting, watching and reading.
Look forward to sharing more with you in the near future.
Ciao for now.
J :)

Hi John, great tutorial and as ever, easy to follow. As I don’t have a spreadsheet program on my computer is there a way I can work out the ‘golden rules’ with a calculator?
LikeLiked by 1 person
Yes. Follow the spreadsheet method above but use a pen/paper to make your table and do the math functions on the calculator.
LikeLike
Thank you so much, John both for the explanation of the golden ratio and the extra canvas instructions. I am getting increasingly inspired to start designing my own files. Your generosity of information is again truly appreciated. x
LikeLiked by 2 people
Thank you, thank you, thank you. What more can I say? Oh, yes…thank you!
LikeLiked by 1 person
Can you tell me how I save what I have designed (using your instructions, for which I thank you so much!) to my Canvas? I can save it to my PC or send it to my CM900, but it doesn’t appear to be in My Projects.
LikeLiked by 1 person
You’ll need to save it in ‘my projects’ for it to appear there.
On the top menu bar there is an icon with a box and arrow pointing down – it’s called ‘overwrite’. Click on that.
LikeLiked by 1 person
Thank you so much for that help, John. You really are a star!
LikeLiked by 1 person
Another brilliant video John you always bring us such interesting tutorials and not the basic ones everyone else does. Thank,you
LikeLiked by 1 person
Thank you John. Brilliant video. Love the exel worksheet you did for this How did you go about setting that up as would love to do one for myself. so can do things easy as I don’t have a mathmatical brain.
LikeLiked by 1 person
Quite easy.
Start a new spreadsheet.
At the top make a line for your starting width.
On the next line enter the golden ration number.
Then, on the next line, which will be your first node, use a function selecting the appropriate cells with the following formula – (starting width divided by golden ration).
For each of the next few lines which will be the next nodes, select the result from your formula and drag down to auto fill these cells.
Hope this makes sense.
LikeLike
John You are a Star Thank you going to try make one now.
LikeLiked by 1 person
Excellent tutorial as always. Thank you John for showing me an easier way to get those swirly bits nice and smooth. I have always had trouble before so have tended to avoid..
LikeLiked by 1 person
Wow. Many thanks, I tried to do spirals before got in a right mess, but ! Now going to have another try. Xxx
LikeLiked by 1 person
Fantastic John. Your videos are extremely helpful to get to grip with those nodes and to understand more on how to design custom shapes. Thanks.
LikeLiked by 1 person
After struggling for weeks with Canvas correcting purchased cutting files, you have totally inspired me with your tutorials to start creating my own – you truly are the most inspirational man and I often pass the links to your YouTube account to anyone who needs really good tips and explanations. Thank you so very much!
LikeLiked by 1 person
Brilliant John very informative xx
LikeLiked by 1 person
what a beautiful design !
LikeLiked by 1 person
Thanks again John.
I used to hate those nodie thingymebits but you have shown me how to love and use them. Going to have a go at this later today 😀😀
Big hugs
Allyson x
LikeLiked by 1 person