In case you hadn’t noticed it’s been darn hot this past week so I’ve really not spent much time in the craft room but have still managed to have a little play.
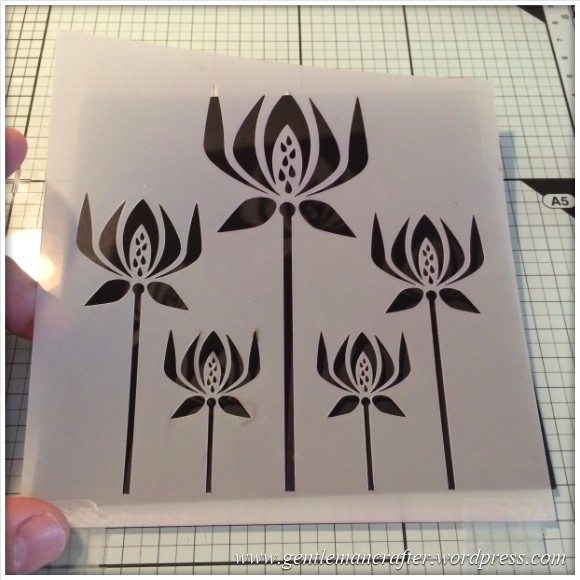
The design that I planned to use you may have seen in a previous Scan It Saturday post; it’s the one with the flower on it –
The design comes from a template by Julie Fei-Fan Balzer (best name ever) through http://www.thecraftersworkshop.com
It looks a little like this.
I liked the simplicity and had a few ideas of what I was going to do with it, but the biggies will have to wait until I am not wilting from the excessive humidity (can you tell that I’m not doing well with the heat, lol – still, mustn’t grumble as it’ll be winter before we know it – cheery thought!).
I started by just doing a couple of simple inkings. The first was with a Dew Drop Brilliance white inkpad.
The simplicity of the design was quite appealing but I thought that I would have a go at mixing this up with a few other things so after doing a second white inking I then cracked open the clear embossing powder.

That worked Ok, but I felt that if I was going to add something that I was going to add something that would change the feel of the design.
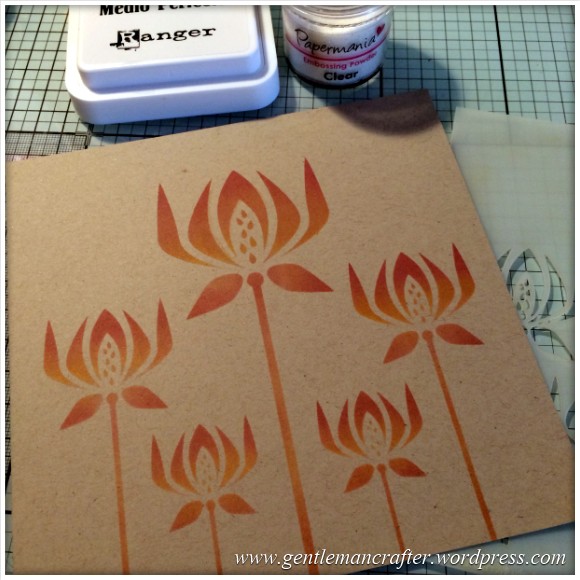
So I reinked the design through the stencil with Perfect Medium and sprinkled over some Inkadinkado glittery embossing powder.
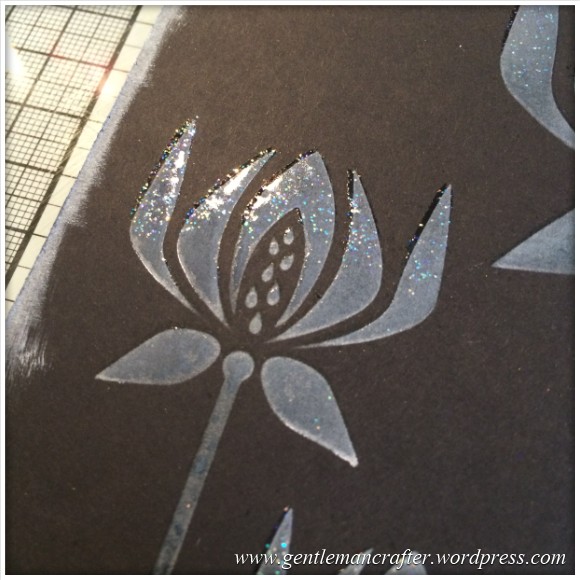
It did give it a little twinkle. But hey, in for a penny, in for a pound.
I again reinked with Perfect Medium, but this time only portions of the petals, and then liberally chucked on some white inkadinkado embossing powder focusing it on the tips of the petals.
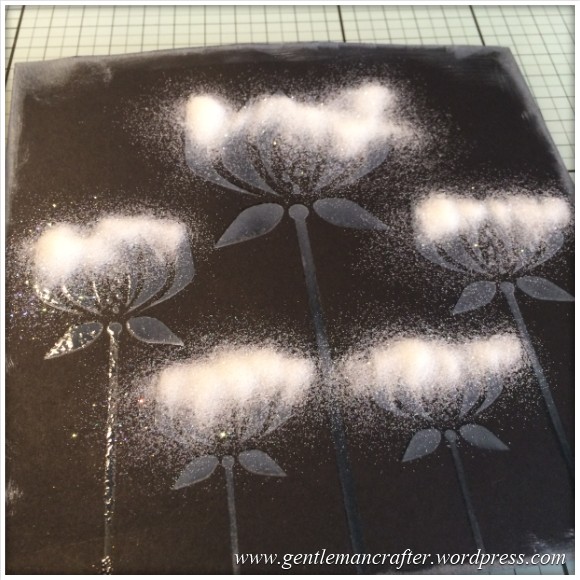
After this was heat embossed it looked like this.

I quite liked it so I just finished the piece off with some more of the white inking on the edges (that you probably noticed that I had already done) and then heat embossed some more of the white embossing powder down the edges in a very think line.
The finished design came out quite well I thought.
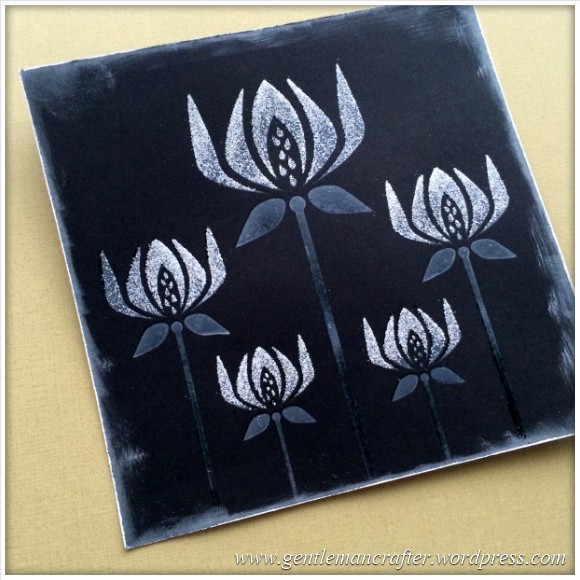
It almost has a chalk board feel to it. I’ll have to remember this technique for another day.
Moving on I decided to try some Neenah Desert Stoerm cardstock and see what results I could get with that.
The first but of play with this was a simple inking using a mutli coloured inkpad.
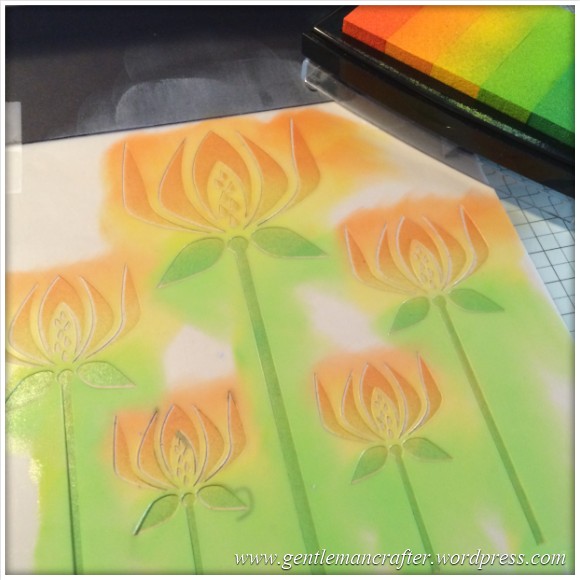
I am a bit messy with my inks aren’t I? Well, I suppose that that’s what playtime is all about, right?
Here was the result.
The colours did pop a little more in the photo than in real life but either way, it’s a nice effect.
For my second go with the Neenah card I used a lesser variety of colours and this time went for more of the same tonal range. I grabbed all of the colours from my little Versacolor cube collection.

After I had looked at the result it appeared to me to be a bit muddy/samey so I added a richer magenta to give the colour range more depth.
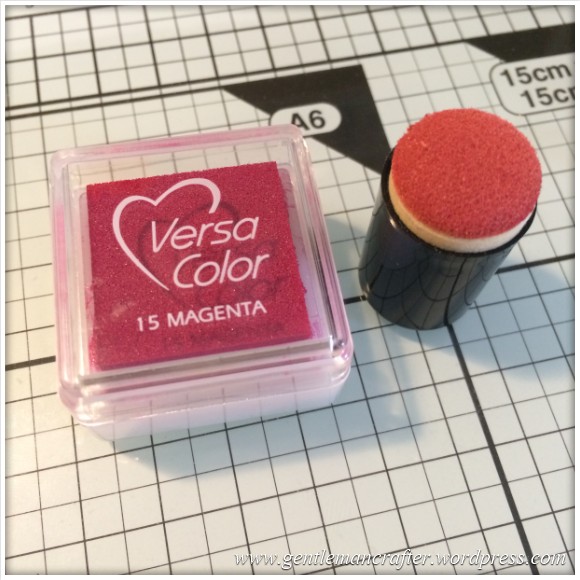
That seemed to work as you will (hopefully) see in the next image.
As the Perfect Medium and clear embossing powders were near I decided to give that a go on this cardstock.
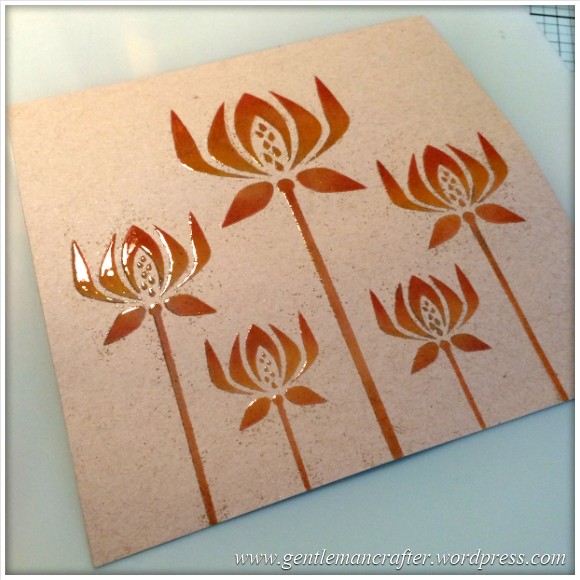
It worked well but as you can see I was a bit sloppy with my embossing powder so it looks as if the flowers are shedding pollen.
For this design I thought that it needed something in the background.
I therefore set about blending on a variety of Tim Holtz Distress inks and then finished it by spritzing water and removing the droplets with a tissue.

Loved that one!
If I did it again though, I’d probably try and use different colours for the foreground and background as, although it looks good in the photo, the colours were a bit similar in the end.
Still nice though.
Anyway, onwards and I tried a couple more things.
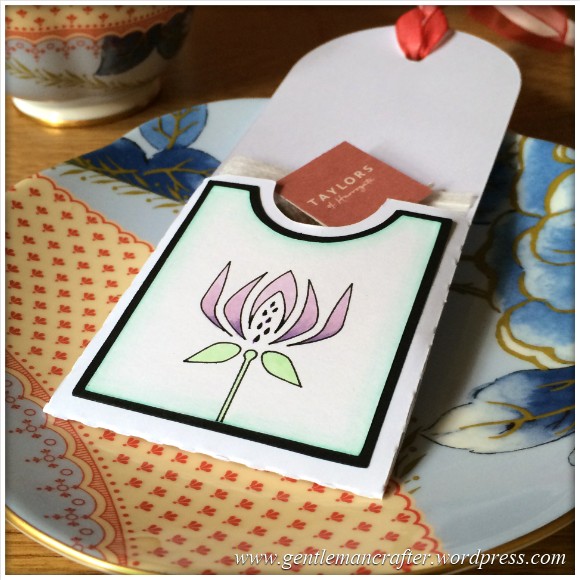
The first was some basic colouring in.
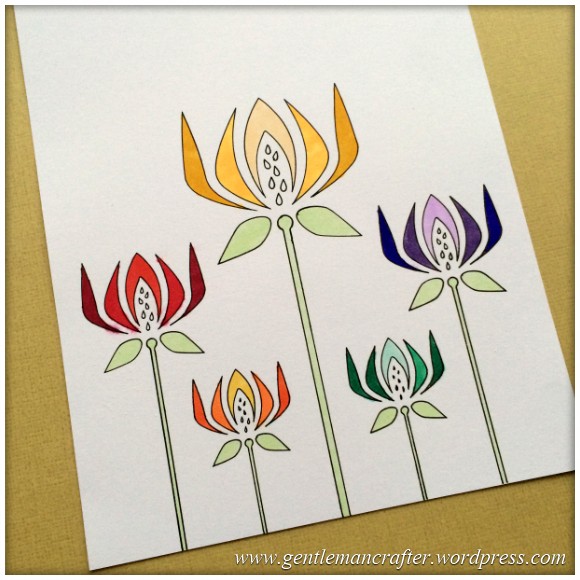
For this one however I tried to use different tones for each of the petals/flowers to give it a little more than just flat colour.
S’nice. I like.
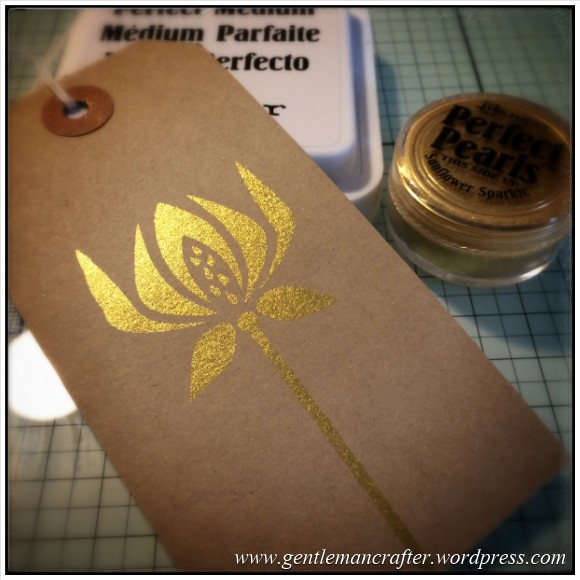
For the next one I reached again for the Perfect Medium but this time teamed it up with the gold Perfect Pearls and only did one flower on a tag.
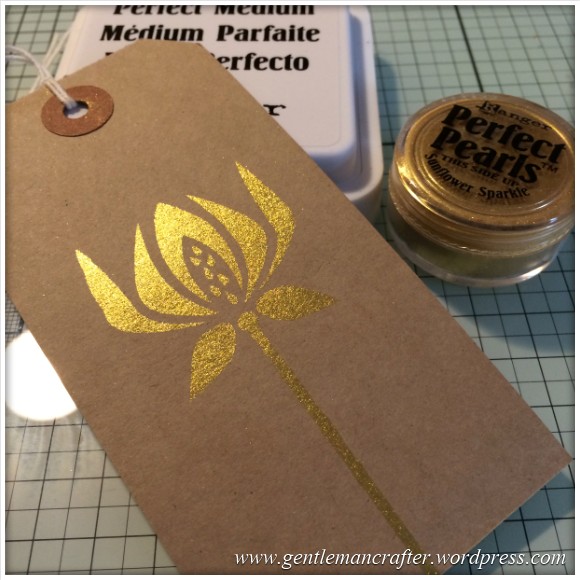
I LOVED THIS!!!
It does just go to show that sometimes simple can be as powerful as all of the complex mixed media techniques.
Anyway, just time for one more play.
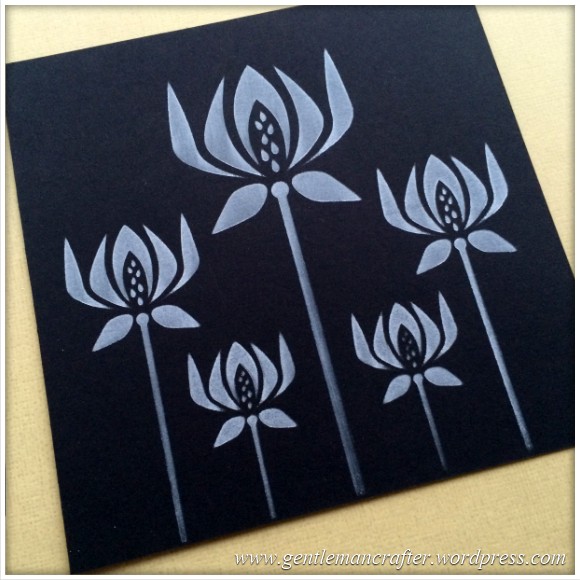
This time I went back to black cardstock and decided to try some of the Cosmic Shimmer Lustre embossing powders.

After inking and sprinkling on what I thought was a pink colour, I got a green. It was at this point that I remembered that this was supposed to happen so stopped scratching my head. Lol!
Anyway, I continued to play with this test by adding additional layers of clear embossing powder and colour from a gold Dew Drop Brilliance inkpad.
First I smeared it gently in the background to give it a misty look and then a dabbed great big blobs of it on each flower.
 No, I did not leave it like that, although I could have.
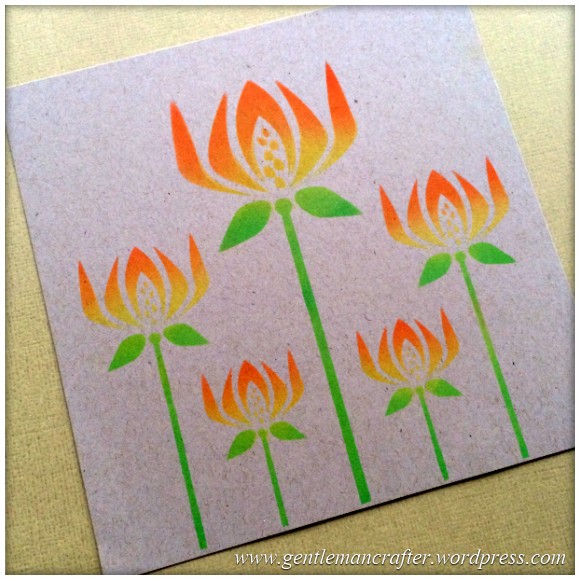
Instead I got a clean make up pad and dragged each petal shaped gold blob upwards.

I was well happy with the result. This actually looked like little magical flames popping out of the top of each flower (I promise you, it looks much better in real life – and no, the heat hasn’t gone to my head).
Anyway, that was about all the time I had this week.
Sometimes it’s nice to just experiment and not have to worry about making a finished project don’t you think?
It just remains for me to say that you again for reading and I hope to see you again next week when I will be rambling on about something else :)
If you have any questions about this post, please feel free to pop them in the comments section below and I’ll do my best to respond.
See you next time.
J :)

John, completely off topic. I am making some fimo nativity figures and need to use gold headpins. Have you ever used gold plated headpins and baked with them? I love your blog and am saving up for the Brother.
LikeLike
I’m afraid that I haven’t. You might like to find Kathryn Sturrock on Facebook. She is very experienced in clay work of this type.
LikeLike
WOW! John, these are fantastic!!
TFS :-)
Annie
LikeLike
love the pearly ones thank you for sharing xx
LikeLike
I always look forward to your ever so inventive posts John, but really enjoyed the simplicity of the wonderful design you chose today! It just shows with a little imagination just how many different beautiful effects can be achieved from even the simplest design. Really loved all the designs, but the glittery ones for me were the most beautiful! Well done!
PatGH
LikeLike
Brilliant as usual John – keep up the good work. Have you thought about crafting in a bath of cold water I did back in 1976 – well it was knitting actually but it helped to keep cool. Can’t wait for the one.
LikeLike
Sounds like a good idea!
LikeLike
Thanks for the great idea! I have this stencil and I love it. I’ve used it with Zentangle and modeling paste to create dimension when art journaling, but now I can try it with embossing powder. Thanks!!
LikeLike
Thank you John for all the wonderful ideas you so generously give us. I also love your
fabric techniques and the help for the scan n cut. Last month I was 75 and bought
myself one. Love it but still got lots to learn!
LikeLike
Happy Belated Birthday! :)
LikeLike
Wow John!
First, sorry I’ve not been commenting. I’ve been in hospital, then bed, now sofa. Can’t wait till I can get up the table and sew, paint, craft and generally make a mess!
What an awesome collection of images from one design- I’m a massive fan of Ali Reeves masks and must try some of these techniques on my collection of her masks. I don’t have a cutting machine but do have doeflex (I think that’s how it’s said) and a sharp knife or three. I have in the past, traced designs I’ve printed out onto doeflex and cut them out. Most photo manipulation programmes will open svgs and similar and I’ve had great fun as a hand cut mask is rarely smooth or perfect (especially when I do it!!!) and you get quite a grungey/ shabby image although I tend to use them more on altered art pieces than cards. Perhaps I should try one on a card now… hmmm, you have me thinking now!!! Oh oh oh…. I could use the ‘waste’ from a die cut! Dear me, look what you are doing to me! Too much inspiration! Time for a lie down…!
Seriously though, thank you for giving me such wonderful ideas. You are so kind for sharing.
Crafty hugs,
‘WheelyBad’ xxx
LikeLike
Sorry to hear that you’ve been unwell. Glad to hear that you’re making a good recovery :)
Sounds like the brain hasn’t been affected though.
LikeLike
Love all of these – will save for the future – and reading this in Arizona at 6 am with a temp already at 101 and to reach 115 on Wednesday – now that is hot – but no humidity!
LikeLike
Humidity is through the roof here :/
LikeLike
love it John thanks for sharing. x
LikeLike
love lt as usual. keep on rambling John always interesting.
LikeLike
Love it I like the coloured in one best loved how the colours popped and showed off the designs
LikeLike
These are great, especially the last one, it’s lovely.
LikeLike
John, thanks for sharing all the different directions you took. Love many of these ideas. Always find myself getting sobehind in what I plan as I pick up a stamp or stencil and then think of all the ways to use it. By the time I am finished I have a ton of the same image used different ways but no closer to the bottom of my NBUS. Love your ideas, always enjoy looking.
LikeLike
Happy Monday morning John.. Love all things glittery and shiny so what you’ve achieved today is right up my street. As you say it’s great to have a play. I’m enjoying using my gelli plate at the moment and can get really messy with it. Don’t know how Barbara Gray manages to keep so clean!
Just had a look at the thermometer on the porch and it’s 33 already. Maybe Spain isn’t the place for you John!!!
Love val in Spain x
LikeLike
I can feel myself melting already. :/
LikeLike
Thanks for sharing the different techniques John. Love the ones using the Lustre embossing powder and the perfect pearls one x
LikeLike
These are great – mind if I ‘pin’ some of them? :-)
LikeLike
Feel free. There are sharing buttons above to make it easier :)
LikeLike
Morning john, start of a new week. I love how you craft You seem so organised. In the way you craft. Clean. Crisp . You make things look so easy to achieve thank you for sharing .
LikeLike