
I’ve often seen prairie points in various guises and creations however I’ve never had a go at these.
The notion of mucking about with these little triangles resurfaced when they were briefly demonstrated during a recent show that I worked on at Create and Craft featuring Debbie Johnson and Kim Suleman from Canny Keepsakes/Six Penny Memories.
I mentally noted down the “how to” in my memory bank of makes but it was only in the last day or so that I have managed to get a couple of days to play in the craft room.
So, given that I had the time and the inclination – I thought that I would have a go.
Although I thought that I remembered how to do it I did go and do a little research to make sure that I had it spot on.
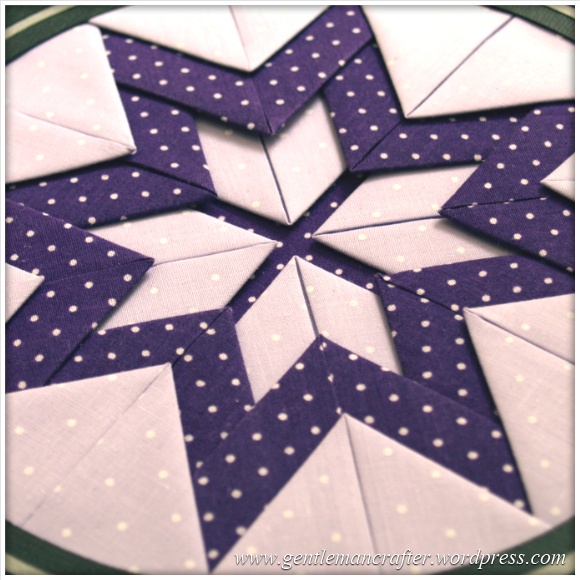
Whilst browsing various methods of doing these I also found out a couple of ideas of what to do with the points when they have been made. One design was called the folded star. As some of you may know I am a sucker for geometric design so I plumped to have a go at that one once I had made the points.
Facts checked and I set about chopping up two different colours of fabric into squares (it should have been three coordinating colours, but I’m a bit low on things that coordinate at the mo) – 12 in colour 1 and 8 in colour 2.
To make a single prairie point I just worked my way through the following steps.
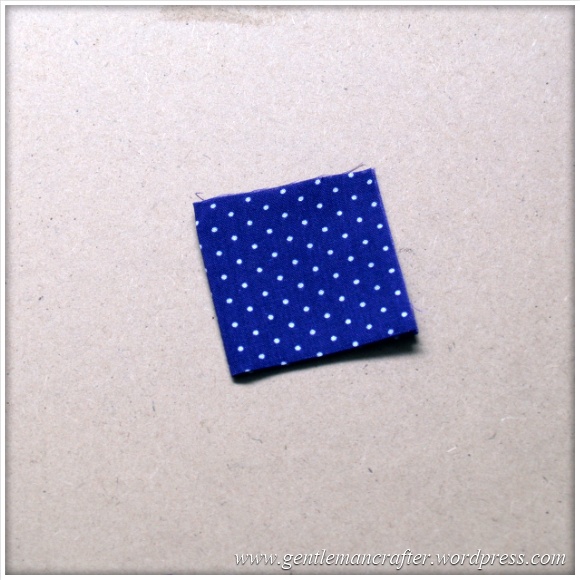
Step 1. Fold the square in half along the horizontal centre and press.

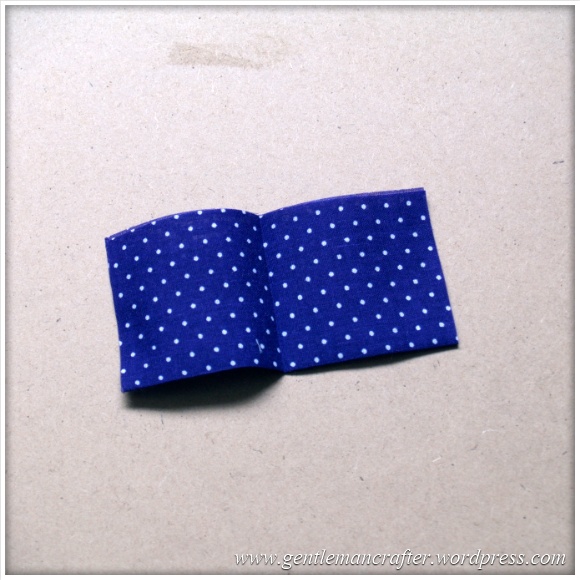
Step 2. Fold the rectangle in half so that you form a square. Press. Unfold back into the rectangle from step 1.
Step 3. Fold one corner over so that it forms a right angle triangle with it’s edge matching to the centre mark that you made in the last step. Press.

Step 4. Repeat step 3 for the other side.
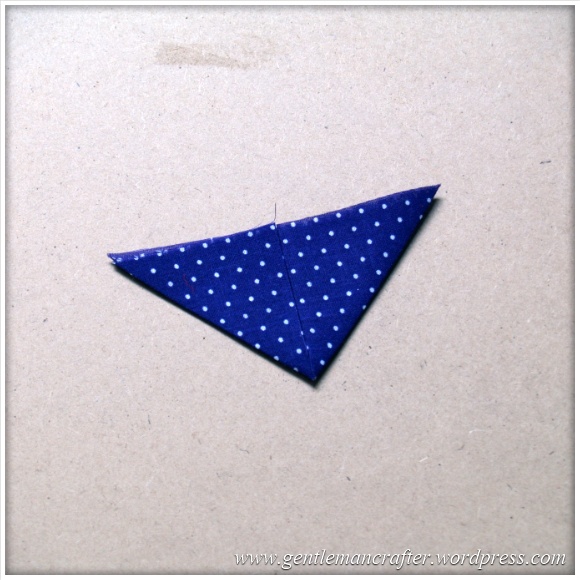
That’s it. Yep, that simple.
I repeated that for each of the twenty squares of fabric.
Now it was time to form the folded star medallion.
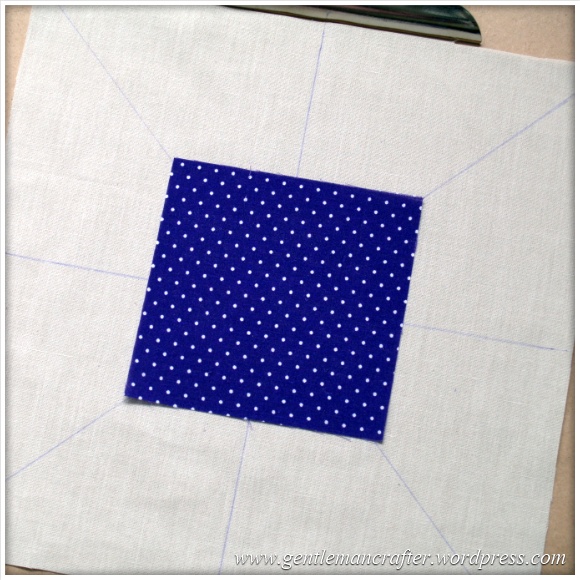
First I took a large square of scrap fabric and drew on the horizontal, vertical and diagonal lines shown in the next picture.
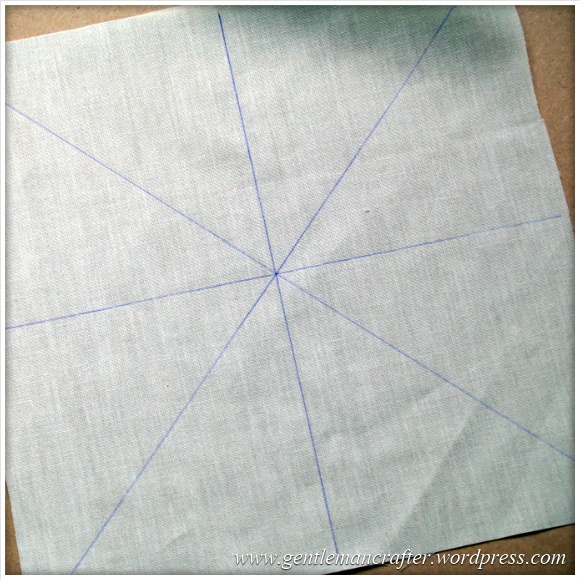
The lines were intended to help me line everything up as I went along.
I read that the centre four points would be located at the centre with the tips touching however I decided that I wanted the points to be slightly apart.
To achieve this I needed to add some fabric that would sit in the “background” so I took a spare square of colour 2 and used some Crafters Companion Heat Fusible Spray Adhesive to stick it in place.
Next I took the four centre points and pinned them in place, like this.
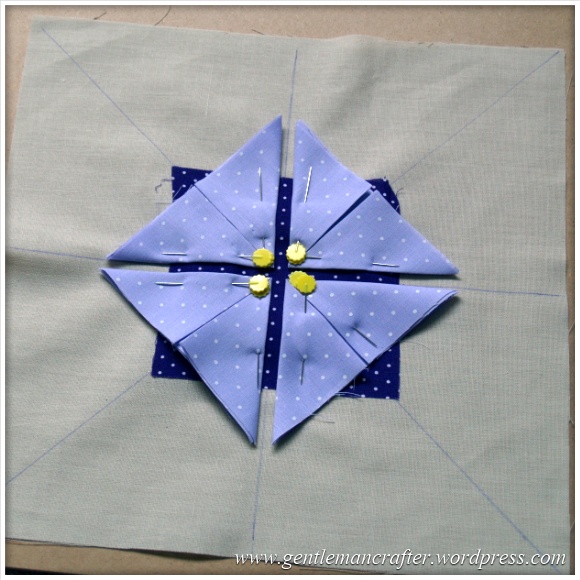
I stitched around them using the edge of my quarter inch sewing machine foot as a guide then removed the pins and pressed the piece.
I found that pressing was better than gliding the iron over the piece as it kept catching on the open centres of the points.
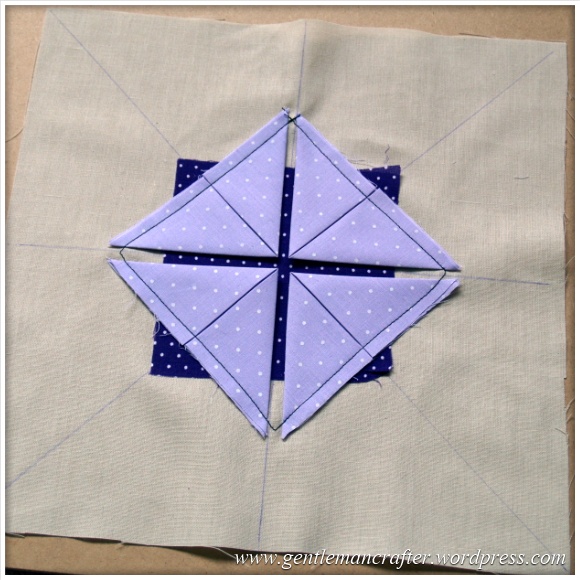
That’s row one of the folded star done. I’m pleased with it so far. :)
So, round two was very much the same however I had eight prairie points to add this time.
I therefore chose to do these in stages. First, the four N,S,E & W points.
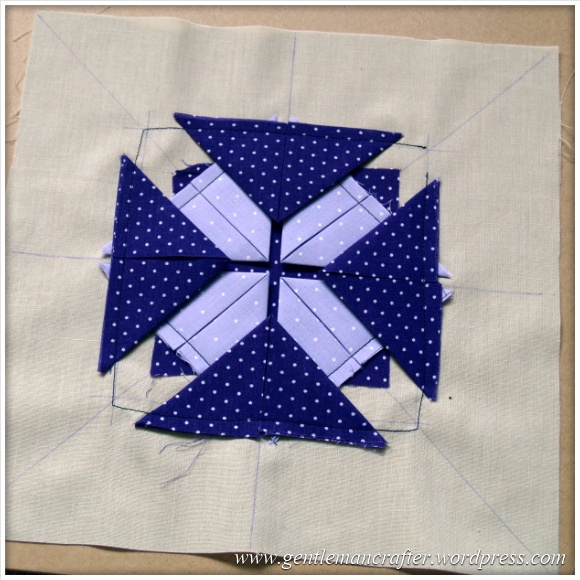
Then the corner points.
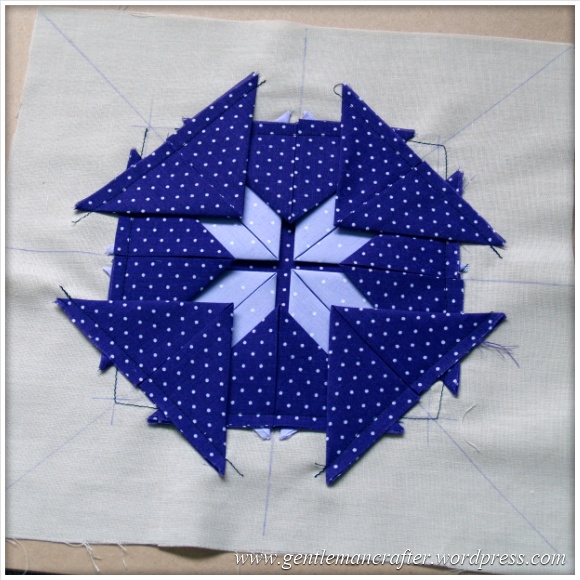
Lining up well with that grid that I drew at the start I see.
Row three was again very much as row two however I switched back to colour 1.
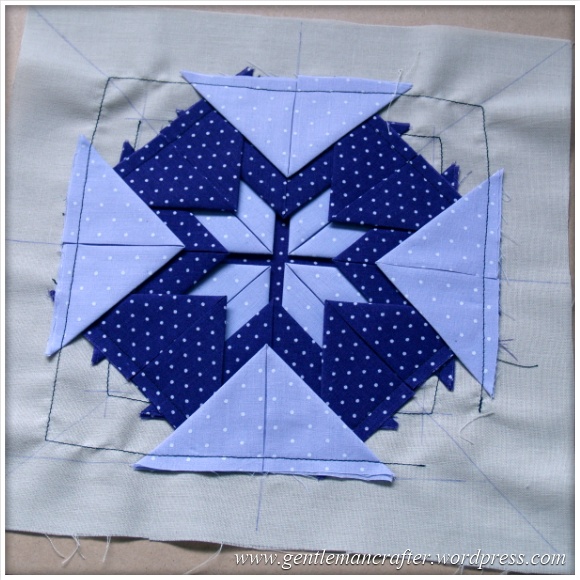

And that, my dear reader, was the whole shebang done and dusted.
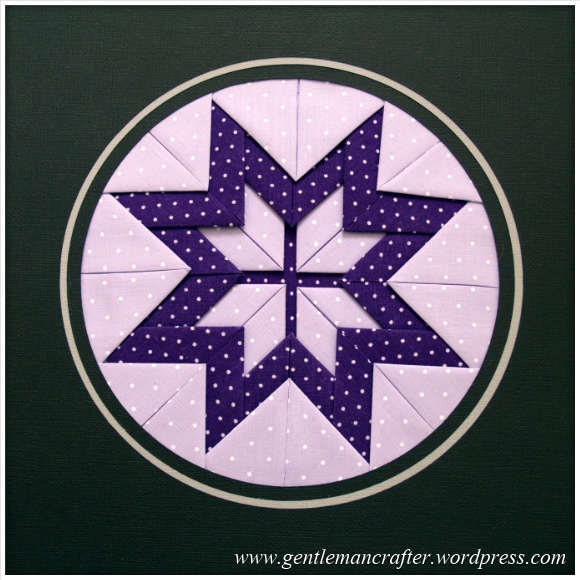
Now, rumour has it that these things are traditionally placed into a piece of fabric with a circular aperture.
Not one to buck a trend I thought that I would also put mine in a circular aperture but decided that I would make my frame from cardstock so I cut layers of black and grey cardstock with successively larger holes and then, hey presto, job done.
To work out what size the circle aperture needed to be I measured from the stitch line on one side to the other and then took off a “smidge” – yes, it’s a technical term. I also checked that this measurement would work with all other angles, i.e. the diagonals.
Here is my little wonder looking all glam…
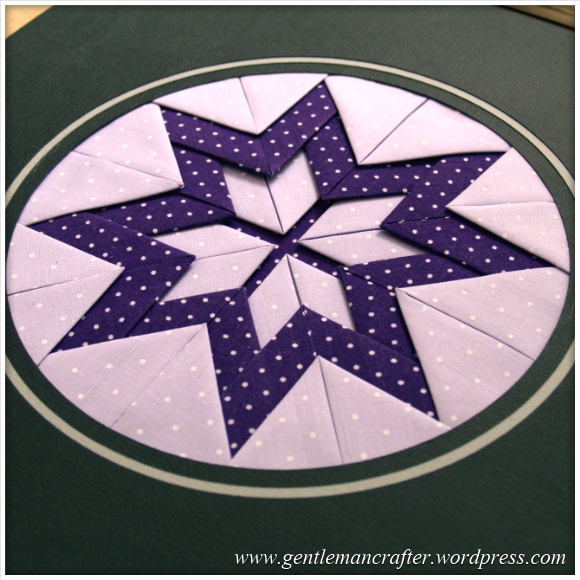
Oh yes, I forgot to mention that I was supposed to stitch down the points to keep them secure however I am a lazy so-and-so so I just ended up using fabric glue – same result, different route *shrugs nonchalantly*. So, I can quickly go from not bucking trends, to bucking them willy-nilly, ah well, c’est la vie ;)
I’m quite proud of this given that it’s my first time ever doing prairie points. I’m even considering getting it framed so that I can hang it on the wall.
I didn’t really have a finished project in mind for this as I was just practicing but I could definitely see myself taking this to the picture framers and getting it professionally framed for posterity.
So, what do you think? Did I get it?
Are you adapt at creating these beautiful little prairie point medallions?
Anyway, that’s it for this week’s Fabric Friday – I hope that you have enjoyed it.
If you have any questions or comments, please feel free to use the comments section below.
Many thanks for reading.
See you next week (hopefully for handbags!)
J :)

Your instructing were right on point. They were step by step and very easy to understand. Loved it
LikeLiked by 1 person
What are the measurements for the size pieces please.
LikeLike
This technique uses the same size square for all pieces so you can choose the size.
LikeLike
That is brilliant john – many thanks. Can’t wait for ‘bags’ – been dying to make one but the patterns are sooo expensive and I don’t really know what I want! I know typical woman, sorry….
LikeLike
Yes, you definitely got it! I love prairie points, they are good practice for being accurate, and look so clean and sharp when finished. I have made them with a bound edge and used to top those chipboard Turkish Delight boxes. Single ones make a lovely edge for a quilt or cushion cover. Handbags at dawn next Friday then?
LikeLike
Lol, yes! I’ll see you there :)
LikeLike
Wow John you have done it again. You have blown my mind and I know what I will be doing over the weekend. Thank you Keep up the good work.
LikeLike
Fantastic John! You really are my crafty hero!
Take care.
Carol
LikeLike
Well done john it’s very near and it looks affective, I’ll try this sometime. I must also say your explanations are great and very east to follow, keep up the good work. Thank you sylvia
LikeLike
Thanks for this John, your explanations are brilliant.
LikeLike
Thank you John you explain things so well
LikeLike
I made prairie points on the edge of a baby quilt I did for my GD. Gave it a really nice finish.
LikeLike
That looks stunning John. I have just one question. What size squares did you do?
LikeLike
3.5 inch squares :)
LikeLike
You did a great job with the points. They are fun to make, and will look good as a wall hanging.
LikeLike
well done John. I would deffo frame it. x
LikeLike
Really like this its so pretty thank you so much for sharing this ☺
LikeLike
Wow! well done John this is brilliant. Would love to use it on a table runner xx
LikeLike
That is brilliant. Will give it a go sometime.
LikeLike
Thanks Nan. You still playing with Serif these days?
LikeLike
what patience and precision…….. I love what you did with it. I must have missed this program so now you have me intrigued and I will be having a look to see what this prairie point technique is all about,
Hugs from France, Joanne
LikeLike
Very nice! So neat!Wx
LikeLike
Fantastic blog John, so easy to follow! 😄 Never seen this before, as I am very new to all things appliqué, but love it. I will certainly try it, it will look fantastic in a frame.
Do people also do a sewn version for a quilt or cushion, in which case would you use the fabric differently so you remove some of the bulk?
LikeLike
Yes they do Pauline. I believe it’s called a folded star. From what I’ve seen there is no reason to reduce bulk as you rarely go over more than two points at a time and if pressed there isn’t a huge amount of bulk.
J :)
LikeLike