Welcome to the second post in the Fabric Friday series.
Last week I promised that I would be back each Friday to show you some fabric projects, tips and ideas – yay! I managed two in a row!
Since then I have had a number of you contact me to say that you are new to sewing and need simple to make ideas; some of you also asked for details on how to make the fabric bowls that I showed you last week.
So, Fabric Friday 2 ticks both of those boxes with a walk-through on how I make the fabric bowls.
Firstly, in time honored tradition I should let you know what you will need to make this project.
What You Will Need
- Tools
- Sewing Machine – nothing fancy, it’s all straight stitch for construction.
- Pins – not many, just enough to hold the fabric in place.
- Scissors – sharp!
- Iron/Ironing Board – Ok, I know that most of you will shudder at the thought, but it’s for creative purposes, not the dreaded chore.
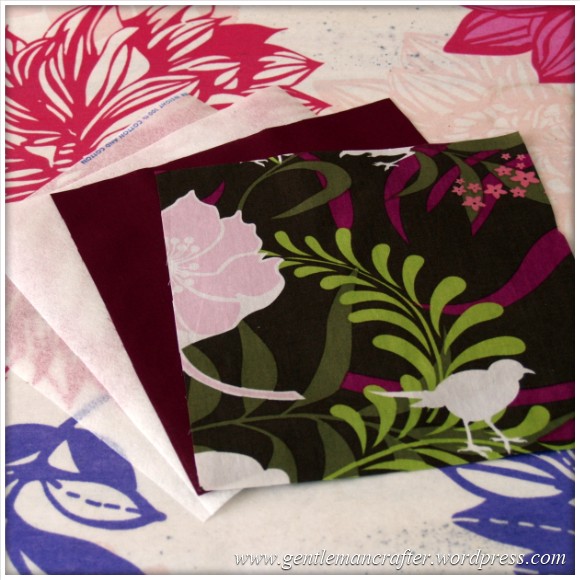
- Fabric
- Standard Quilting Cotton – for this walkthrough I have used some Robert Kaufman fabric, but you can use your fave. I would however recommend choosing a random pattern style as those with a directional print might not turn out the way you had hoped. It’d probably be even easier to start this with block colour as then you don’t have to worry about that at all :)
- Notions
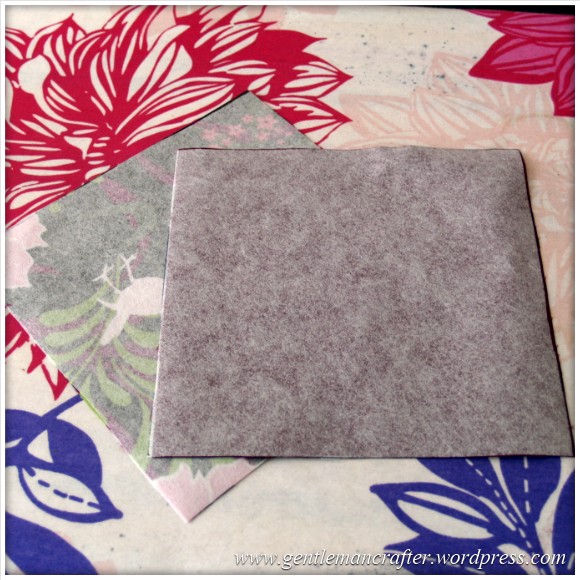
- Vilene 305 Firm White Iron On Interfacing – this gives your project stability and rigidity.
- Thread – you can either match it to your fabric or make it a design feature to stand out against the fabric.
How To Do It
Start by cutting two squares of fabric and two squares of fusible interfacing, all the same size.
For this walk through I used 8 inch squares, but you can go larger.
Fuse the interfacing to the wrong side of each of the squares of fabric. Generally you are advised to spritz with water and then press. I generally ignore that and steam iron it. It’s just my way :)
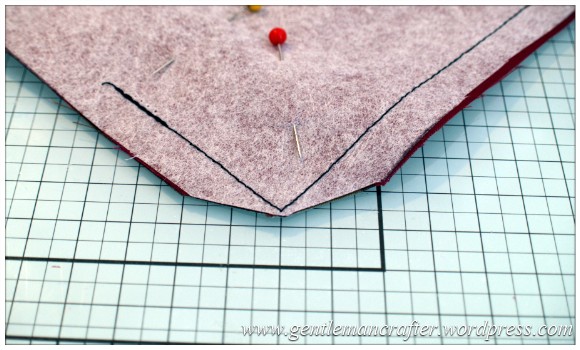
Now, place both pieces of fabric together with right sides facing and pin in place.
You’re going to need to leave a gap for turning the project right side out so, as you will see in the photo below, I have marked this for myself by using two yellow pins, you can of course just mark it with a pencil or pen.

Sew around the outer edge using a 1/2″ seam allowance (this is approximate, I generally just use the edge of my basic sewing foot as a guide).
Tip: For corners, leave the needle in the down position, lift the foot and pivot the fabric.


Time to trim some bulk – no, I’m not talking about my recent exercise routine again, I’,m talking about the corners of the project. Trimming these off helps reduce bulk in the corners when you turn the project right side out – it’ll make them a little neater and easier to sew over in the next stage.
Turn right side out through the gap that you left. Make sure that your corners are neat and crisp; a bamboo point turner/creaser is good for this.
Press. This sets your stitches and also gives you a nice neat outer edge.

Sew around the outer edge using a small seam allowance (approx 1/4″ or 3mm) using either a standard stitch or a decorative stitch.
Tip: leave the needle down and pivot the fabric on the corners (yup, it’s the same tip as last time, but it’s still useful).

Next, fold in half corner to corner. The area that you will see when you have completed your bowl needs to be on the inside of the fold.
Using a quilters rule, or whatever, and lining it up with the top edge, measure in from the corner tip and mark a line that runs perpendicular to the top edge of your fabric – this can be 1″ for a shallow bowl or more for a deeper bowl.

Stitch from top to bottom, back-stitching or tack-stitching at both ends.


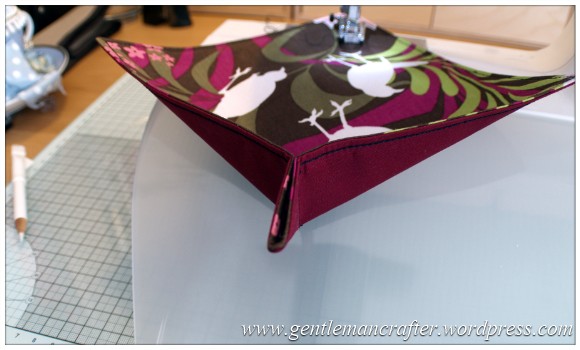
Repeat for each corner and you are done!
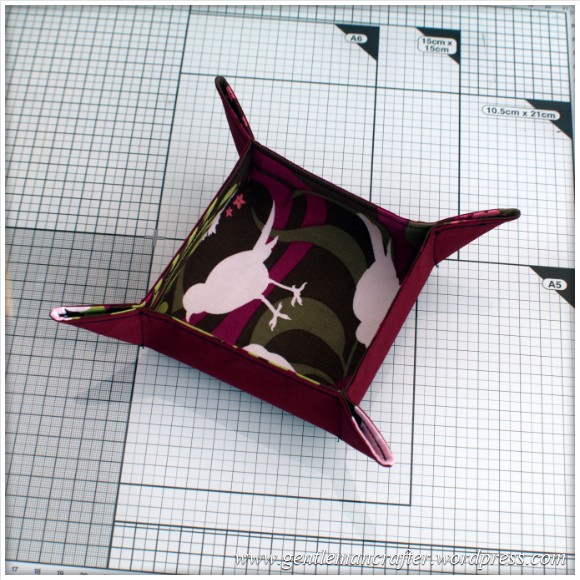
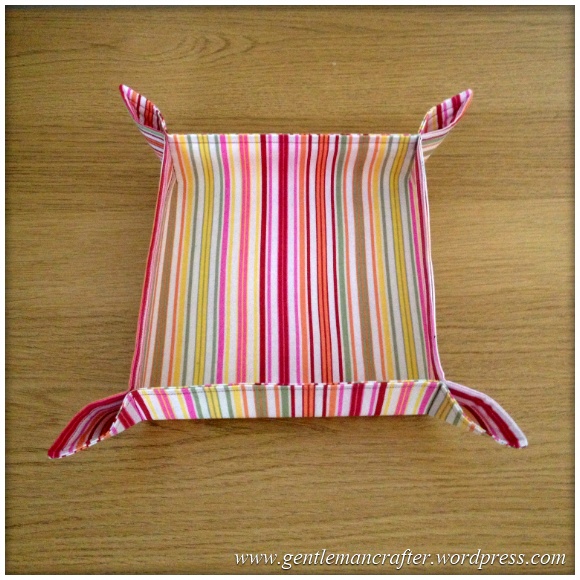
This is what your bowl will (should) look like.
Variations
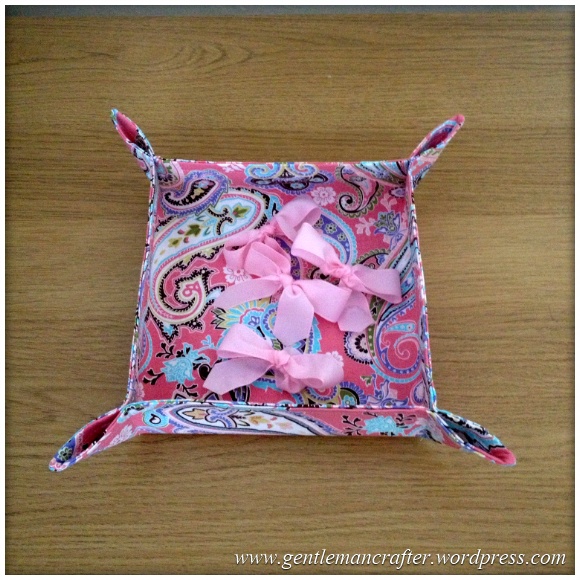
You can always skip sewing the corners and instead use eyelets or some ribbon to tie the corners up.
If you don’t like the pointy corner look you can always push these in and glue or stitch in place to make them an attractive feature of the bowl – here’s a variation on my bowl in the gluing phase – I used quilters clips to hold it whilst it was drying.

… and here is what it looked like when it had dried.
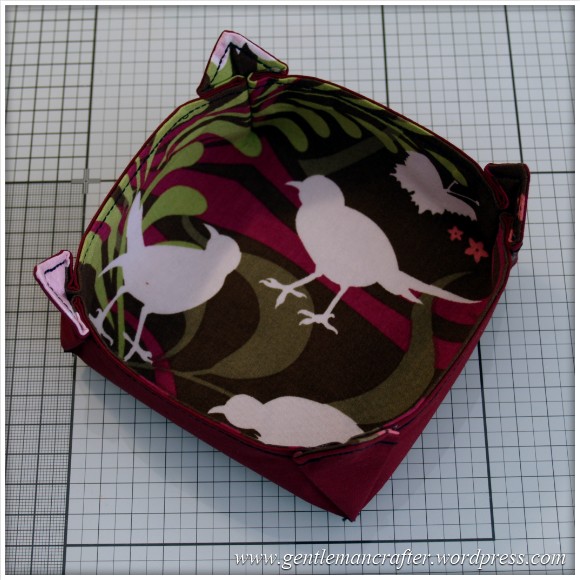

– it almost has the feel of origami don’t you think?
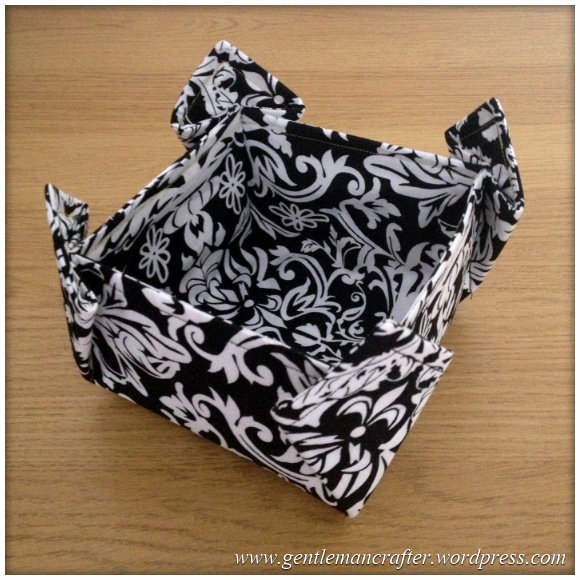
The amount that you measure in from the corner point will dictate the depth of the bowl. Varying this will create a different – here’s one that I did with a much deeper edge.
Anyone else thinking of old men by the beach with a hanky on their head? Lol :)
Back to the plot …
You can start with smaller or larger squares of fabric/interfacing, just make them all the same size to start with.
I’ve not tried it yet, but you could always start with a rectangle as it’s the same process for any four sided shape.
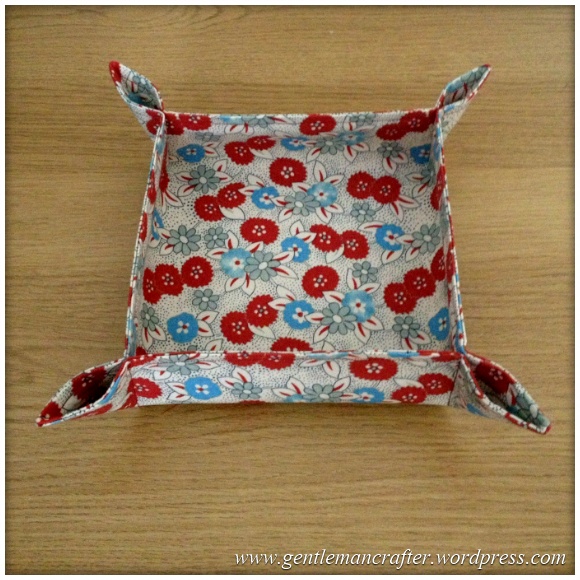
Of course, you can try this in any fabric you like, it doesn’t have to be the same fabric on either side either.
You could even use plain fabrics and decorate it with applique initials or embroidery designs perhaps.
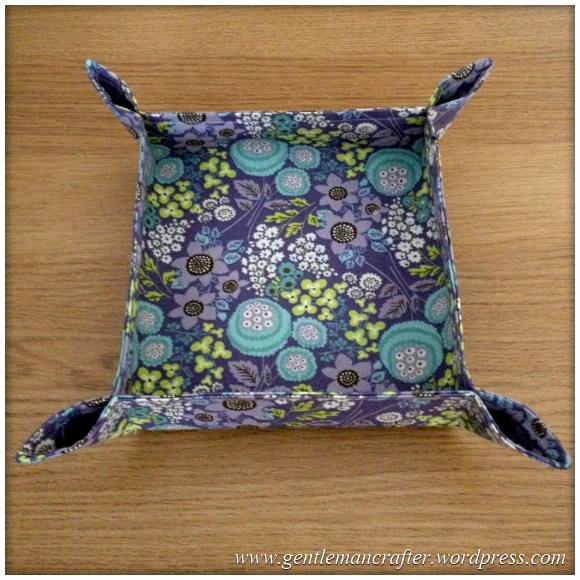
Here is a little gallery of some of the other bowls that I created.


Well, I hope that you have enjoyed this little foray into my world of sewing and will have a go at making some of these for yourself.
If I haven’t explained anything well enough, or you have any other comments about this post, then please feel free to use the comments section at the bottom of this page.
Thank you for reading. I look forward to seeing what you make.
See you again soon.
J :)

Hi John Just a quickie did I miss yesterdays Fabric Friday?
And also I made one of the fabric bowls on Thursday and I was very pleased with my first attempt. I will be making more
LikeLike
Glad to hear that you’ve been making the bowls. Sadly I didn’t have time to out together a post for yesterday but will endeavour for next week.
LikeLike
Hi John I was wondering if I missed fabric Friday today? I didn’t get an email from your blog like I usually do.
Also wanted to say I made a fabric bowl yesterday and it turned out pretty good if I do say so myself.
LikeLike
Many thanks for such an easy to follow tutorial John
LikeLike
Great tutorial John….. I’ll be trying this out for sure.
Thank you.
x
LikeLike
Wow you’ve done it again John. Thank you brill tutorial I no what I will be doing over easter!!! Maria
LikeLike
Thankyou John. I am going to have a go with this next week.
LikeLike
Thank you for bowl tutorial, can’t wait to make some as instructions seem fairly simple and easy to follow.
LikeLike
Thanks John, great tutorial can think of many uses for the bowls, will be making quite a few. Thanks again Jean
LikeLike
Great tutorial, thanks John. I will have to dust off my machine and give this a go!
LikeLike
love the bowls, never done anything like this before on my sewing machine.Will make lovely presents. thank you for the instructions.
LikeLike
Thank you John. You make it look easy, I’ll have to make some and keep them on hand for gifts.
LikeLike
Thanks for the post, John, I am one of the newbies to sewing and this seems to be doable for me. Xx
LikeLike
What a great tutorial John, think I have my next project lined up now. Thanks.
LikeLike
Going to make ,so simple yet very usefull ,thanks john.
LikeLike
John,
Your talents know no boundaries. I am simply amazed at these fabric bowls. I think it might just be one of those projects I will have a go at very soon. Thanks again for all your inspiration!
Carol
LikeLike
Thanks for this brill tutorial John. I am going to give these a try.
LikeLike
Love the idea.
If you put press studs in the corners instead of sewing they would fold flat and could be taken on holiday as a handy bowl to put stuff in like jewlrey, watch, glasses, loose change. I,m going to make one.
LikeLike
Thanks for tutorial. Well explained. Keep up the good work. Marie
LikeLike
so guess what I’ll be making this Easter weekend!!!! Thankyou John
LikeLike
Thanks John for the great tutorial, off in search of some fabric!! xx
LikeLike
This bowls look good, might one day have a go myself, I think reading Johns step by step instructions helps Lynne
LikeLike
Thanks John. I made some bowls when they were originally shown on C & C, if I remember, slightly different, but I like these more. Thanks for the tutorial. SueL
LikeLike