I’ve had some basic shape dies from Spellbinders hanging around the craft room for a few months now and wondered if I could make them a feature on a card, rather than just a layer.
The set that I picked to have a go with was the Spellbinders Hexagons die set.
It took a while but I ran the die through the Grand Calibur with a variety of different papers from a pad of coordinating designs from Die Cuts With A View.
After that I sat arranging and re-arranging the shapes to see what patterns I could come up with; you might have seen some of the these on my Facebook Page but I finally settled on this one.
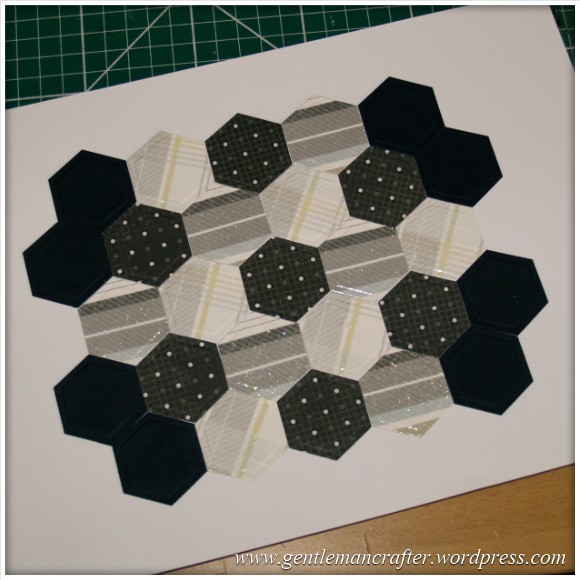 Looks a little like a football, right?
Anyway, I then proceeded to stick each shape into position on a thin sheet of cardstock.
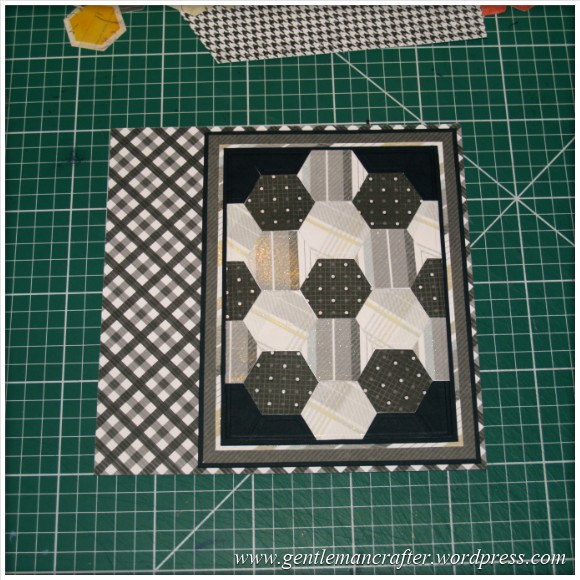
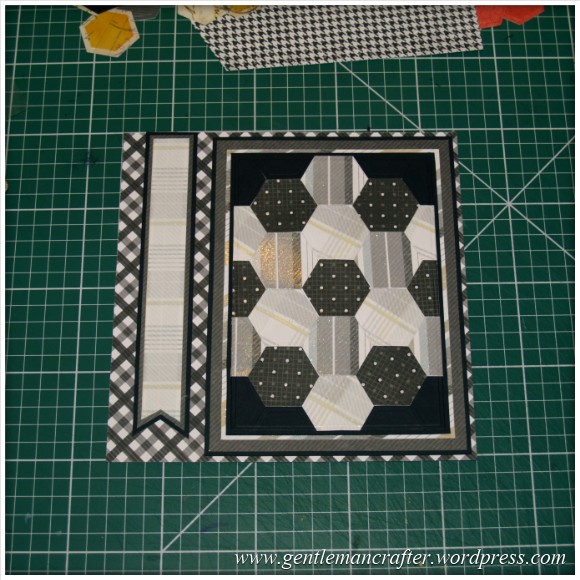
After that had dried I used the Spellbinders Basic Rectangles to cut out the central section of the design and then layered it onto some coordinating cardstock.
Now that the main feature was done I grabbed an eight inch square card and covered it with a piece of checked cardstock.
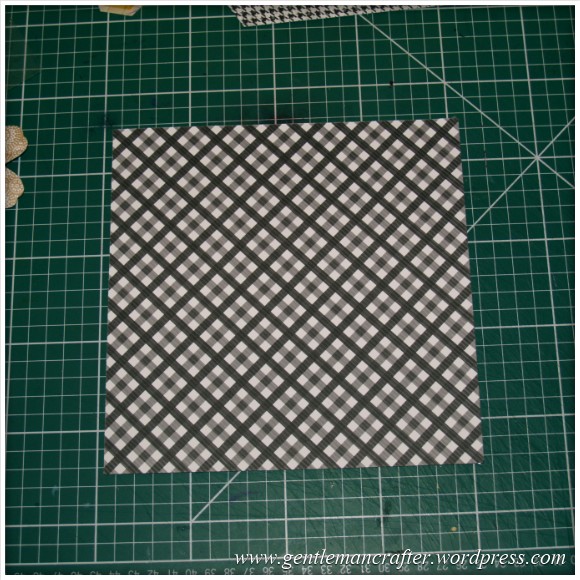 (I had tried it with the plain white card but it was just not ‘working’).
I then used double sided tape to affix the hexagon design to the right hand side of the card.
 I then created a hanging pennant from the same cardstock and fixed it in the area on the left.
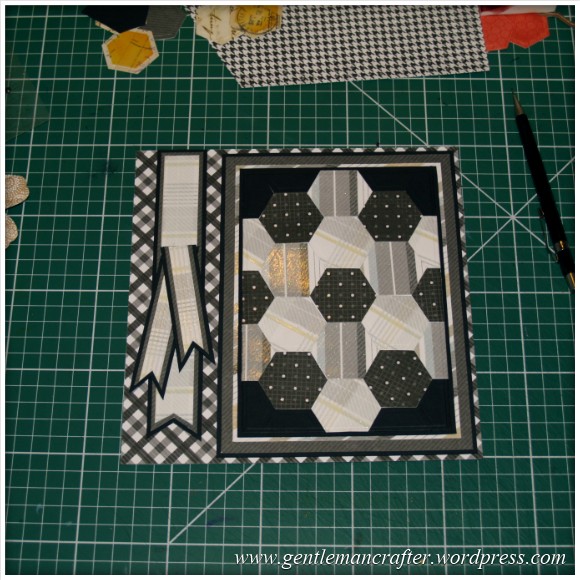
 I then created two smaller versions of the pennant and placed these were the rosette was going to be (oh, by the way, I was going to add a rosette, lol).
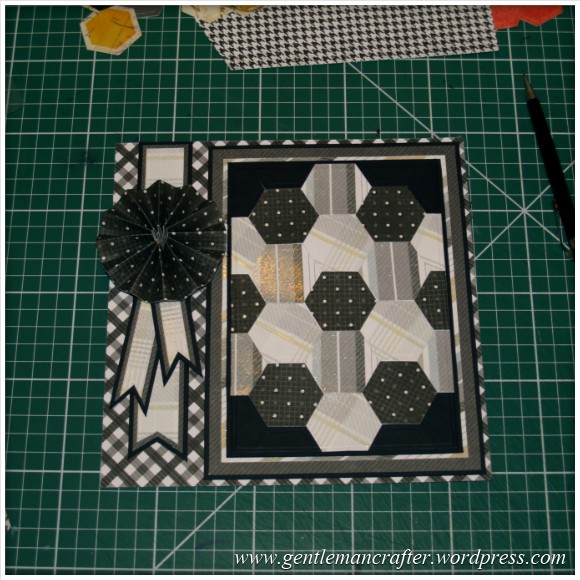
 The rosette was made by scoring a long strip of card, sticking the ends together and pushing it down. I then used 3D glue to stick it to the card (although a hot glue gun would have been better for this).
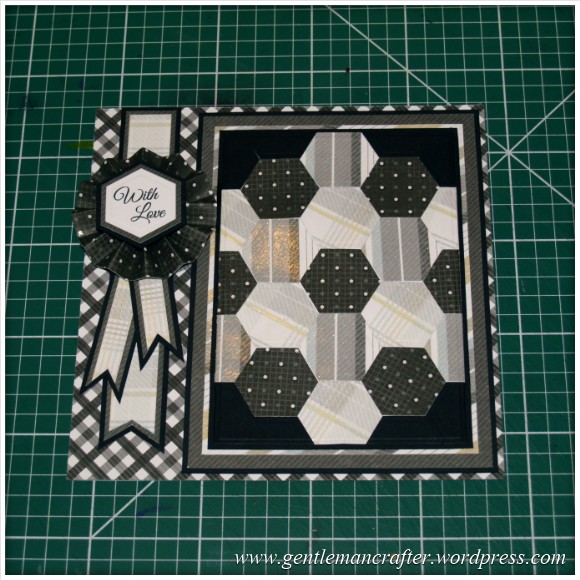
 After stamping out the “With Love” sentiment I ran it through the Grand Calibur using one of the hexagon dies and then layered this onto cardstock that matched the overall design.
I then used 3D glue to fix this to the rosette.
 And that, my dear lovelies, was that.
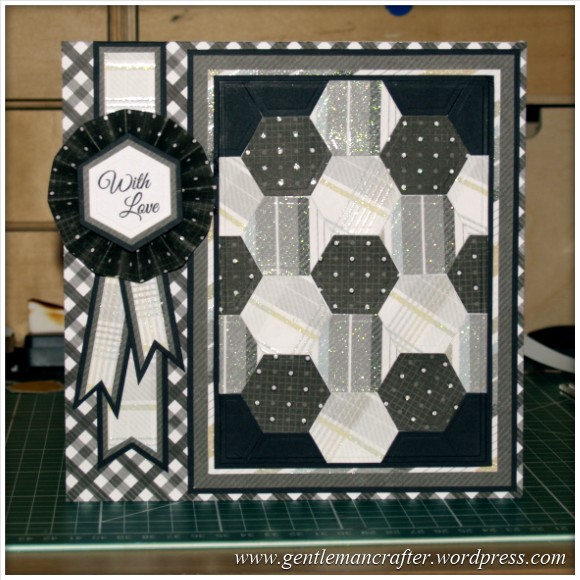
I was actually pretty proud of this :)
Here is a final picture of the finished card.
 Well, not a lot more to say on this one as it was just a quickie to report on my little playtime with the Spellbinders Hexagons.
Hoped you liked it.
Thank you for reading and I look forward to hearing your thoughts and comments on this one.
Take care – see you next time.
J :)

Came upon this card by accident, I think they call it Serendipity, and it answers all my queries regarding making cards using fabric, many thanks. I have a question John do you prepare the cloth first with Steam and Seam (or equivalent) before cutting? Sheila XX
LikeLike
Not sure about this questions as you are asking about cloth whereas this project was made with cardstock.
J :)
LikeLike
My mistake John, I thought it was fabric. Sheila
LikeLike
No worries :)
LikeLike
It is a lovely idea which I can adapt if you don’t mind (using fabric) must get the hexagon die immediately. Thanks for the inspiration. Sheila
LikeLike
Adapt as much as you fancy Sheila :)
LikeLike
I really like the effect and can think if many occasions it would be useful for. it would be especially good for male cards. Cards don’t necessarily need a fancy topper to make an impact
LikeLike
Brilliant card John! Could be adapted for anyone/any occasion just by choosing colours/patterns that suit the recipient. I did think it might be nice to have a photo or two in some of the hexagons like to celebrate a special holiday or family occasion and maybe ….. oh dear, now you’ve done it again! My mind is running all over the place with great ideas for this card so I’ll have to go and buy this hexagon die (which I haven’t got but will have on order in a minute!) … it’s going to be SO versatile. THANKS John … your work is so varied and it’s so exciting to see each new project!!! x
LikeLike
Great idea John. It looks 3d !! You have such imagination and patience. You are so talented
LikeLike
Hi John,
Once again a fab card. I have some dies like these and this is a great way to use them which I am going to pinch.
By the way great article in the new C&C magazine and I see your Movember hair growth is really moving along isn’t it.
All the very best.
Carol
LikeLike
i like this too have used similar die in different way which was also good (it wasn’t my idea) your idea is a good masculine idea which is often hard to come up with
LikeLike
Talking of Spellbinders do you remember the idea you had and demonstrated on CreateandCraft with Captivating Squares Die, with part of it overlapping. Would love another demo please. Thanks Jan
LikeLike
Ok Jan, I’ll pop it into a future post.
:)
LikeLike
A great card, love the design and the colours and rosette are fab. Haven’t got this die (must remedy that!!!) lol xx
LikeLike
Ooh, love the card because I am also a quilter! What’s more, I already have the dies – how sad is it that I never considered using them for paper? Thanks for the idea.
LikeLike
Very nice idea John – I must play around with mine when I get the time””
LikeLike
Lovely idea John. We dont always need pictures on cards do we? Cards like this make their own impact without being too soppy!! Love it. I am toying with the idea of cutting a square of paper or card corner to corner and top to bottom and side to side to make my own bunting. What do you think? Still trying to work it out.
LikeLike
Good idea Thelma. Stick with it.
J :)
LikeLike
Well…it looks like hexagon dies need to go on my wish list. Geometric shapes certainly do make spectacular cards with less effort than the finished article looks like they would take. I love the easy way to make a rosette, not tried that yet, so it’s been noted :)
Bejay x
LikeLike
Its made me want to try something like this with some of my older spellbinders….just love this idea!!!!!!
LikeLike
You have such patience John; I bet you like Jigsaws too. Very striking design, I like!
LikeLike
I do indeed like jigsaws.
J :)
LikeLike
Great card John, amazing the effect you can get from such a basic shape! xxx
LikeLike