
A couple of weeks back I picked up several clear stamps at my local Hobbycraft store and, having a day to play, I thought that I would use them with the Inkadinkado Stamping Gear and see what I could create.
With these stamps not being designed specifically for the Inkadinkado system it was unclear what the design would turn out like so I tried a few designs and finally settled on one particular “Inkadinkadoodle”.
With the stamps also being clear and unmouted it would also put the Tack n Peel modification, that I recently spoke about in this blog post, further to the test.
Things worked well during testing and this was the final “Inkadinkadoodle” that I settled on.
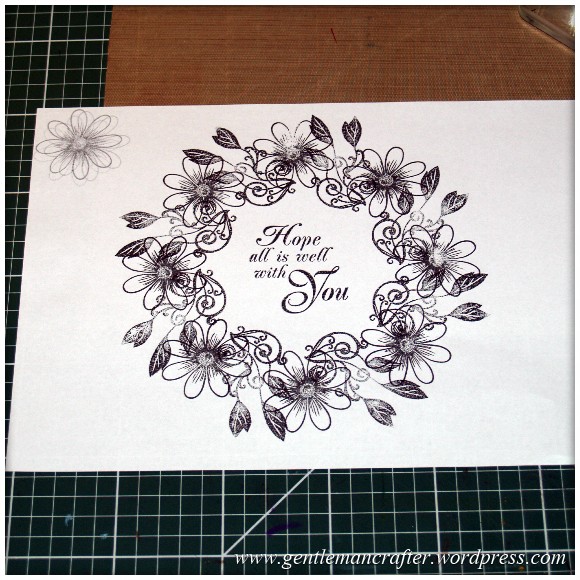 There was no masking or anything in the doodle as it was just to see how things would work together. You’ll probably also note that it wasn’t very well stamped but remember, this was just a sketch of sorts.
Anyway, design settled, I moved on to stamp it out properly.
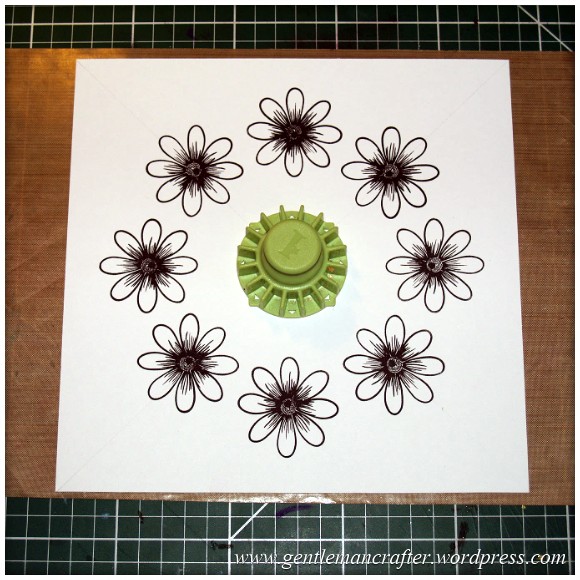
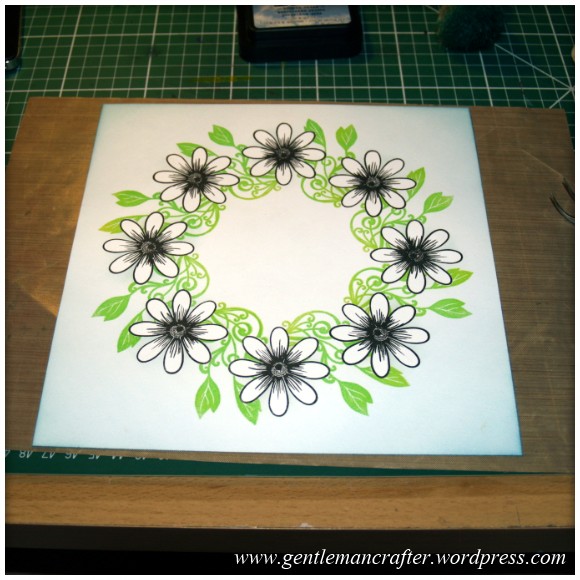
The first circuit of the circular Inkadinkado Stamping Gear cog used the Open Basic technique, the flower stamp and some black pigment ink,
 I then created some masks by stamping onto all over Post It notes.
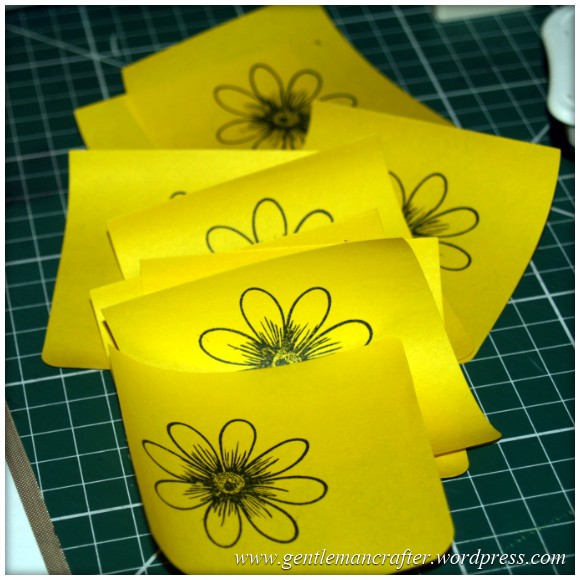 I then cut them out and stuck them over the flowers that I had previously stamped onto the card.
 I then used a multicoloured pigment inkpad to stamp out the leafy swirl design into the spaces that I had left inbetween the flowers.
I then wanted to tone down the white areas on the corners. I could have stamped some more but instead decided just to apply some Broken China distress ink with some Ink Blending Foam.

 There wasn’t much ink. just a hint.
After removing the flower masks, this is what it looked like.
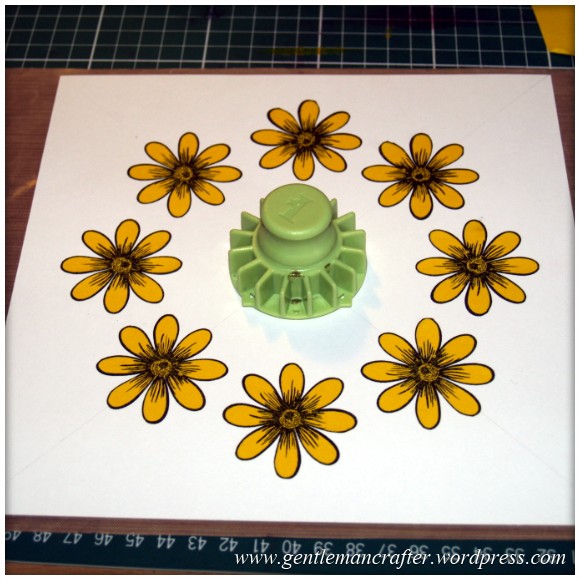
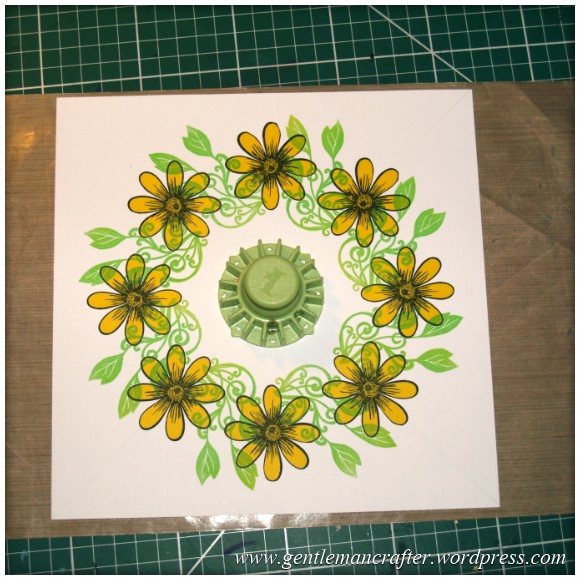
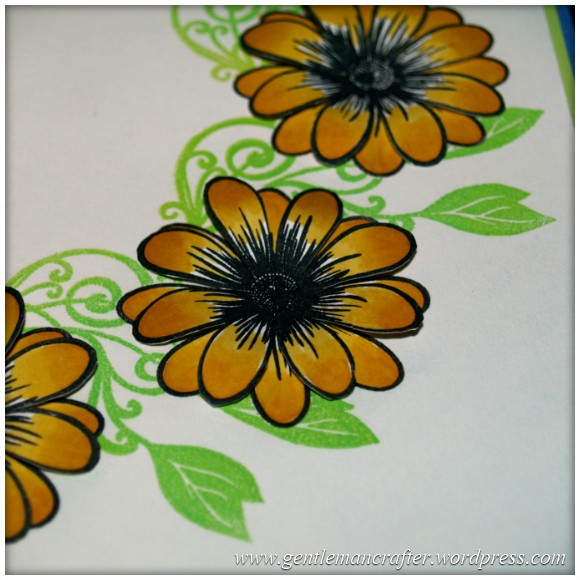
 Although I like the white look of the flowers I decided to add some colour so I dug out some yellow Spectrum Noir pens and shaded the petals.
I used the following pens – dark tone GB5, mid tone GB3 and light tone GB4.
After I had coloured them on the card, they still looked a little flat so I stamped out a further eight flowers and also coloured them and then cut them out.
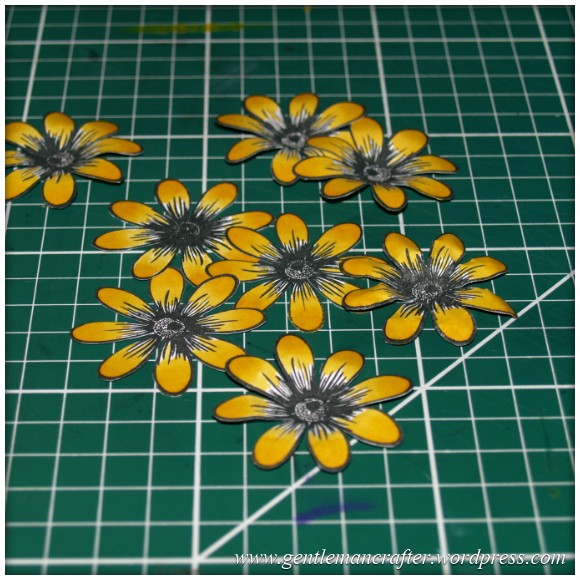 I then applied these cutouts over the flowers on the main card.
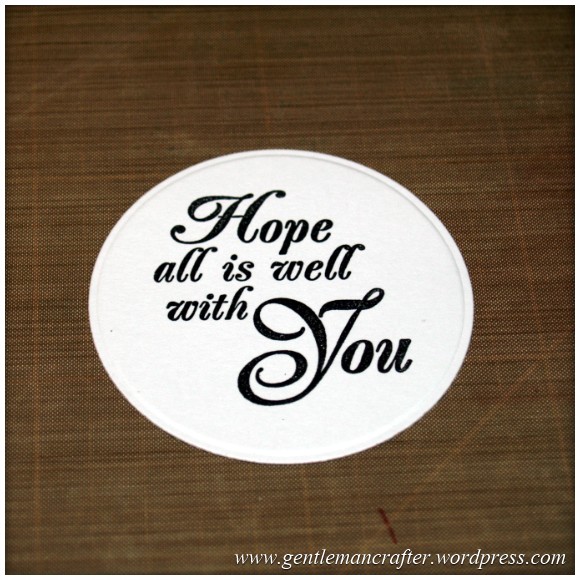
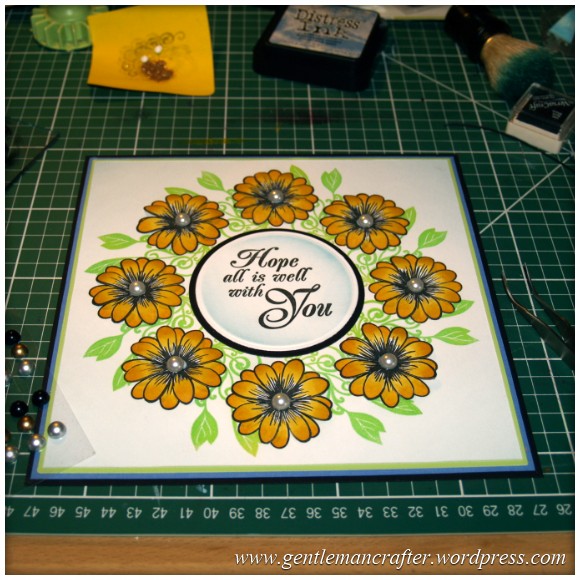
 Forgot to mention how I made the sentiment which you will have seen in one of the images above. The sentiment reads “Hope All Is Well With You” and is from the Inkadinkado “Floral Expressions” sheet of clear stamps.
I stamped it onto some white card and then cut it out with a circular Spellbinders die.
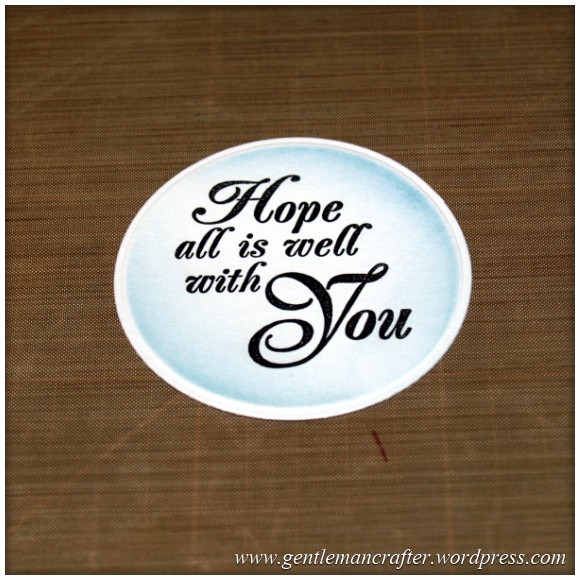
 I then shaded it with the same Broken China distress ink, using the die as a stencil.
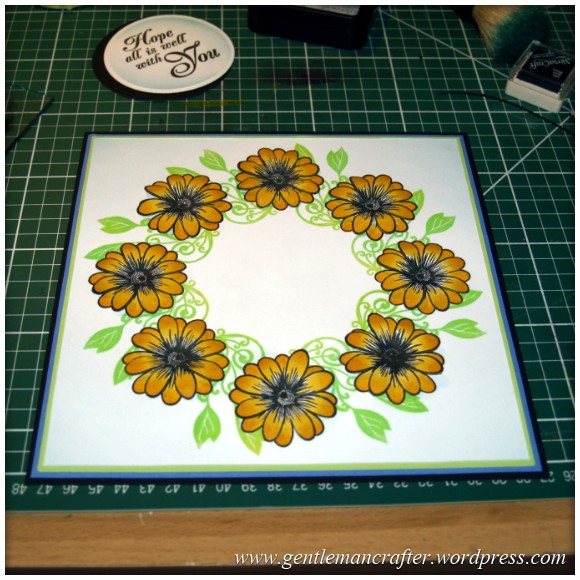
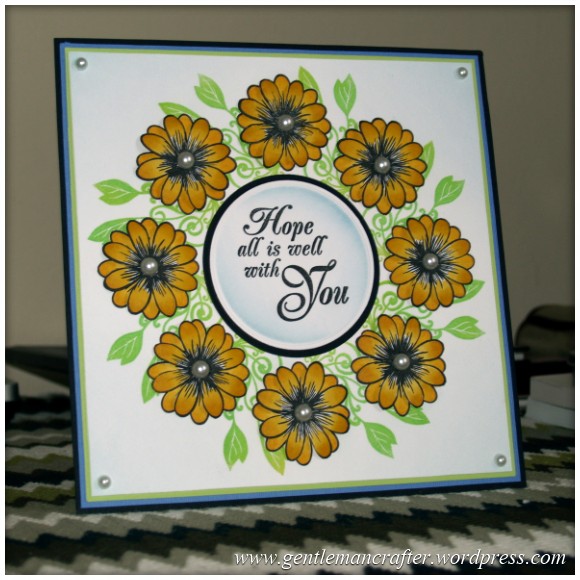
 To finish the card I added some adhesive pearls to the centre of the flowers and the corners of the card and layered it onto some coordinating cardstock.
So that was it. The stamps stamped well, the Tack n Peel worked and the Inkadinkado Stamping Gear worked just the way it was supposed to so at the same time as Hoping All Is Well With You, things also worked out well here :)
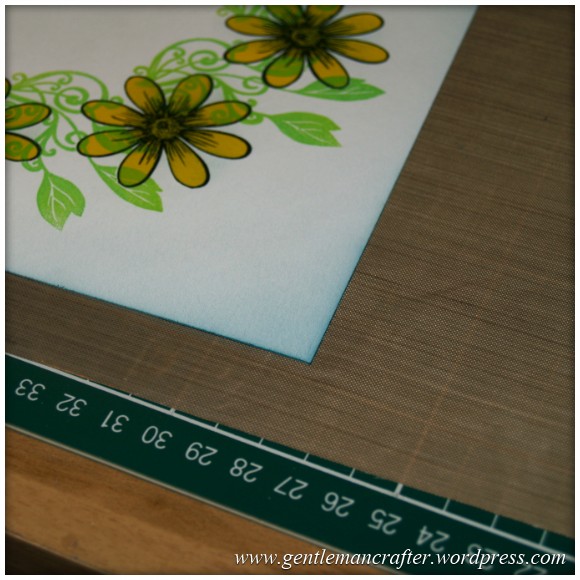
Here are a couple of final images of the finished piece.

 Hope you enjoyed this little creation.
Thank you for reading. I look forward to sharing more ideas with you in the near future.
If you have any questions or comments, please feel free to use the comments section below.
See you again soon.
J :)

Loved this card – saw you do it on C&C yesterday – but didn’t record it – good job I keep an eye on your blogs. Thanks so much for all the inspiration, now off to check my floral stamps, I love stamping with the inkadinkado gear, so much easier.
LikeLike
Lovely. I have just received my Inka wotsit set and had a go at a Christmas Card. The stamping is a bit rough but you have to have a go at it. It is fun. Janice.
LikeLike
Thanks John for sharing your fab ideas. I love this card. Can you tell me the name of the stamps as I particularly like them especially the leaves? Happy crafting. Sandra
LikeLike
Hi John, Discovered your blog a while ago and have been lurking. I am so very impressed with your creations! I’ve amassed quite a collection of stamping gear stamps but haven’t stretched myself yet. (I did use them along with a fabric ink stamp pad to make a Halloweeen shirt.) Your blog is constant inspiration! I particularly love how you mask the designs with sticky notes. I’m curious however why you take the time to cut out a full range of the designs rather than just doing two and moving them as you go? Thanks for all your wonderful ideas. Can’t wait for more!
LikeLike
Hi Amy, I don’t have a clever creative answer to your question.
I got into the habit of masking all at once just to make the second circuit of stamping quicker and to avoid any accidental finger smudges from lifting a mask that still had wet ink on.
It’s not a set rule and you can of course do the masking with two masks in the way you suggest.
J :)
LikeLike
Hi John, been practising a lot and getting the hang of stamping with Inkadinkdoo and checked out your blog for inspiration. Wow, so glad I bought the products and some stamps, now going to be brave and make a card. I do more decoupage than stamping but going to get into stamping too I can see. Keep up the great ideas. Frances
LikeLike
I really like this card. I love to use clear stamps. I use them mostly for embossing. Now it time for different technique.
You are very talented. Thank you for sharing.
LikeLike
Beautiful card John, personally I preferred the monochrome images however they also look nice with a little colour. The swirly leaf design looked stunning amidst the petals, well done John I’m so glad that I am now a follower of your blog as the inspiration and ideas are fab.
LikeLike
This came out really well.
LikeLike
Gorgeous stamping – the more you show us what you’ve made the more I want this! TFS x
LikeLike
Anther lovely card John your talent has no boundries you are so inspirational I’m off to have a practice x
LikeLike
Hi John, what a stunning card. Have bought the Tack N Peel but I have only managed to cut it up.to fit the paddle! Your blog is very inspiraional.and gives me the kick I need to try to use my clear stamps! I have found that if you roll a little bit of very low tack tape rolled up keeps your cog in place. The downside is that it leaves a mark so you’ll need to cut out a separate shape for the centre to hide it. Hope this helps.
LikeLike
Hi John love this image you’ve created, I still haven’t been brave enough to make an actual card yet I’m still practising.
LikeLike
Hi John,
This is absolutely beautiful. I love your experiments as they take the graft out of us trying to replicate your designs and also gives us more inspiration to try our own designs.
Thanks again for all the crafting ideas you share with us.
Carol
LikeLike
Well done John-another lovely card. I wish we could see more of you on C&C. Nice to know that other stamps work with the system.
Happy crafting
Chris
LikeLike
This is lovely, John. I bought all the stamping gear stuff but am having problems with it. I’m not very patient and the gears won’t stay in the same place for me, therefore my design is often a bit skewed. I also bought the Tack N Peel long ago and never got to grips with it either. However seeing your great results encourages me to have another go until I get it right. Thanks also for letting me know about the all over sticky sheets. They’re brilliant! You are very inspiring. Thank you. .
LikeLike
John, you have knocked yourself out with this card and technique. It is absolutely lovely. Anyone would be delighted to get a card like that. I’ll have to have a go. XX
LikeLike
Thanks John – it’s lovely to see how much we can do with the Inkadinkado Stamping Gear and this is such a beautiful card! The idea with the Tack N Peel works really well and extends the use of the system to loads of other stamps – almost ‘the sky’s the limit’ – so many thanks for that too. I hope you’ll have more ideas for the Stamping Gear for us …..loving it all :) x
LikeLike
You’re a genious John, where would we be without you. How about some more demo’s on Create and Craft with Inkadinkadoo and Spellbinders.
LikeLike