I don’t often get the luxury of ‘play-time’ but when I do I like to try new things. Pan Pastels are fairly new to my craft room so when I had some spare time recently I thought I’d pop them out and have a go and, in the spirit of sharing ideas, I thought that I would create this post in order to share my findings.
First of all I’d better explain what Pan Pastels are…
Pan Pastels are described as ultra soft pastel chalk that has been compressed into a circular ‘cake’ (no, don’t get excited, it’s not the edible kind). Pan Pastels were invented by artists for artists and were initially intended for drawing and mixed media projects but they have been quickly adopted by those among us who would like to play with colour.
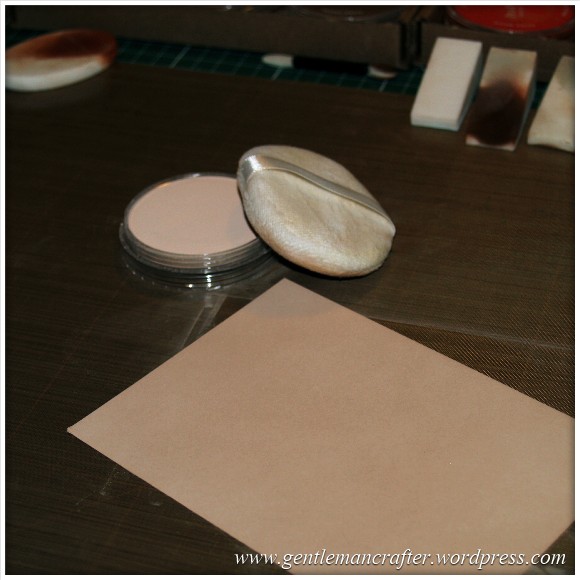
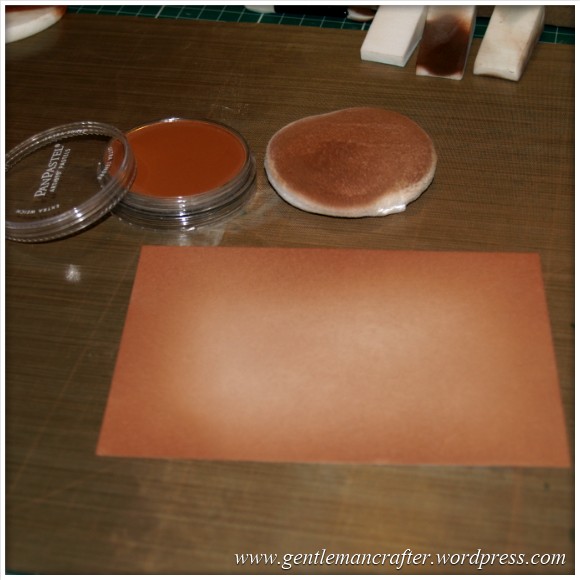
Here is what a Pan Pastel looks like.
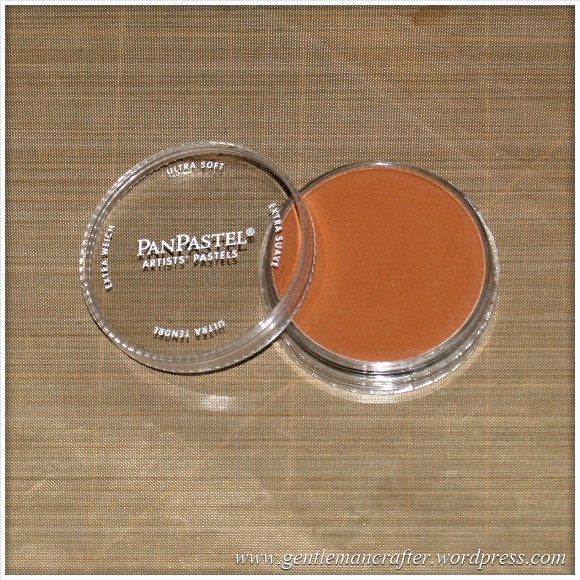
(Looks like a chocolate mousse – but sadly it’s not).
The Pan Pastel website describes Pan Pastels as being “made using a unique manufacturing process requiring minimal binder and fillers, resulting in rich, ultra soft and super-blendable colours. Each color is loaded with the finest quality artists’ pigments for the most concentrated colours possible. The colours have excellent lightfastness and are fully erasable. Uniquely, for pastel colour, they can be mixed together for a complete painting palette.”
All sounds impressive. But apparently there is more.
Their website also lists the following benefits –
- Super-blendable: the pan format and their ultra-soft formulation means that PanPastel Colors blend beautifully for an infinite palette of colors.
- Paintable: for the first time ever artists can apply and mix (dry) pastel color like paint.
- Instant: no drying or preparation time needed. Simply lift the color using a Sofft Tool to start painting immediately.
- Easy: no solvents, water or other special mediums are required – use PanPastel colors “dry” for the benefits of wet paint without the hassle.
- Erasable: PanPastel is a very forgiving medium to use – use any eraser to correct mistakes or remove the color. An eraser can also be used to create highlights and for subtractive drawing techniques..
- Versatile: compatible with other artist’s media and almost any art & craft surface (even thin delicate papers as there is no bleed-through or buckling because PanPastel is dry color).
- Control: using Sofft Tools it is easy to control the color, and to achieve a wide variety of marks and effects
- Very low dust: for a cleaner, more pleasant working environment. Generating less waste.
If you’ve skipped that bit, here’s a quick video demonstration from the co-inventor of Pan Pastels.
Ok, so you’ve heard the write up, maybe even watched the video, now let’s look at how I got on.
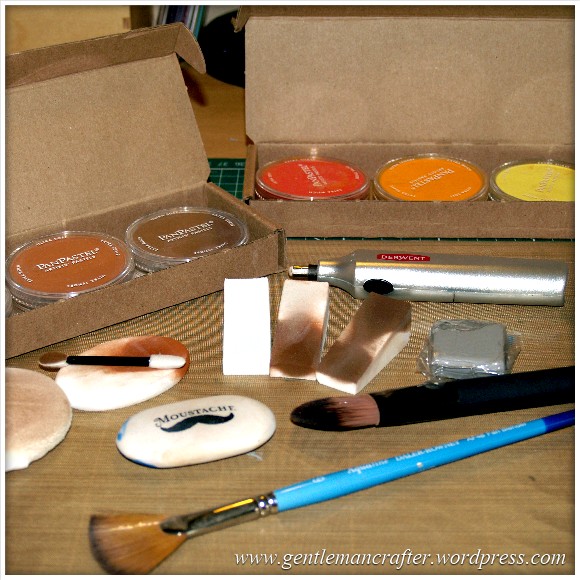
First up, the tutorials that I watched recommend the use of Soffft tools for applying and using Pan Pastels. Well, I don’t have any of those here at the mo and therefore had to improvise, so here is what I dragged out of my tool kit for this –

The list runs as follows:
- Pan Pastels (obviously).
- Velour Make Up Applicator.
- Soft Make Up Sponges in assorted shapes and sizes.
- Firm and Soft Erasers. I also got out the battery powered eraser (but didn’t end up using it).
- Make Up Brush and a Daler-Rowney Aquafine AF48 Fan Blender.
- Non-Stick Craft Sheet.
- Assorted Cardstock (see below).
- Spray fixative (not shown) – DON’T FORGET TO OPEN A WINDOW FOR VENTILATION (I forgot and nearly choked on the stuff).
So nothing really out of reach there.
From here, (and after a cup of tea), I tried out each method of application (based on the tools that I had).
The brushes were a little rubbish, but then if I’d thought about it, I would never have used brushes to apply or blend pastels to cardstock when they were in stick form (foolish boy). I did however find a use for them later on, but more on that later.
The make up sponges gave a graduated strip and could also be used for basic blending.
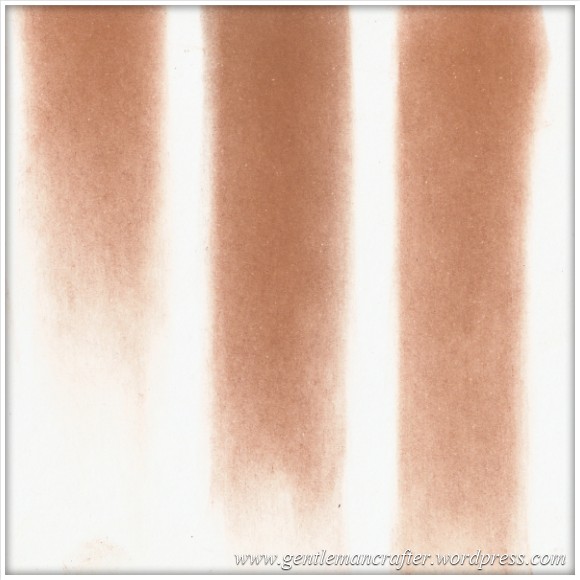
The make up applicators (with the bits of foam on the end of a stick) were Ok at applying small short strokes and doing small blended areas but I don’t think that they would have helped me cover a piece of cardstock. It did cross my mind that I could use these for flower petals if colouring a stamped image.
So, finally came the velour make up applicator. I’d picked this up the other day with no real idea what I would use it for (I got the usual funny looks from the shop assistant when browsing the make up accessories) but I am glad that I did get it because it was a great way of edge blending with the Pan Pastels. It was big enough to load a good amount and soft enough to add gentle swirls of pastel.
I stuck with this for most of the rest of the tests that I made as it did such a good job.
The next thing that I tried was a general blended edges technique like you’ve all probably seen already.
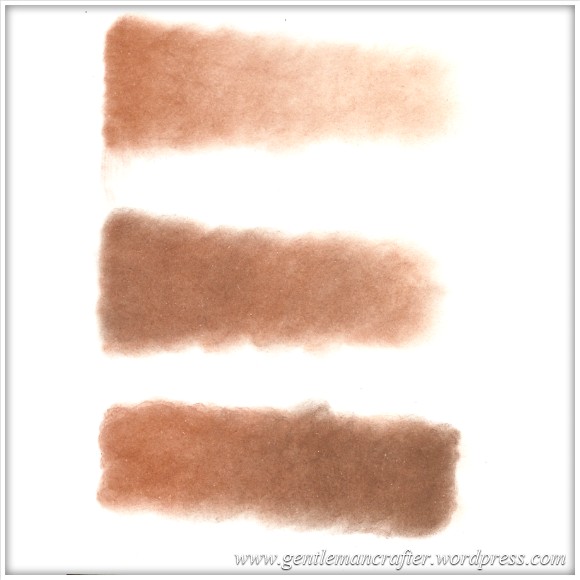
Anyway, I’ll describe here the process that I used for the blended edges, it’s then the same basic concept for all of the other tests that I did. For this technique I used the three shades that are bundled together as Neutral Tones.
Step 1 – Apply an all over blend of the lightest colour. Also, how cute does that make up applicator look with it’s little finger strap, lol!
Step 2 – Apply the mid tone colour. Swirling it on from the edges but not across the centre.
Step 3 – Apply the darkest colour to the corners and then blend any remaining pastel dust into the edges.

And the result …
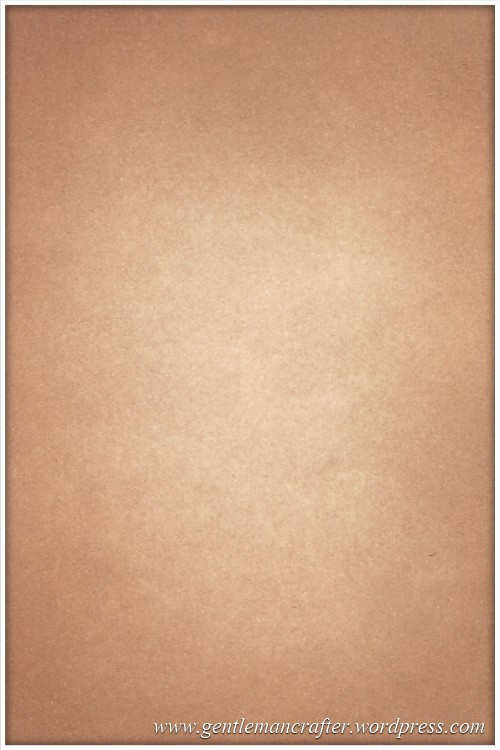
Yes, a nice smooth blend (I scanned this image and it’s not as brown as it looks in real life, but you get the idea).
Right, so success achieved on basic cardstock – it was time for a rummage in the paper box. I managed to pull together the following –
- Glossy Cardstock.
- Pastel Cardstock.
- Acrylic Paper.
- Watercolour Paper.
Not a huge variety, but a nice range of textures and surfaces to try.
So, the results were quite different. First, Pastel Cardstock – this is intended for use with regular pastel sticks and has a surface texture as well as an inlay.
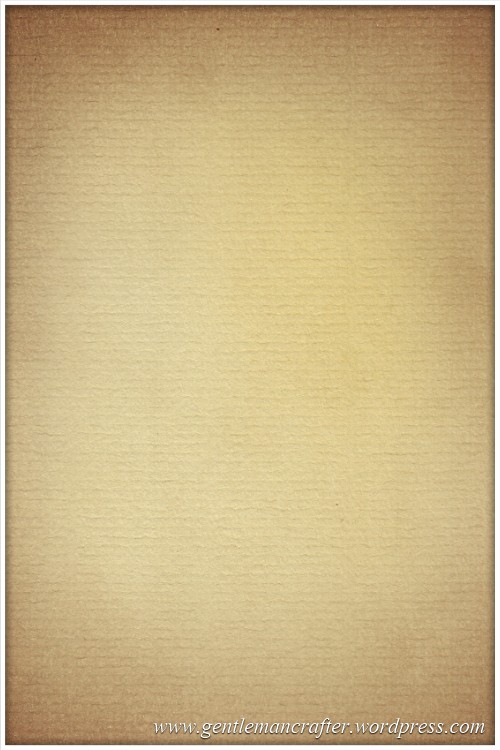
I genuinely loved the result on this one. It was very much inline with what I would expect “distressed” edges to be.
Racing on I tried Watercolour Paper (the really thick stuff).
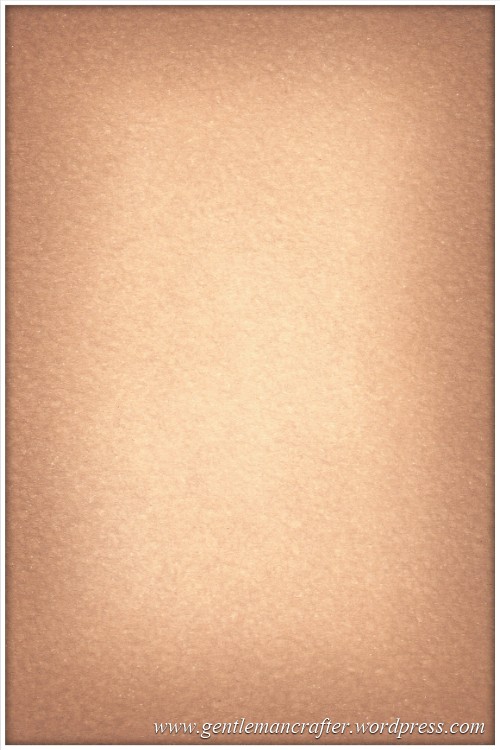
This was a surprise result. It almost has a hammered finish to it once the Pan Pastels were applied.
Continuing with the textures I next tried System 3 Acrylic Paper.
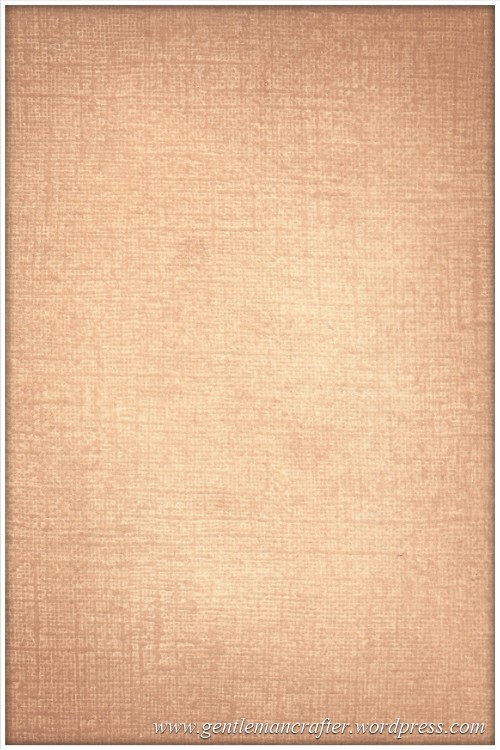
The canvas style texture really stands out on this one. I really blended the base layer into all of the crevices but used a much lighter touch for the other two applications in order to try and highlight the texture.
Now, you’d think that given the positive results on textured paper, or surfaces with a “tooth” you might think that I was hoping for miracles with a super smooth glossy paper however I persevered and tried it anyway. The result was quite amazing.
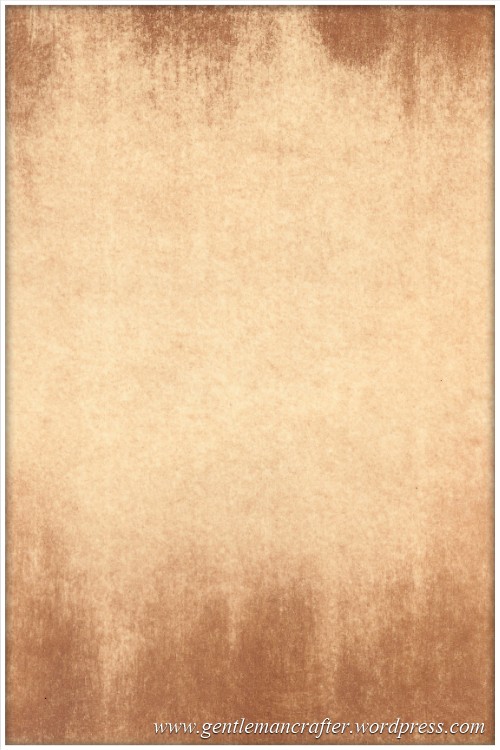
The base layer went on, but as I dragged the darker layers on, they only took to certain areas and after a while this (almost weather beaten wood) texture appeared. I love it! What do you think?
Do bear in mind that there was a difference in the tone of the Pan Pastel depending on the cardstock that I was using, which I found interesting. Makes me wonder how many other things they will work on.
Anyway, textures tested, I wanted to try something else.
I’d read about using clear inkpads to act as a “tooth” on glossy cardstock so I reached for those brushes (remember, the ones that I dismissed earlier in this post).
I stamped the image and then sprinkled some of the pastel powder onto the image and then (very gently) dragged the brush over the image. The chalk did indeed stick to the image and after a couple of passes, looked like this.
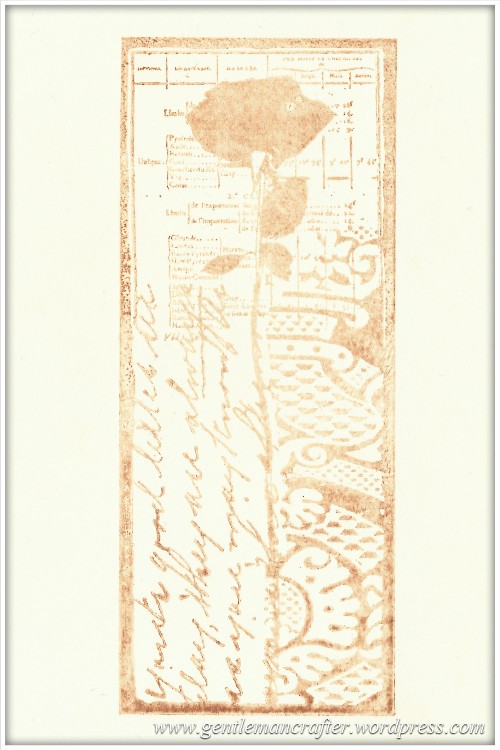
I didn’t rub the excess off but instead blew it and then gentle dusted over with the brush again.
Tip: the brushes bristles must be really soft and flexible (almost like hair, if that doesn’t sound too weird).
I then wondered if I could do this same technique on one of the pieces of cardstock that I had already applied an edge blend to. The answer was a yes. Here is the result.
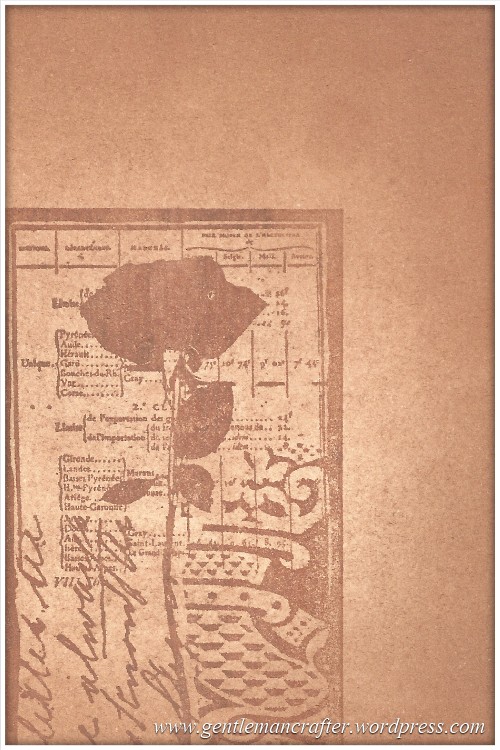
Cool eh?
So, what next. Masking, that always has a place when using pliable media (yes, that’s apparently a proper term for something that you can spread – no jokes please).
I quickly ripped off a piece of cardstock and laid it on top of another and then blended some chalk, starting on the ripped piece and then blending off onto the other card. I then moved it down (over the previously blended area and did another one). Having repeated that a few times, this is what I got.
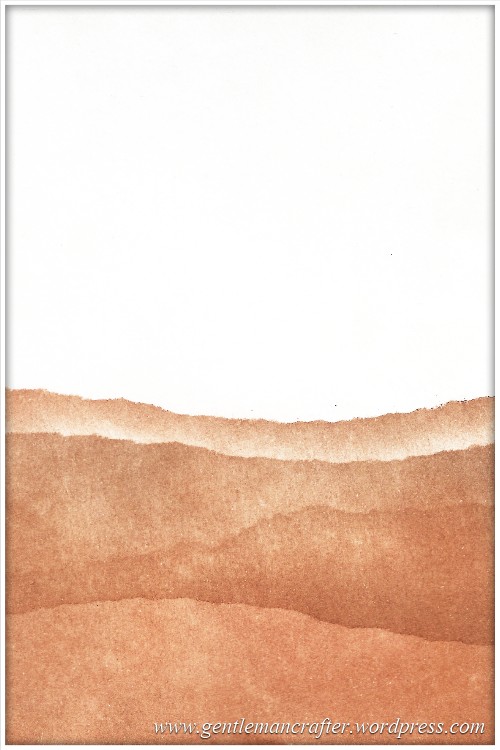
It’s like giant undulating fields that have just been turned over ready for sewing the seeds (or something along those lines).
Happy with that so I did as before and tried to see if this would work on an already blended piece of card. Once again, it was a yes, as you can see here.
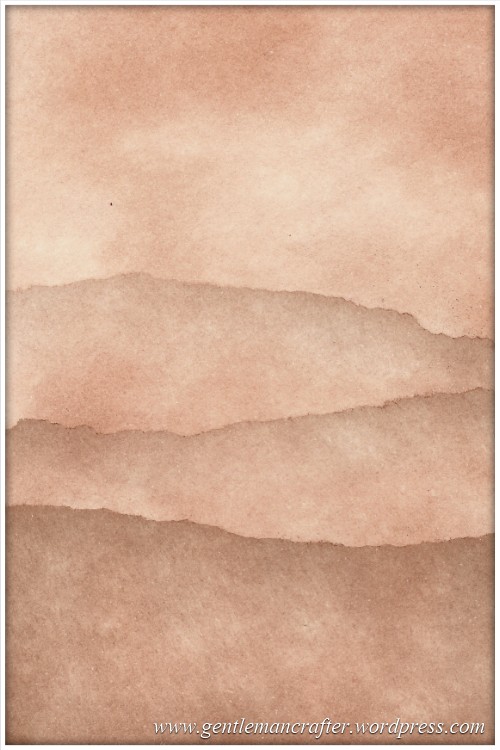
I didn’t really blend that background area well on this however when the result came out I felt that it added a certain misty mysteriousness.
Here’s another example, this time on acrylic paper.
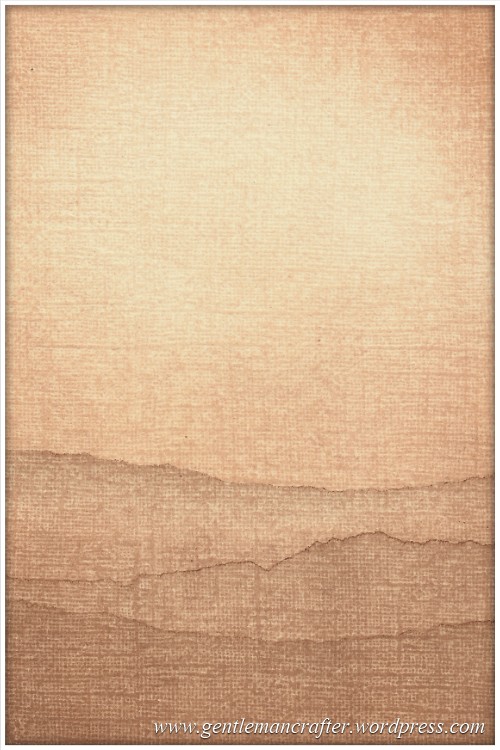
Oh, by the way, as I was doing this I discovered the Pan Pastels is a great way of colouring the torn edges of your paper and cardstock.

Anyway, that’s about the end of my little playtime with Pan Pastels – just time for a few quick tips.
- Pan Pastel DOES stick to finger prints on paper and cardstock – consider wrapping your “holding” fingers in tissue as you work to prevent oil from your finger tips getting onto the card.
- Try not to rub your eyes if you have the pastel dust on your fingers (guess who did?! Lol).
- You CAN stamp directly onto the blended area OR on the cardstock before blending.
- You will need to fix the pastel in place with a spray fixative – PLEASE REMEMBER TO GET SOME VENTILATION GOING ON when doing this.
- If you need more help with these fabulous, colourful and creative products there is an official YouTube channel for Pan Pastels. I hope that you will pay it a visit – there are some really inspiring videos there.
I hope that you have enjoyed it and will be able to make use of the information in this post (except the waffly bits).
Sorry there is no card with this post but I will be doing one shortly and will post it once done.
Right, I think that we’re done here. Thank you for taking the time to read this post and don’t forget, you can leave any questions or comments in the area below. It would be good to hear what you think about Pan Pastels and any tips that you have.
Take care and happy crafting.
John :)

Finally, a review that answers my question! I am not an artist (well, I don’t consider myself so), but I collect Ball-Joint Dolls, which are resin dolls from various parts of asia. They are very delicate and you cannot use anything with oil in on them, it eats into the resin and ruins them I was looking for a better way to do my face-ups (think makeup, but on dolls), which uses chalk pastels. They’re so messy, between shaving it off, getting it on my hands, either changing my gloves 80 times, or using a massive amount of alcohol wipes which dry my hands. I was trying to see if PanPastels were the same as chalk pastels, and you are the first and only review I’ve found that says they are a neater, less messy equivalent to a chalk pastel!
Finally, a way to save my time changing gloves while working on a face!
LikeLiked by 1 person
Thank you for a terrific introduction to Pan Pastels and the links you included.
LikeLiked by 1 person
Thank you for your demos. I love using ordinary pastels and do my best paintings with them. Only thing can you advise never to blow pastels. Tap the back of your work instead. The dust is very bad for anyone with breathing problems.
LikeLike
I have a set of pan pastels and googled for ideas on how to use them, I already paint with pastel pencils. Your list of ideas is fantastic and has given me so many ideas for incorporating my rat work.thank you.
LikeLike
You’re welcome :)
LikeLike
Hi John, saw this post when I popped over to see what the UFO fuss was about – thank you very, very much! I won a starter set of Pans a couple of months ago and I had no idea what to do with them or how to use them. I tried something similar to your steps but not so fully and was a tad disappointed. I thought that because I don’t have the tools my experimenting wasn’t going to give a fab result. Will play with them again later and will check out the You Tube channel. Thank you!
LikeLike
John, thank you so much for sharing this. I have been sitting at home looking at the pan pastels and trying to decide, will I or won’t I. I love bright colours so will probably start with those but I really appreciate all you have shared. The biggest draw back of course is price and being in Australia seems to make them even more expensive. Will have to start small I think. Again thank you.
LikeLike
Hi John, thank you for sharing your impressive experiments with pan pastels I was going to get some but didn’t realise you needed to fix them with fixative spray – unfortunately I can’t use it as my asthma goes into overdrive with anything sprayed in a tin and is like fixative spray. I did try hairspray with regular pastel work which was better to breathe slightly but it didn’t do the job very well.
I love your hills/ fields background work and the stamped images have an amazing effect with the pan pastels.
Thank you for all your inspiration.
LikeLike
Katie: I have severe asthma and I am on a nebuliser twice a day but have found a way around this for the fixative spray.when ready to spray pieces, I place them on paper or card, then move them to the door mat with the front door open. I then give them a quick light spray and then dash into the lounge shutting the door. I leave it for around 15-20 minutes before repeating. It’s not advisable doing this when the wind is up though 🤪.
LikeLike
Great info thanks. Not tried them yet as use distress inks but it looks like fun.
Happy crafting.
Erika.
LikeLike
saw these at stampfest.. look interesting. now I think I need these.
LikeLike
Hi John,
Wow thank you or the write up on pan pastels very informative and I love the pictures that you have taken. I haven’t used them but after reading your write up I feel that I may need to get them… :-) I love reading posts that are informative and from a “real” person not just the supplier trying to sell them.
Keep up the hard work.
Hugs
Kelly xx
LikeLike
Thank you for the compliments Kelly. I think I’m real *prods self*, yup, confirmed, Lol ;)
LikeLike
Whilst I’ve heard of Pan Pastels I didn’t really understand about them so thank you for taking the time to share all this John, most interesting
LikeLike
You’re welcome Jackie :)
LikeLike
I love my PanPastels and they are regularly used in most of my project. I have really enjoyed reading your post and thank you for sharing and I look forward to seeing one of your creations.
Hugs
Linda xxx
LikeLike
Hi John, really like the way you used the pan pastels especially stamping. Will definitely give that a go!.
LikeLike
Wow! This is the bestest ever thing I’ve ever read about pan pastels!
I haven’t actually used them yet as really I haven’t used everything in my existing stash supply to their full extent – but really your write up is so enticing.
Thank you so much for spreading your ideas.
LikeLike